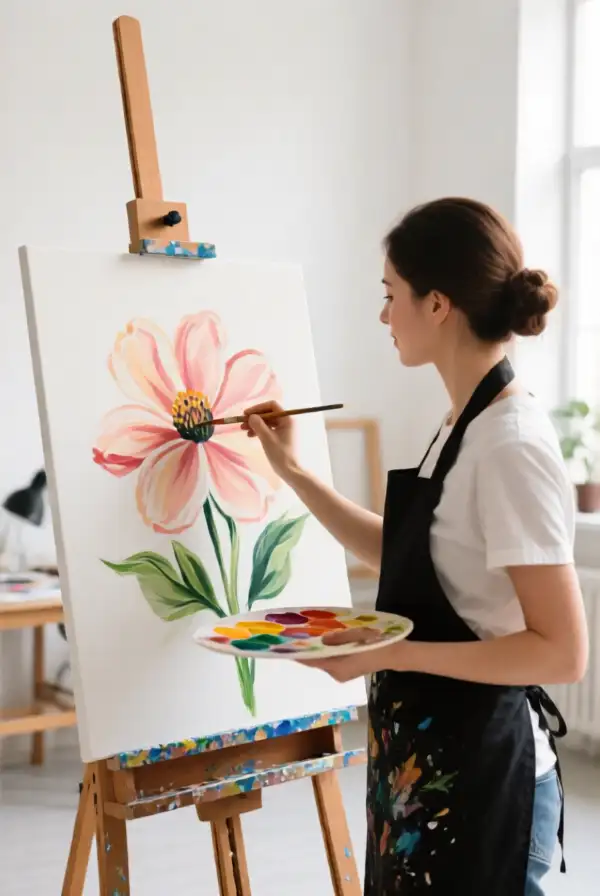
Painting flowers can be a delightful and rewarding experience for artists of all skill levels. In this guide, we will take you through a simple step-by-step process to create beautiful flower paintings that will brighten any space. Whether you’re a beginner or an experienced painter, these twelve steps will ensure your floral art flourishes.
Choosing the Right Materials for Floral Painting
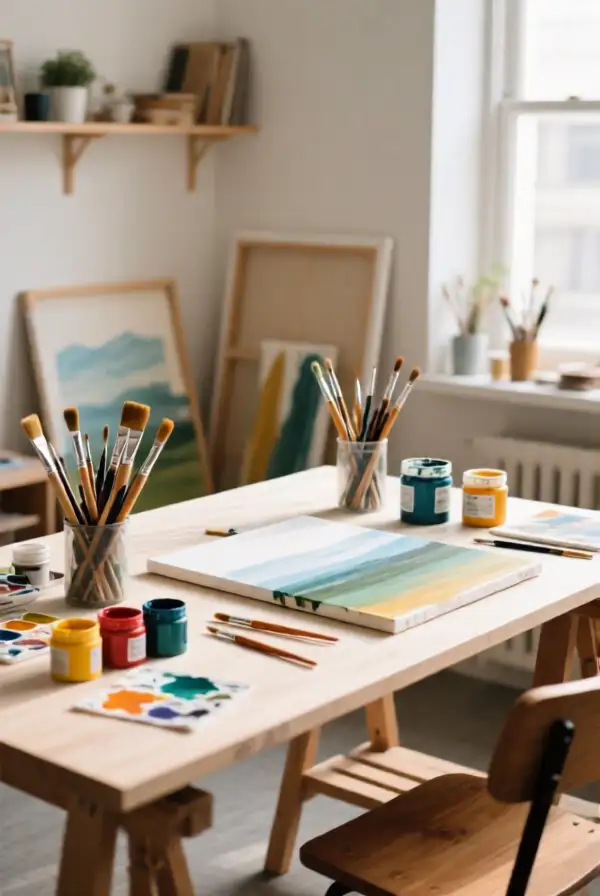
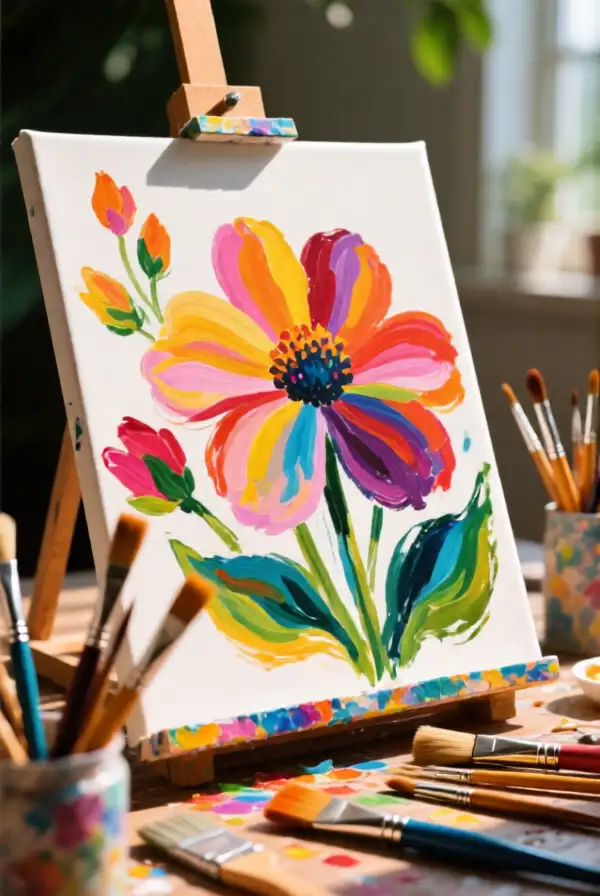
Before starting your painting journey, it’s essential to gather the right materials. Quality paints, brushes, and canvases will significantly impact your artwork. Acrylics, watercolors, and oils each bring their unique texture and blending capabilities to flower painting. Consider starting with a basic set of colors that can mix well to create a variety of shades.
Additionally, make sure your brushes are suitable for the type of paints you are using. Flat brushes are great for broad strokes, while finer brushes are perfect for detailing. Having a palette for mixing colors and paper towels for cleanup will also enhance your painting experience.
Sketching the Flower Outline
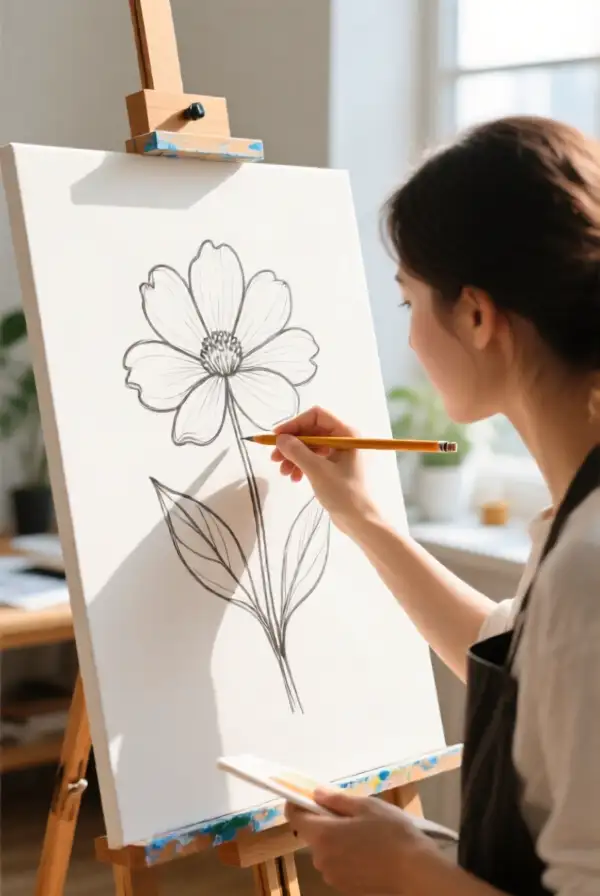
With your materials ready, the next step is to sketch the outline of the flower. Using a light pencil, draw the basic shapes and forms of your chosen flower. Focus on the petals, leaves, and stem to set a clear foundation for your painting. Don’t worry about making it perfect; the sketch serves as a guideline.
Spend time adjusting proportions and placements, ensuring that the composition is appealing. A balanced design is key, so consider how the flower will sit on the canvas and how it relates to any background elements.
Selecting a Color Palette
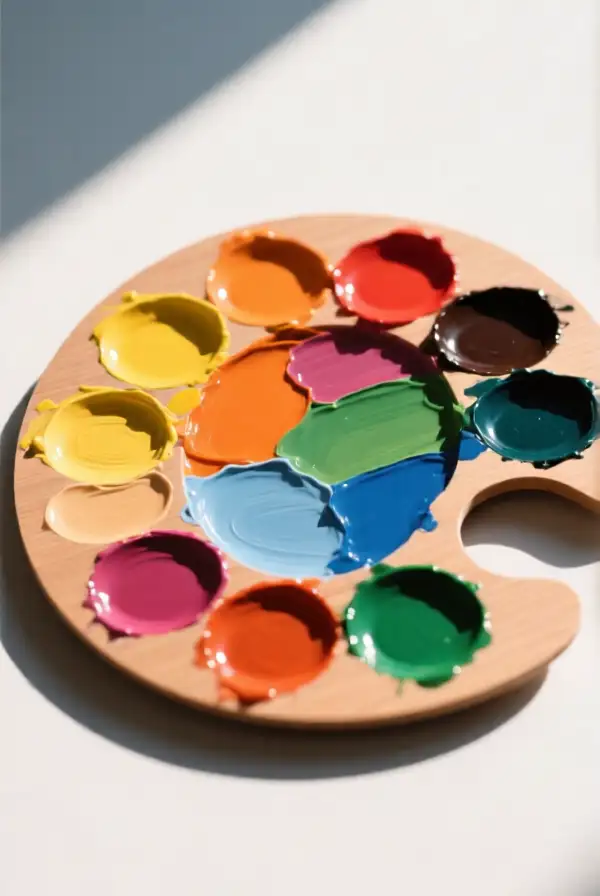
A vital part of any painting project is selecting the right color palette. For flower painting, choose colors that reflect the natural hues of the flowers you are depicting. This can include vibrant colors for sunny daisies or softer tones for delicate roses.
Mixing your own colors can create more depth and uniqueness in your painting. Experiment with color combinations on scrap paper before applying them to your canvas. Remember, complementary colors can make your flowers pop and create a visually striking outcome.
Painting the Background
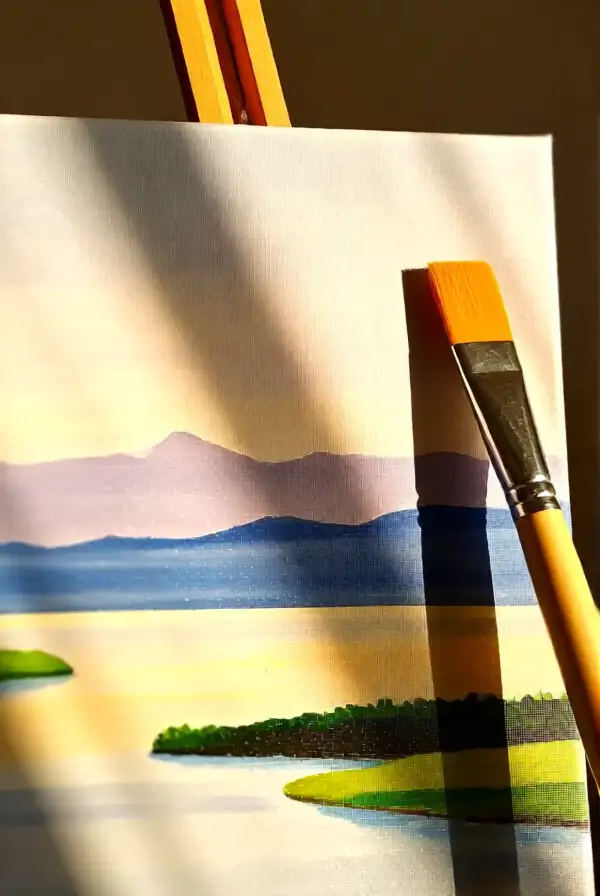
Before focusing on the flowers, it often helps to paint the background. This can enhance the overall composition and help the flowers stand out. Choose a color that complements your flower palette, whether that’s a soft gradient or a bold solid color.
Allow the background to dry completely before moving on to the flowers. This ensures that you can paint without disrupting your background layer. Consider adding texture or shadows to the background to add depth to your composition.
First Layer of Paint on Flowers
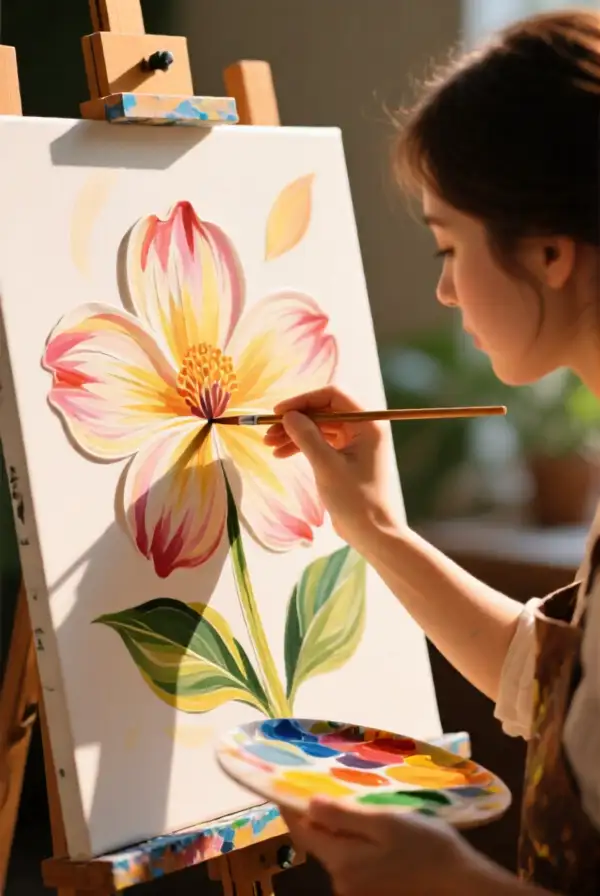
Begin the painting process with the first layer of paint on your flowers. Use a larger brush to fill in the basic colors of the petals and stems. Keep your strokes light and airy, allowing for some background to show through. This underpainting will help build the final layers.
Focus on laying down the primary colors without worrying too much about the details; that will come later. This first layer will create a foundation for adding highlights and shadows in subsequent steps.
Add Depth with Shadows
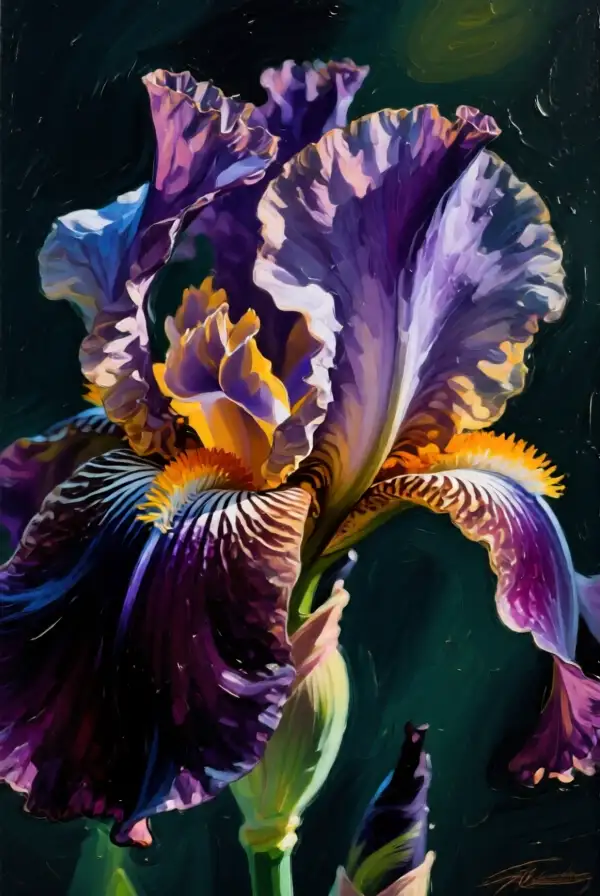
Once the first layer is dry, it’s time to add depth to your flowers with shadows. Use a slightly darker color than the main flower hue to create areas that recede and give dimension. Shadows are usually applied on one side of the petals or around the inner areas of the flowers.
Be mindful of your light source; the shadows should fall consistently within your composition. Layering in shadows creates a lifelike quality and helps the flowers appear more three-dimensional.
Highlighting Petals
To make your flowers truly vibrant, highlighting the petals is essential. This process involves adding lighter shades to the areas where light naturally hits the petals, enhancing their volume. Use a thin brush to delicately add highlights at the tips and edges of each petal.
Select a color that complements the base while ensuring enough contrast to stand out. This technique will transform flat colors into beautiful, radiant petals that draw the viewer’s eyes to the flowers.
Adding Leaf Details
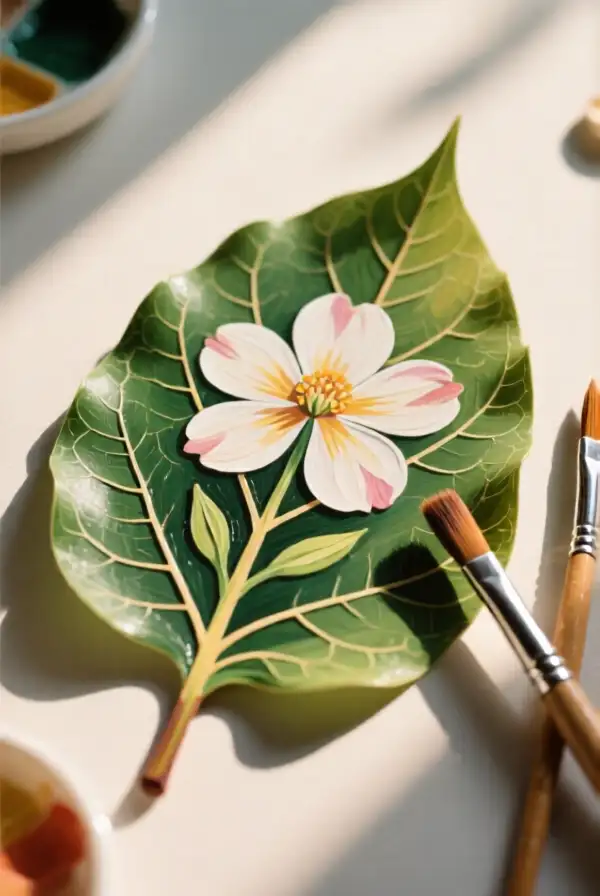
Don’t forget to add details to the leaves in your floral painting. Use a smaller brush to paint the veins and edges of each leaf, helping them look more realistic. Just like with the petals, a base color followed by a darker shade for shadows and a lighter for highlights will give your leaves dimension.
Remember that leaves can vary significantly in shape and color, so research your flower’s leaves to replicate their unique characteristics authentically. Use these details to complement rather than overpower the flowers themselves.
Final Touches and Details
As you approach the final stages of your painting, it’s time to refine your artwork with additional detail and adjustments. Look for areas that might need more depth, such as shadows and highlights that can be enhanced further. Consider adding small details, like pollen or tiny water droplets, to make your flowers more lively.
Take a step back and evaluate the balance of colors and composition. Adjust any flowers or leaves that seem too stark or out of place, allowing the entire piece to harmonize together. Don’t be afraid to make bold choices and trust your creative instincts!
Varnishing Your Artwork

Once your painting is thoroughly dry, consider applying a varnish to protect your artwork and enhance its vibrancy. Varnishing can add a beautiful sheen and prevent your colors from fading over time. Make sure to choose an appropriate varnish based on your painting medium, whether acrylic or oil.
Apply the varnish in a well-ventilated area, following the manufacturer’s instructions. This final layer will help your masterpiece maintain its beauty and shine, making it a cherished piece for years to come.
Displaying Your Floral Paintings
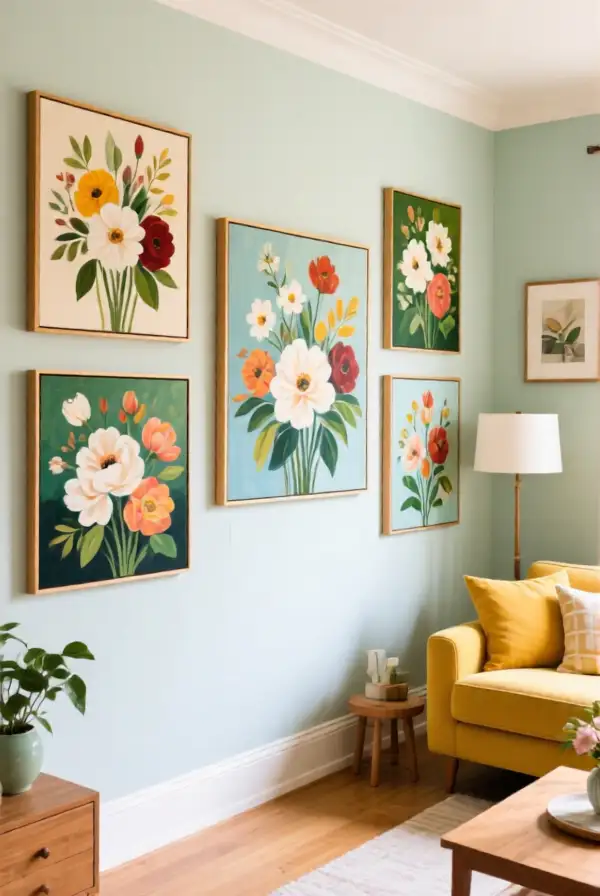
Now that your floral painting is complete, it’s time to display it! Consider creating a gallery wall with your floral artworks or placing them in areas that can brighten up your home, such as living rooms or entryways. Choosing the right frame to complement your painting can add an elegant touch.
Additionally, don’t forget to photograph your work before displaying it. Sharing your achievements with others can inspire fellow artists and promote your work on social media. Showcasing your creative journey brings joy and connects with art enthusiasts.
Congratulations on completing your flower painting! By following these twelve simple steps, you’ve turned your vision into a beautiful reality. Keep practicing and exploring new techniques, and you’ll continue to blossom as an artist.