Discover the art of bead embroidery through this comprehensive step-by-step guide. Perfect for both beginners and seasoned crafters, this post will equip you with techniques, tips, and inspiration to create stunning beadwork pieces.
Gathering Your Bead Embroidery Supplies
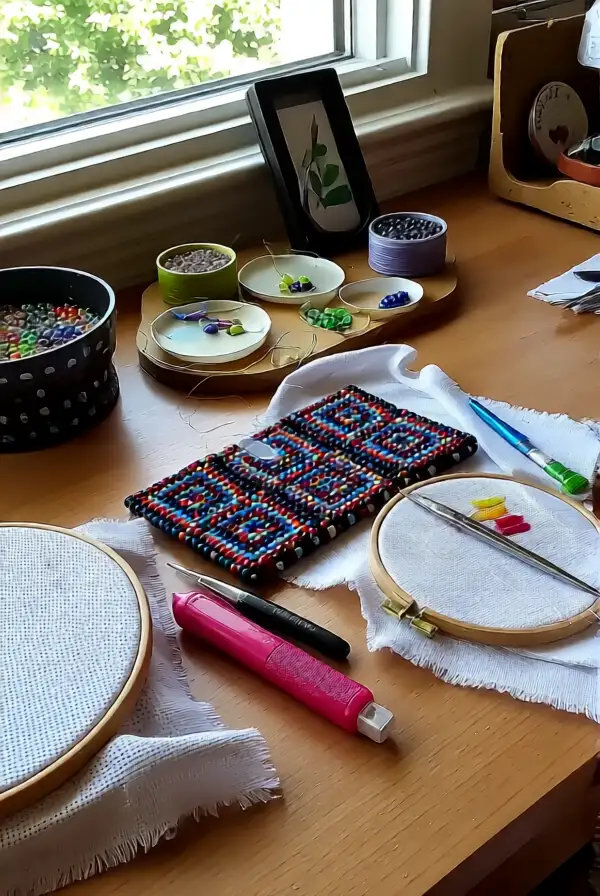
The first step to embarking on your bead embroidery journey is to gather the necessary supplies. You’ll need beads of various sizes and materials, a fabric base, needle and thread, as well as scissors and an embroidery hoop. Choosing quality materials can significantly enhance your final piece.
Consider your design preferences when selecting beads. Whether you favor glass, wooden, or plastic beads, each type will yield different effects. A well-thought-out color palette and texture combination will elevate your bead embroidery work.
Choosing Your Fabric Base

Choosing the right fabric is crucial for successful bead embroidery. Popular choices include cotton, linen, and felt, which provide a sturdy base for your beads. The fabric should have enough weight to support the beads without distortion.
Utilize fabrics that complement your design. Consider factors like color, texture, and weight. Tightly woven fabrics may hold beads better, while softer fabrics can offer a more delicate look. Test your beads on different fabrics before starting your project.
Designing Your Bead Embroidery Pattern
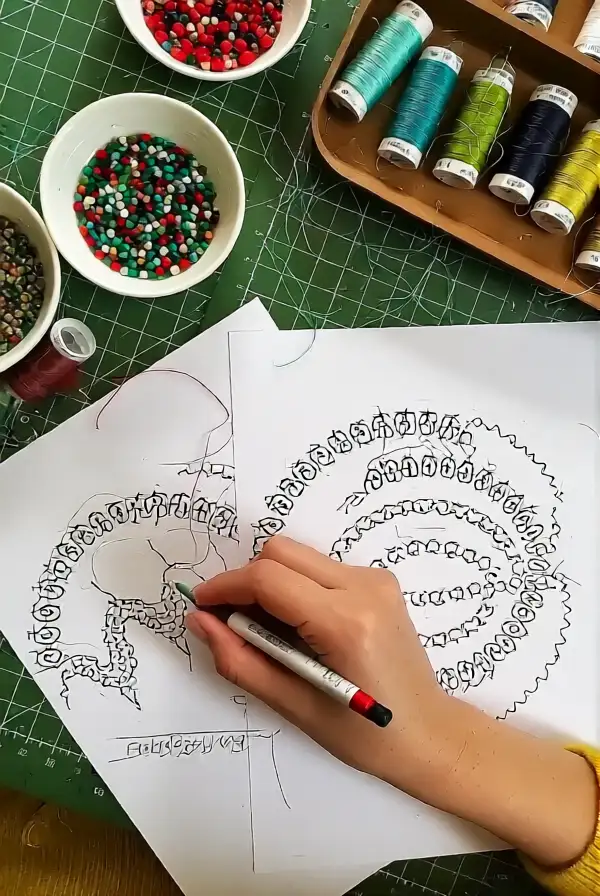
Before you start stitching, develop a clear design or pattern for your bead embroidery. Sketching your ideas on paper can help visualize the final result. Alternatively, consider using existing patterns or templates as a guide.
Ensure your design is aligned with the type of beads and fabric you are using. Be adaptable during this stage; sometimes, the best designs come from spontaneous changes and creativity during the bead placement process.
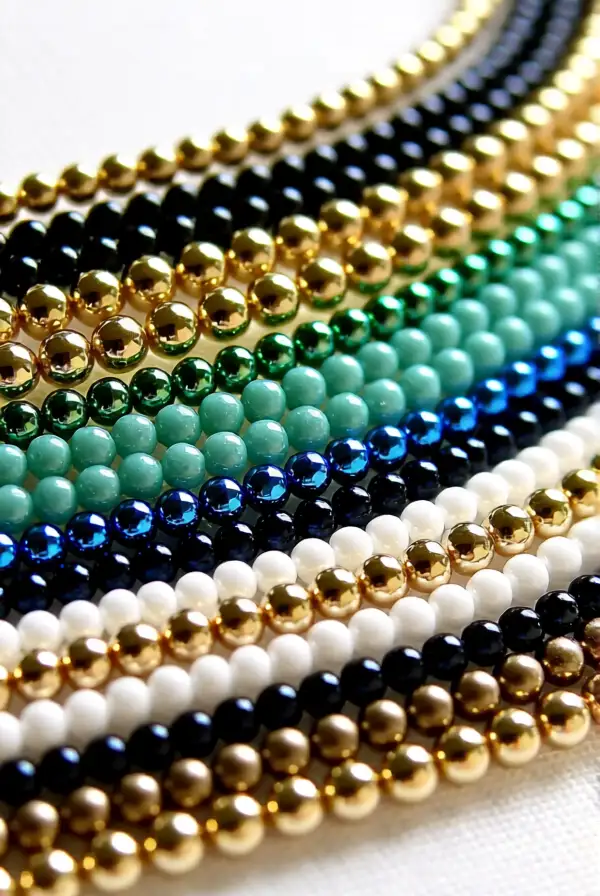
Planning Your Color Palette
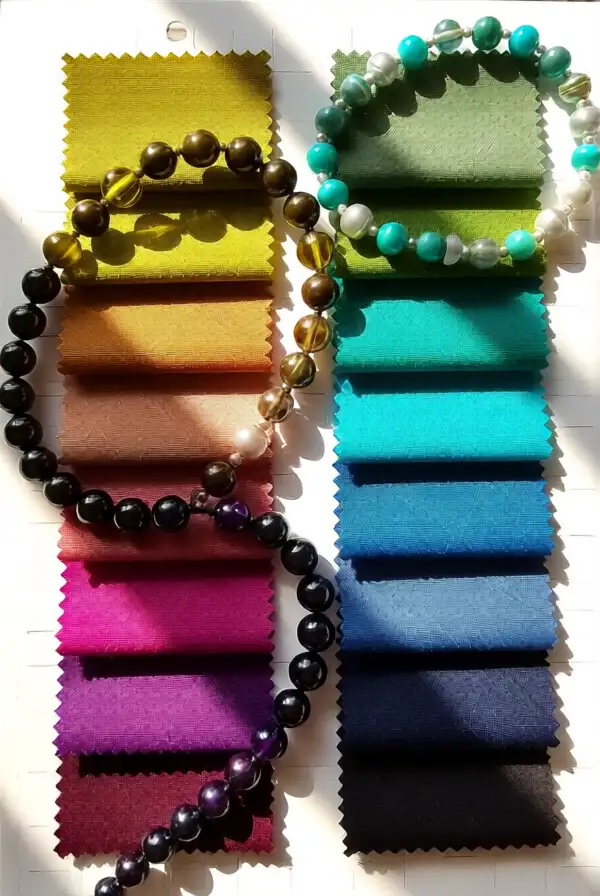
A cohesive color palette is key to successful bead embroidery. Spend some time selecting colors that harmonize well. You can either choose a monochromatic scheme for a sophisticated look or mix contrasting colors for a vibrant effect.
Use color theory to your advantage. Understand how different colors interact and evoke feelings. Small nuances can make a significant difference in the visual impact of your embroidery, so choose wisely.
Setting Up Your Workspace
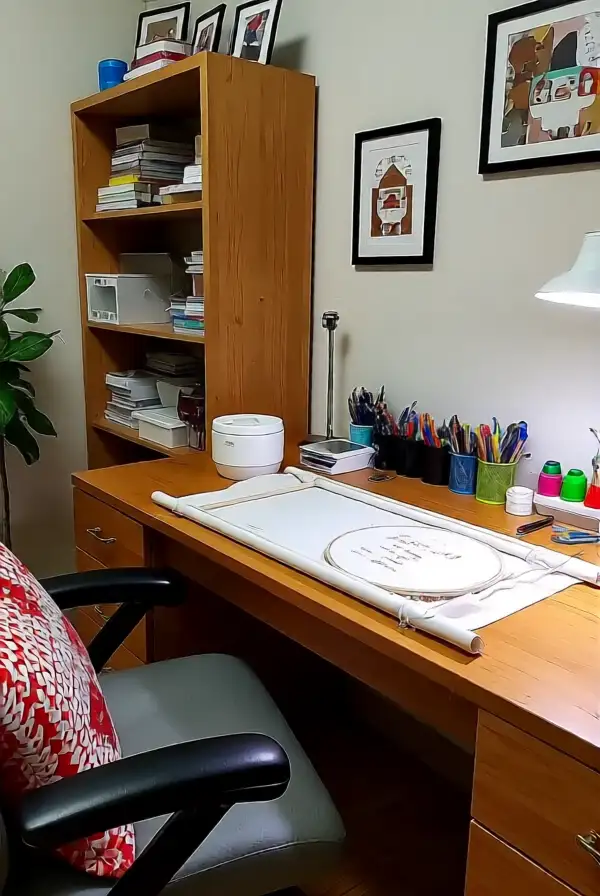
A well-organized workspace can boost your productivity and creativity. Clear a flat surface and gather all your supplies within reach. Good lighting is fundamental, as it helps prevent eye strain and allows you to see details clearly.
An embroidery hoop can stabilize your fabric, so consider using one. Additionally, keep your workspace tidy and free of distractions to maintain focus during your bead embroidery project.
Transferring Your Design onto Fabric
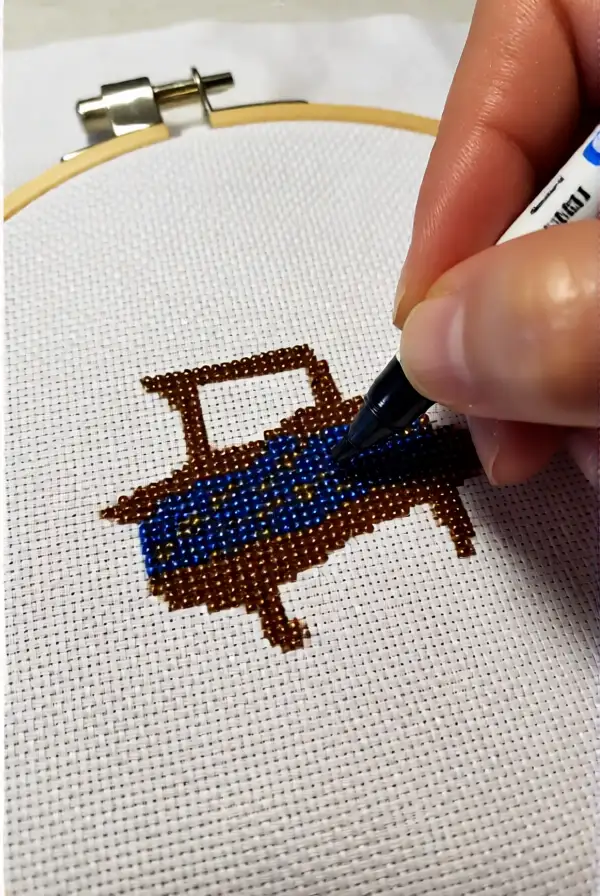
Transferring your design onto the fabric allows for a clear guiding point while stitching. This can be done using fabric markers or by lightly tracing your design with a pencil or chalk. Ensure the markings are not too dark, as they may show through the finished embroidery.
Double-check the alignment of your design on the fabric base. If needed, make adjustments before proceeding. Accurate placement will significantly influence the overall appearance of your beadwork.
Selecting the Right Needle and Thread
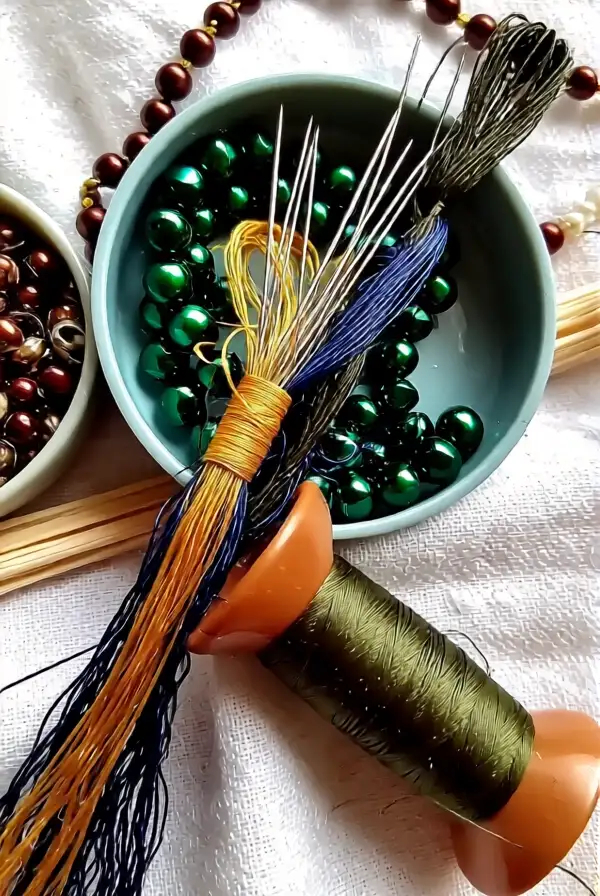
Choosing the appropriate needle and thread is essential for successful bead embroidery. Opt for thin needles that easily pass through the bead holes without damaging them. Different beads require different sizes, so select accordingly.
Your thread choice is just as important; use a strong, durable thread that matches the color of your fabric. Consider using beading thread for added strength as it can withstand the weight of beads and prevent breakage.
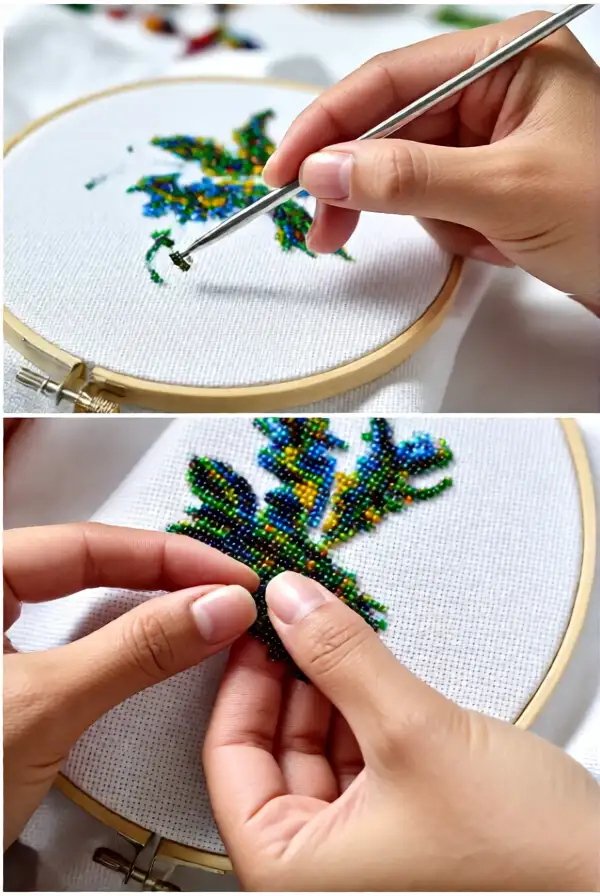
Stitching Techniques for Bead Embroidery
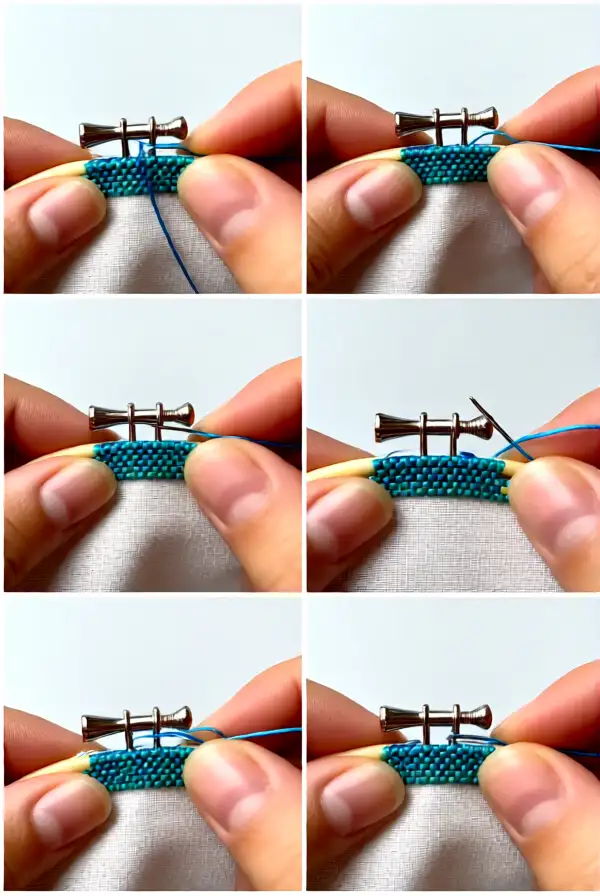
Acquaint yourself with various stitching techniques to enhance your bead embroidery. Techniques like backstitch, satin stitch, or couching can create different textures and appearances. Incorporating a variety of stitches will add depth and interest to your work.
If you’re new to bead embroidery, practicing these stitches on scrap fabric can help build your skills. Experiment with bead placement and stitch variation to discover what works best for your design.
Creating Layers in Your Work
Layering beads can add dimension and visual complexity. To create a layered effect, begin with the larger beads and build upwards with smaller ones. This technique can draw attention to specific areas of your design and make it more dynamic.
Be aware of bead placement when layering; you want the layers to complement rather than compete with each other. Effective layering can bring richness and variety to your bead embroidery pieces.
Finishing Your Bead Embroidery Project
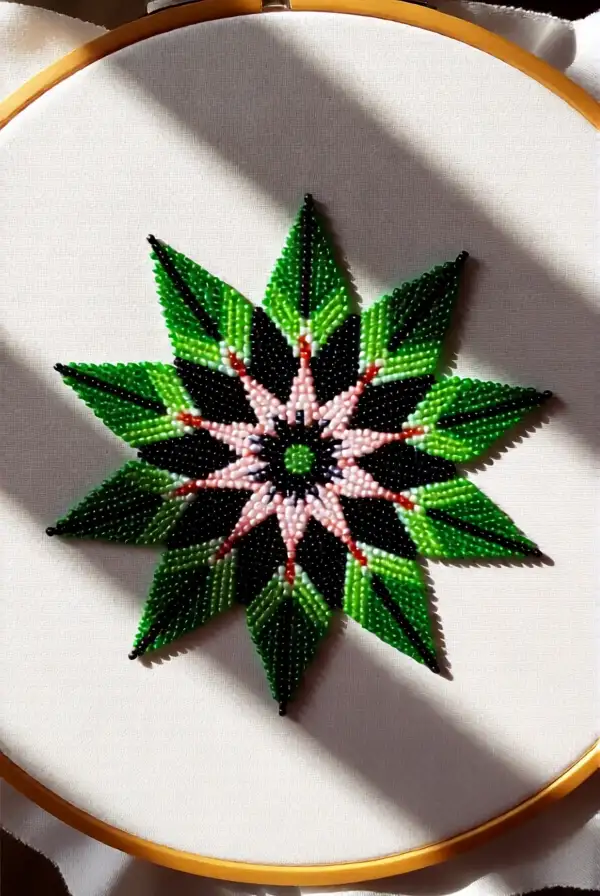
Once you’ve finished stitching, it’s time for the final touches. Carefully trim excess thread and secure any loose ends. Consider framing your bead embroidery or turning it into an accessory or decorative piece to showcase your hard work.
Evaluate your piece for any adjustments that may enhance its appearance. Remember that no project is perfect, and embracing the uniqueness of your work adds character and charm.
Cleaning and Caring for Your Beadwork
Proper care will extend the lifespan and beauty of your bead embroidery. Dust your pieces regularly and store them away from direct sunlight to prevent fading. When necessary, hand wash with gentle soap and water, making sure to lay flat to dry.
Be cautious with embellishments that may require special care. Following the right cleaning methods will maintain the integrity of your beadwork and keep your creations looking vibrant.
Finding Inspiration for Future Projects
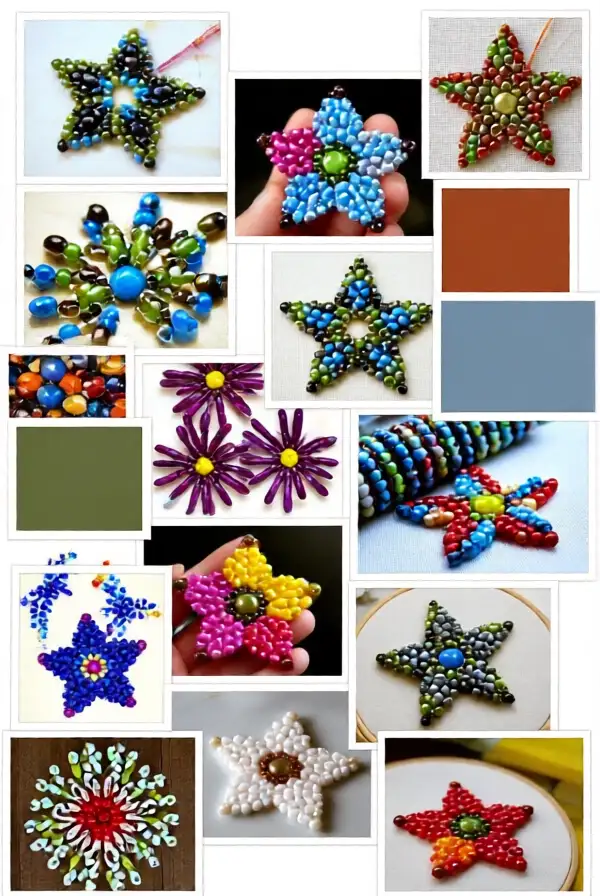
Inspiration can strike in many forms. Explore art, nature, or contemporary fashion for ideas that can spark your creativity. Social media platforms and craft blogs are also excellent resources for discovering new techniques and trends in bead embroidery.
Engaging with community groups and forums can lead to fresh perspectives and tips. Remember the importance of experimenting with your designs and techniques to find your unique style in bead embroidery.
Your journey into bead embroidery is filled with creativity and self-expression. Follow these 12 steps to develop your skills, create beautiful pieces, and enjoy the relaxing process of embroidery.