Transforming your bathroom can be as simple as painting your vanity cabinets. This step-by-step guide will help you achieve a beautiful finish that refreshes your space without a complete remodel. Discover tips and tricks for choosing the right color, preparing your cabinets, and applying paint for a professional look.
1. Choosing the Right Paint Color
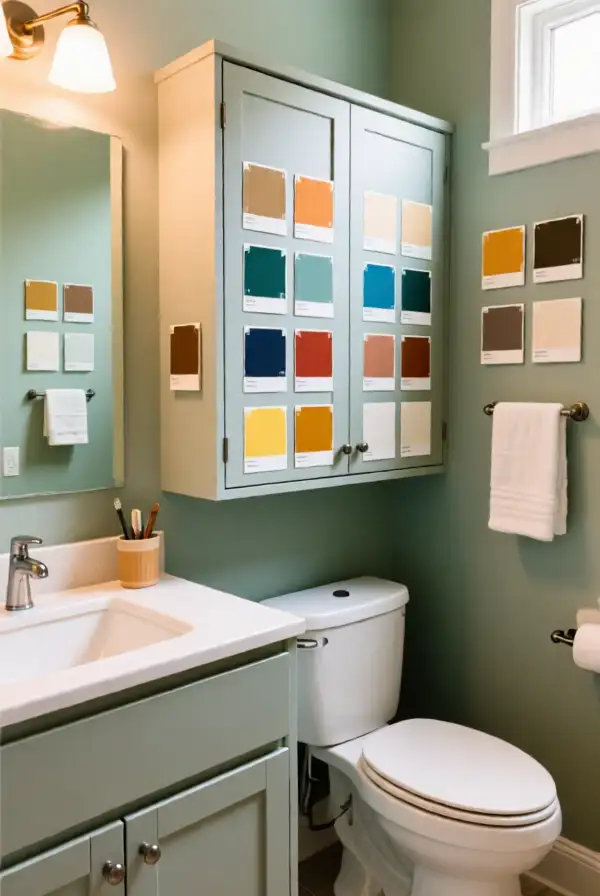
When it comes to selecting the best paint color for your bathroom vanity cabinets, consider the overall color scheme of your bathroom. Light colors can open up the space, while darker shades can create a cozy atmosphere. Look for colors that complement your countertops and other fixtures for a cohesive look.
Additionally, swatches can be helpful before making a final decision. Test a few colors on your cabinets to see how they appear in different lighting throughout the day. This way, you’ll ensure that the chosen shade will look just as fantastic after completion.
2. Preparing Your Cabinets for Painting
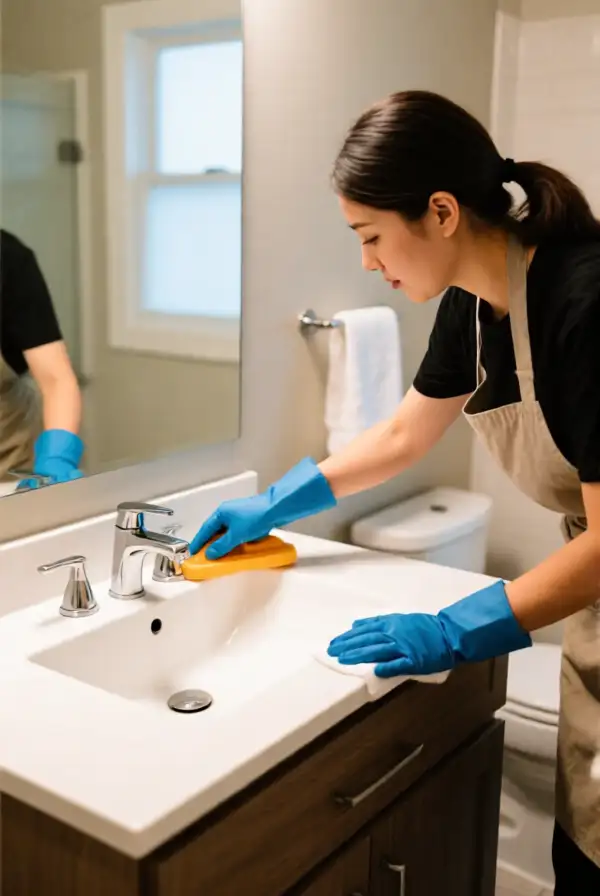
Preparation is key to achieving a smooth finish when painting. Start by removing all hardware and taking the doors off the cabinets. Clean the surfaces with a degreaser to remove all dirt and oils. This ensures good adhesion of the paint. Sand the cabinets lightly to promote a better bond and remove any existing finish.
After sanding, wipe down the cabinets to get rid of dust. Taping off the edges of walls and countertops will also help protect them during the painting process. Taking these steps will dramatically improve the quality of your finished product.
3. Selecting the Right Paint Type
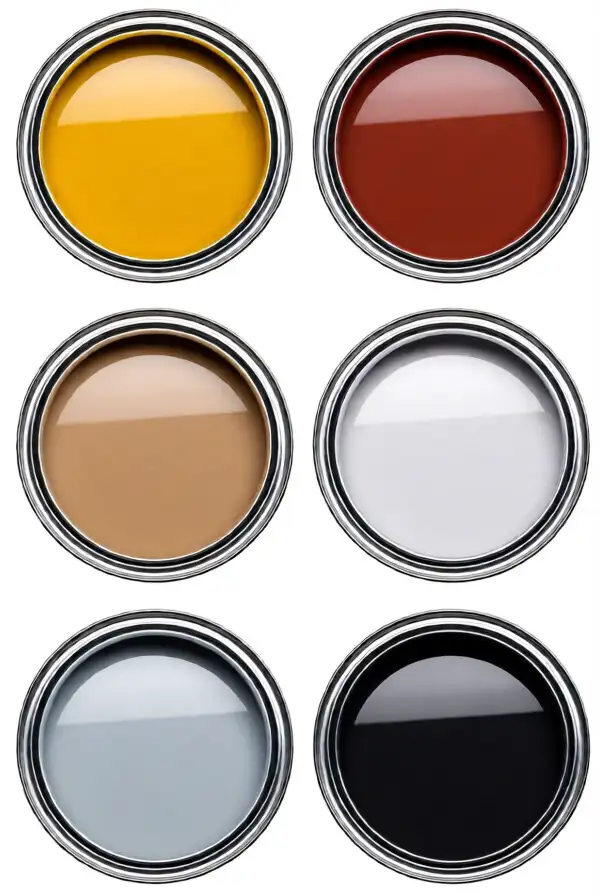
Choosing the right type of paint is crucial for your bathroom vanity cabinets, as they are exposed to moisture and humidity. Semi-gloss or satin finishes are recommended for cabinets because they hold up well and are easy to clean. Additionally, consider using latex paint for its durability and faster drying time.
Some brands offer special formulations designed for kitchen and bath applications, which can further enhance the longevity of your paint job. Make sure to read the labels and consult experts if needed to select the best product for your project.
4. Applying the Primer
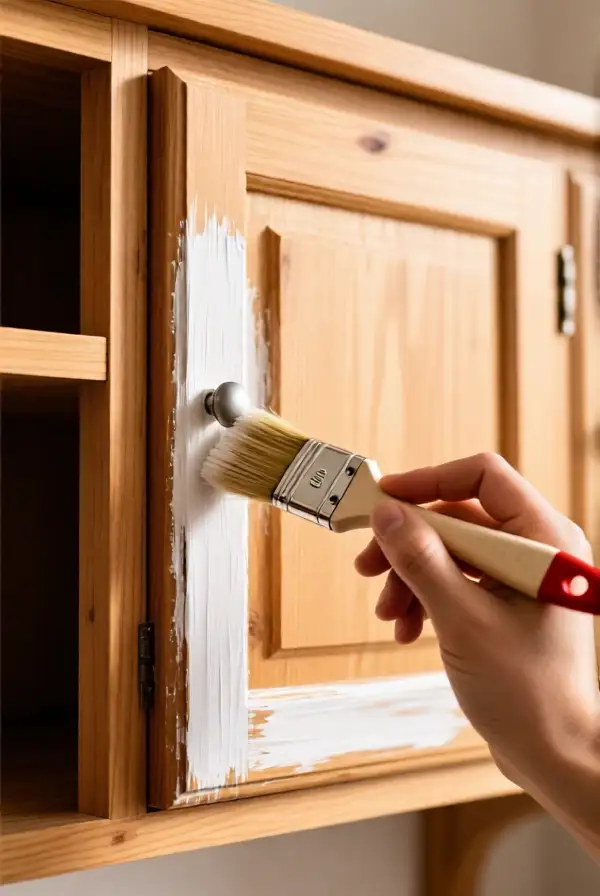
Priming your cabinets provides a smooth base for paint application and improves adhesion. Choose a high-quality primer specifically formulated for cabinetry. Apply it using a brush or roller, starting from the edges and working towards the center for a uniform finish.
Allow the primer to dry completely before moving on to the paint. This step is essential if you want a polished and professional look. Don’t skip it, as it can prevent peeling and ensure your cabinet doors look their best long-term.
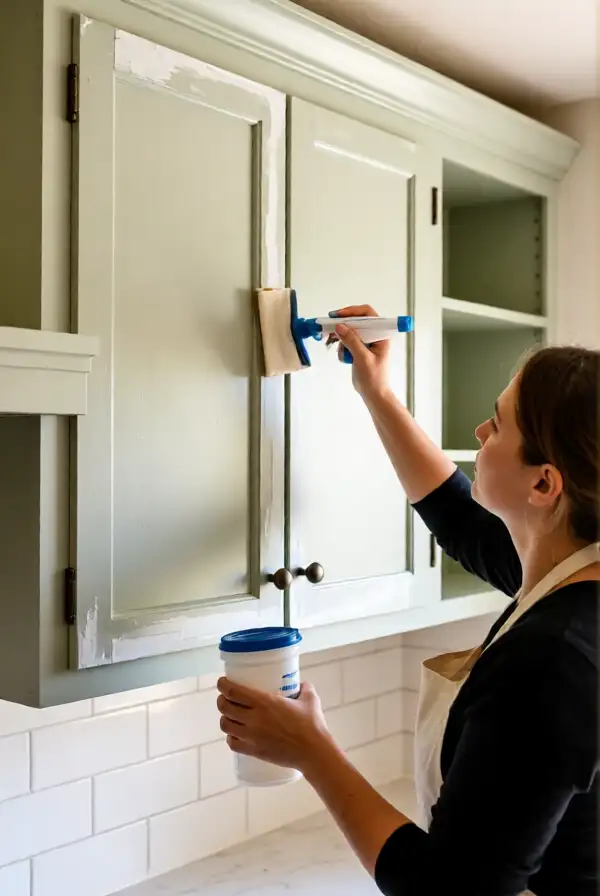
5. Painting Your Cabinets
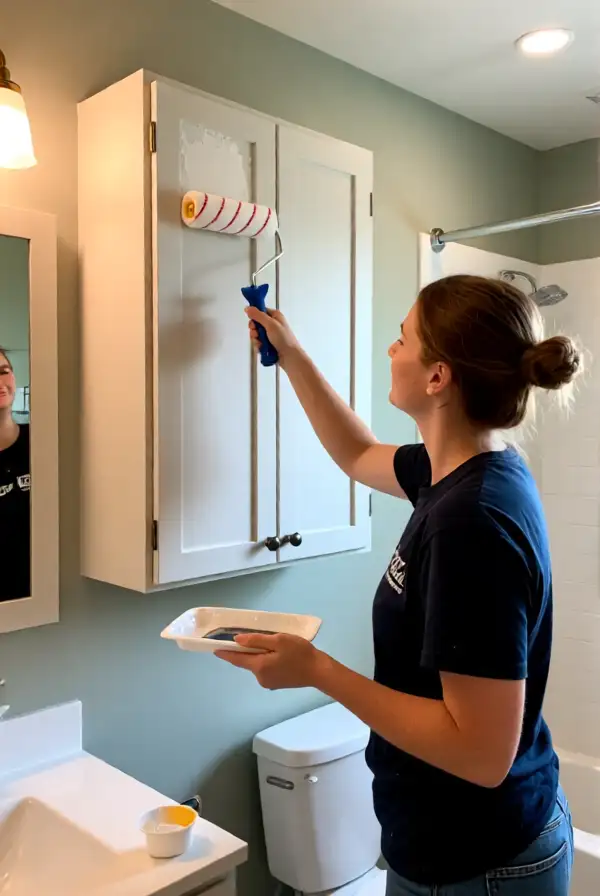
Now it’s time to get to the fun part—painting! Using a brush or a small roller, start painting the cabinets with smooth, even strokes. Apply thin layers of paint, allowing each coat to dry before adding another. This technique helps avoid runs and drips, resulting in a flawless finish.
If you’re painting detailed areas, a brush may be a better option for precision. For larger flat surfaces, a roller can save time. Typically, two to three coats are recommended for an even, rich color. Be patient, and let your cabinets shine at their best!
6. Finishing Touches with Sealer
Once the paint is completely dried, consider applying a clear sealer to protect the finish and add extra durability. This is particularly beneficial in bathroom environments where moisture can cause wear over time. Choose a high-quality water-based sealer for its low odor and ease of application.
Apply the sealer following the manufacturer’s instructions to ensure proper adhesion and longevity. Allow the sealer to cure as directed, and avoid heavy usage of the cabinets until it sets. Your newly painted vanity will not only look stunning but stand the test of time!
7. Restoring and Reattaching Hardware
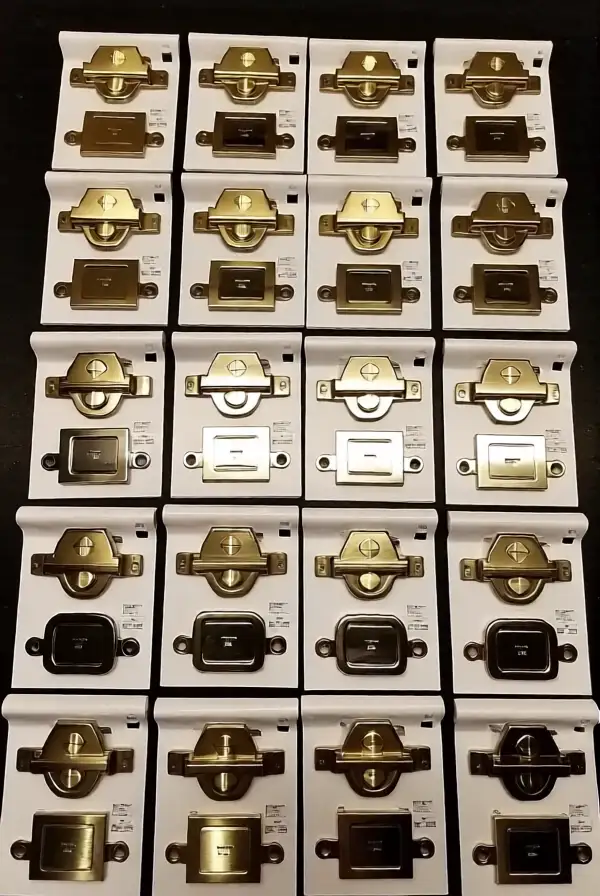
After your cabinets are fully painted and cured, it’s time to reattach the hardware, which can dramatically change the look of your vanity. Consider cleaning older hardware or upgrading to new handles and knobs for a fresh touch. The hardware can also add character to your cabinets and elevate the overall design.
Make sure to securely attach the hardware and check for alignment before finishing up. This final step will give your new paint job the polish it deserves. Stand back and admire your fantastic DIY project that has given your bathroom a beautiful transformation!
8. Maintenance Tips for Painted Cabinets
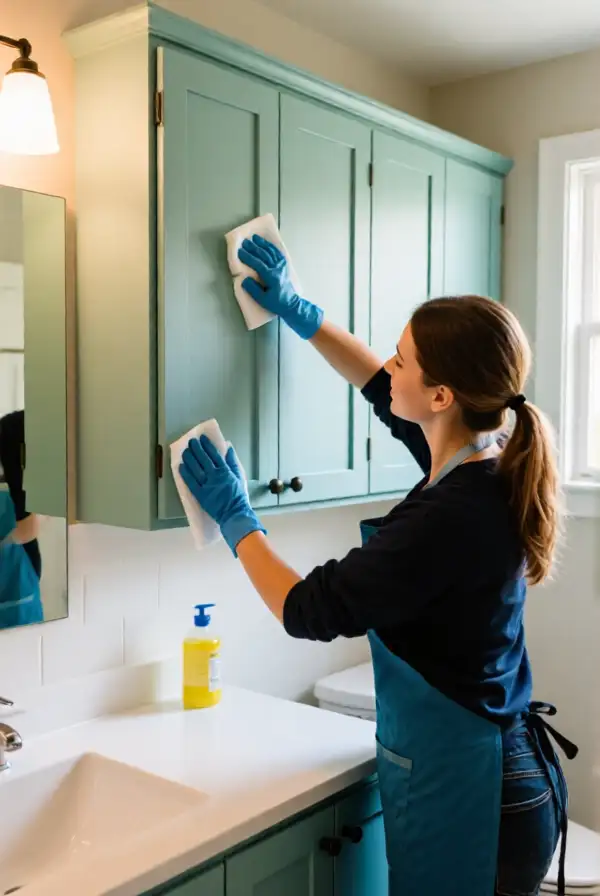
To keep your painted cabinets looking beautiful, regular maintenance is essential. Use mild soap and water for cleaning, avoiding harsh chemicals that can damage the paint. Wipe up spills promptly to prevent moisture damage, and periodically check for any nicks or scratches.
Consider reapplying a clear coat every few years, depending on wear and tear. With the right care, your painted vanity cabinets can maintain their stunning appearance for many years, making your bathroom a charming and inviting space.
In conclusion, painting your bathroom vanity cabinets can be a fulfilling DIY project that revamps your bathroom’s style. By carefully selecting colors, preparing the surfaces, and applying paint with precision, you can create an elegant look that significantly enhances your space.