Valentine’s Day is just around the corner, and what better way to express your love than with a homemade treat? This Quick & Easy Valentine Chocolate Bark recipe is perfect for everyone, from kids to adults. It combines delicious chocolates and colorful toppings for a sweet, thoughtful gift.
Simple Ingredients for Delicious Chocolate Bark
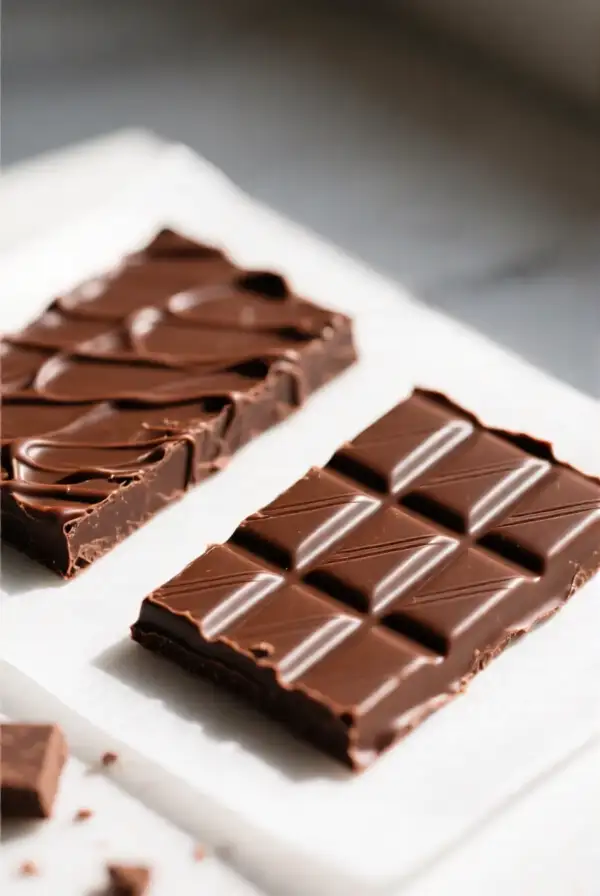
Creating chocolate bark starts with just two main ingredients: high-quality chocolate and your favorite toppings. Choose between milk and white chocolate for a nice contrast. Gathering everything needed before you start will make the process smoother and more enjoyable.
Different toppings can enhance your creation. Consider using heart-shaped candies, sprinkles, and chopped dried fruits. The possibilities are endless, allowing you to customize your bark for any occasion or preference.
Essential Equipment You’ll Need
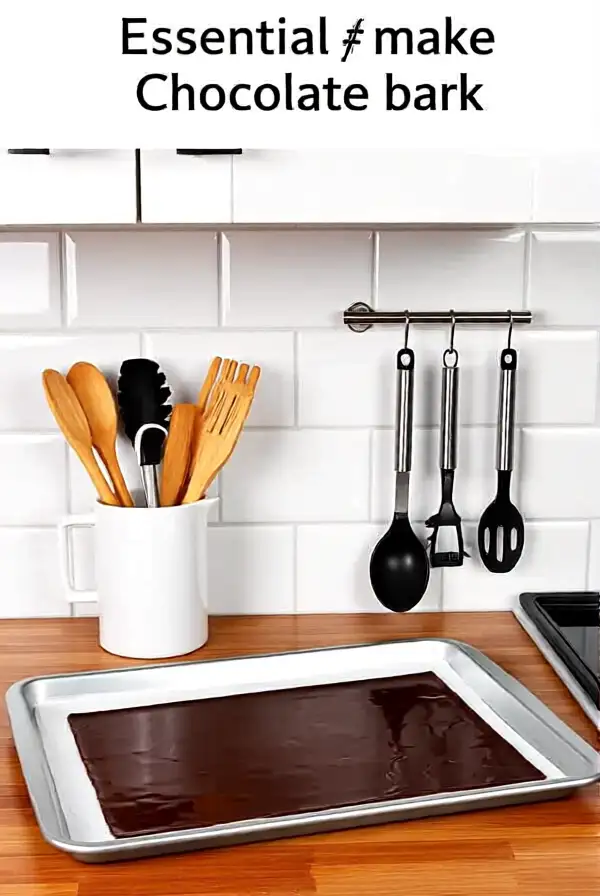
To make your Valentine Chocolate Bark, you’ll need a few essential kitchen tools: a baking sheet, parchment paper, and a microwave-safe bowl for melting the chocolate. Consider having a spatula on hand for spreading the melted chocolate evenly.
If you like, you can also use a double boiler to melt the chocolate gently. This method helps prevent the chocolate from burning, ensuring a smooth, silky texture for your bark.
Step-by-Step Instructions for Making Chocolate Bark
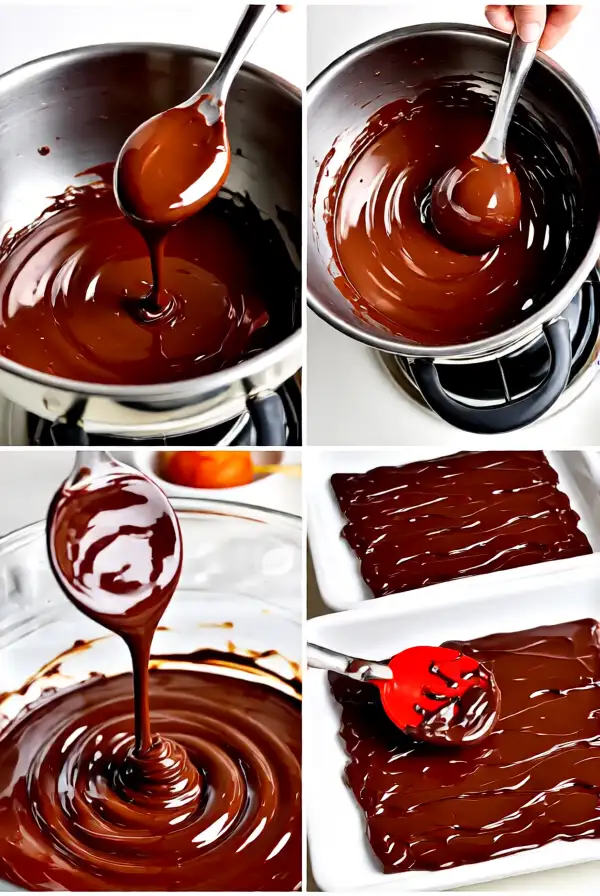
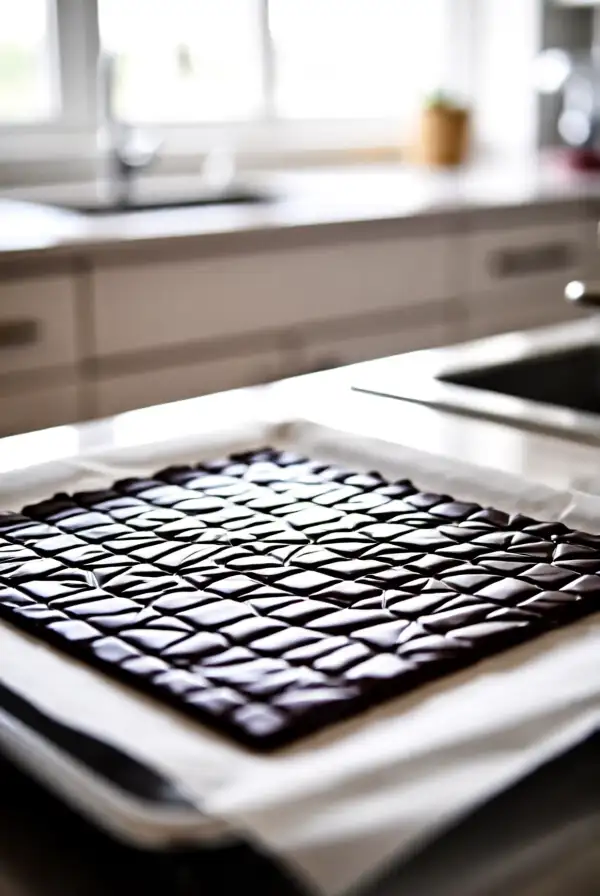
1. Start by preparing your baking sheet with parchment paper; this prevents the chocolate from sticking and makes for easy cleanup. Next, chop your chocolate into small pieces so it melts evenly.
2. Melt your chocolate in the microwave or over a double boiler, stirring occasionally until smooth. Once melted, pour the chocolate onto the parchment-lined sheet, creating an even layer.
Adding Your Favorite Toppings
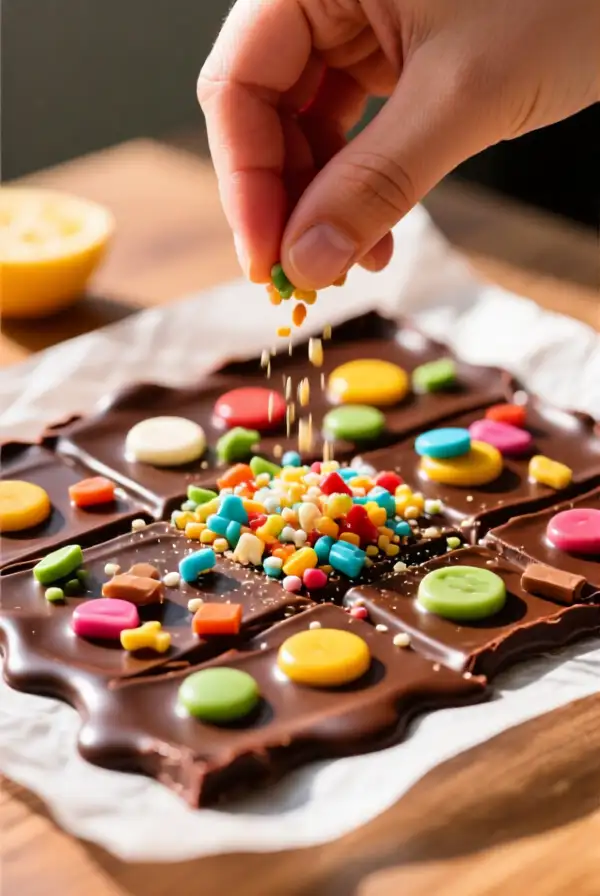
Once your chocolate is spread out, let your creativity shine by adding toppings while the chocolate is still warm. Scatter sprinkles, candied hearts, and any desired toppings across the surface of the chocolate. Gently press them in to ensure they stick.
Don’t forget to add a sprinkle of sea salt if you prefer a sweet-and-salty combination that enhances the chocolate’s flavor.
Letting Your Bark Set Perfectly
To let your chocolate bark set, simply allow it to cool at room temperature or speed up the process by placing it in the refrigerator. This cooling time is essential for achieving the desired hard texture that’s easy to break into pieces.
Make sure to keep an eye on it if you place it in the fridge; you want to prevent it from becoming too brittle.
Breaking the Bark into Pieces
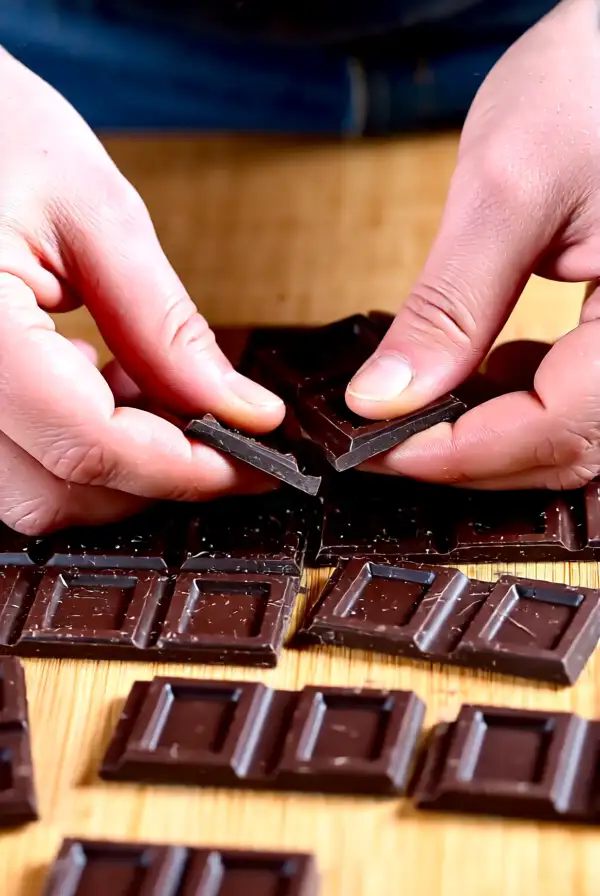
Once your chocolate has set, it’s time to break it into irregular pieces. You can create big or small pieces, depending on your preference. For a more polished look, try using a knife to cut it into squares or rectangles.
This is a fun process, especially if you’re involving kids who will enjoy helping in the kitchen!
Creative Ways to Present Your Chocolate Bark
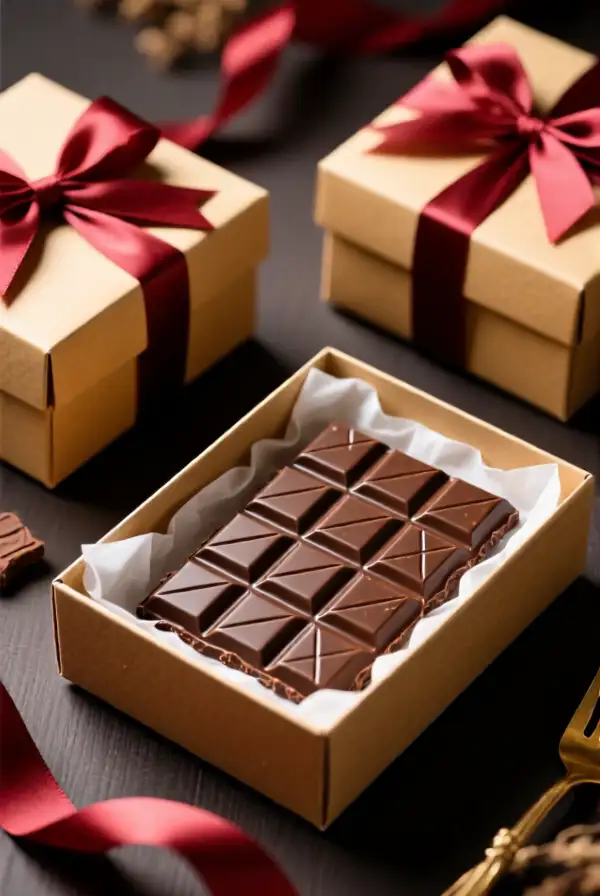
Presentation goes a long way when it comes to gifting your homemade treats. Try using decorative gift boxes filled with your chocolate bark, tied with a lovely ribbon for a beautiful effect.
Cellophane bags are also a cute option. Fill them with pieces of your chocolate bark, tie with colorful ribbons, and add a sweet tag for a personal touch.
Using Mason Jars for a Rustic Look

For a more rustic feel, fill mason jars with your chocolate bark and adorn them with a ribbon. This not only looks appealing but also adds a homemade charm to your gifts that friends and family will appreciate.
Adding a handwritten label with a sweet note can make your gift extra special and unique, showcasing your thoughtfulness.
Serving on a Beautiful Platter
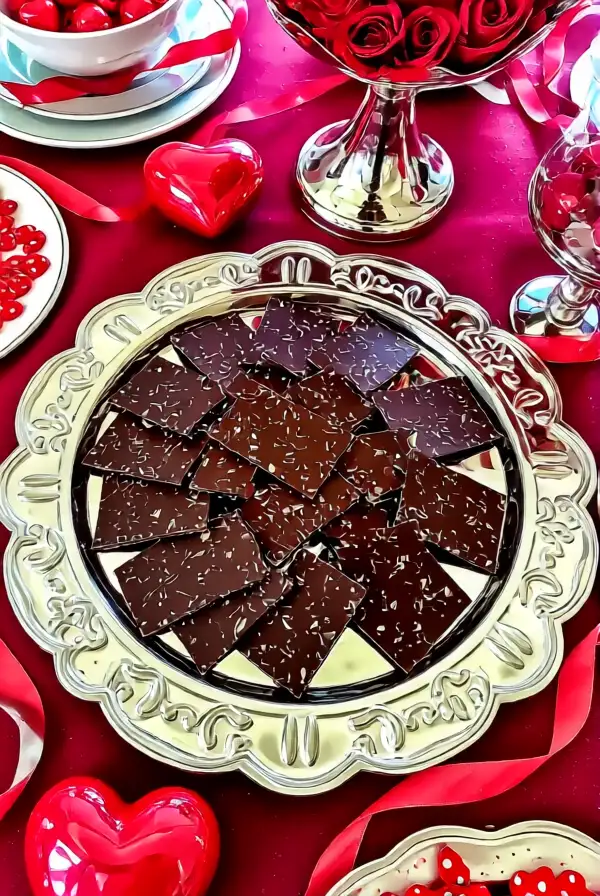
When hosting a gathering, present your chocolate bark on a lovely serving platter or wooden board. Arrange the pieces neatly and consider adding some festive decorations around the edge to enhance the visual appeal.
This is a charming way to serve treats at any occasion, making them the center of attention on your table.
Tips for Perfecting Your Bark Every Time
To create the best chocolate bark, ensure you work with high-quality chocolate. Avoid adding too many toppings, as this could overwhelm your base chocolate layer. Stick to a few favorites for maximum enjoyment.
Lastly, make sure your workspace is clean and organized; a clutter-free area helps in creating a smooth and enjoyable cooking experience.
Final Thoughts on Valentine Chocolate Bark

And there you have it—an easy and delicious recipe for making Valentine Chocolate Bark! It’s a beginner-friendly treat that brings joy to any celebration without needing extensive prep time.
Whip up a batch for yourself or as a thoughtful gift for loved ones this Valentine’s Day. Happy Bark Making!