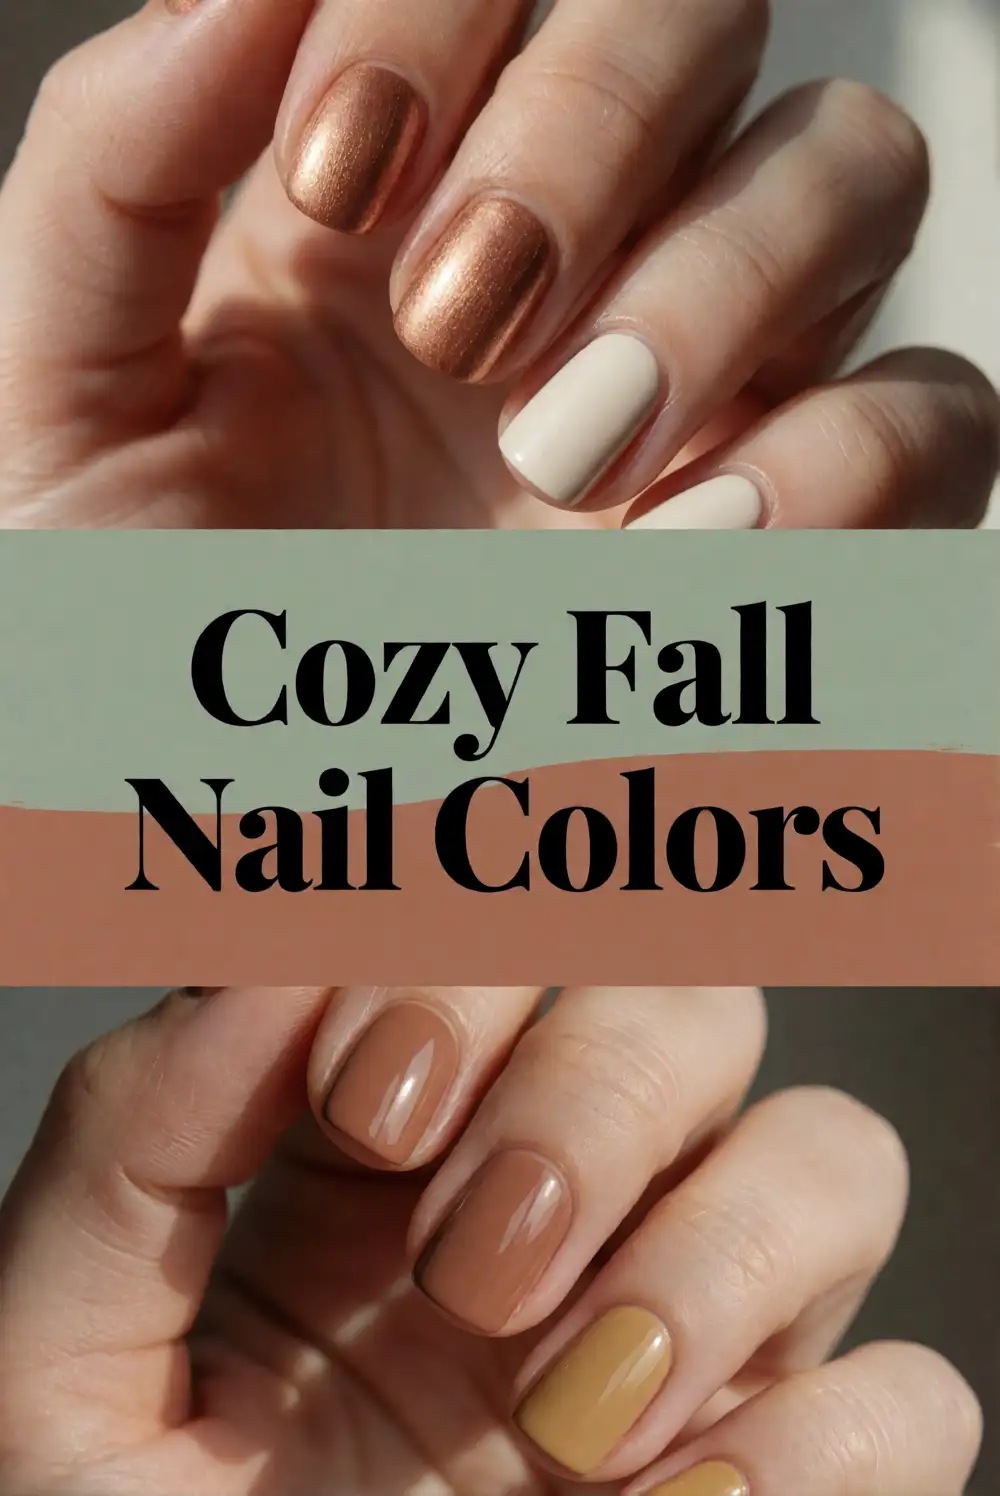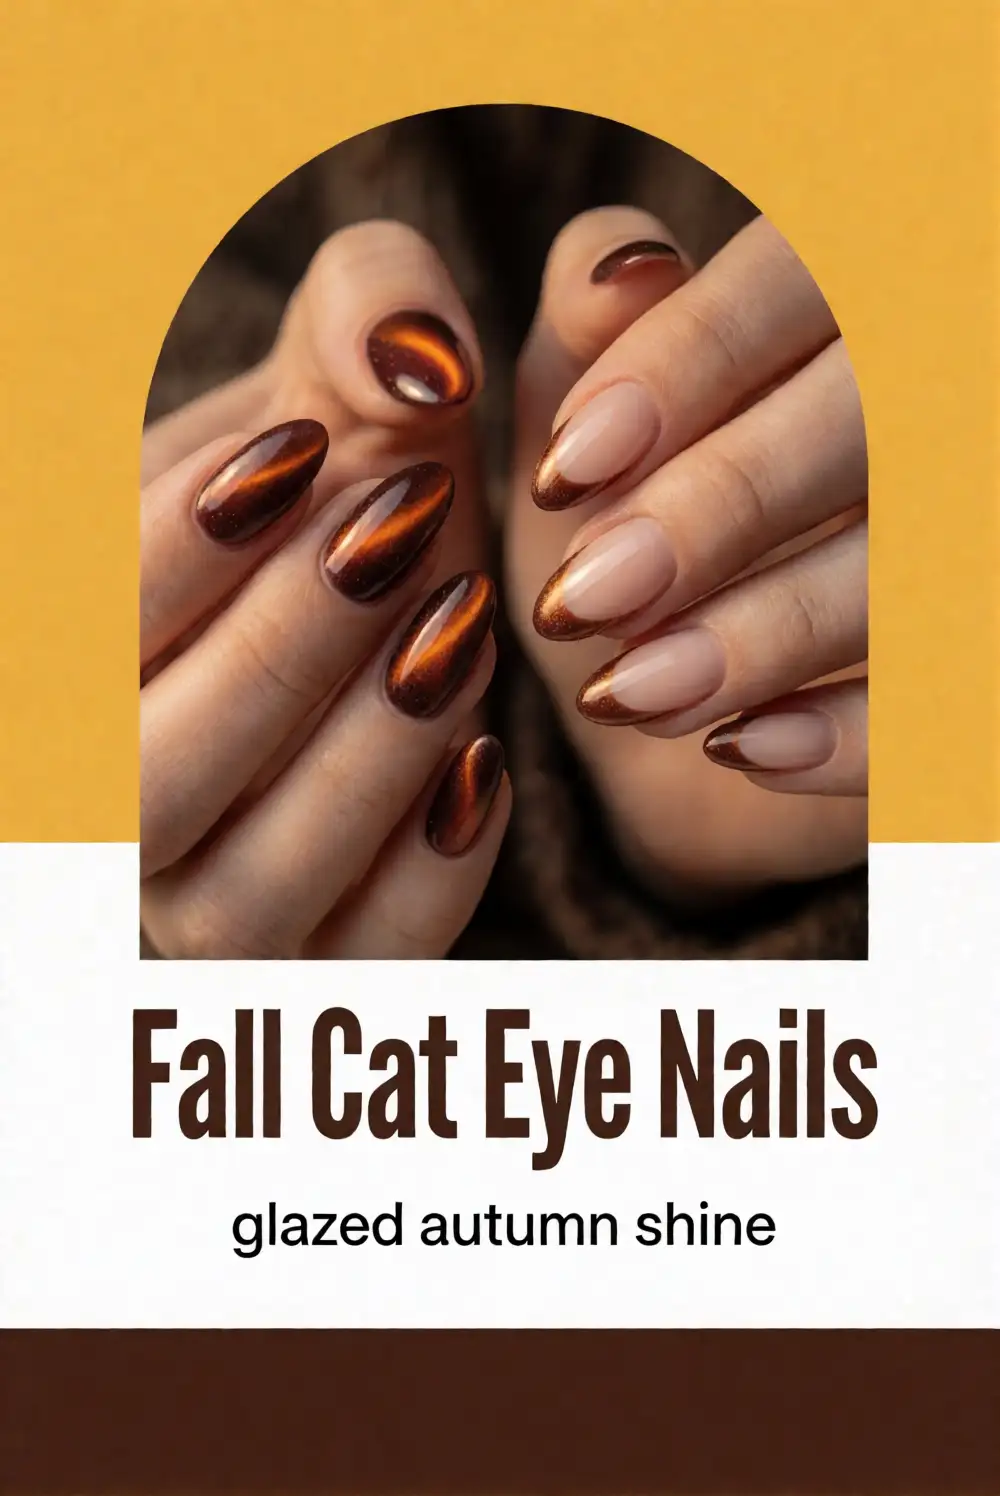
Bring a polished seasonal touch to your manicure with Thanksgiving nail designs inspired by autumn leaves, warm neutrals, rich cranberry, and subtle metallic accents. These elegant ideas balance festive color with wearable details, so you can choose a look that feels special for the holiday and still suits everyday plans.
Harvest French Tips with Warm Autumn Colors
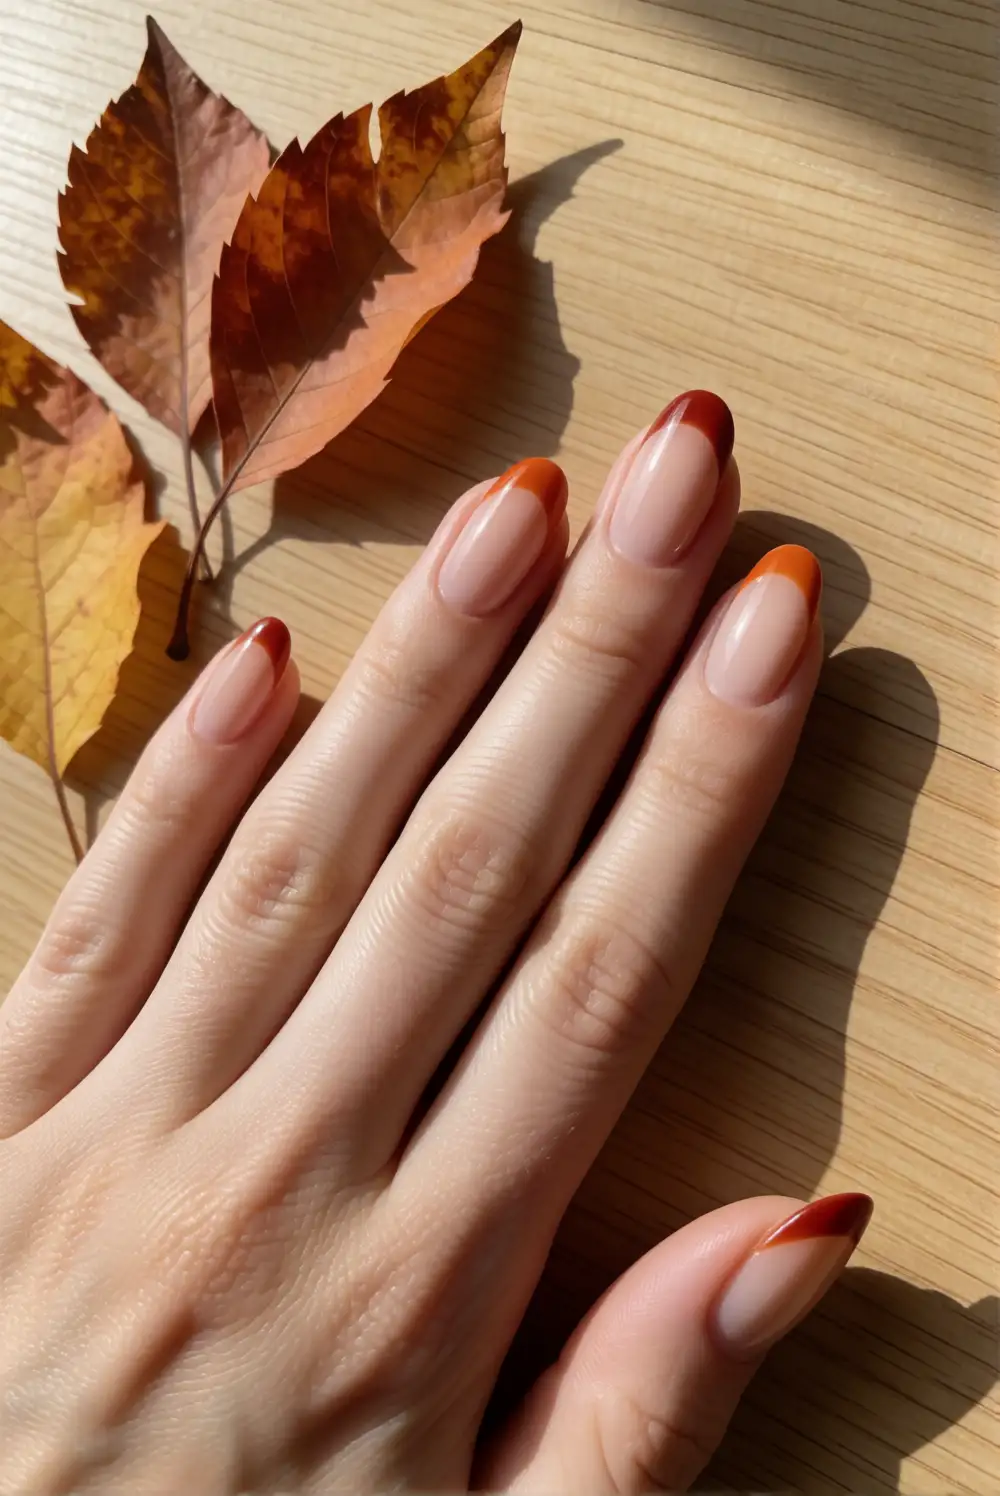
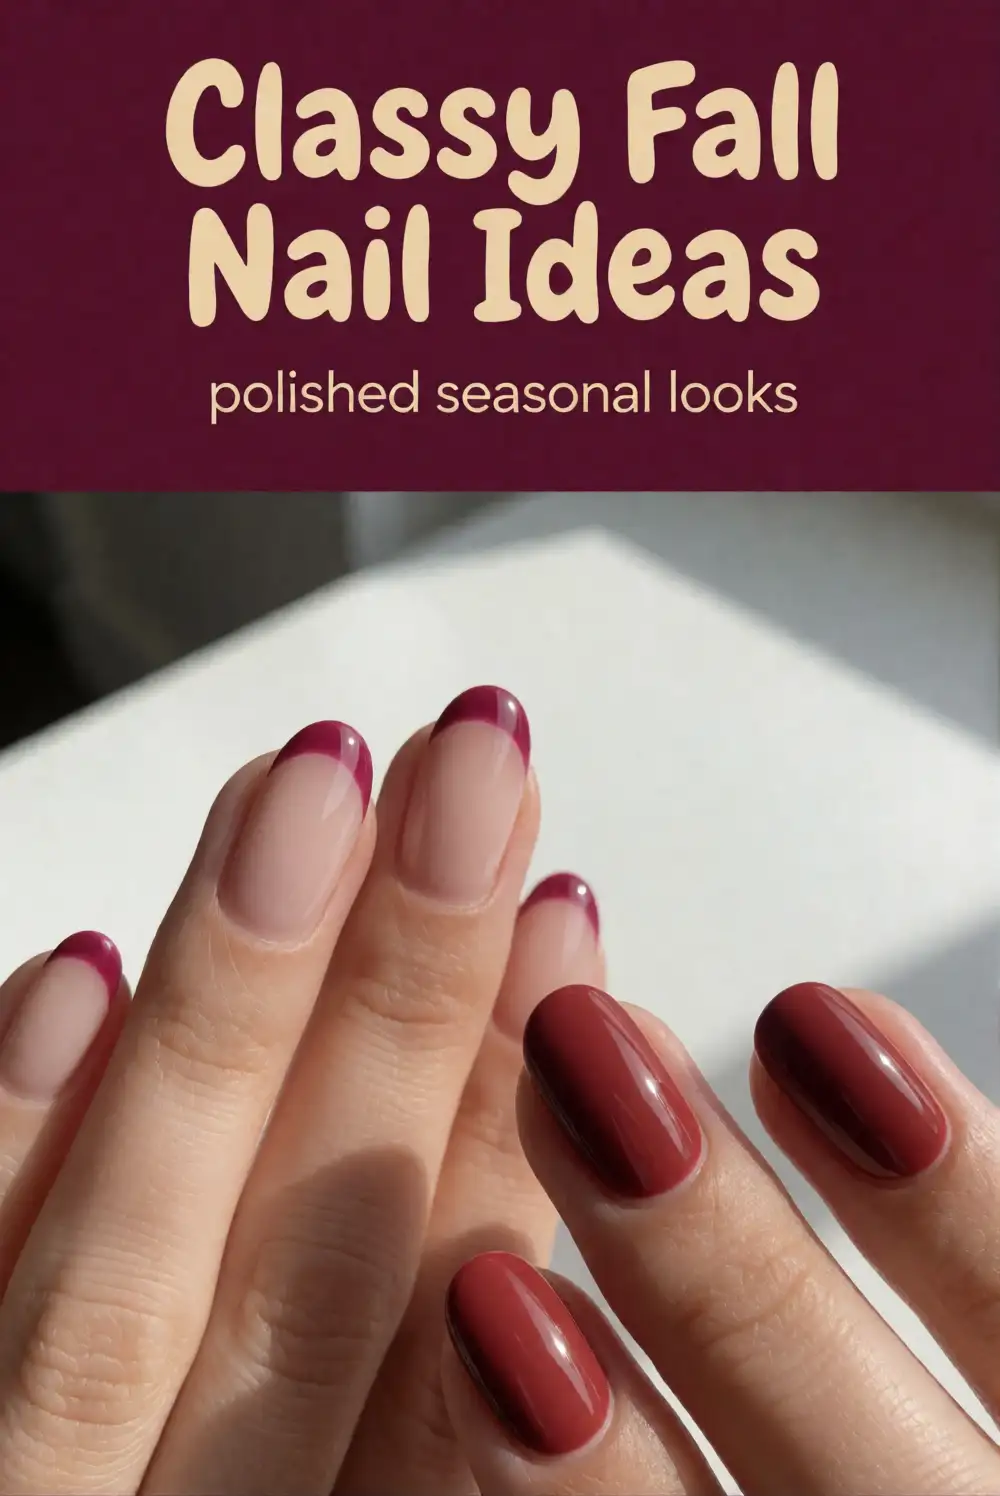
Give a classic French manicure an autumn update with softly curved tips in burnt orange, muted cranberry, or warm brown. Start with a sheer nude or milky cream base, then use a fine nail brush to paint a narrow colored edge along each nail. Let the polish dry before adding a glossy top coat. For a tidy result, keep the tip line slim and follow the natural curve of your nails rather than making the color block too wide.
Choose one tip color for a refined set, or alternate autumn shades for a little more variety. A tiny stroke of gold polish on one accent nail can add a festive glimmer without taking over the design. Short, rounded nails make the look especially wearable, while almond-shaped nails offer extra room for a graceful curve. Pair these tips with gold jewelry or a cozy cream sweater for a coordinated holiday look.
Matte Pumpkin Accent Nails in Soft Terracotta
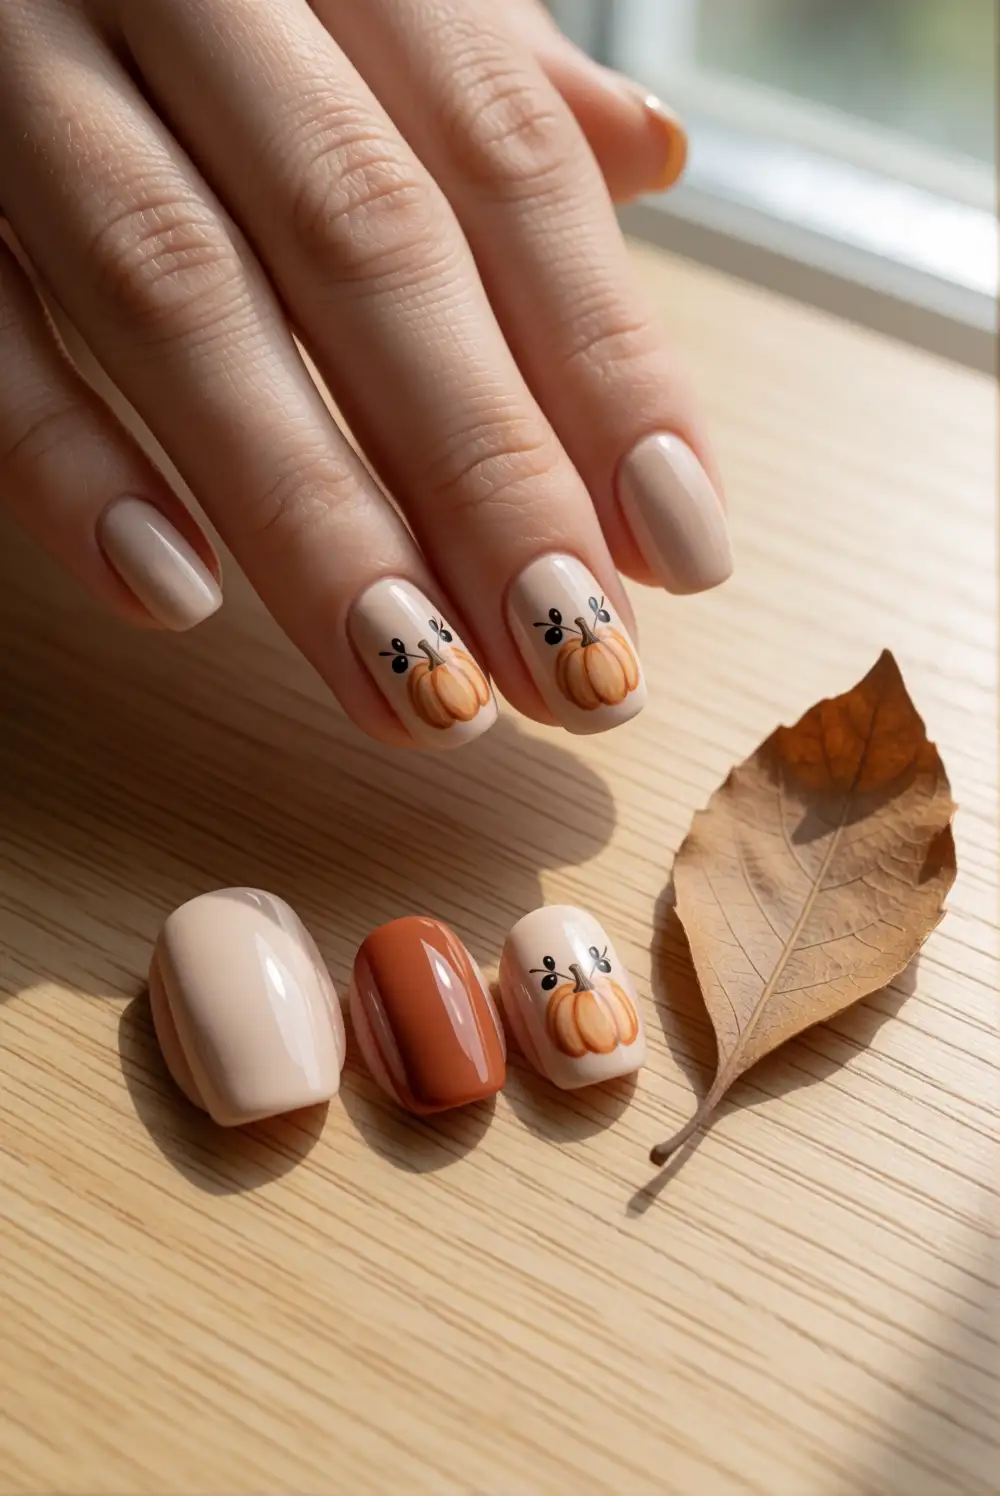
Paint most nails in a soft beige or rosy nude, then reserve one accent nail on each hand for a simple pumpkin motif. Apply a terracotta base to the accent nail and let it dry fully. With a fine brush, add curved lines in a slightly deeper orange and a small olive-green stem. Finish the accent with a matte top coat, keeping the other nails glossy or softly satin for a pleasing mix of textures.
For an understated version, use a muted peach shade and keep the pumpkin lines delicate rather than strongly outlined. You can also place the design only on one hand to make the manicure feel more minimal. A thin metallic stem adds a hint of polish, while a plain cream accent nail gives the colors room to breathe. This design pairs nicely with neutral outfits and looks charming without relying on cartoon-like details.
Gold Foil Leaf Nails on a Cream Base

Start with an opaque cream polish and let it dry before placing small pieces of nail foil over a thin layer of foil adhesive. Arrange the foil in loose leaf-like shapes near the tips or along one side of each nail. Press gently with a silicone tool, brush away any loose edges, and seal the design with a glossy top coat. The open cream space keeps the metallic detail delicate and makes the manicure feel more polished than heavily decorated.
Use a few irregular foil fragments instead of trying to build a perfectly detailed leaf; the scattered effect looks natural and is easier to create. For extra variation, apply the foil to only two accent nails and leave the rest in solid cream. Rose gold foil gives the design a softer finish, while classic gold feels especially suited to a holiday table. Keep the foil away from the nail edges so the top coat can seal it neatly.
Tortoiseshell Thanksgiving Nails in Amber and Brown
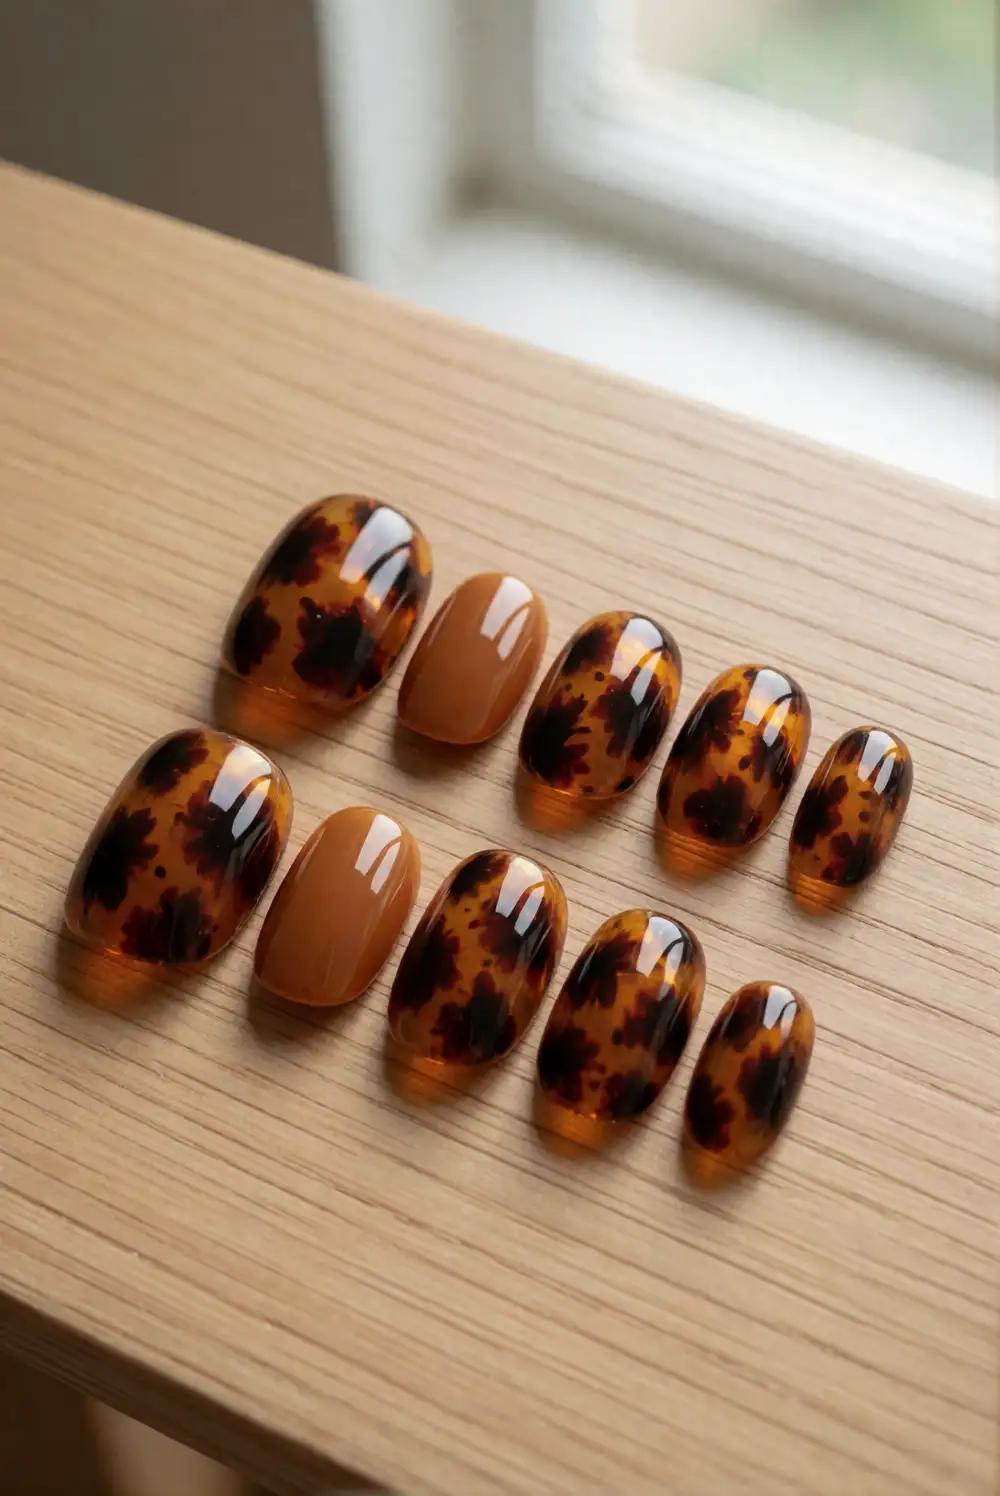
Create a warm tortoiseshell effect by applying a translucent amber polish over a sheer caramel base. Before the amber layer dries, use a small brush to place a few soft patches of dark brown, allowing the colors to blur slightly. Add another thin amber layer to soften the contrast, then finish with a glossy top coat. The key is leaving some clear, glowing areas visible so the pattern feels layered rather than like solid brown spots.
Keep the effect to one or two accent nails and paint the remaining nails in a rich chocolate or caramel shade for a balanced set. A sheer top layer can make the pattern look deeper, while a matte finish gives it a modern, velvety quality. If you are new to nail art, use a sponge to dab the brown patches instead of drawing them. The warm palette works beautifully with gold accessories and autumn knitwear.
Cranberry Velvet Nails with a Subtle Shine
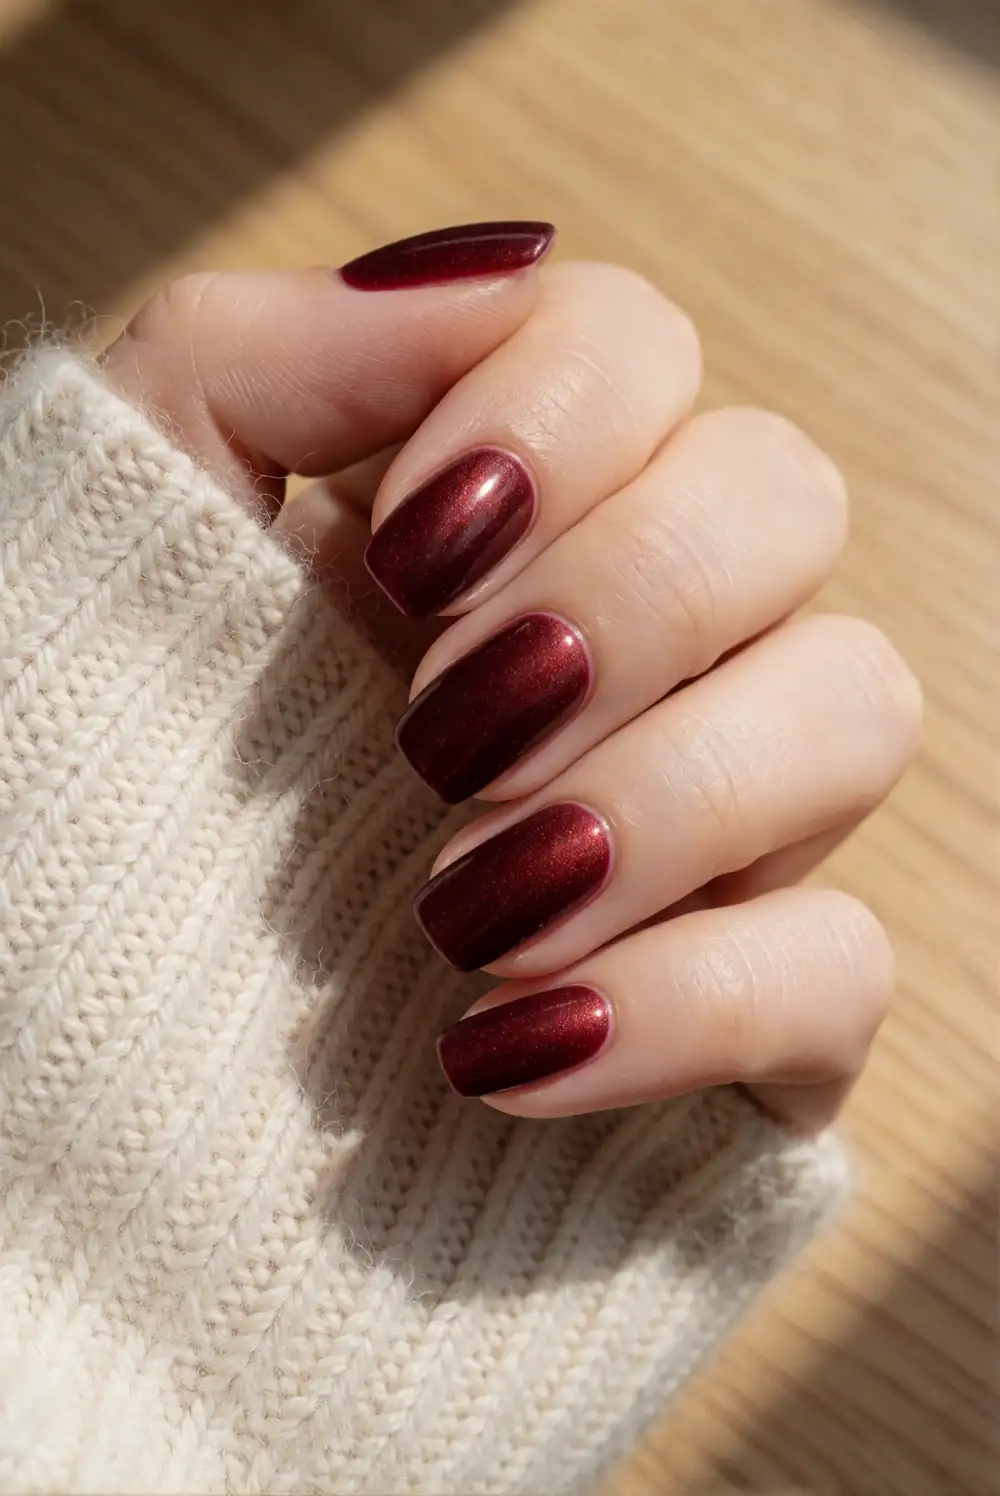
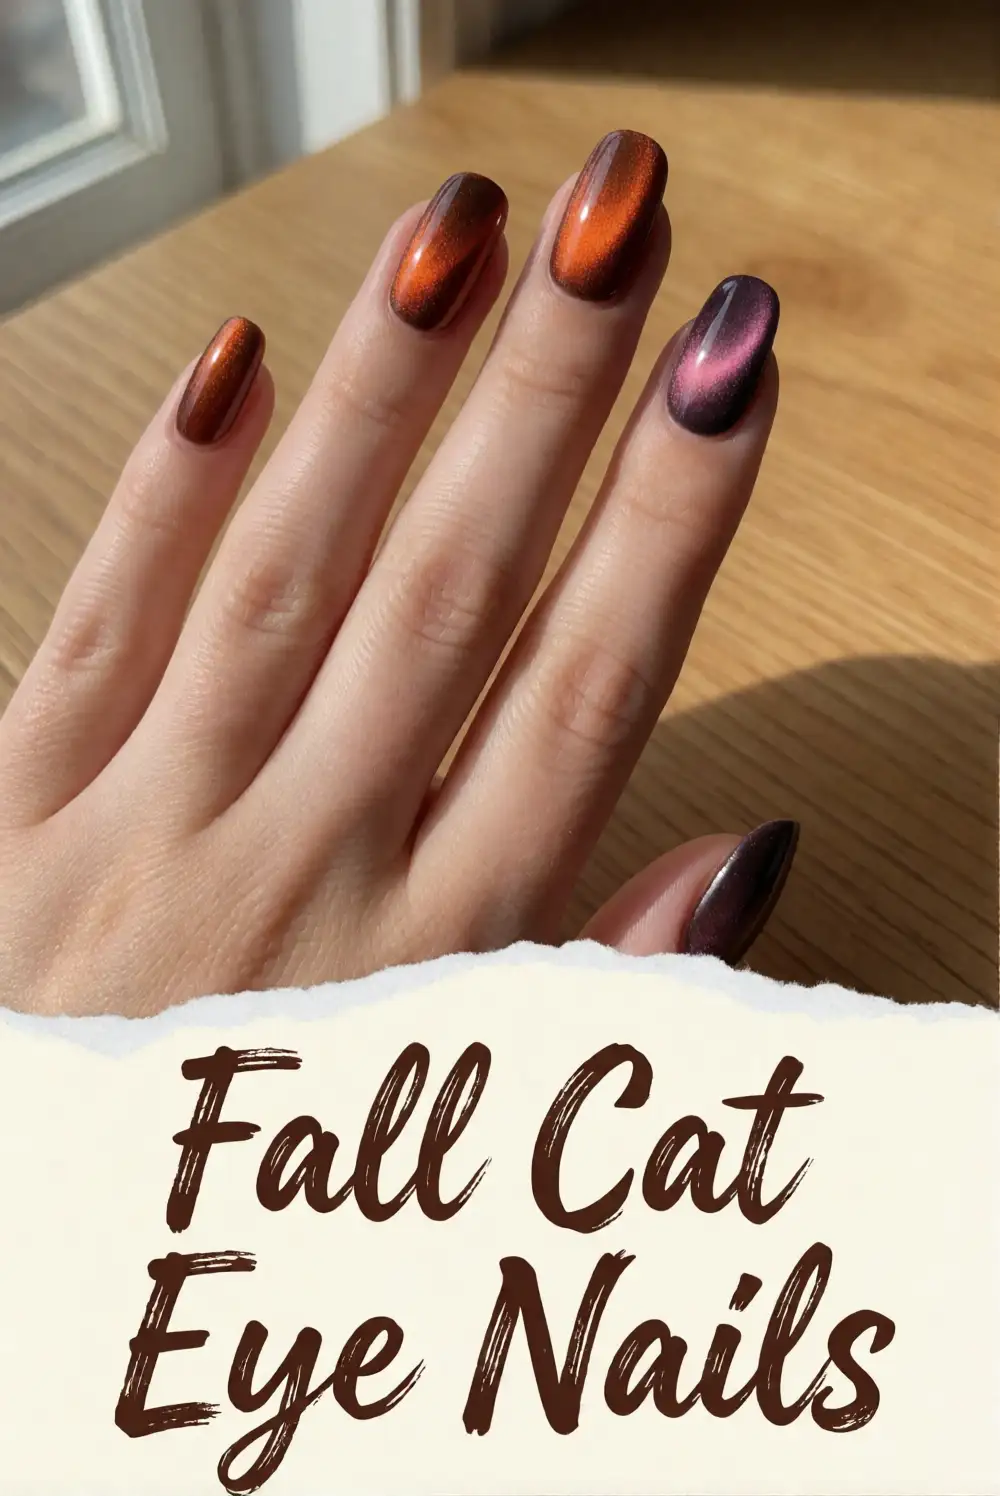
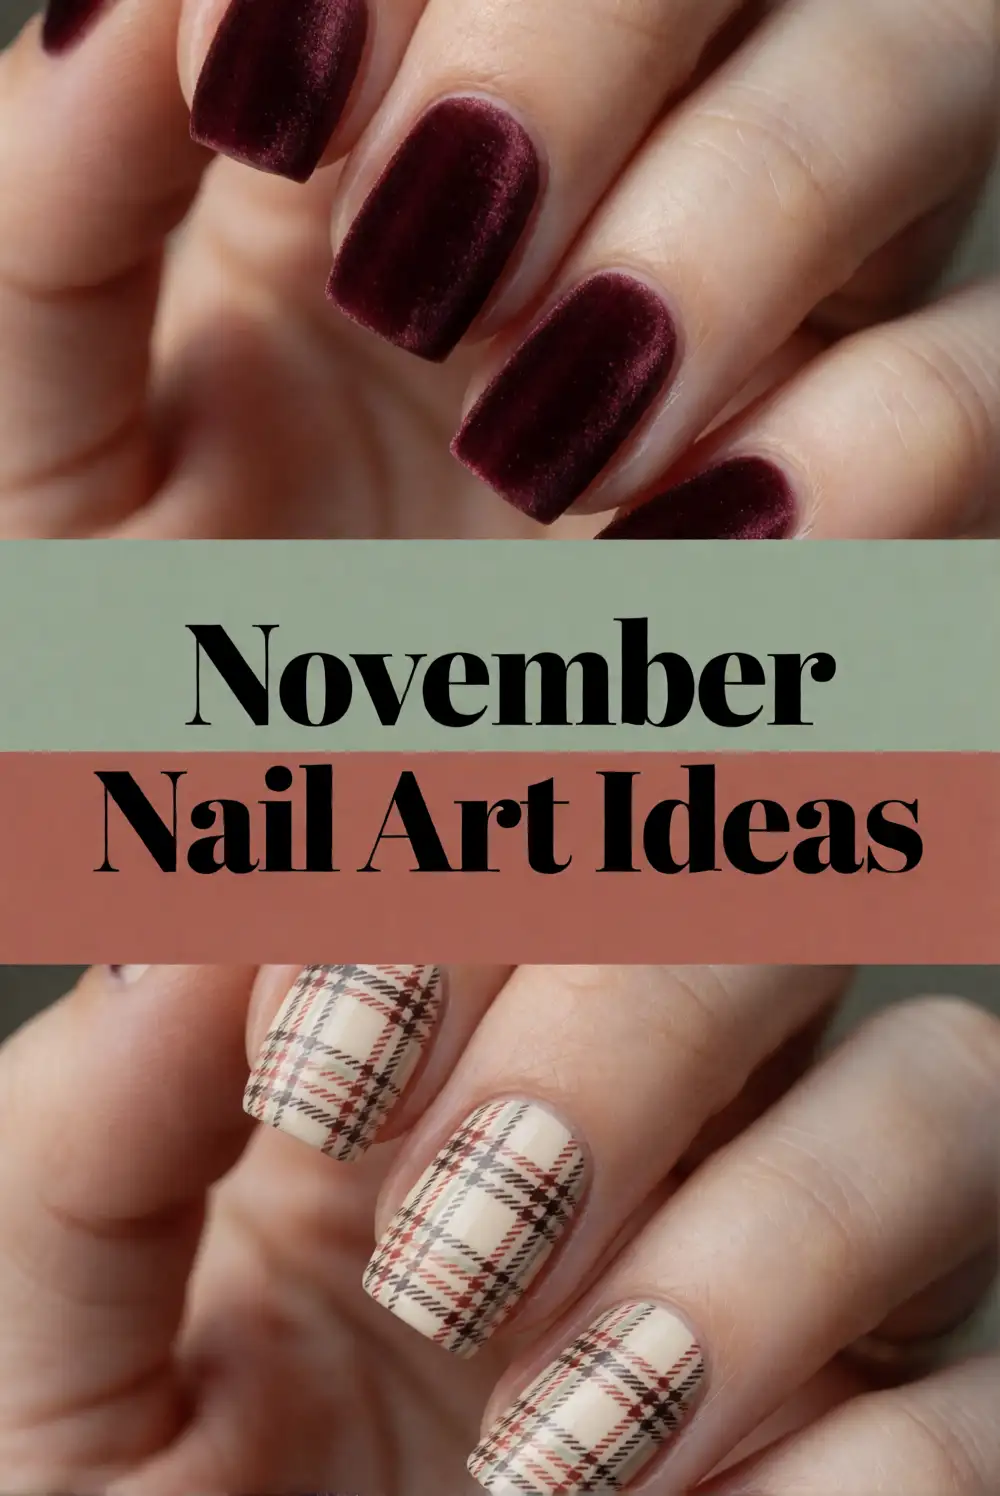
Choose a deep cranberry polish with a fine shimmer for a rich manicure that catches the light without looking glitter-heavy. Apply a thin base coat, followed by two even layers of color, allowing each coat to dry before adding the next. A magnetic velvet polish can create a soft, shifting glow when you hold a nail magnet above the wet polish. Seal the finish with the top coat recommended for your formula, keeping the edges smooth and clean.
If magnetic polish feels tricky, a fine shimmer cranberry lacquer gives a similar festive effect with fewer steps. Keep the color on every nail for a confident monochrome look, or pair it with a cream accent nail for contrast. A glossy finish emphasizes the depth of the berry shade, while a satin top coat makes it feel softer. This manicure transitions easily from a family gathering to everyday wear and complements warm-toned clothing.
Cream Sweater Texture Nails with Fine Ribbing
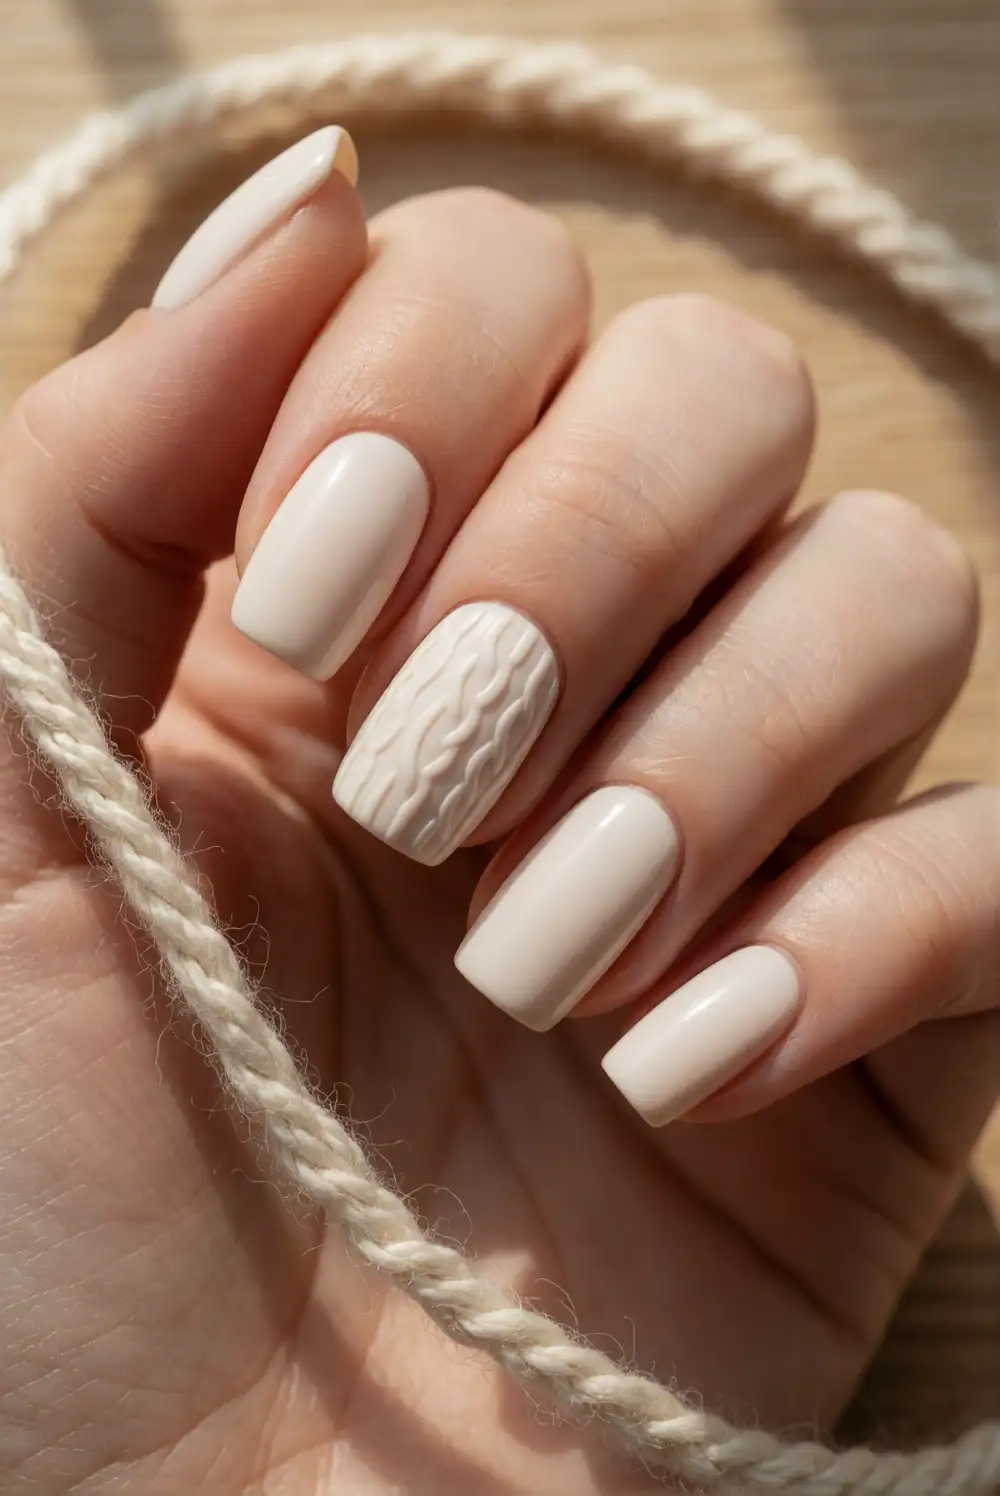
Paint the nails a creamy ivory, then use a fine liner brush and thicker gel polish to draw a restrained ribbed pattern on one accent nail. Create a few parallel lines or a small cable-inspired curve, curing the gel according to its product directions between layers. Finish the textured nail with a matte top coat and leave the other nails smooth. Keeping the raised pattern simple helps the manicure resemble a soft knit without making the surface feel overly busy.
For a more subtle set, use the same ivory shade across all nails and add texture to just one or two fingers. A warm beige base or a touch of taupe in the raised detail can make the pattern easier to see. If you prefer regular polish, paint fine lines in a slightly darker cream and use a matte finish for a similar visual effect. The design pairs naturally with chunky sweaters, plaid layers, and simple gold rings.
Muted Olive Nails with Delicate Gold Details
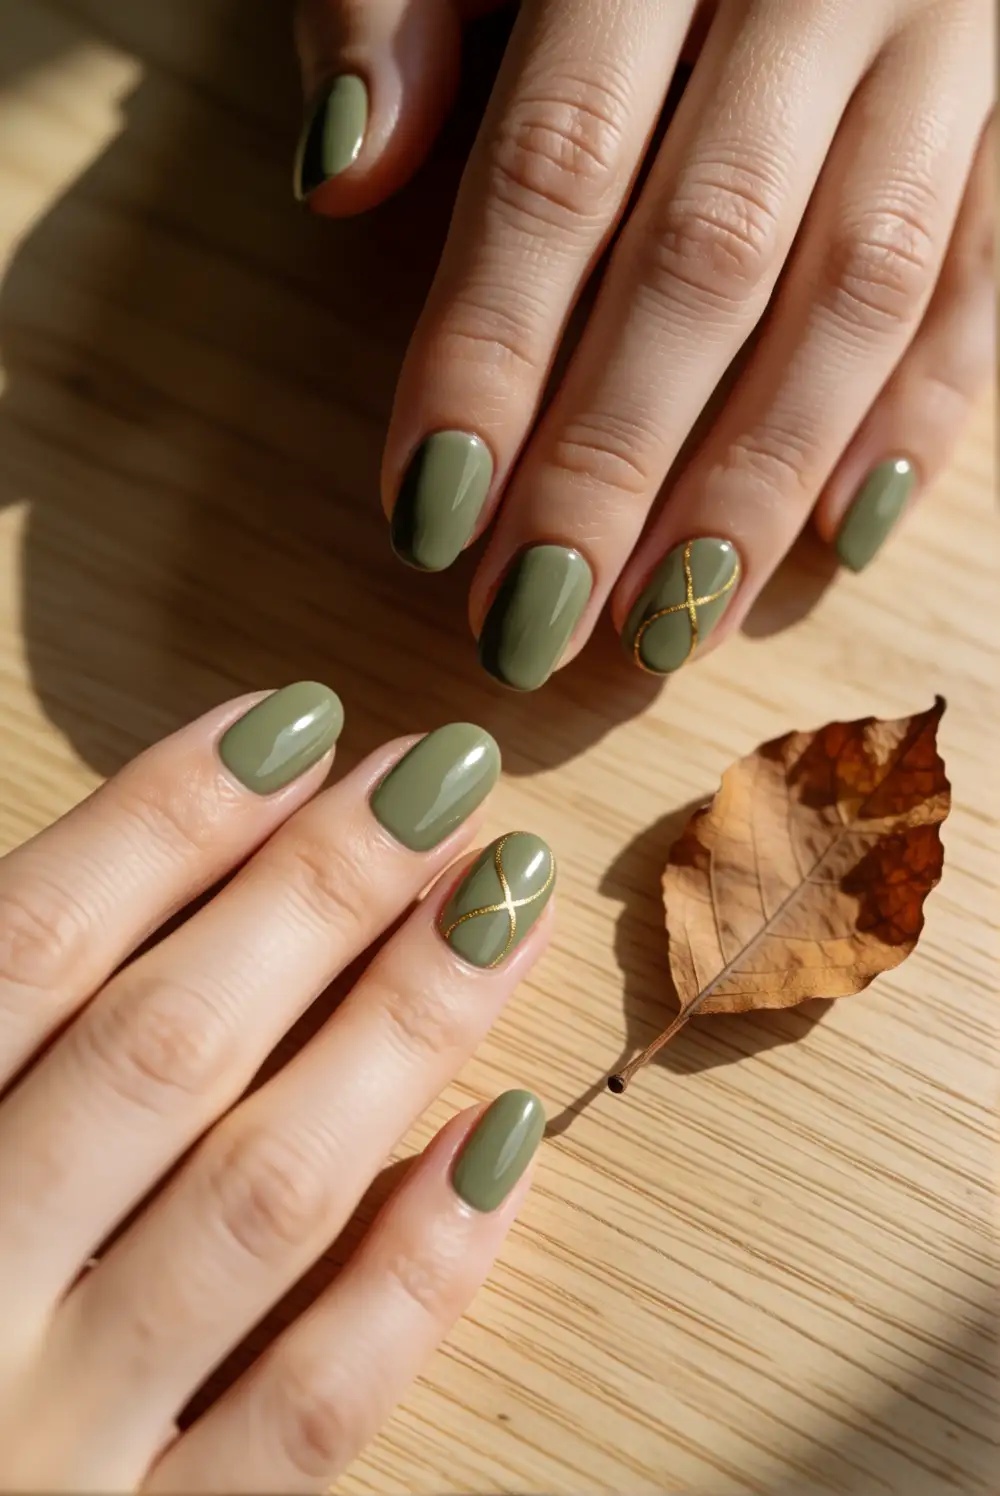
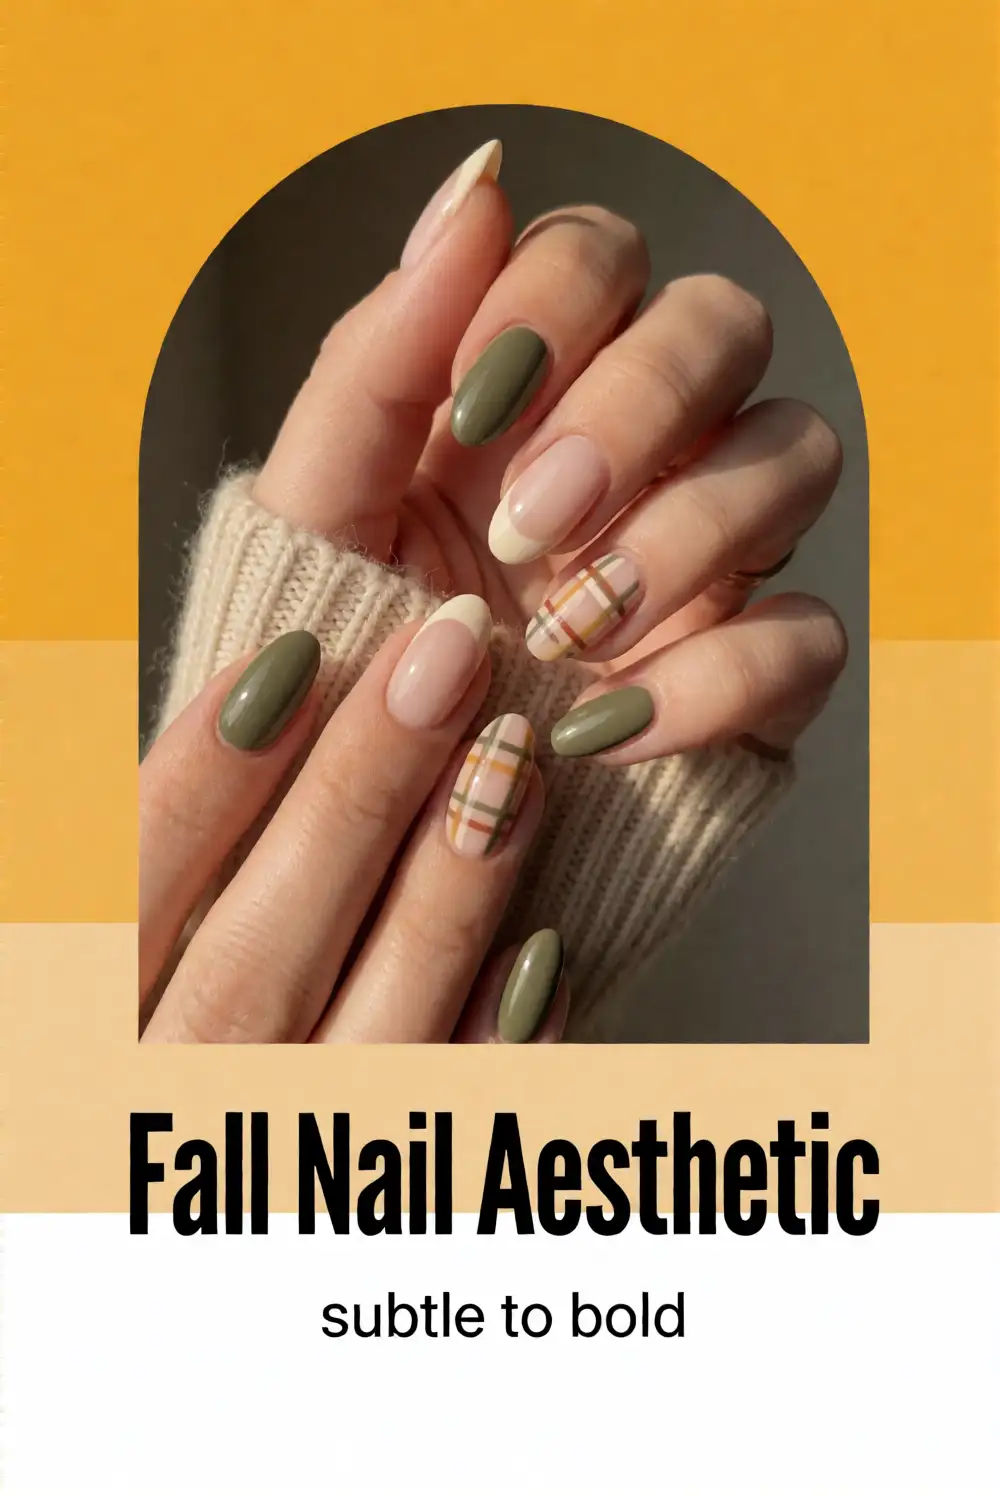
Apply two coats of muted olive polish, letting the color dry evenly before adding a small metallic detail. With a fine nail-art brush, paint a slender gold curve near the cuticle or a tiny angled line along one side of each accent nail. Keep the decoration sparse and seal it with a glossy top coat. Olive green feels seasonal without being expected, and the gold detail gives the manicure a dressed-up finish that still works with simple outfits.
Try a dusty sage shade for a lighter look, or choose a deeper moss tone if you want more contrast against your skin tone. Gold striping tape can make crisp lines, while hand-painted curves feel softer and more organic. Leave several nails plain olive to keep the metallic accents from competing with one another. This color combination looks especially lovely beside cream, camel, rust, and dark denim, making it an easy choice for a holiday weekend.
Delicate Feather Nails in Warm Neutral Shades
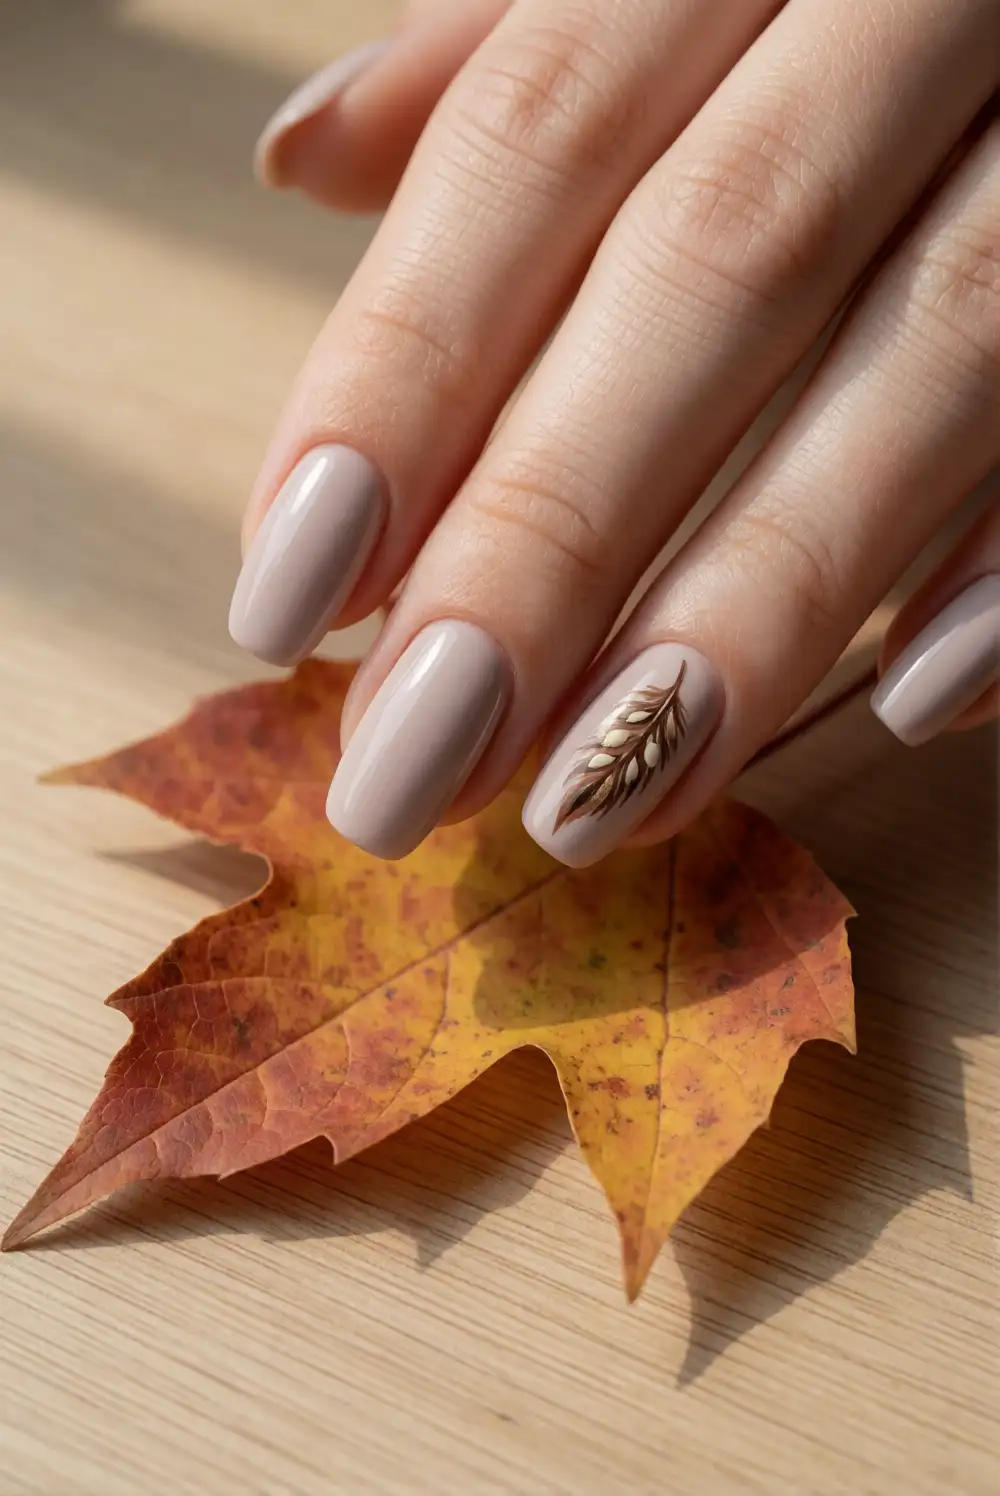
Begin with a sheer beige or pale taupe base, then paint a narrow feather on one accent nail using a fine brush and soft brown polish. Draw a curved center line first, followed by short angled strokes that taper toward the edges. Add a few tiny touches of cream or muted gold for definition, then seal the design with a smooth top coat. Keeping the feather slim and understated creates a seasonal reference that feels graceful rather than like a costume motif.
Place the feather near one side of the nail so the rest of the neutral base remains visible. You can use cinnamon brown for a warmer look or smoky taupe for a cooler palette. On the remaining nails, try a solid cream, brown, or muted copper polish to echo the illustration. A single feather accent is often enough; repeating the motif on every nail can make the design feel crowded. Pair the manicure with natural fabrics and simple accessories.
Cinnamon Ombre Nails with a Glossy Finish

Blend a soft nude polish into cinnamon brown for a warm ombre manicure. Apply the lighter shade across the nail, then use a small makeup sponge to dab the deeper color over the tip in light layers. Move the sponge slightly toward the center with each pass to soften the transition. Let the gradient dry, clean polish from around the nails, and finish with a glossy top coat. Several delicate sponge layers create a smoother fade than one heavy application.
Use terracotta instead of cinnamon for a brighter autumn finish, or choose cocoa brown for a more understated gradient. A sheer nude base keeps the result refined, while a deeper color concentrated at the tips adds definition. If you prefer shorter nails, make the fade subtle so there is room for both shades to show. A small gold accent on one nail can dress up the set, but the ombre looks elegant on its own as well.
Pearl and Copper Half Moon Nails

Paint each nail a soft pearl or pale cream shade, leaving the area near the cuticle in a contrasting copper tone. Use a curved nail guide or a fine brush to shape a neat half moon, then fill the space with metallic copper polish. Let the design dry completely and apply a top coat to smooth the finish. The combination of pearly cream and warm metal feels festive, while the clean curved shape keeps the manicure from looking overly ornate.
For a quieter effect, choose a muted rose-gold polish or use copper only on a few accent nails. A sheer pearl base adds a delicate glow, while opaque cream makes the half-moon shape stand out more clearly. Keep the cuticle area tidy and leave a little breathing room around the skin for a clean finish. This design suits both short and long nails and pairs beautifully with copper jewelry, neutral sleeves, and soft autumn colors.
From cranberry shimmer and tortoiseshell accents to creamy textures and delicate metallic details, these Thanksgiving nail ideas make it easy to choose a festive manicure that still feels elegant. Pick a design that suits your style, keep the color palette intentional, and enjoy a polished seasonal look for the holiday and beyond.