Bring a polished seasonal touch to your holiday look with Thanksgiving nail art inspired by burnt orange, cranberry, creamy neutrals, and autumn leaves. These warm, wearable designs range from simple color pairings to delicate hand-painted accents, making it easy to find a manicure that suits your style and plans.
Burnt Orange French Tips with Cream Bases
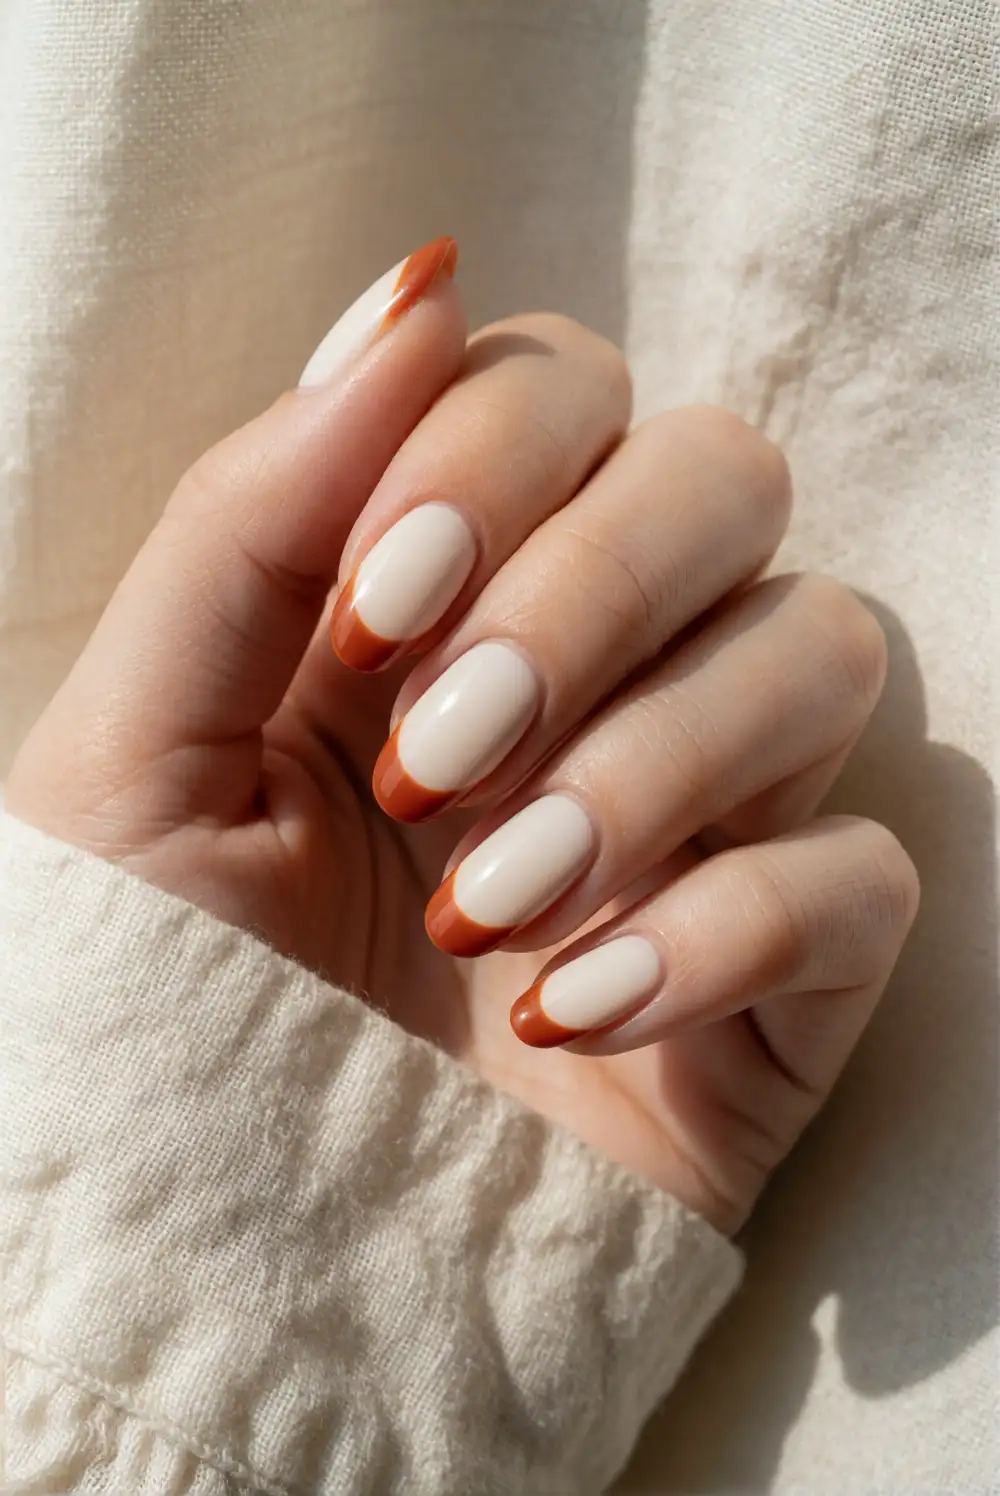
Give the classic French manicure a cozy autumn update with a creamy nude or ivory base and vivid burnt orange tips. Shape and file your nails, apply a base coat, then paint on two thin layers of the base shade. Once dry, use a fine liner brush to sweep orange polish along each free edge, following the natural curve of the nail. Finish with a glossy top coat to smooth the design and help the contrasting colors look crisp.
Keep the orange line narrow for a subtle finish, or make it deeper for a bolder color-blocked look. A rounded tip feels soft and traditional, while an angled tip adds a modern detail without changing the warm palette. This manicure pairs especially well with cream knits, cinnamon-toned clothing, and simple gold jewelry. If painting your non-dominant hand feels tricky, use French tip guides and remove them after the polish is touch-dry.
Maple Leaf Accent Nails in Autumn Tones
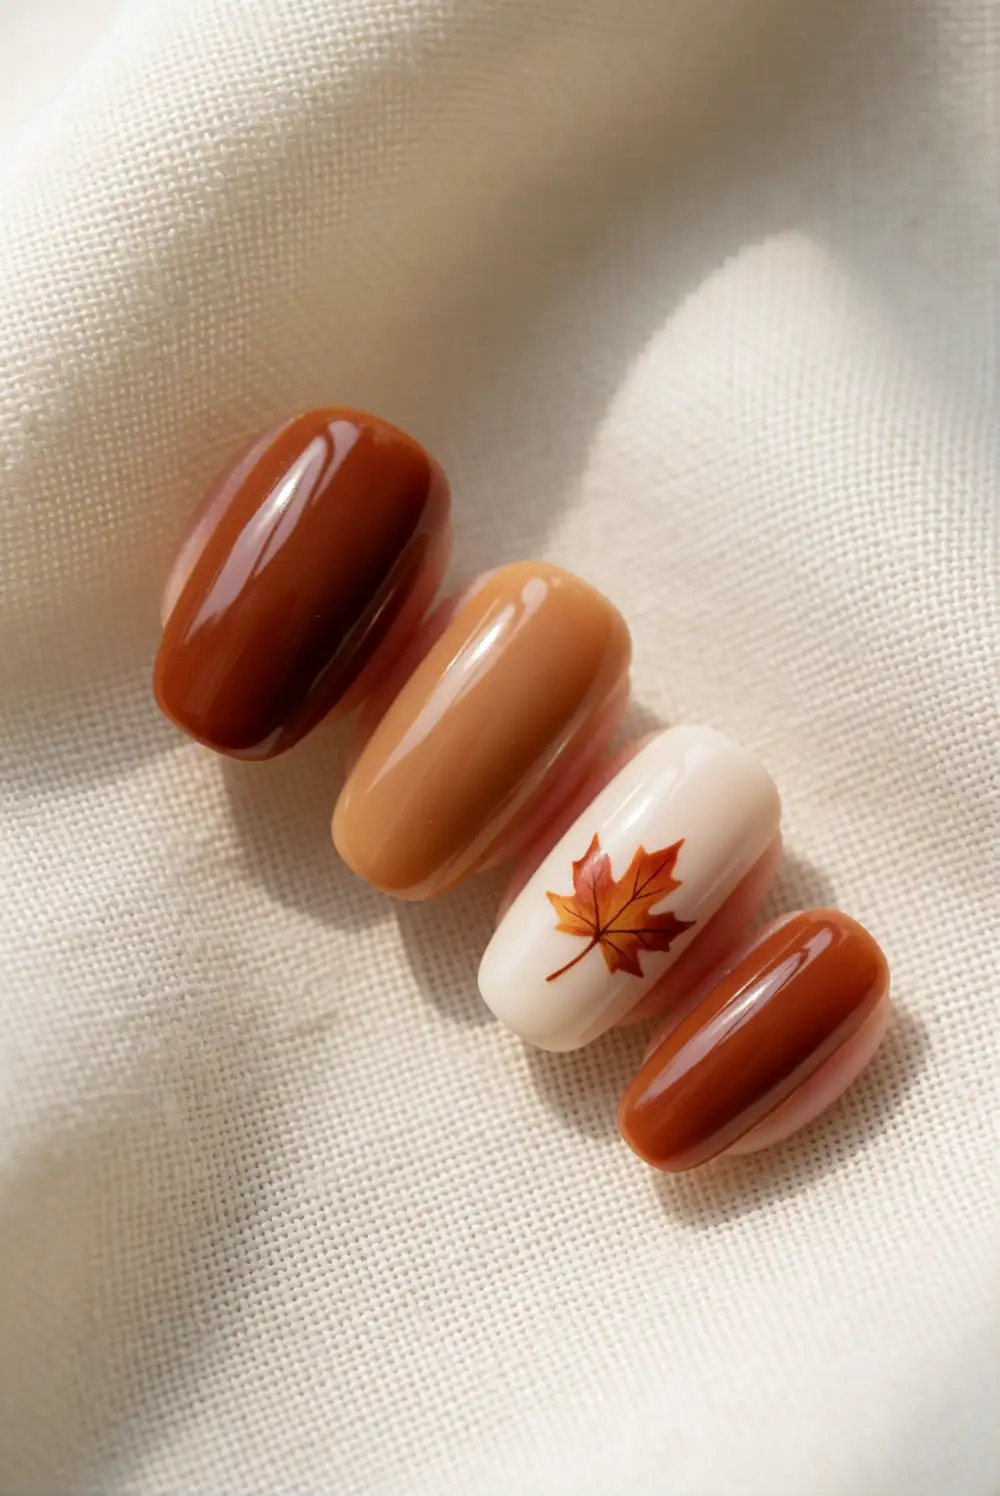
Make a small maple leaf the focal point of a warm, understated manicure. Paint most nails in a solid shade such as cinnamon, deep brown, or creamy beige, leaving one accent nail in a light base color. After that base dries, use a fine nail-art brush to paint a tiny maple silhouette in rust or ochre. Add slender veins with a lighter polish, then seal every nail with top coat. Working with thin brush strokes helps keep the leaf delicate rather than crowded.
Choose a single accent nail for a quiet look, or place a small leaf on each ring finger for a balanced pair. The surrounding solid shades can be mixed in a coordinated autumn palette, such as rust, caramel, and espresso. For an easier variation, use a small leaf decal without adding extra embellishments. Keep the design near the center of the nail so it remains visible, and allow the artwork to dry fully before applying top coat.
Glossy Tortoiseshell Nails with Caramel Layers
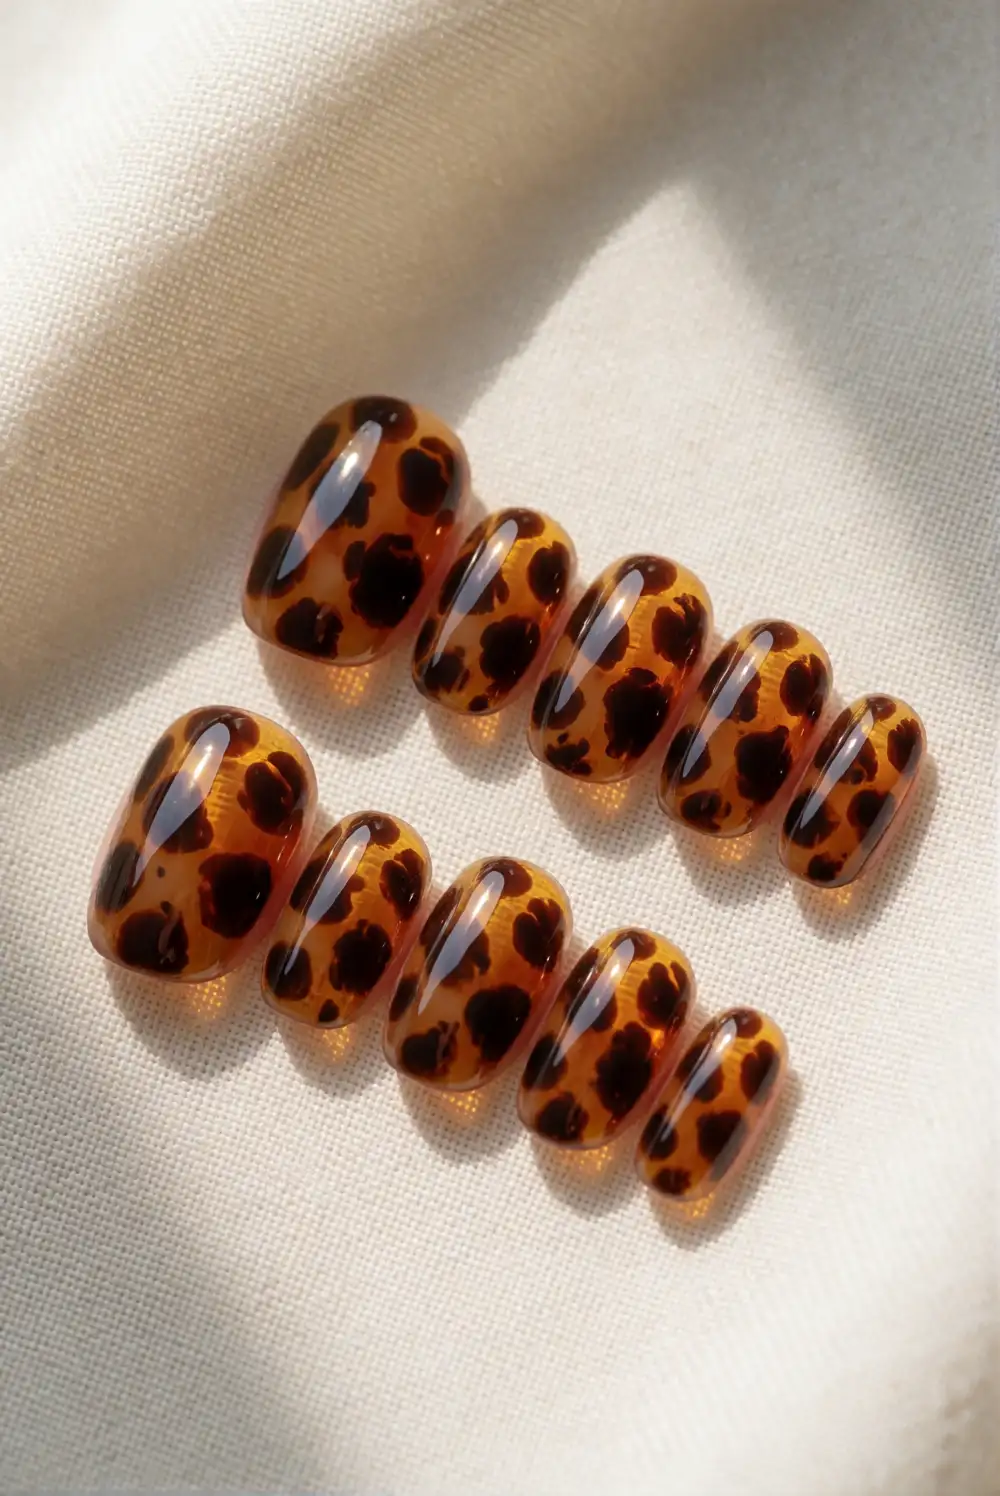
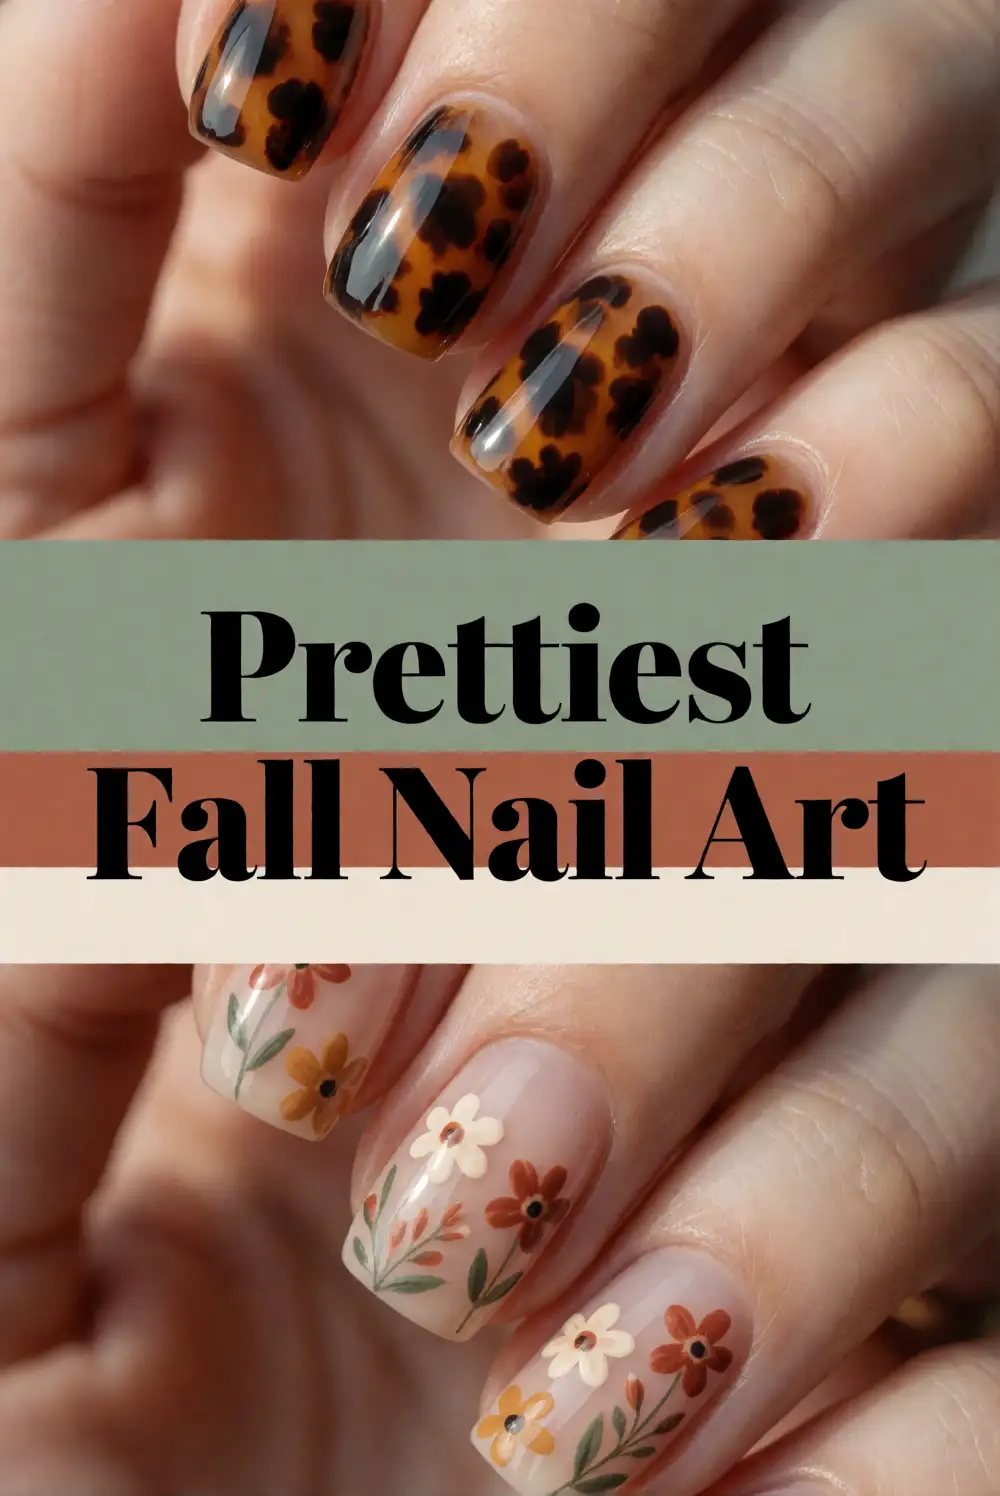
Create a polished tortoiseshell effect with translucent amber, caramel, and rich brown polish. Apply a sheer honey-toned base and let it dry. Dab irregular patches of brown polish over the surface, leaving plenty of amber visible, then soften some edges with another thin layer of translucent caramel. Add a few smaller dark marks for depth and finish with a glossy top coat. The layered effect looks most natural when the patches vary in size and do not form a regular pattern.
Wear the design on every nail for a statement manicure, or pair tortoiseshell accents with solid caramel nails for a more subdued result. A sheer polish makes the layers easier to blend, while a fine brush gives you more control over the shape of each patch. Keep the brown marks away from the cuticle for a cleaner finish. This glossy pattern complements gold-toned accessories and brings warmth to a simple neutral outfit.
Cinnamon Velvet Cat-Eye Nails
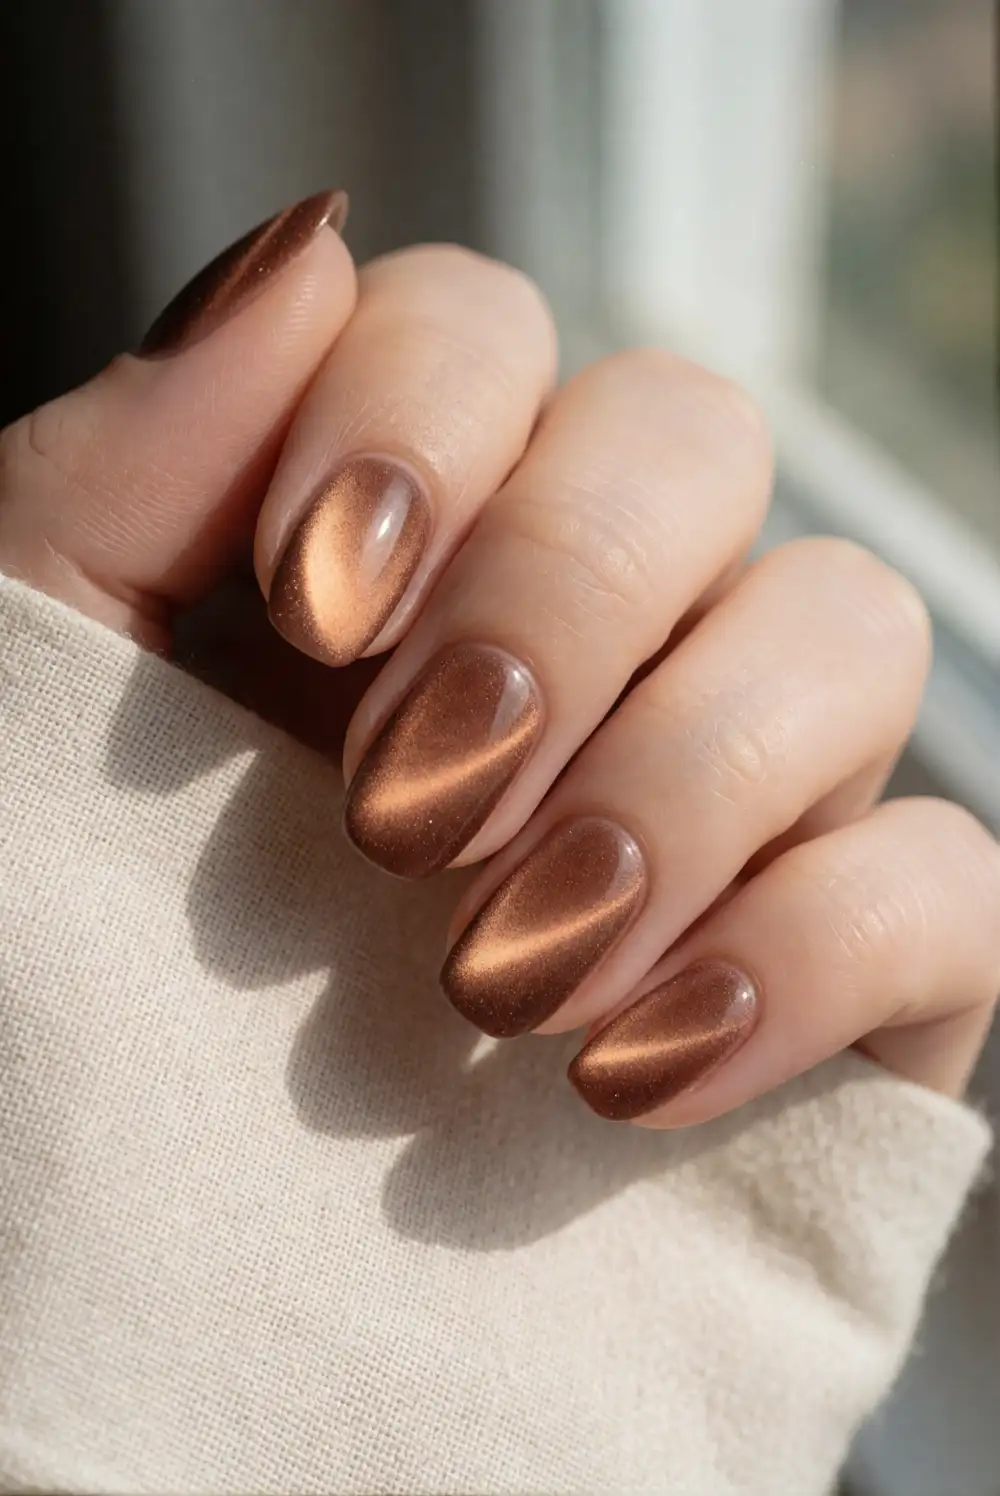
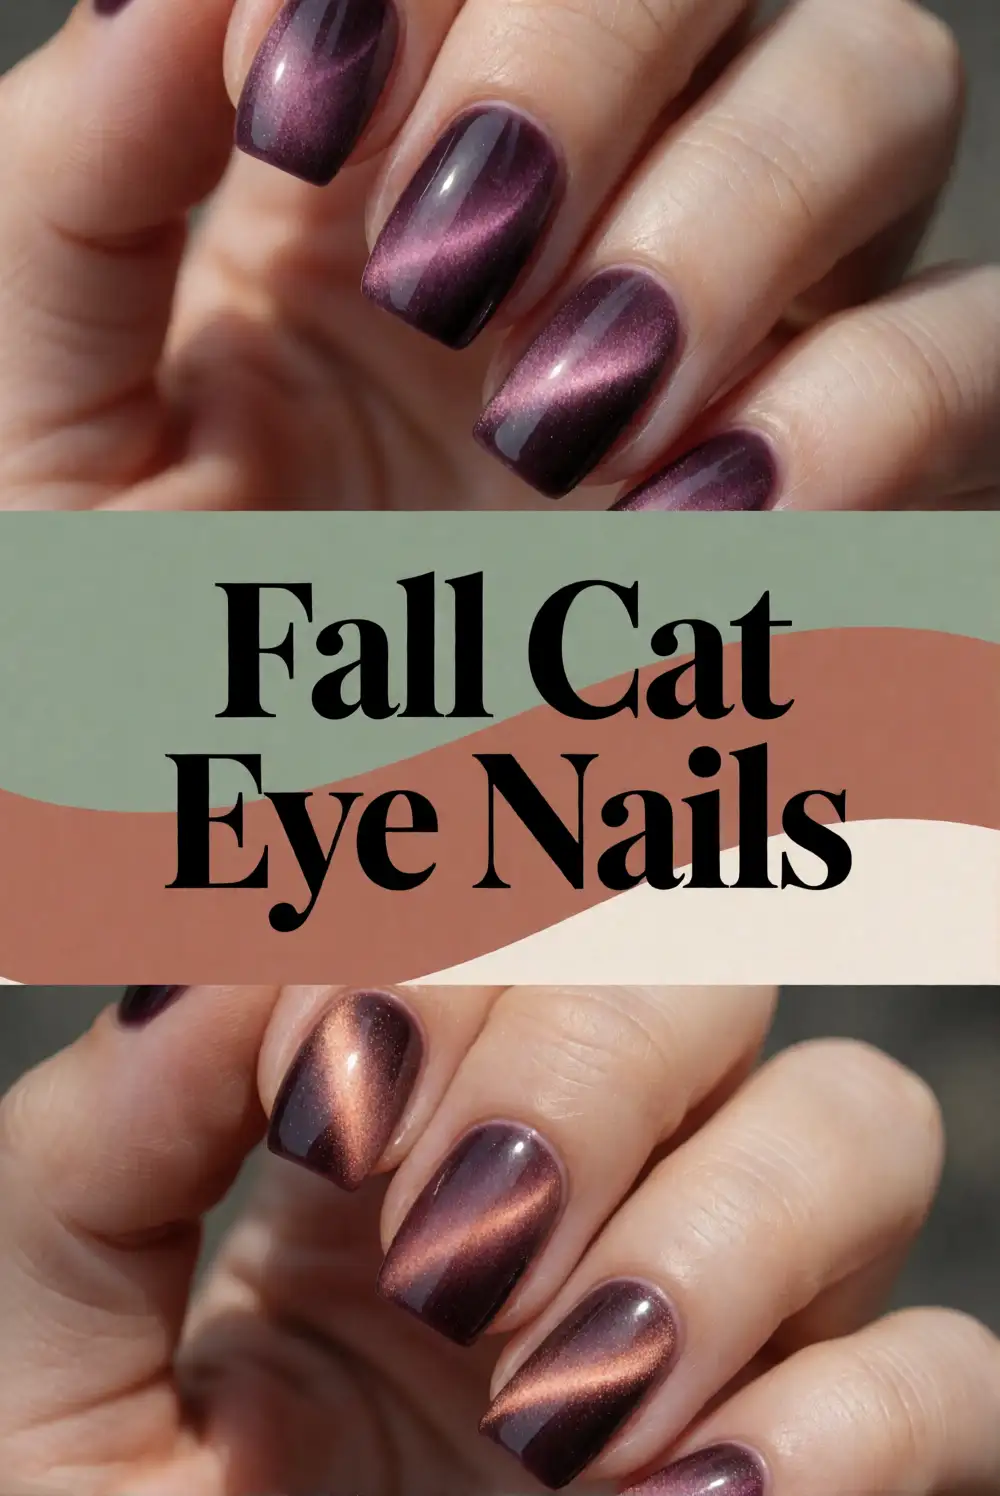
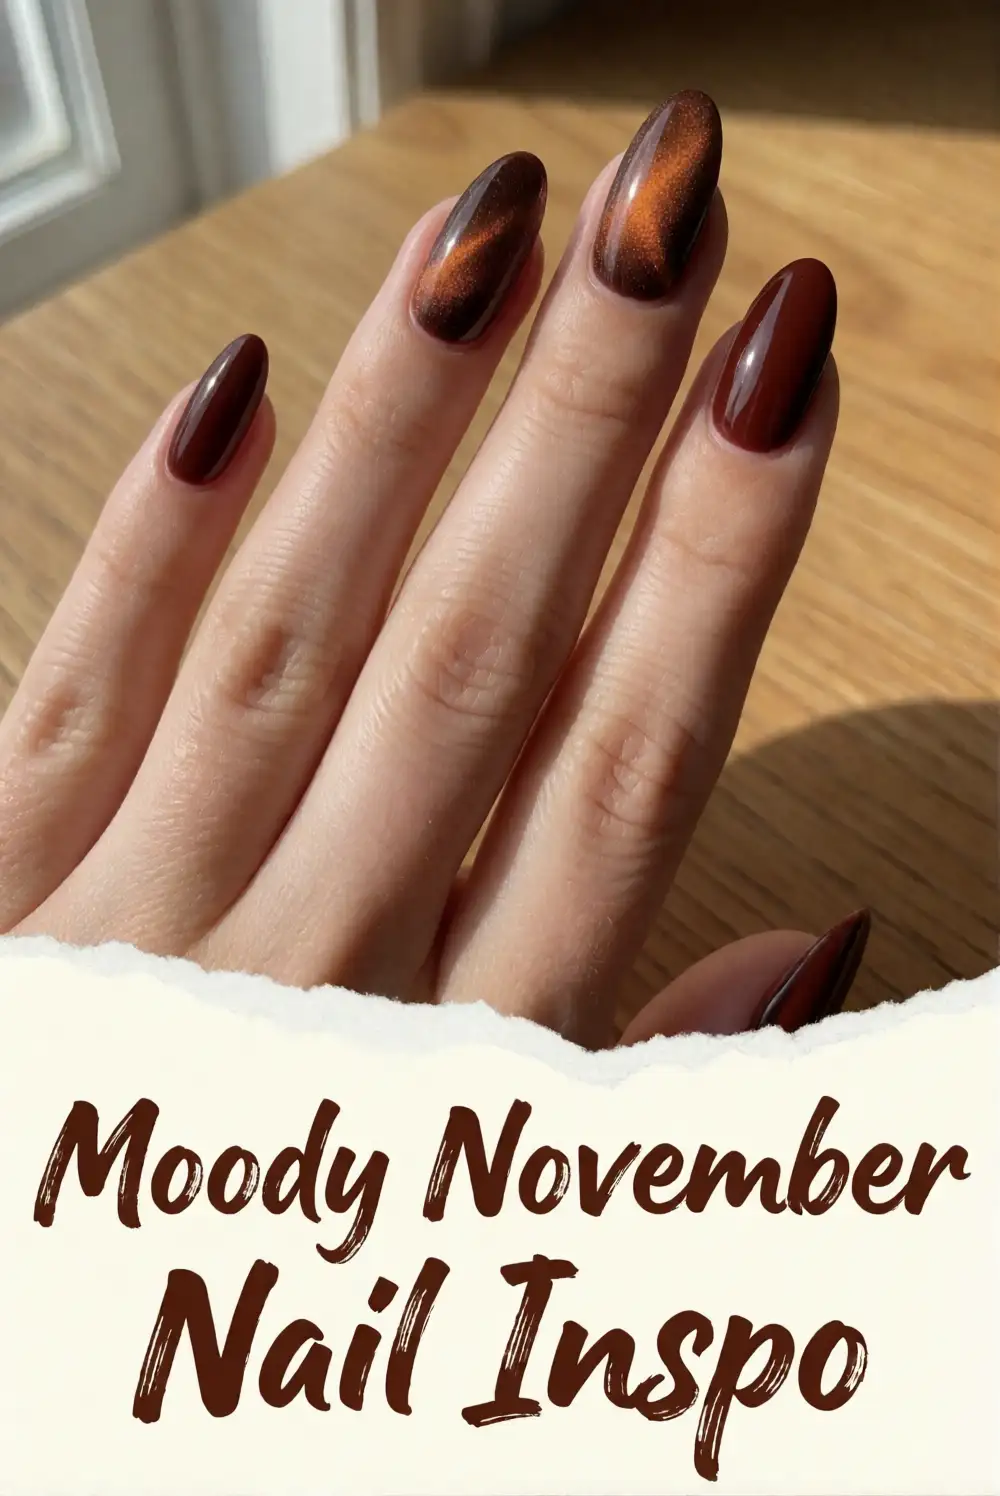
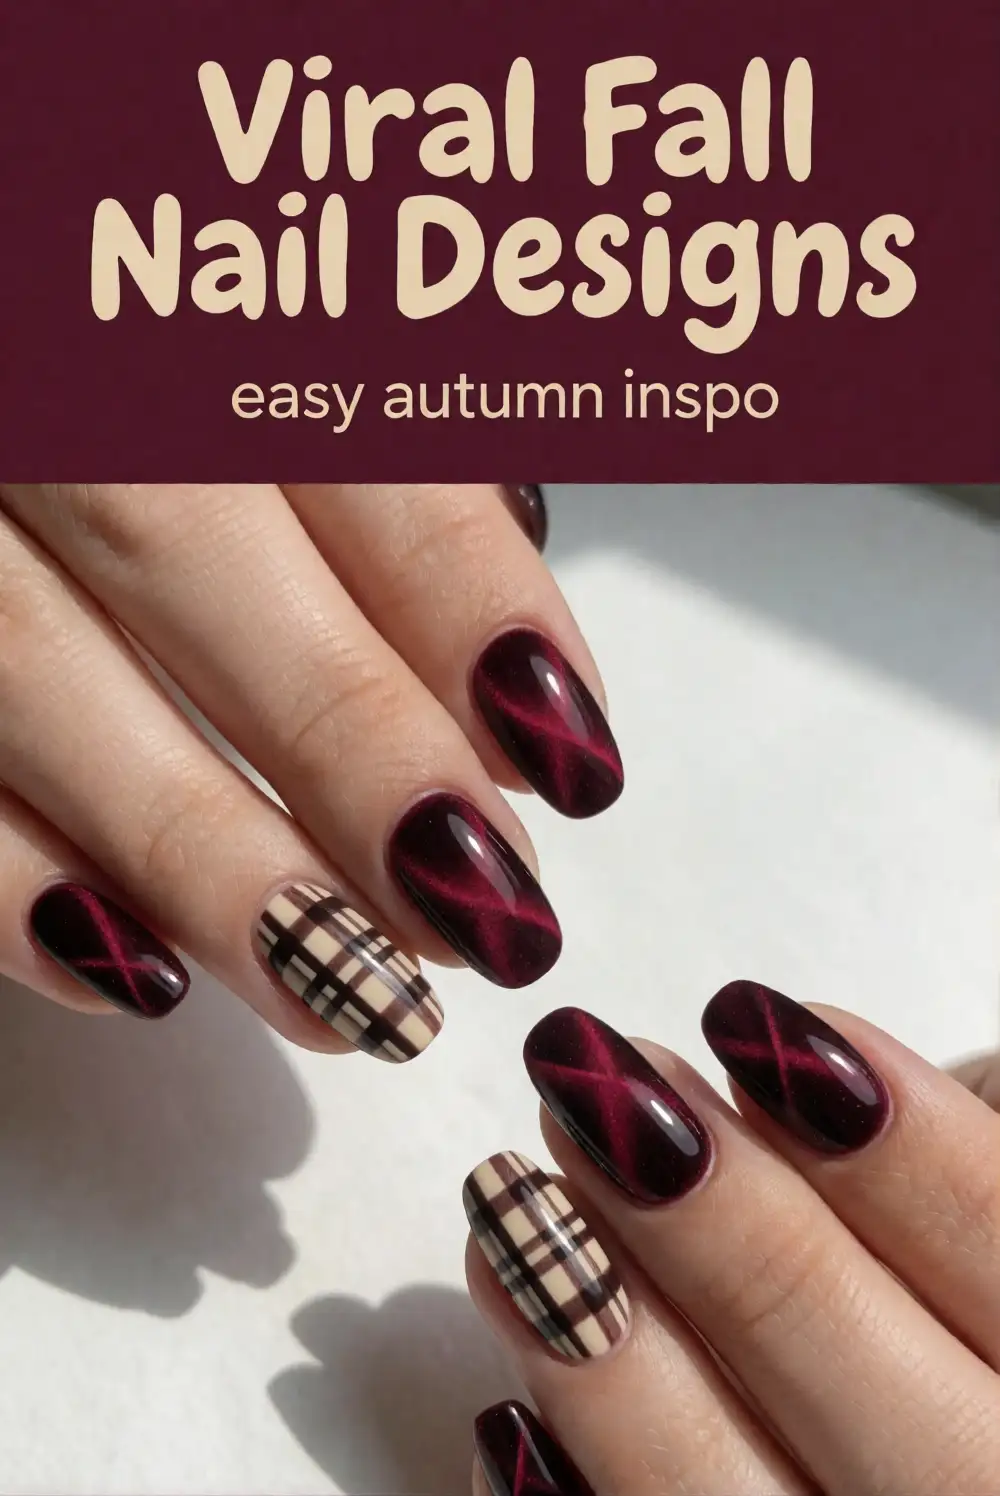
Bring a soft, shimmery finish to your manicure with cinnamon cat-eye polish. Start with a protective base coat and apply the magnetic polish in a smooth, even layer. Hold the magnet close to each nail for the time recommended by the polish maker, directing the shimmer into a diagonal or centered stripe. Work on one nail at a time so the effect stays defined, then let the polish set and seal it with the top coat suggested for the formula.
A coppery cinnamon shade gives the manicure a warm glow, while a darker brown version feels richer for an evening gathering. Try a diagonal shimmer line for movement or a centered line for a classic velvet effect. The magnetic finish is eye-catching on its own, so it works well without added art. Keep nails at a comfortable length and pair the manicure with understated rings to let the shifting sheen stand out.
Cranberry Chrome Nails with a Soft Shine
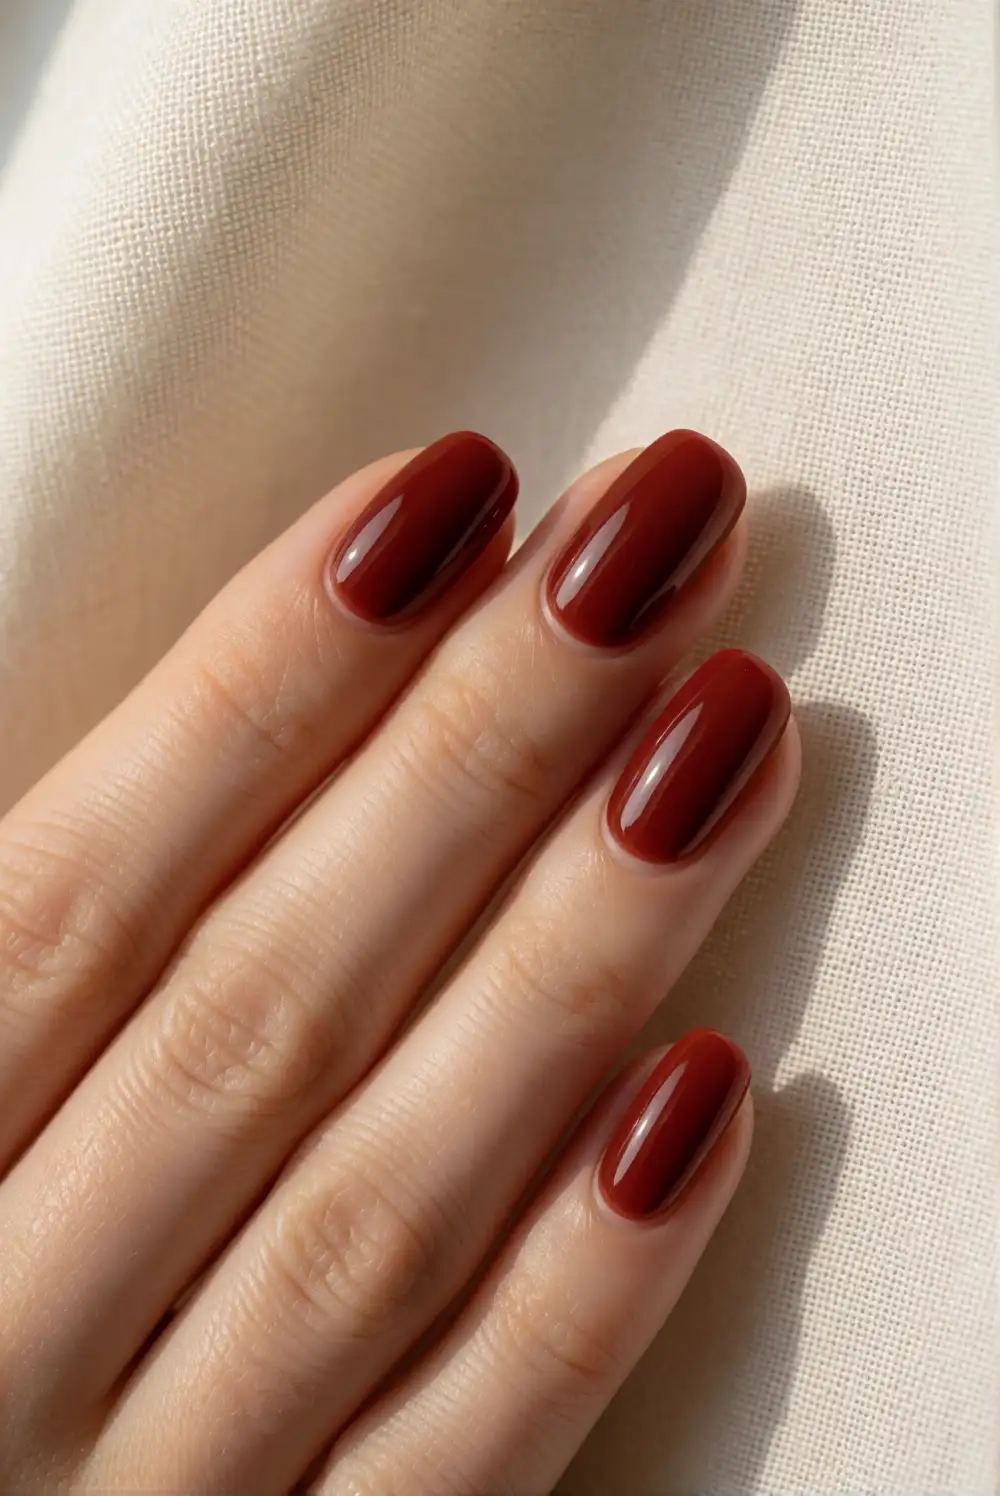
For a festive but wearable manicure, combine a deep cranberry polish with a subtle chrome finish. Prepare nails with a base coat, then apply thin coats of cranberry color and allow them to dry according to the product directions. If using chrome powder, apply it only over the compatible no-wipe top coat and buff gently with an applicator. Brush away excess powder before sealing the surface. A smooth, even base helps the reflective finish appear polished rather than textured.
Use the chrome effect across every nail for a luminous look, or reserve it for accent nails and keep the rest of the manicure glossy cranberry. A rose-toned shimmer softens the color, while a cooler berry shade offers a more dramatic contrast with cream clothing. Follow the directions for your chosen chrome system, since formulas can differ. Keep the rest of the design simple so the reflective surface remains the main feature.
Warm Plaid Accent Nails in Rust and Cream
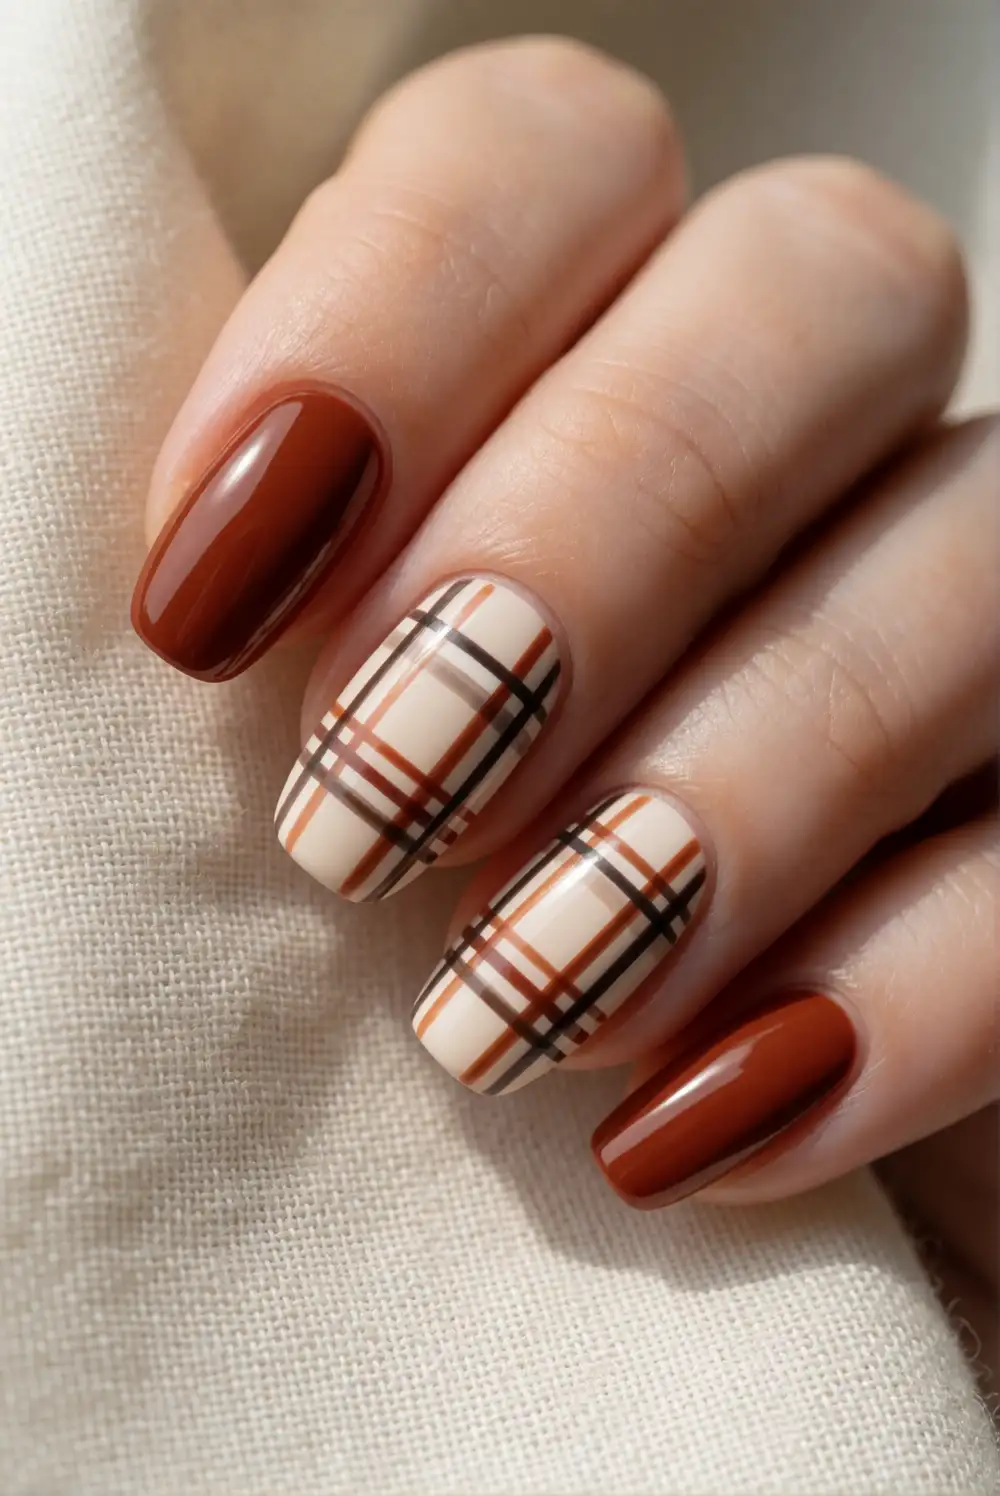
Borrow the cozy look of a fall blanket for a neat plaid accent nail. Paint the nail with an opaque cream base and let it dry completely. With a fine liner brush, draw a few thin vertical stripes in rust, followed by horizontal stripes in a deeper brown. Add one narrow golden or caramel line if you want another layer of color, keeping the spacing relaxed. Finish with top coat once the stripes are dry so the brush does not drag the pattern.
Keep plaid on one or two nails and paint the remaining nails in coordinating rust, cream, or brown shades. Fine lines make the pattern feel delicate; wider stripes create a bolder, more graphic effect. A striping brush helps keep the lines steady, but short strokes can work well if you pause between sections. The design looks especially cohesive when the plaid colors echo a scarf, sweater, or table setting in your holiday outfit.
Matte Pumpkin Nails with Glossy Details
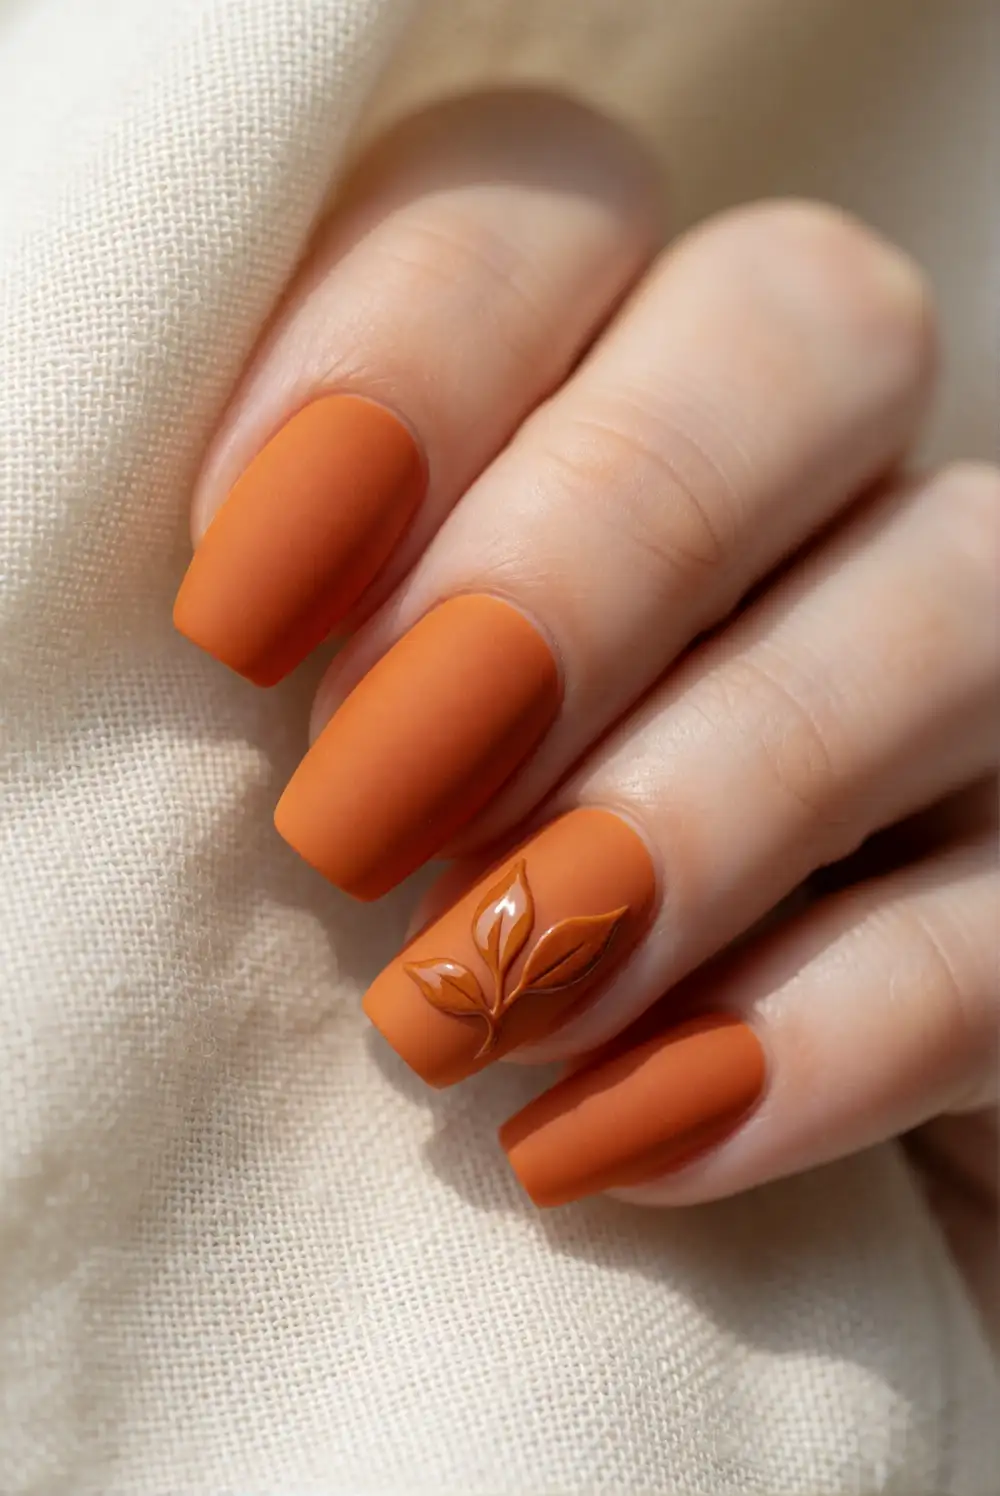
Give pumpkin orange a refined finish by pairing a matte surface with small glossy details. Apply a base coat, then paint the nails in a warm pumpkin shade and let the color dry. Add a matte top coat across the full manicure. Once it has set, use a fine brush and glossy top coat to draw a slim curved line, tiny leaf, or simple accent near the cuticle. The difference between the two finishes creates dimension without relying on extra decorations.
For a balanced look, add glossy details to just a couple of nails and leave the rest velvety matte. A small leaf shape feels seasonal, while a narrow curved line keeps the design abstract and easy to wear beyond the holiday. Use a steady hand and a small amount of glossy product so the accent remains crisp. This color combination pairs naturally with ivory, olive, and warm brown clothing.
Gold Foil Leaves on a Sheer Nude Manicure
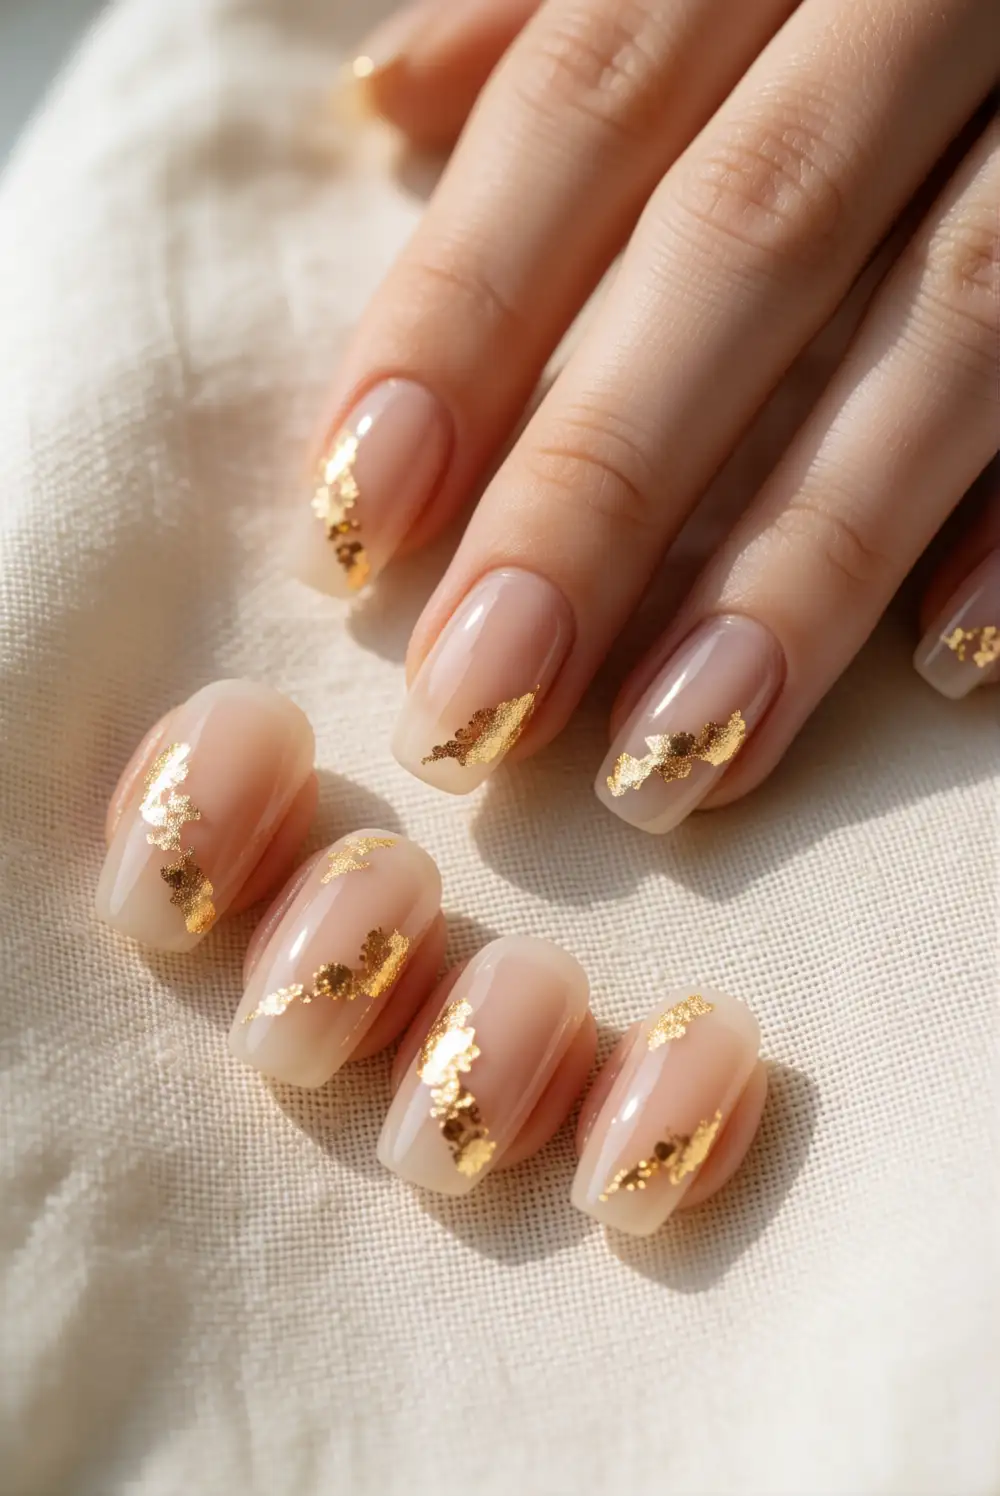
Set delicate gold leaf details against a sheer nude or milky beige base for an elegant seasonal manicure. Apply the base color in thin coats, then place small pieces of nail foil onto the tacky surface with a silicone tool or fine tweezers. Arrange the foil into loose leaf-like shapes rather than covering the whole nail. Press gently, brush away loose fragments, and seal with a smooth top coat so the edges feel even.
Place one gold accent on each ring finger for a restrained finish, or vary the foil placement across several nails for an organic effect. A translucent base lets the natural nail show through and keeps the gold from feeling too formal. Choose warm champagne foil to complement autumn tones, and avoid placing pieces too close to the sidewalls where they may lift. The manicure works beautifully with neutral clothing and simple gold accessories.
Latte Ombre Nails in Cream and Caramel
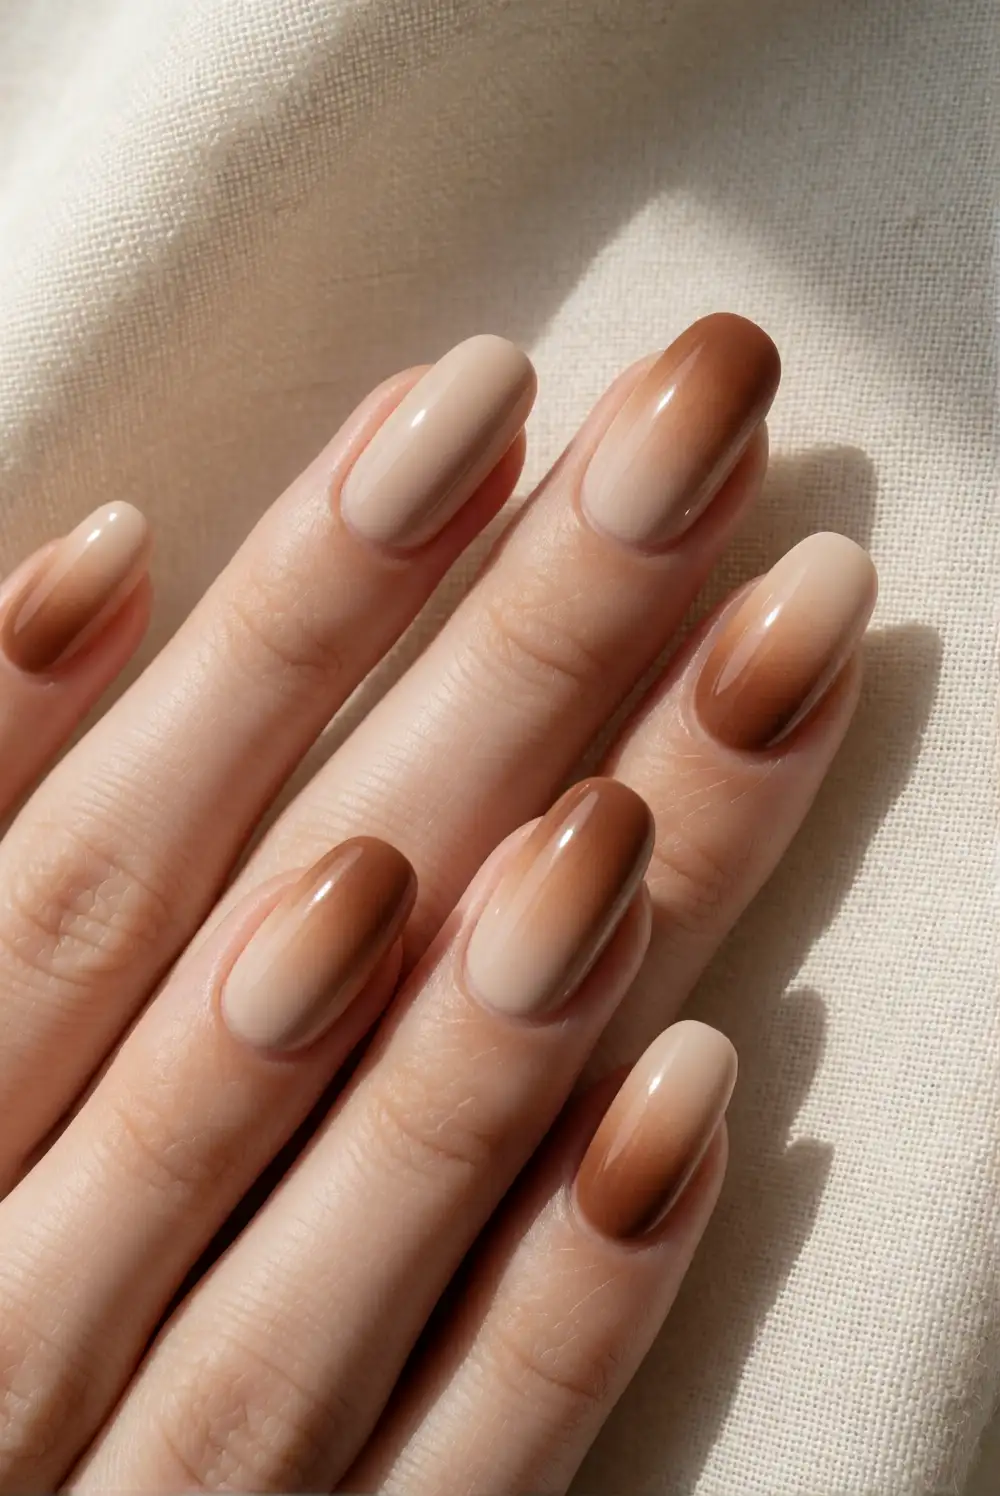
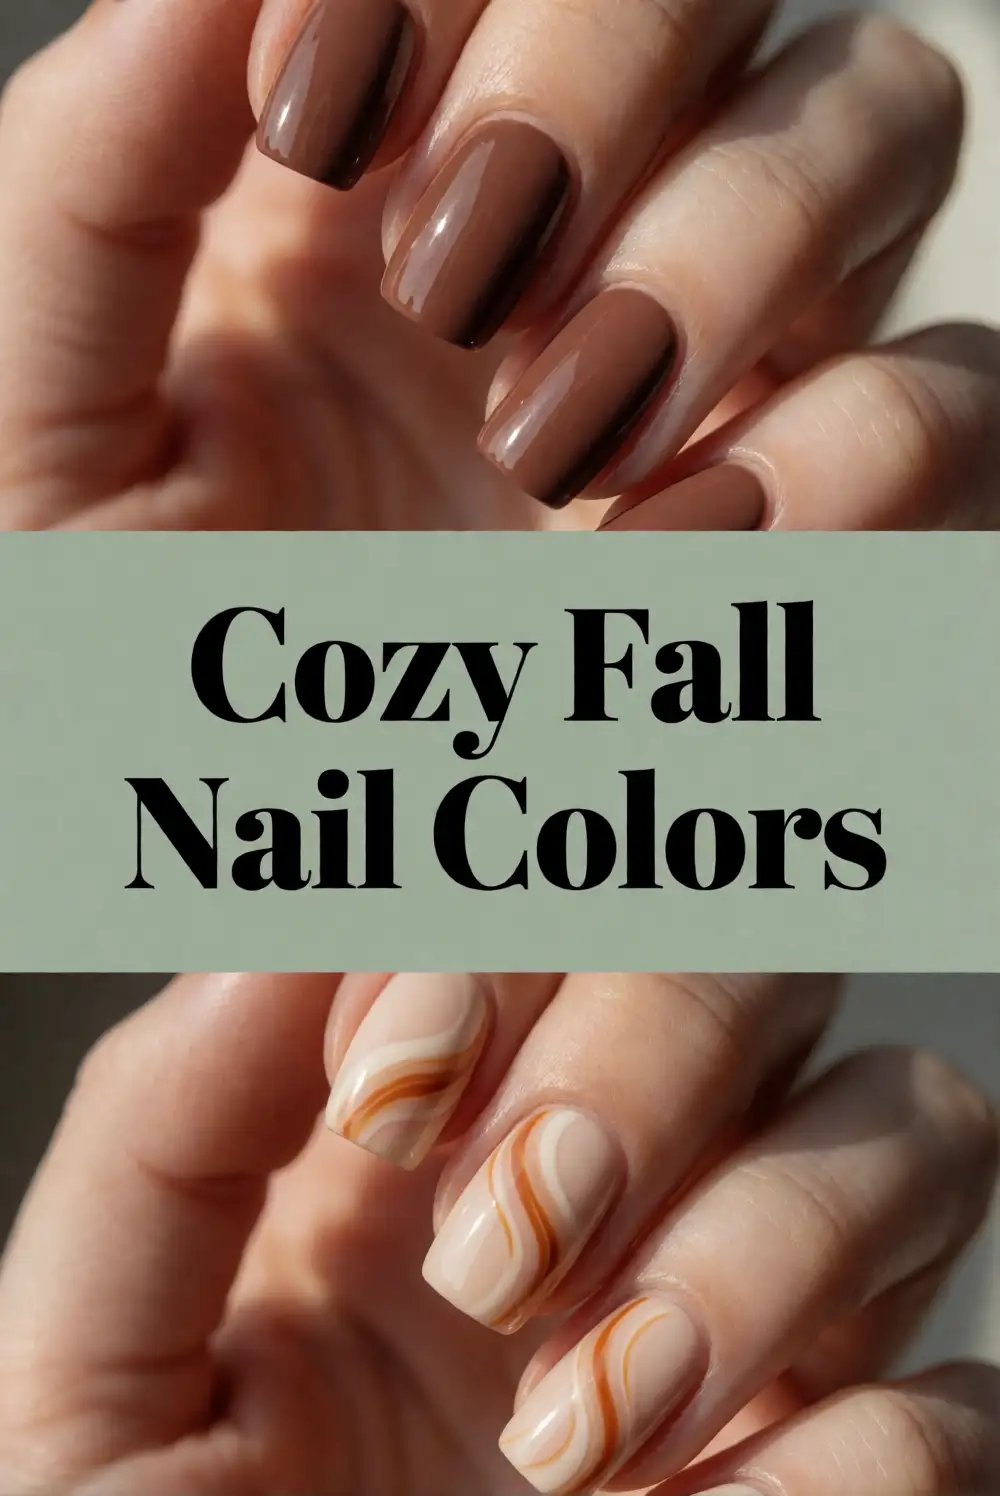
Blend creamy beige into caramel brown for a soft latte ombre manicure. Paint a light base shade and let it dry. Put a stripe of cream and a stripe of caramel polish close together on a makeup sponge, then dab the sponge gently over each nail to create a gradual transition. Repeat with light layers until the fade looks even, refreshing the polish on the sponge as needed. Clean the skin around each nail with a small brush before adding top coat.
Keep the caramel concentrated at the tips for a softly shaded French effect, or reverse the gradient so the deeper tone sits near the cuticle. A glossy top coat helps the blended colors look smooth, while a matte finish gives the manicure a suede-like feel. Use shades with similar undertones for a seamless transition. Latte ombre is a versatile choice for holiday plans because it coordinates easily with cream sweaters, tan coats, and warm metallic jewelry.
Deep Brown Nails with Copper Shimmer
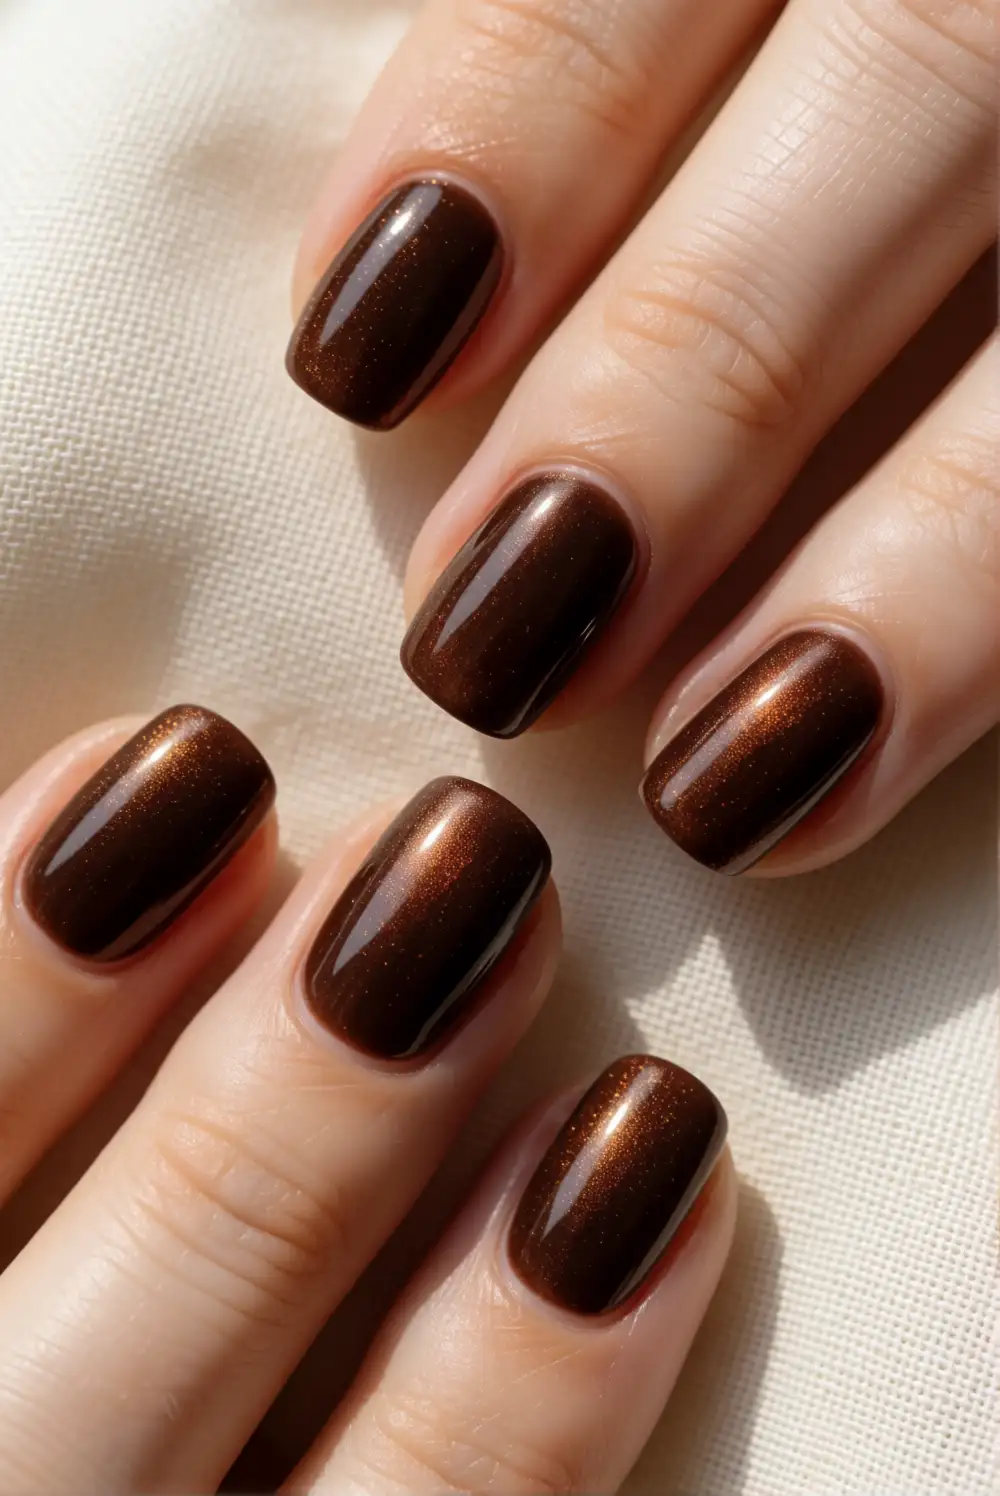
Pair espresso-brown polish with a fine copper shimmer for a rich manicure that still feels understated. Apply a base coat, then paint each nail with two thin layers of deep brown, allowing the surface to dry between coats. Add a light sweep of copper shimmer polish over the entire nail or concentrate it near the tips. Finish with a glossy top coat to bring out the depth of the brown and help the shimmer catch the light evenly.
For a subtle variation, use copper shimmer on just the ring fingers and keep the remaining nails a glossy espresso shade. A sheer shimmer topper adds a soft glow, while a denser metallic polish creates a brighter accent. Keep the nail shape simple so the dark color looks clean and intentional. This combination suits both casual family gatherings and dressier dinners, especially when paired with warm neutrals or copper-toned accessories.
From delicate leaf accents to glossy cranberry and cozy latte gradients, these Thanksgiving nail art ideas bring seasonal color to your holiday style. Choose a design that fits your plans, gather coordinating warm shades, and finish with a top coat for a polished manicure that feels festive and easy to wear.