Embroidery is a wonderful craft that lets you add a personal touch to your textiles, making it a favorite among hobbyists. If you’re just starting, mastering the basics is crucial for your growth as an embroiderer. In this guide, we will explore 13 essential embroidery stitches that every beginner should learn. Each stitch opens a door to a world of creativity!
Back Stitch
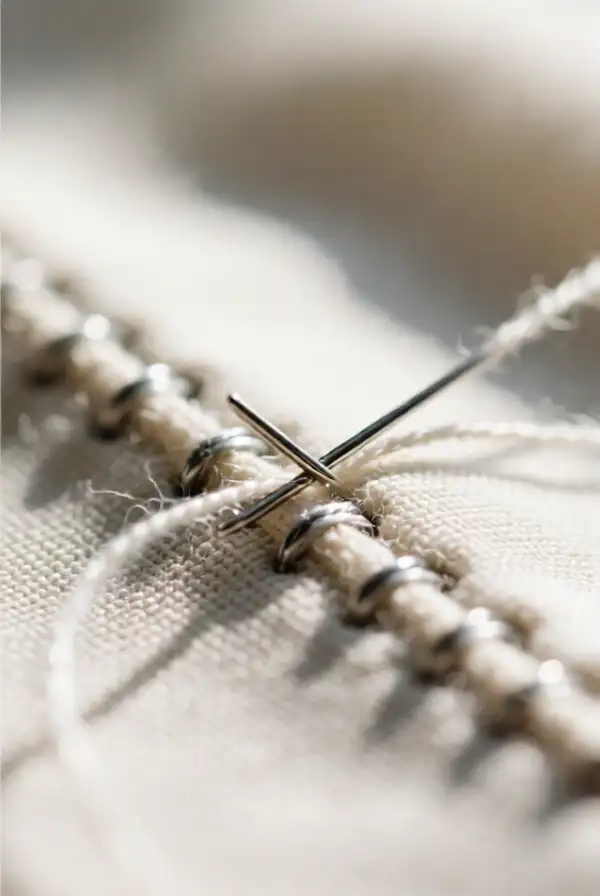
The back stitch is one of the most fundamental stitches in embroidery. It’s used for outlining shapes and text, providing a clean and defined look. To create a back stitch, bring your needle up through the fabric, then take a small stitch backward and come back up a short distance ahead of your last stitch. Repeat this process, and you’ll see how this stitch assists in creating sharp lines.
This stitch is versatile and can be used for creating intricate details within your embroidery projects. Utilizing the back stitch effectively lays the foundation for more complex stitching techniques. Once you master it, you’ll feel more confident in your embroidery journey!
Running Stitch
The running stitch is a simple yet effective stitch that creates a dashed line when applied to fabric. To make this stitch, insert your needle into the cloth and create a series of small, evenly spaced stitches in a straight line. This stitch is perfect for outlining designs and can also be used for filling in patterns.
One of the great things about the running stitch is its versatility. You can use it in a multitude of designs, from delicate floral patterns to more robust geometric shapes. Practice this stitch, and soon it will become second nature as you embark on various embroidery projects!
Chain Stitch
The chain stitch is a decorative stitch that features interconnected loops, creating a chain-like effect on fabric. To create a chain stitch, first, insert your needle into the fabric and pull it through. Then loop the thread around the needle before pulling it back down. This stitch is commonly used in borders and embellishments.
This stitch not only adds texture to your work but also serves as an excellent way to fill spaces with flair. Experiment with different thread colors to see how the chain stitch can elevate your embroidery designs!
Cross Stitch
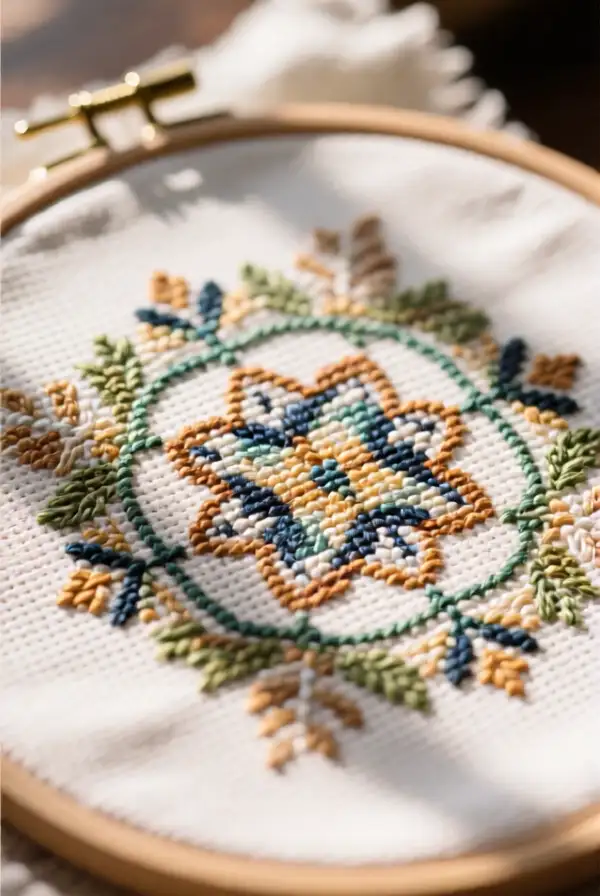
Cross stitch is a popular and lovely stitch often used in patternwork. It involves creating a series of ‘X’ shapes by crossing two diagonal stitches. Start by making an X on one half of your square, and then repeat it to complete the design. This stitch is perfect for creating pictorial designs in your fabric.
Cross stitch patterns come in a myriad of designs, from simple motifs to complex images. Once you master the technique, you can explore a wide range of projects that incorporate this charming stitch. Enjoy the satisfaction that comes with watching your creation come to life with every X!
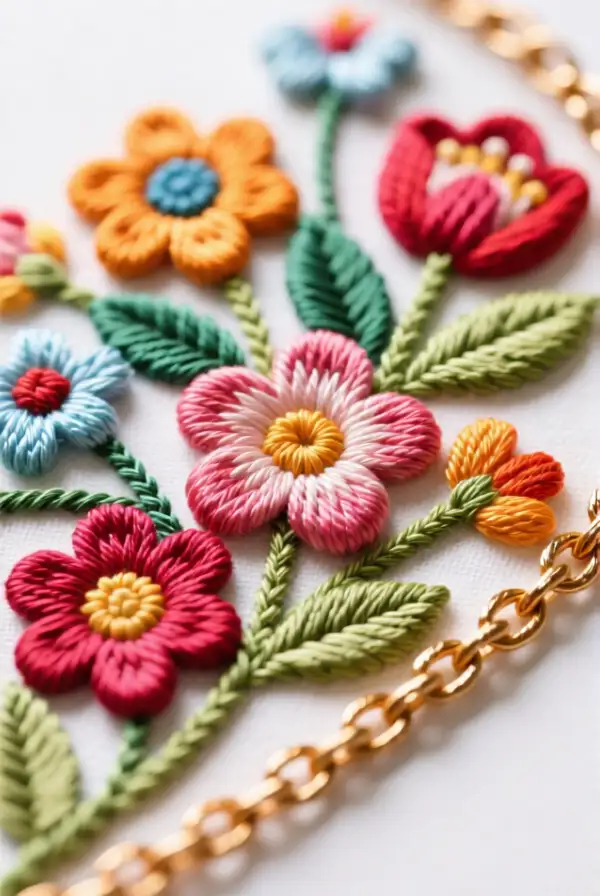
French Knot

The French knot is a small, raised puffy stitch that adds dimension and texture to your embroidery work. To create a French knot, bring your needle up through the fabric and wrap the thread around the needle a few times before inserting the needle back into the fabric. As you tighten the knot, it sits beautifully on the surface.
This stitch is commonly used for floral designs, giving the illusion of flower centers or other decorative details. Once you practice the French knot, you’ll fall in love with how easily it enhances your embroidery pieces!
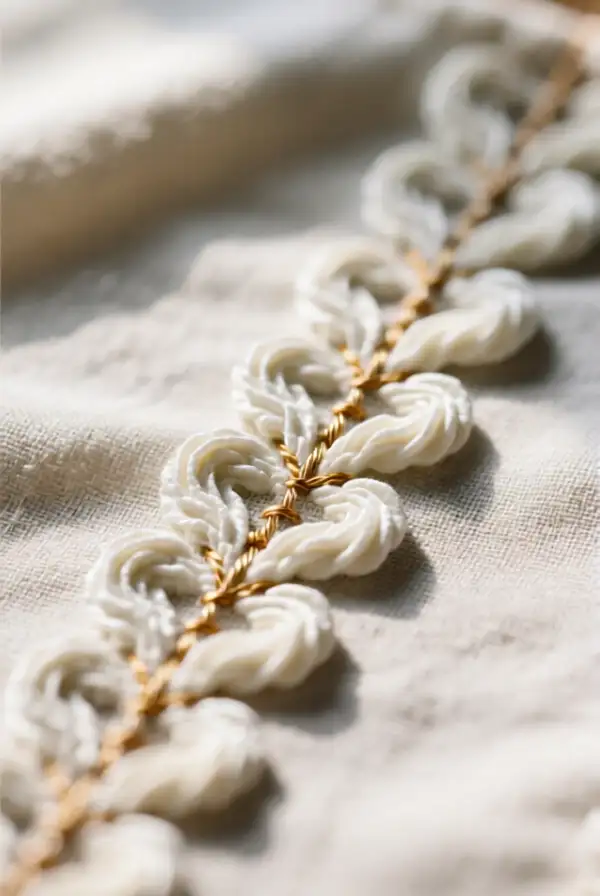
Lazy Daisy Stitch
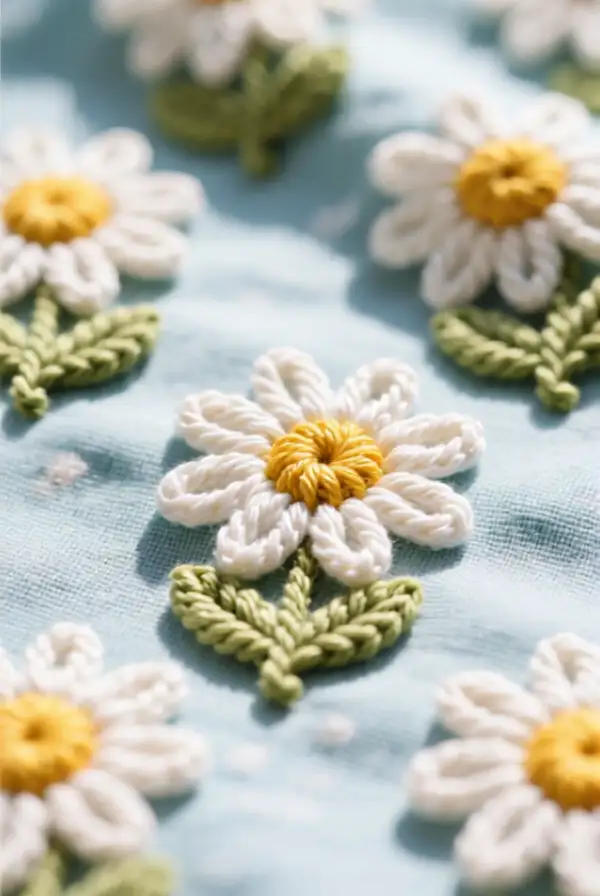
The lazy daisy stitch is a simple flower stitch that gives a lovely look to any embroidery piece. To make a lazy daisy, create a small stitch on the fabric, pull your thread through, then loop a longer stitch back to the original spot and secure it. This pull creates a petal shape that is perfect for floral designs.
Utilizing multiple lazy daisies can transform an ordinary section of embroidery into a vibrant floral display. Experiment with various colors to create unique designs that reflect your personality!
Split Stitch
Split stitch is a refined and versatile stitch used primarily for outlines and solid filling. Start the stitch similarly to a back stitch but insert the needle through the previous stitch to create a smooth line. This stitch allows you to achieve a finer finish compared to a simple running stitch.
Once you become proficient with the split stitch, it opens up a new world of possibilities for your embroidery work. Use it to create shadows, outlines, and intricate design elements that require precision and elegance.
Satin Stitch
The satin stitch is known for filling shapes with solid color, creating a smooth and professional look. It involves stitching parallel lines close together to cover the area without any visible fabric peeking through. This stitch is perfect for filling in letters, shapes, and motifs.
With practice, satin stitching can produce an immaculate finish on your embroidered pieces. Adjust the density of your stitches based on the fabric type to achieve the best results. Soon, you’ll find that satin stitch becomes one of your go-to techniques!
Pekinese Stitch
The Pekinese stitch is a stunning stitch that mimics the look of an intricate braid or ribbon. To create this stitch, alternate between making a row of long diagonal stitches and a row of short straight stitches. The result is a unique texture that adds depth and dimension to your embroidery work.
This versatile stitch works beautifully in various projects and can enhance borders, motifs, and other areas that require a decorative touch. Mastery of this stitch allows you to bring a new level of sophistication to your creations!
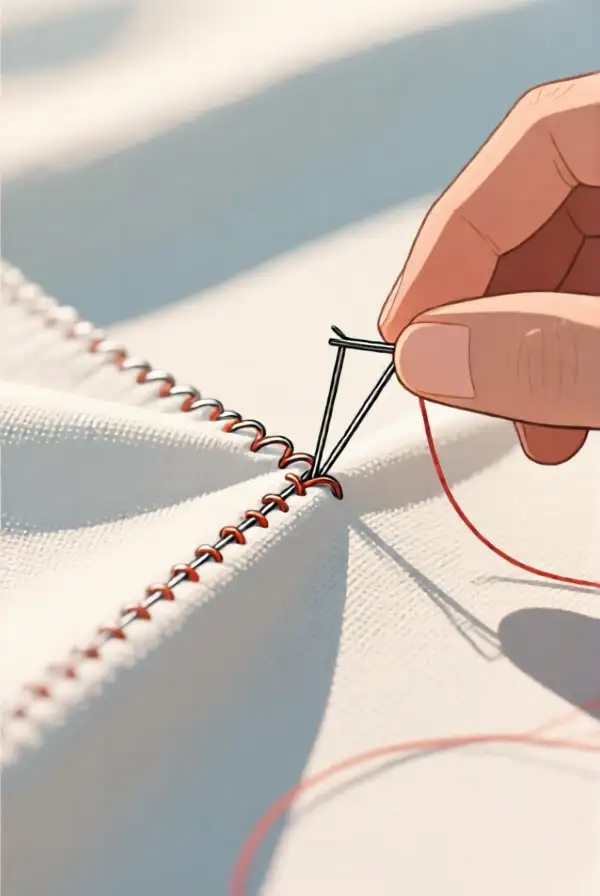
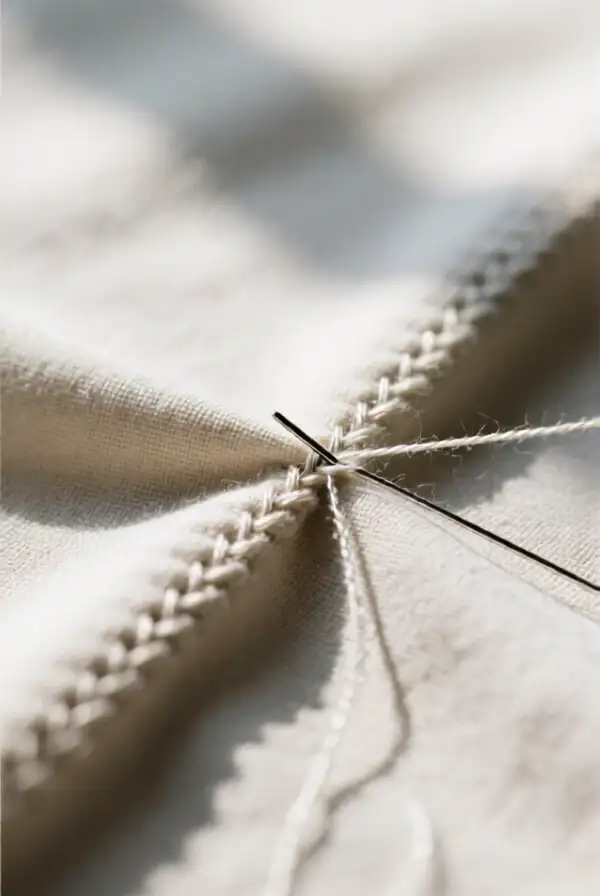
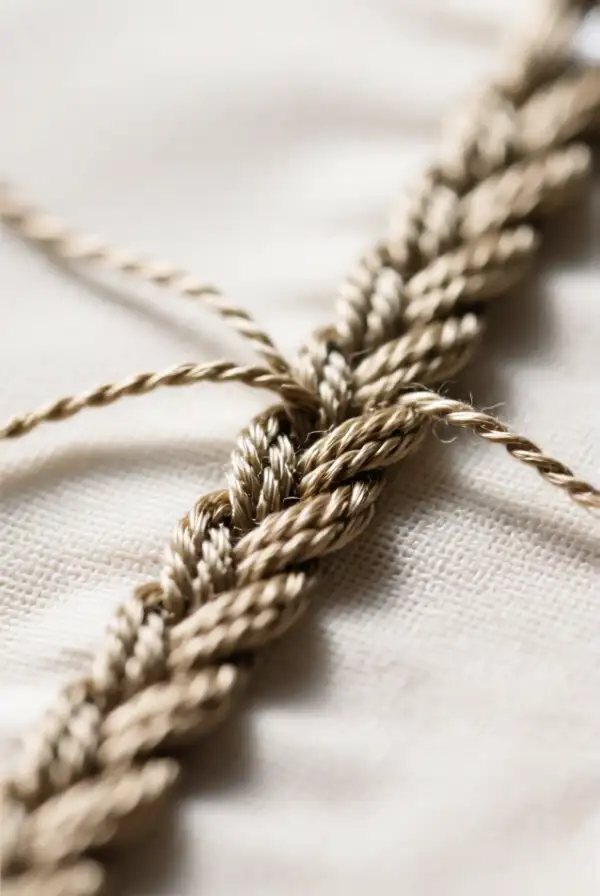
Whipped Back Stitch
The whipped back stitch is a decorative version of the standard back stitch. After completing a line of back stitches, you can wrap a contrasting thread around them to create a lovely texture. This embellishment enhances the back stitch and gives your work a unique flair.
Whipped stitches can be implemented along edges or used to create playful designs. Once you grasp this technique, you’ll find creative ways to integrate it into your embroidery projects to elevate their appearance!
Stem Stitch
The stem stitch is an ideal choice for creating firm outlines, particularly in floral embroidery. To create a stem stitch, alternate between short and long stitches along your design, allowing the thread to roll slightly as you work. This creates a twisted effect that simulates stems, making it a favorite among nature-themed embroiderers.
This stitch not only improves the visual appeal of your embroideries but also provides excellent support for heavier threads or fabric. With practice and application, the stem stitch solidifies your skills as an embroiderer!
Rice Stitch
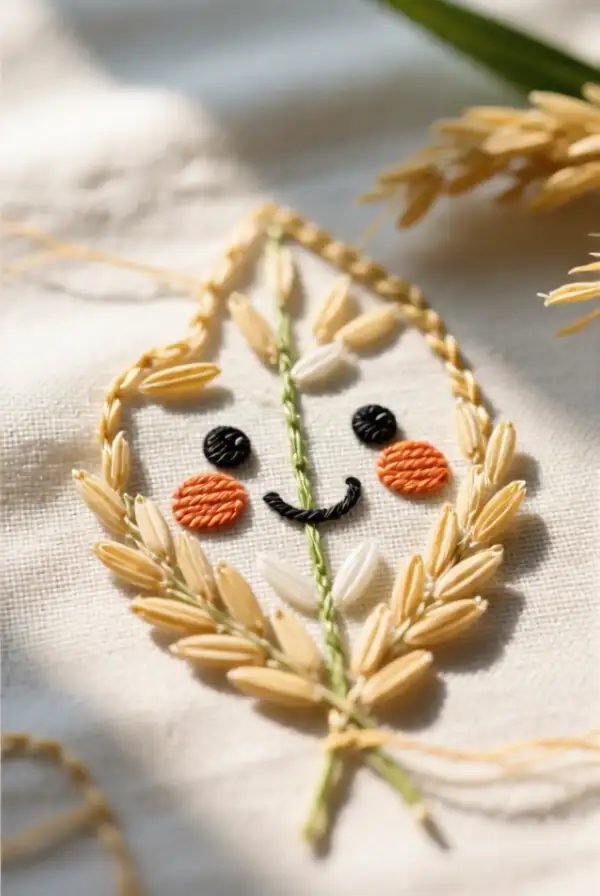
The rice stitch, which resembles a series of small rice grains, offers a unique texture for filling in or decorating motifs. This stitch involves short, alternating diagonal stitches that create a whimsical pattern. It’s often used in nature-themed projects or areas that require a touch of elegance.
Once you incorporate rice stitches into your work, you’ll discover how they can add a playful element to your designs. They can also be combined with other stitches for wonderful effects, making it a fun technique to explore!
Mastering these 13 basic embroidery stitches will empower you as a beginner and elevate your crafting skills. Keep practicing, and soon you’ll be able to create intricate designs with confidence. Enjoy the beautiful world of embroidery!