
Give your Halloween manicure a playful skeletal twist with bone-inspired designs, tiny skeleton accents, and graphic black-and-white details. These nail art ideas range from simple French tips to intricate rib cage patterns, with practical techniques for adapting each look to your nail length and painting skills.
Skeleton Hand Accent Nails
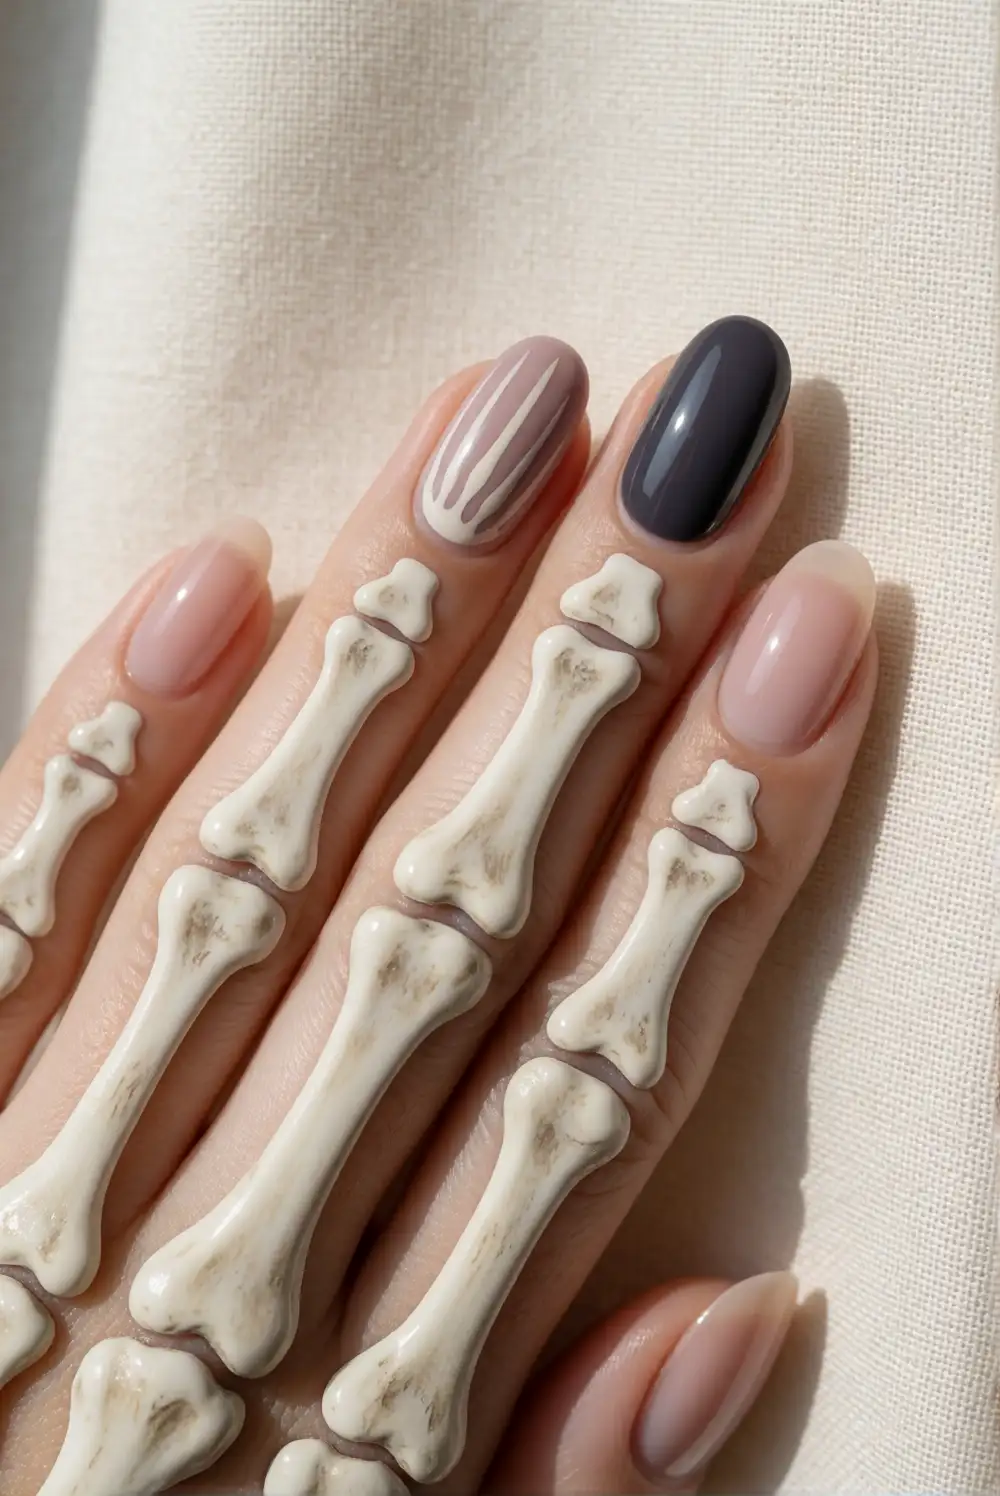
Paint a black base on one or two accent nails, leaving the rest of your manicure ivory or sheer. Once the polish is dry, use a fine nail art brush and white polish to sketch a palm and slender finger bones, working from the center of the nail toward the tips. Add small connecting joints with short strokes. A detail brush helps keep the lines delicate, while a toothpick can make neat dots where the bones meet.
Make the design easier by drawing a simple hand silhouette rather than outlining every bone. On short nails, keep the palm small and let the finger bones follow the nail’s natural length. Try the skeleton hand on a single accent nail and repeat a small bone detail on another for balance. Let the art dry fully before adding a clear top coat, brushing gently so the fine lines do not smear.
Bone French Tip Nails
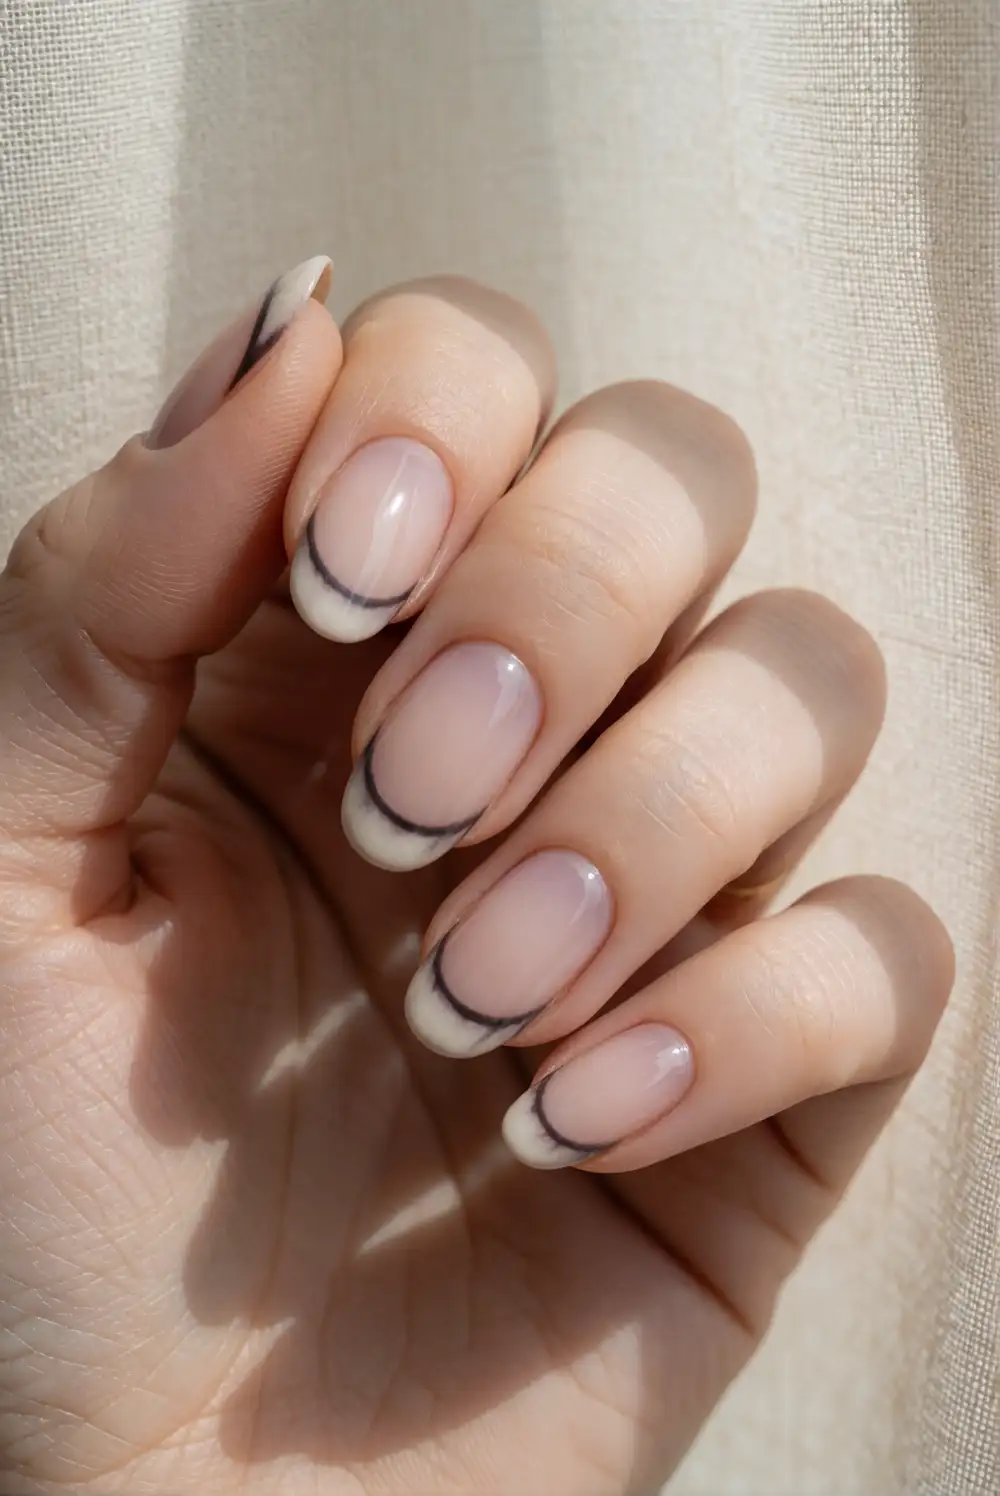
Start with a sheer nude or milky base, then paint slim ivory tips across each nail. To give the edges a bone-like finish, shape each tip into a soft curve and add tiny rounded ends with a fine brush. A dark charcoal outline can make the pale tips stand out, or leave them crisp and minimal. For an easy guide, place small dots near each sidewall and connect them with a curved line.
This design works on short, rounded nails as well as longer almond shapes; adjust the tip width to suit the available space. Keep most nails simple, then add a tiny black skeleton hand on one accent nail for a coordinated set. A glossy top coat gives the pale tips a polished finish, while a matte coat creates a softer, bone-inspired look. Use thin layers so the curves stay clean and defined.
Rib Cage Nail Art
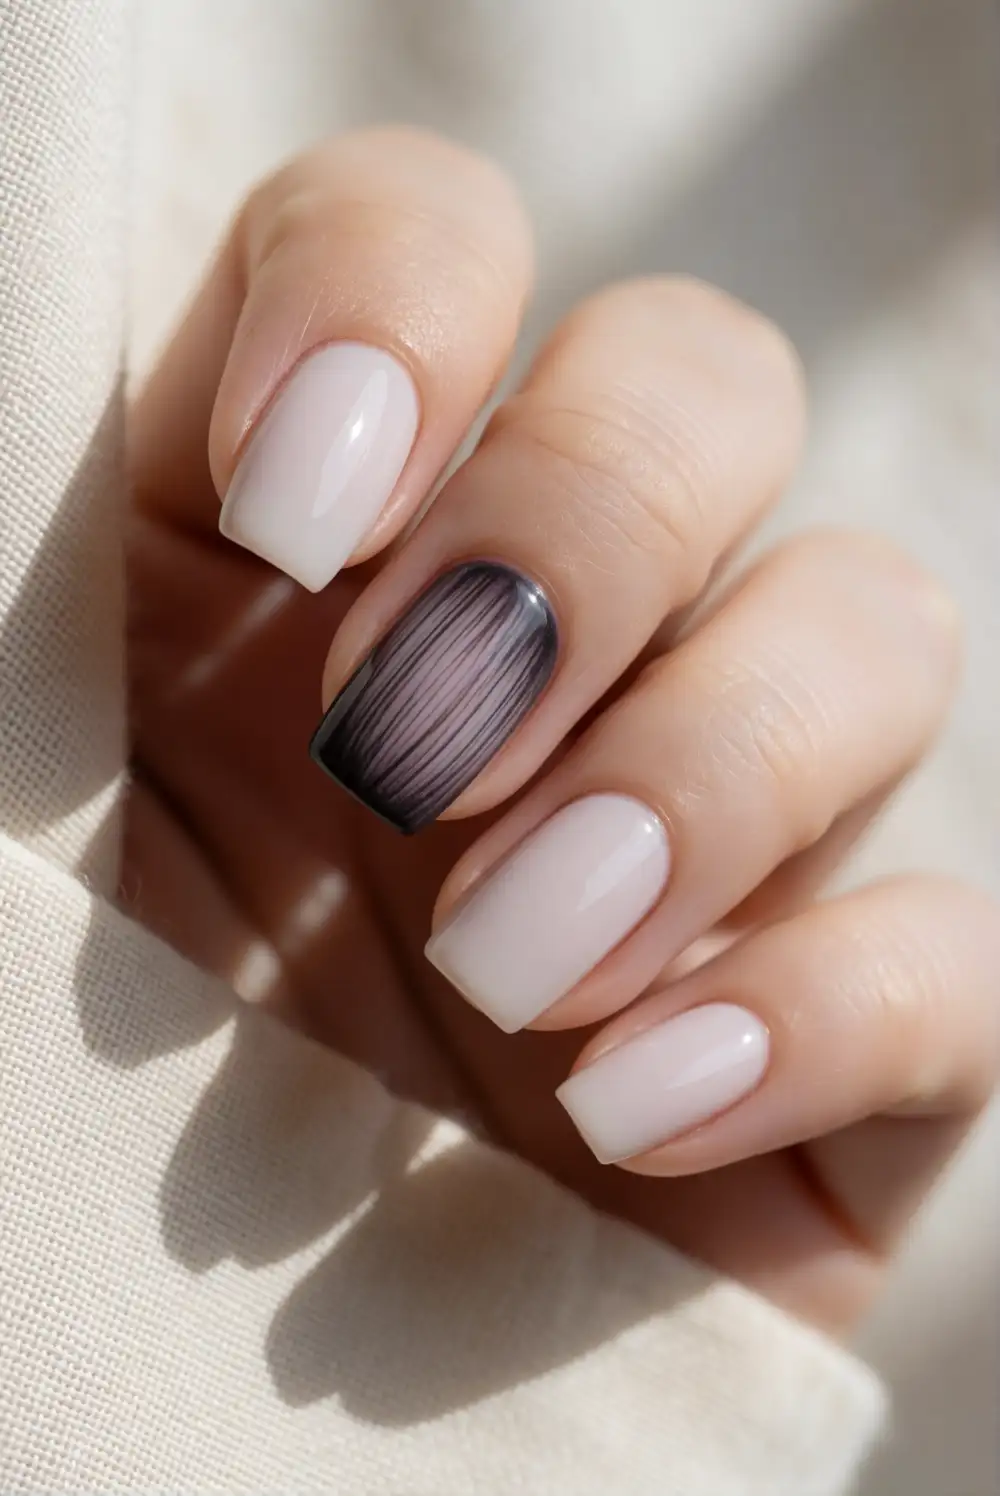
Choose one accent nail for a miniature rib cage and paint the remaining nails charcoal, ivory, or sheer nude. Over a dark base, use a fine white liner brush to draw a short central spine and several curved ribs branching from each side. Keep the lines spaced apart so the motif remains legible on a small nail. Finish the lower end with a small curved bone shape rather than trying to crowd in extra detail.
For a softer variation, paint the rib cage in charcoal over a pale base and leave the rest of the manicure sheer. Short nails can carry a simplified design with fewer, wider ribs, while longer nails allow finer curves. A thin metallic accent beside the motif adds a subtle decorative touch without competing with the skeleton theme. Seal the finished art with clear top coat, taking care not to drag the brush through the narrow lines.
Mini Skull and Bone Accent Nails
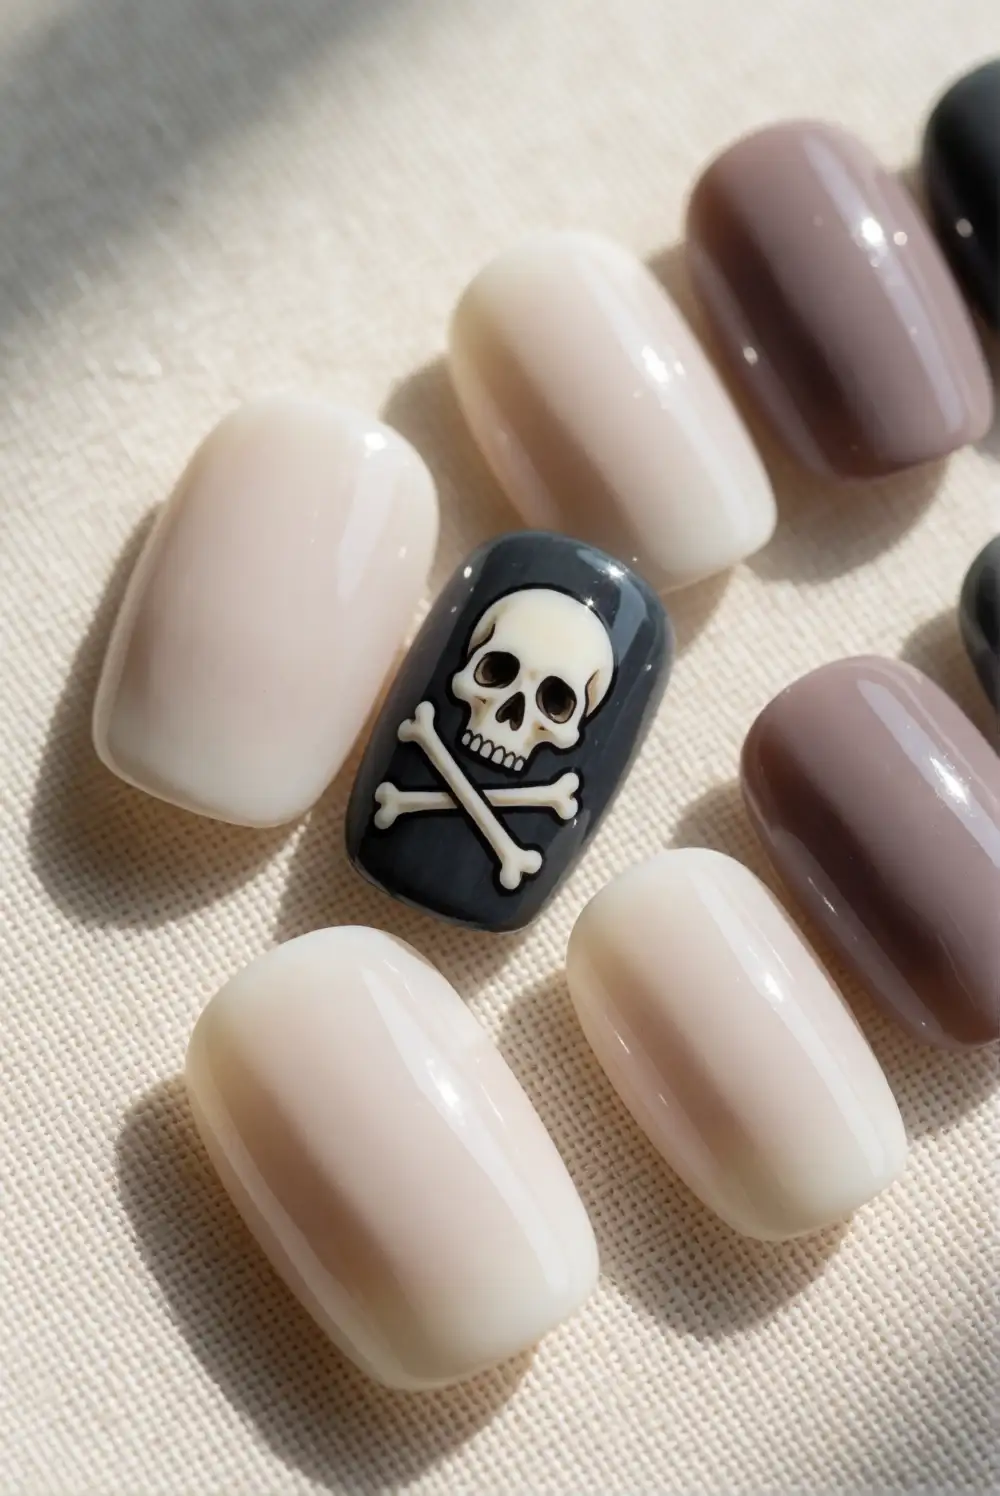
Paint a pale ivory skull on a charcoal accent nail using a rounded brush or a small dotting tool. Add two dark eye sockets and a tiny nose shape, then draw a short pair of crossed bones below it with a fine liner brush. Keep the skull and bones separate enough to read clearly at nail scale. Use a neutral base on neighboring nails so the miniature illustration has room to stand out.
For an understated version, make the skull a simple rounded outline and skip the crossed bones. A single ivory skull on a sheer base looks delicate, while a charcoal background gives the art stronger contrast. If your nails are short, put the skull alone on the accent nail and add a small bone on a neighboring finger. Let each polish layer dry before sealing the design to preserve its crisp features.
Negative Space Bone Designs
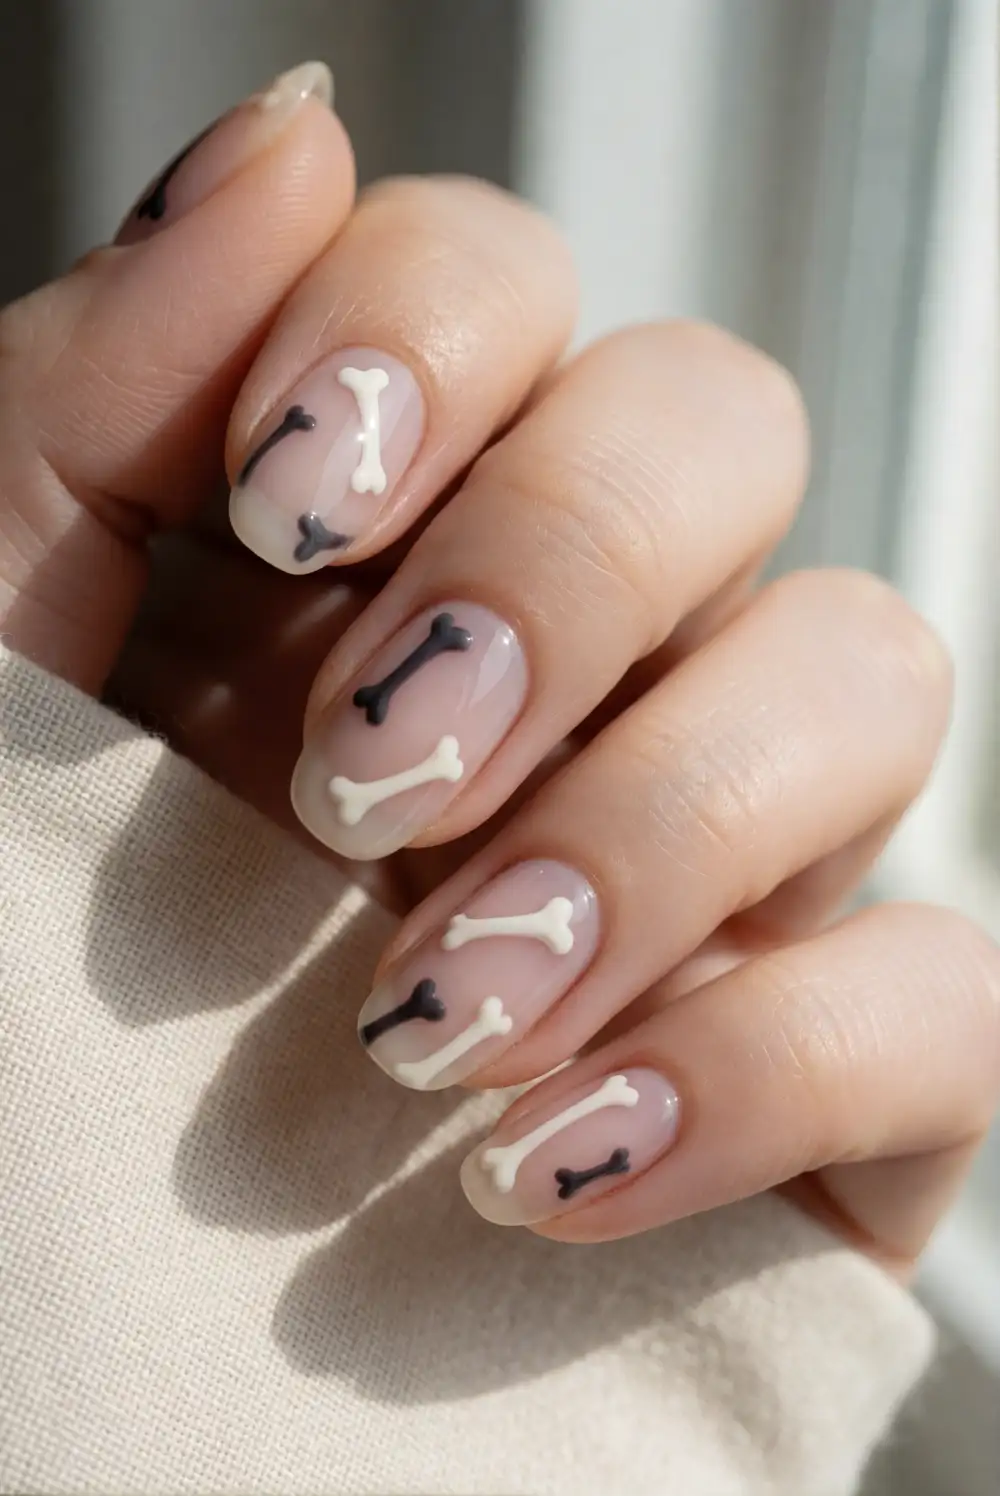
Begin with a clear or sheer nude base so the natural nail becomes part of the design. Use a fine brush to paint two small, rounded bone ends connected by a narrow center, leaving the surrounding nail uncovered. Place the motif diagonally or vertically, depending on the shape of the nail. A striping brush makes the center line easier to control, while a dotting tool can shape the rounded ends neatly.
Keep the bones small and repeat them on just a few nails for an airy, modern manicure. Alternatively, paint one oversized bone on an accent nail and use tiny charcoal dots on the others. This graphic look suits both short and long nails because the open space prevents the art from feeling crowded. A glossy clear top coat protects the design while preserving the contrast between the painted bone and the sheer background.
Black and Ivory Skeleton Stripes
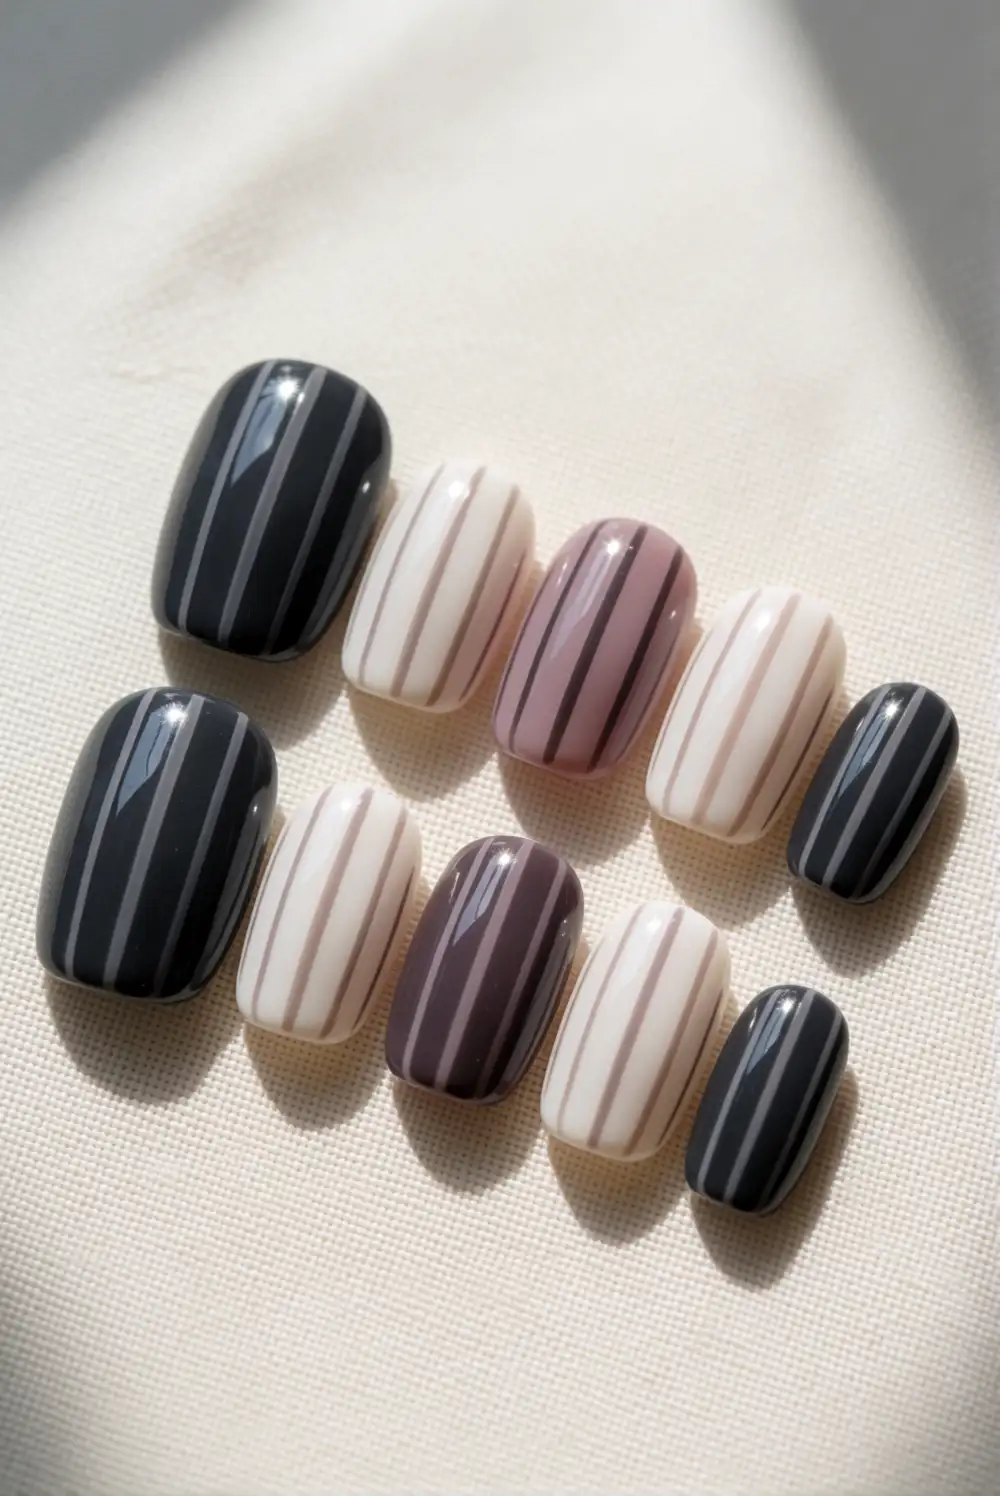
Paint each nail a deep charcoal or creamy ivory, alternating the colors across the hand. On the dark nails, add narrow ivory lines that suggest finger bones; on the pale nails, use charcoal for the same details. Draw each line with a fine liner brush and finish the ends with small rounded strokes to evoke joints. Keeping the stripes mostly vertical helps them follow the shape of the nail and makes the manicure feel cohesive.
Vary the pattern so some nails have only two or three bone marks while one accent nail carries a longer skeleton-inspired line. If your nail beds are short, use fewer strokes and keep them close to the center. A glossy finish sharpens the black-and-ivory contrast, while a matte top coat gives the manicure a softer graphic look. Clean the edges with a small brush dipped in remover before applying the final coat.
Skeleton Finger Detail Nails
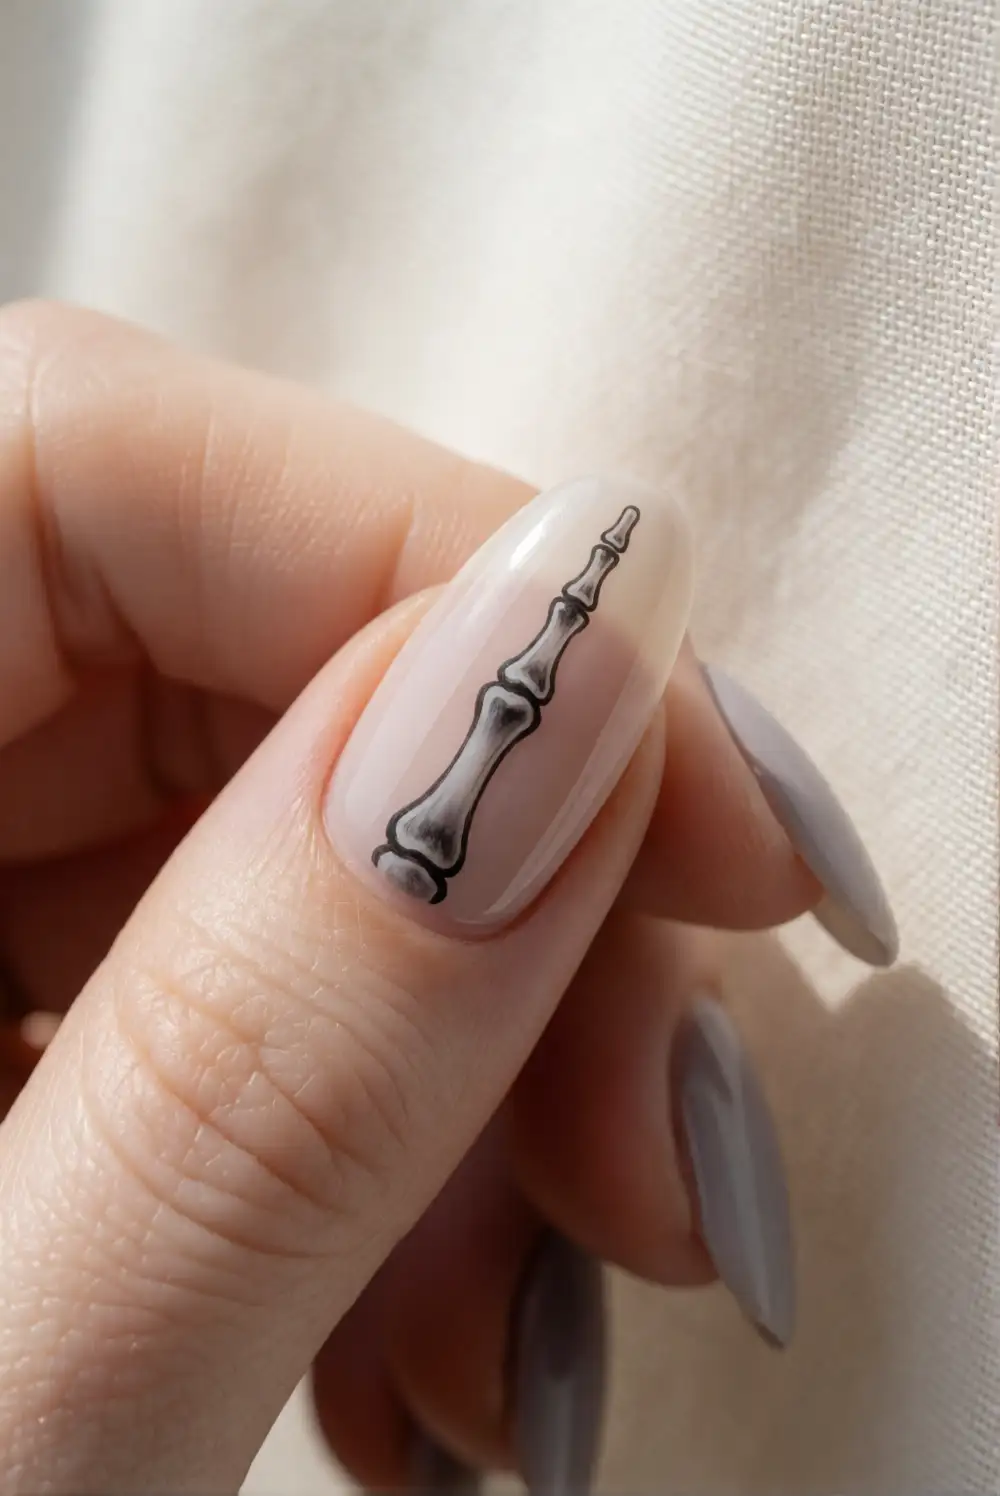
Use a sheer beige or soft gray base, then paint a narrow skeleton finger along one side of an accent nail. Draw a slim central line and add short horizontal marks to suggest the finger bones and joints. A fine detail brush gives better control than a broad polish brush, especially near the cuticle. Leave the other nails in a matching solid shade so the fine-line illustration remains the main feature of the manicure.
On longer nails, extend the finger detail from near the cuticle toward the tip; on shorter nails, show just a few bone segments. A charcoal outline adds definition, while ivory lines over a dark base create a bolder Halloween look. Keep the marks slightly spaced rather than touching so they do not merge when sealed. Apply a thin top coat with a light touch once the illustration is completely dry.
Bone Chain Nail Accents
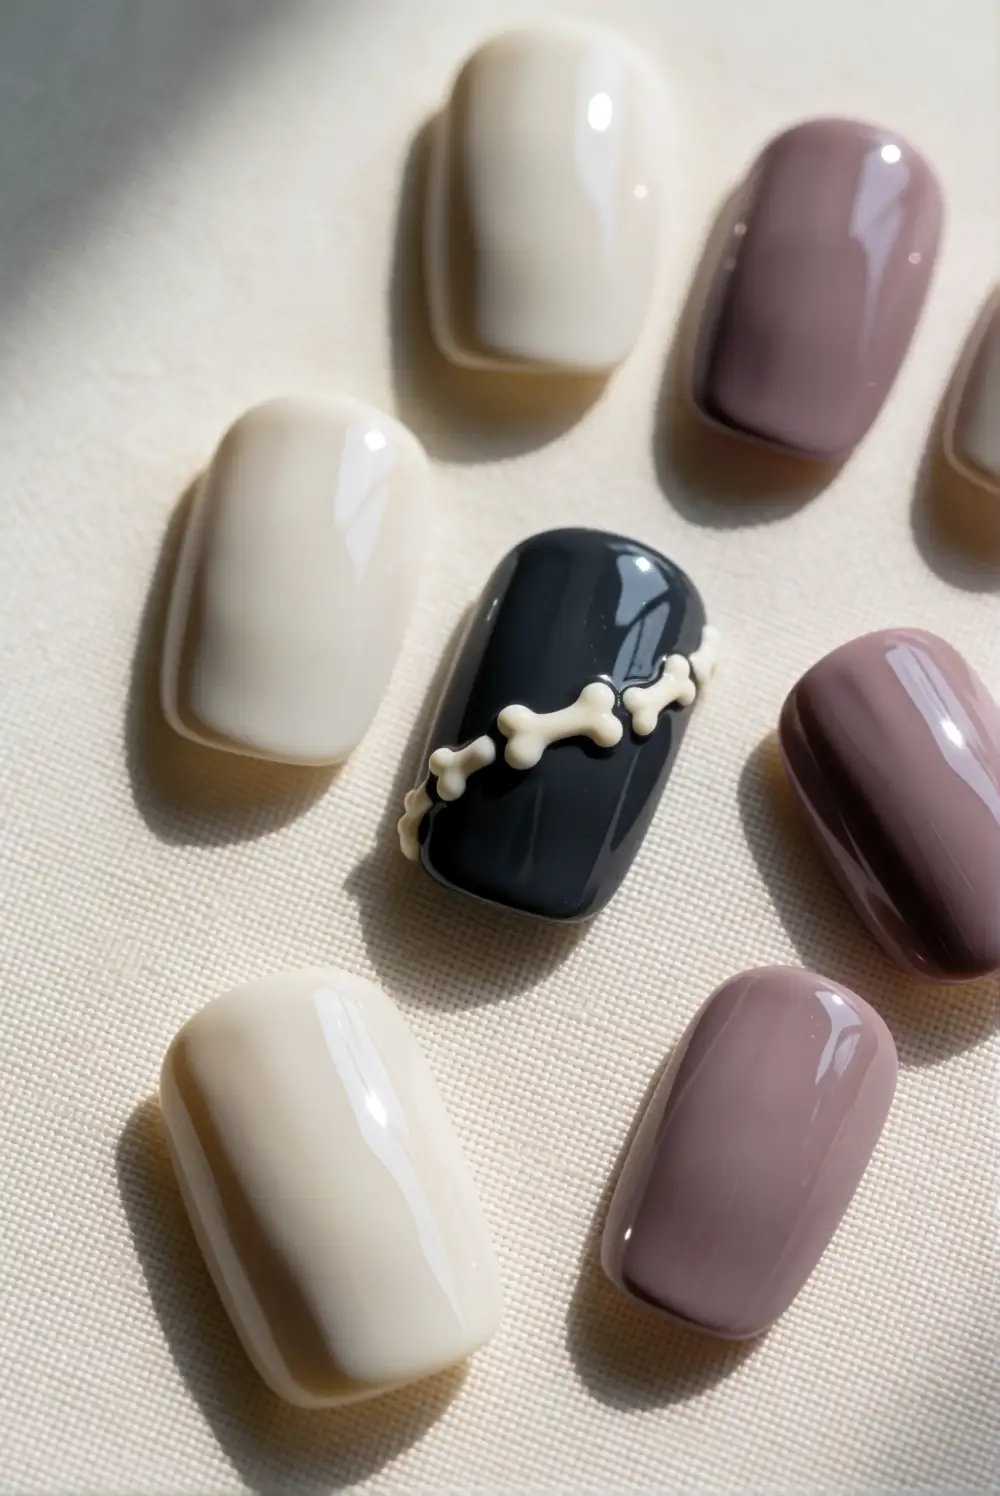
Create a delicate bone chain by painting small ivory bone shapes in a gentle curve across a charcoal or dusty mauve accent nail. Use a tiny brush to form each rounded end and connect the shapes with narrow strokes, leaving a little space between them. A sheer nude base works too, especially if you want a lighter design. Sketch the curve lightly with polish dots first, then fill in the bone details once the placement feels balanced.
Keep the chain short on small nails and let it follow the natural curve near the cuticle or side edge. On longer nails, a diagonal chain can create movement without covering the entire surface. Repeat a single tiny bone on neighboring nails to tie the look together. Avoid overly thick strokes, which can blur the individual shapes, and finish with a smooth clear top coat after all the details have dried.
Skeleton Bone Ombre Nails
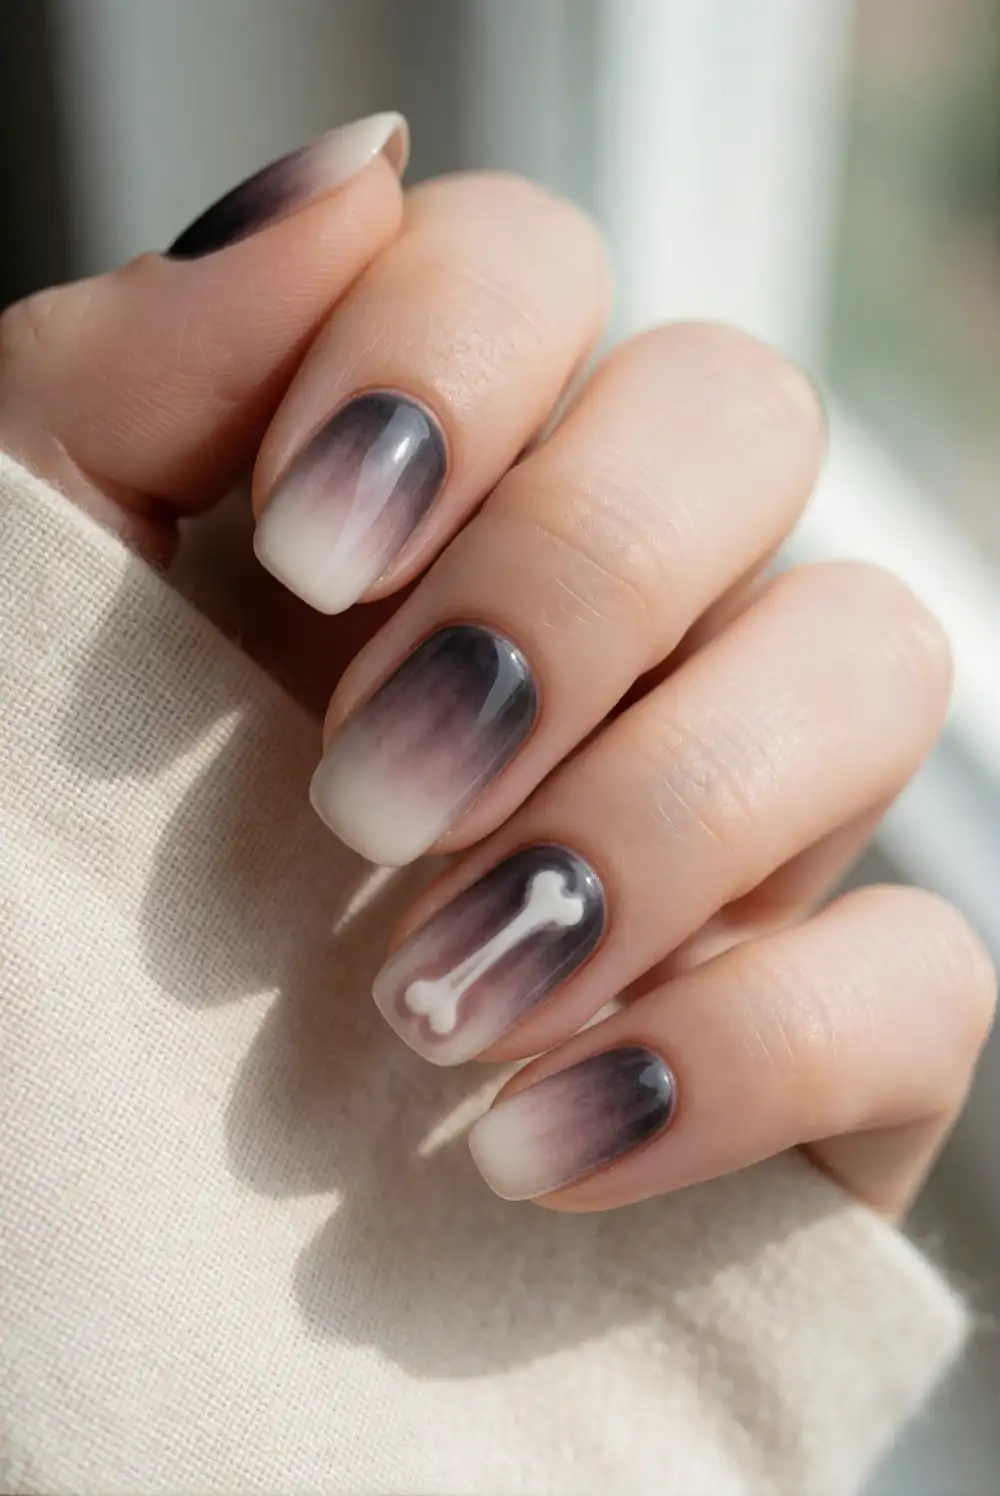
Blend charcoal into ivory on each nail using a makeup sponge or a small sponge applicator, dabbing lightly until the transition looks soft. Once the gradient has dried, paint a simple pale bone silhouette on one accent nail or add fine charcoal bone lines over the light end of the ombre. A sheer base coat beneath the gradient can help the colors blend smoothly and make the finished manicure look more even.
For a restrained look, keep the gradient subtle and place just one bone motif on the ring finger. A stronger dark-to-light blend makes a dramatic background for a small skeleton hand or rib detail. Trim the sponge into a narrow piece to make cleanup around the nail easier, then use a small brush and remover along the edges. A glossy top coat can smooth the sponged texture and bring the contrasting shades together.
Bone Silhouette on Pumpkin Orange
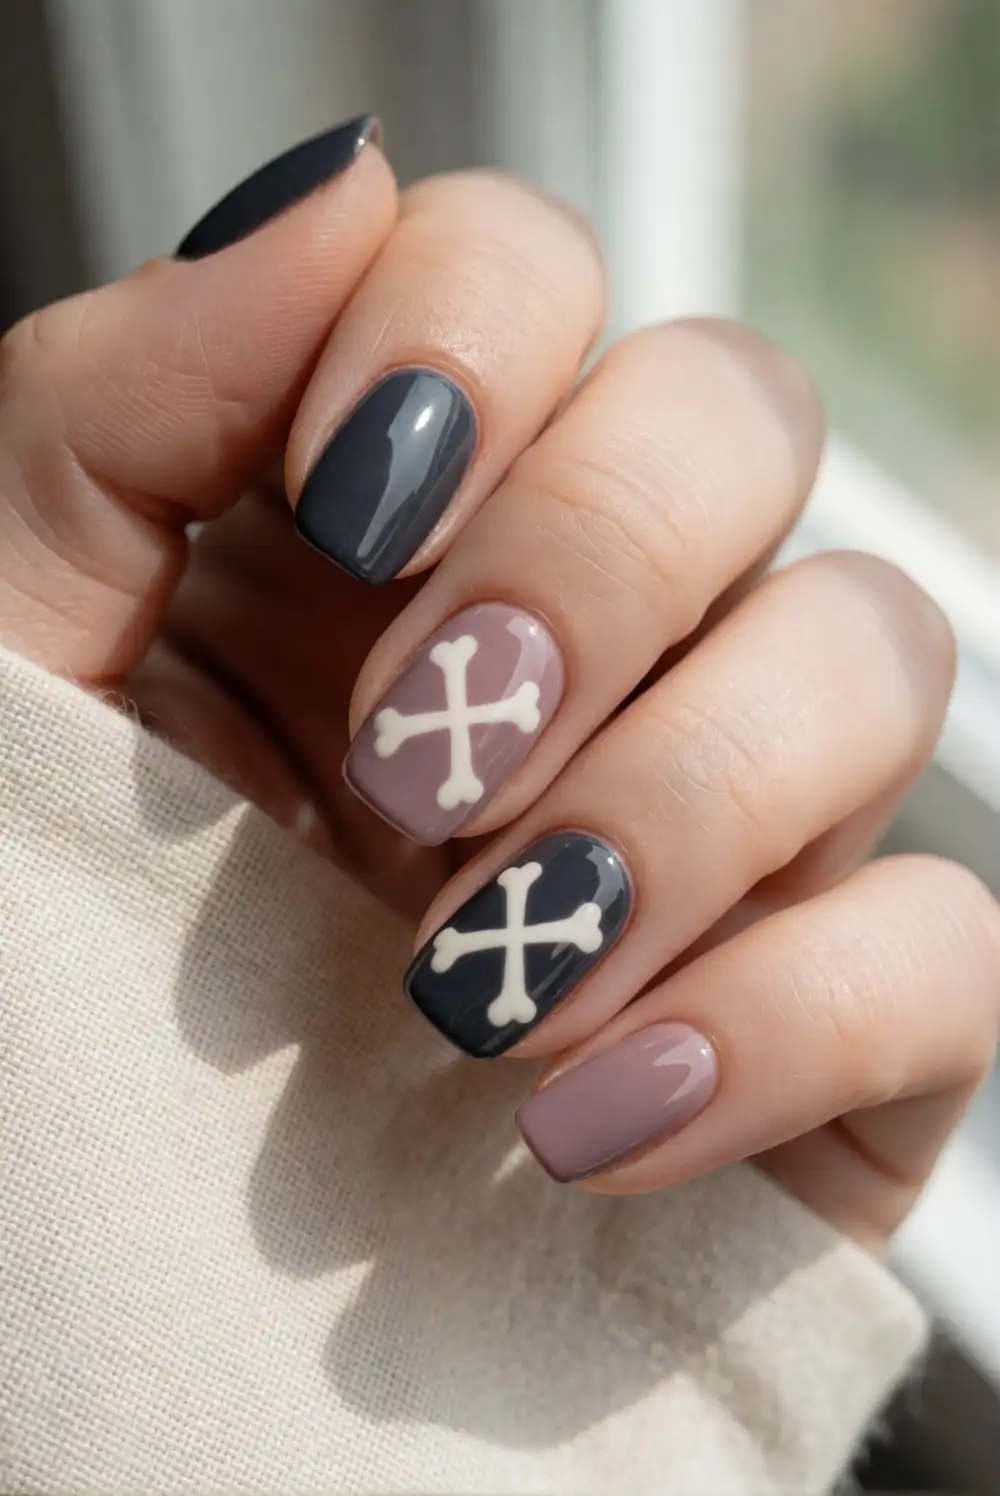
Paint the nails pumpkin orange and choose one or two for an ivory bone silhouette. Use a liner brush to draw a narrow center, then add rounded ends with a dotting tool or the tip of a small brush. A simple crossed-bone shape works well on an accent nail, while a single vertical bone can fit neatly on shorter nails. Let the orange base dry thoroughly before adding the pale design to prevent the colors from blending.
Pair the orange nails with charcoal accents for a classic Halloween palette, or use a creamy neutral on a few fingers to soften the overall look. Keep the bone motifs large enough to read clearly but leave a margin around the cuticle and sidewalls. A matte finish makes the orange feel velvety, while glossy polish adds a bright, polished contrast. Finish with a clear top coat once the artwork has set.
Whether you prefer tiny bone accents or a full skeleton-inspired manicure, these Halloween nail art ideas make it easy to find a look that suits your nail length and detail skills. Choose a design, gather a fine brush and contrasting polish, and finish with a top coat to keep the artwork crisp.








