Bring the colors and cozy feeling of autumn into your home with these cheerful fall craft ideas for kids. Each project uses approachable materials and simple steps to turn paper, paint, and nature finds into seasonal decorations and playful keepsakes. Set up a comfortable crafting spot, gather a few supplies, and let children enjoy making their own colorful pieces to display throughout the season.
Colorful Paper Leaf Mosaic
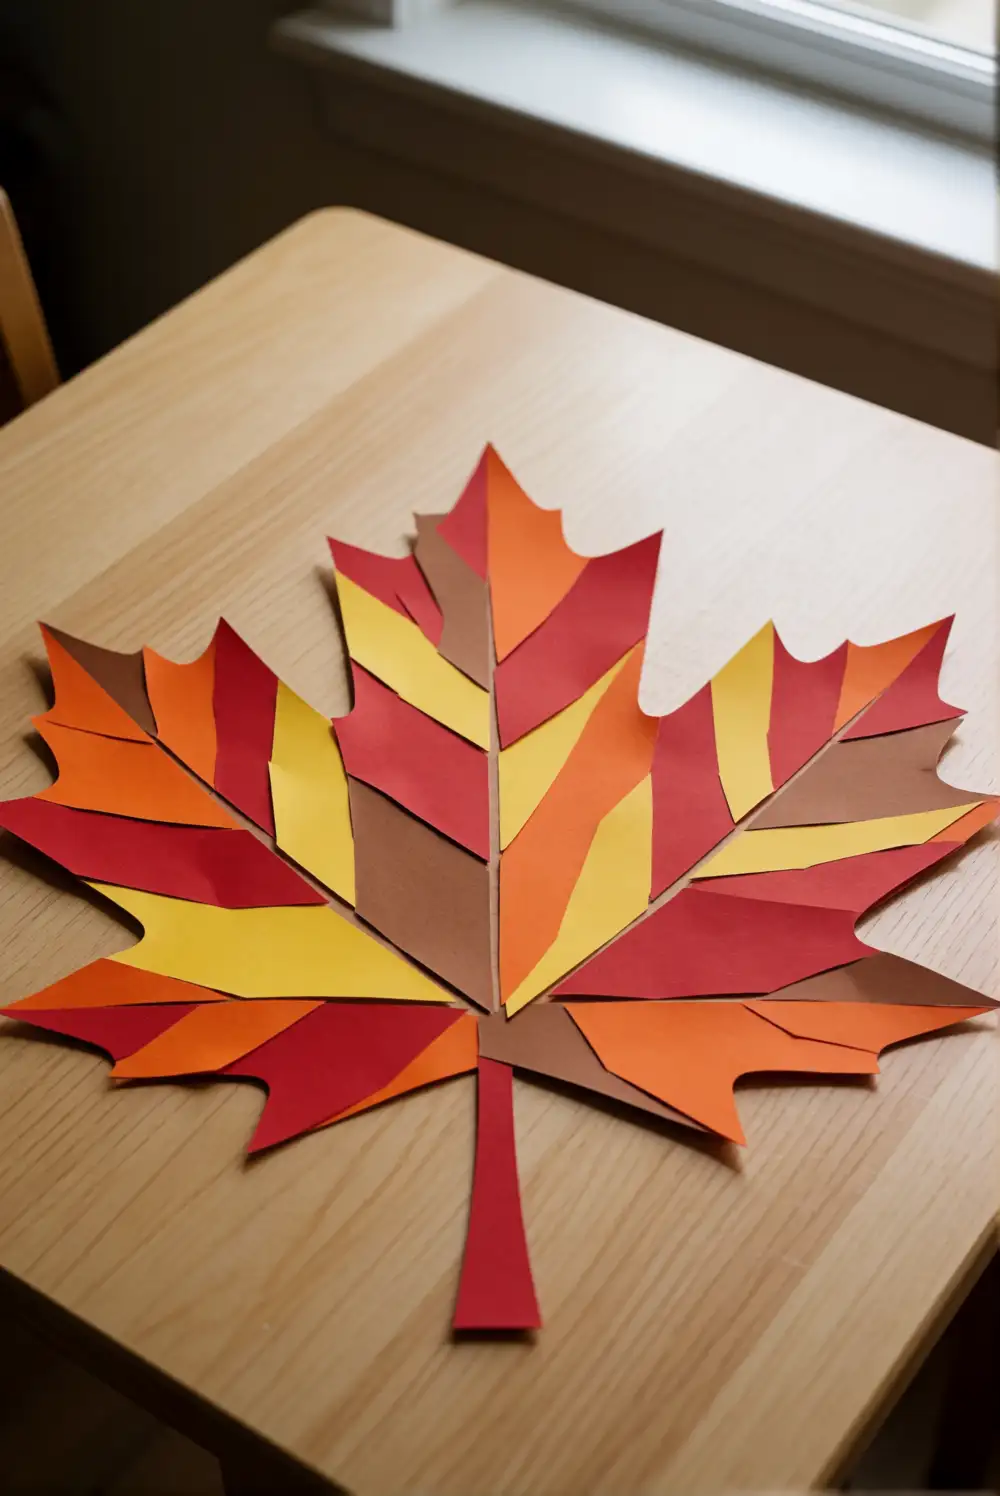
Draw a large leaf outline on sturdy cardstock, then prepare broad pieces of red, orange, yellow, and brown construction paper. Children can tear or cut the paper into manageable shapes and glue them inside the outline, overlapping colors to make a bright mosaic. An adult can draw the leaf veins with a marker once the glue dries. Choose a simple maple or oak shape so there is plenty of room for colorful pieces.
Try using just two autumn colors for a calmer look, or make a rainbow-inspired leaf with several shades. Mount the finished mosaic on a larger piece of cream cardstock and display it on a bedroom door or refrigerator. For younger children, prepare the paper pieces ahead of time and let them arrange the shapes before gluing. A light book placed over the dry artwork helps it lie flat.
Handprint Autumn Tree Painting
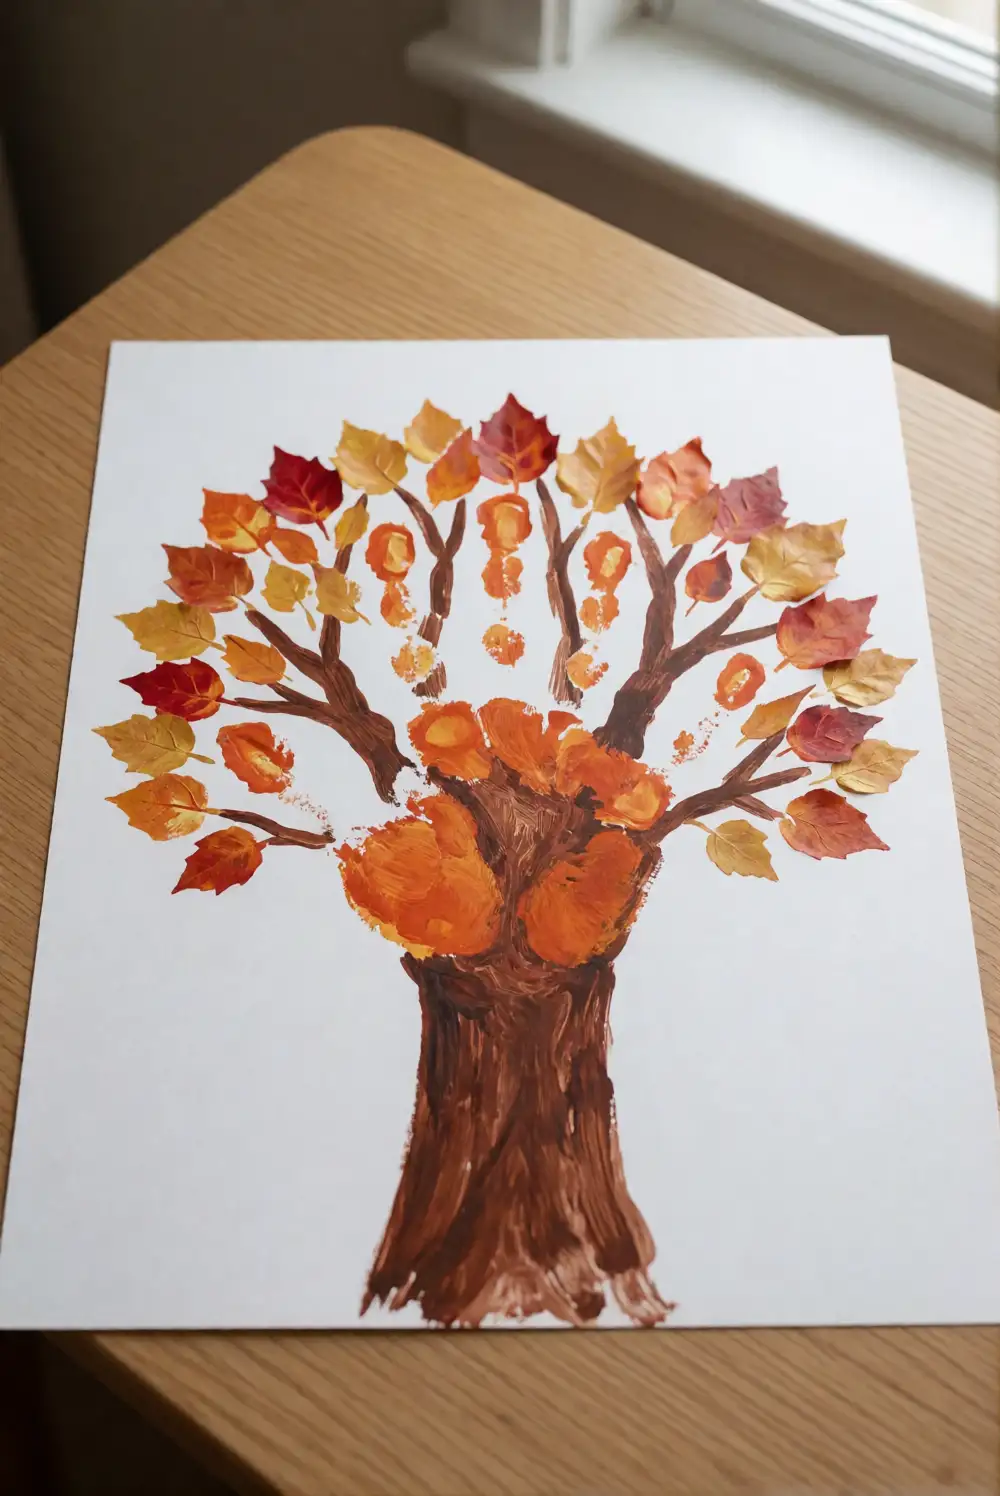
Brush washable brown paint across a child’s forearm and hand, then press the painted arm onto sturdy paper to form a tree trunk and branches. After washing the hand, use fingertips or a soft brush to add orange, gold, and red leaves around the branches. Keep the paint shallow on a tray and cover the work surface before beginning. Allow the picture to dry completely before moving or framing it.
Make each tree distinctive by changing the leaf colors or adding a little green for the last leaves of summer. A child can also paint a few fallen leaves along the bottom edge with a brush. Place the finished artwork in a simple frame or display it with other seasonal pictures. If painting hands feels uncomfortable, draw a tree trunk and let the child add its leaves with a sponge brush instead.
Paper Plate Pumpkin Face
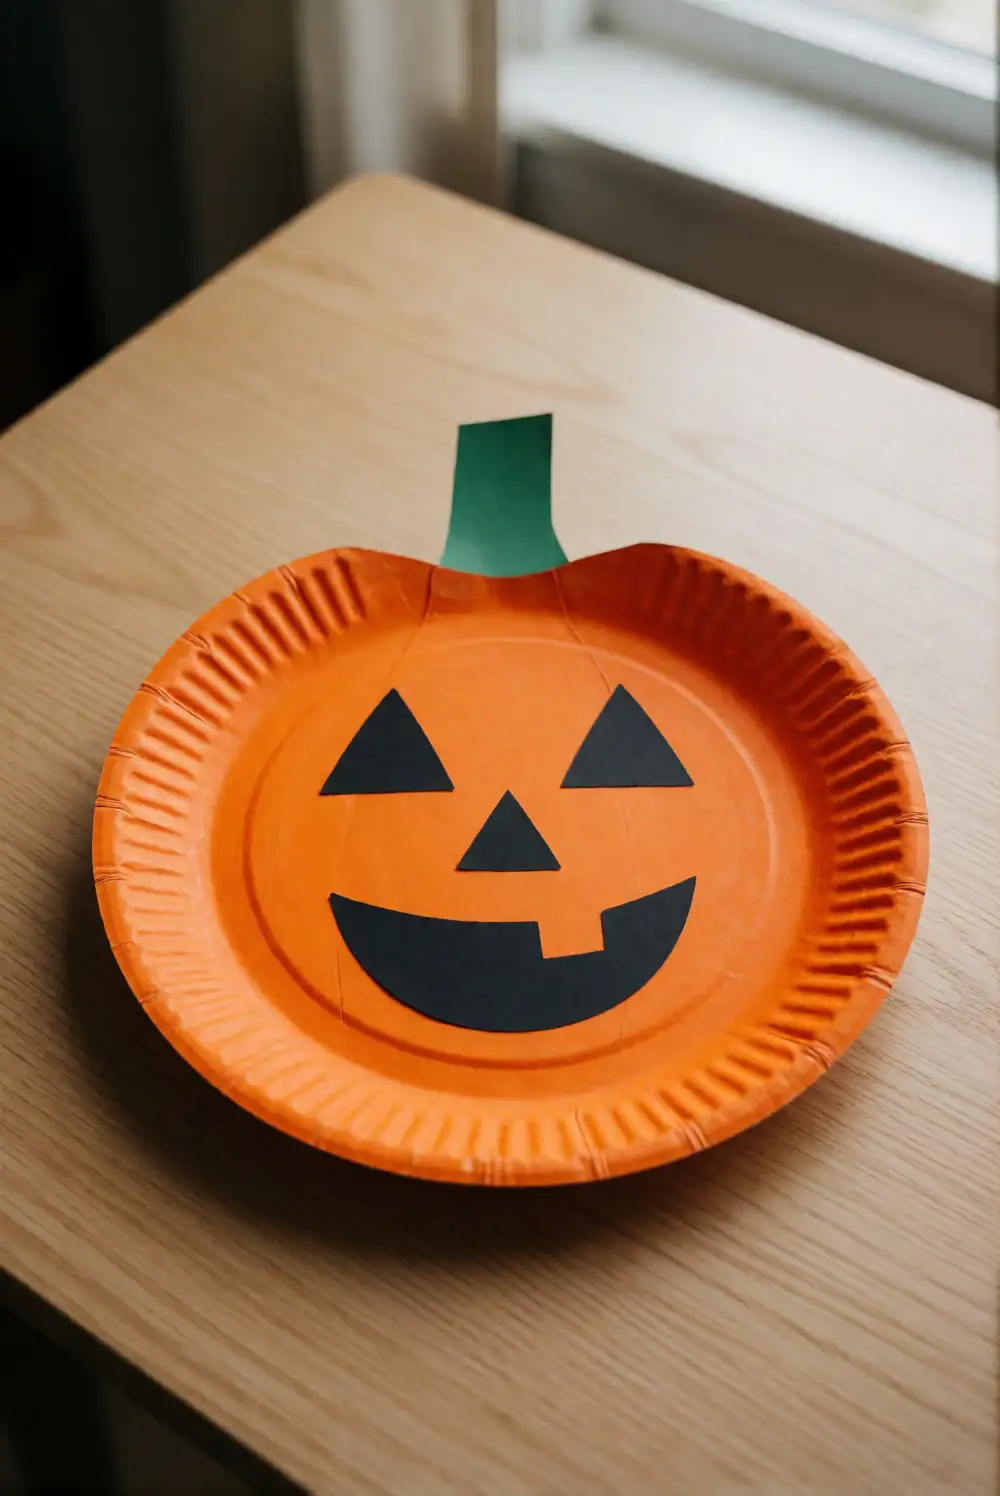
Paint a paper plate orange and let it dry while an adult cuts a green paper stem. Add the stem to the top with school glue, then make a friendly pumpkin face from large shapes cut from black construction paper. Children can choose a smiling, surprised, or sleepy expression and position the pieces before gluing them down. Use broad shapes rather than tiny details, and let the finished plate dry on a protected surface.
Give each pumpkin its own personality by changing the face or adding broad paper leaves beside the stem. For a softer look, skip the face and glue wide strips of yellow and orange paper across the plate. Hang the dry pumpkin on a wall or prop it on a shelf with other autumn decorations. An adult can prepare the stem and face shapes ahead of time to keep the activity easy for little hands.
Cardboard Tube Autumn Fox
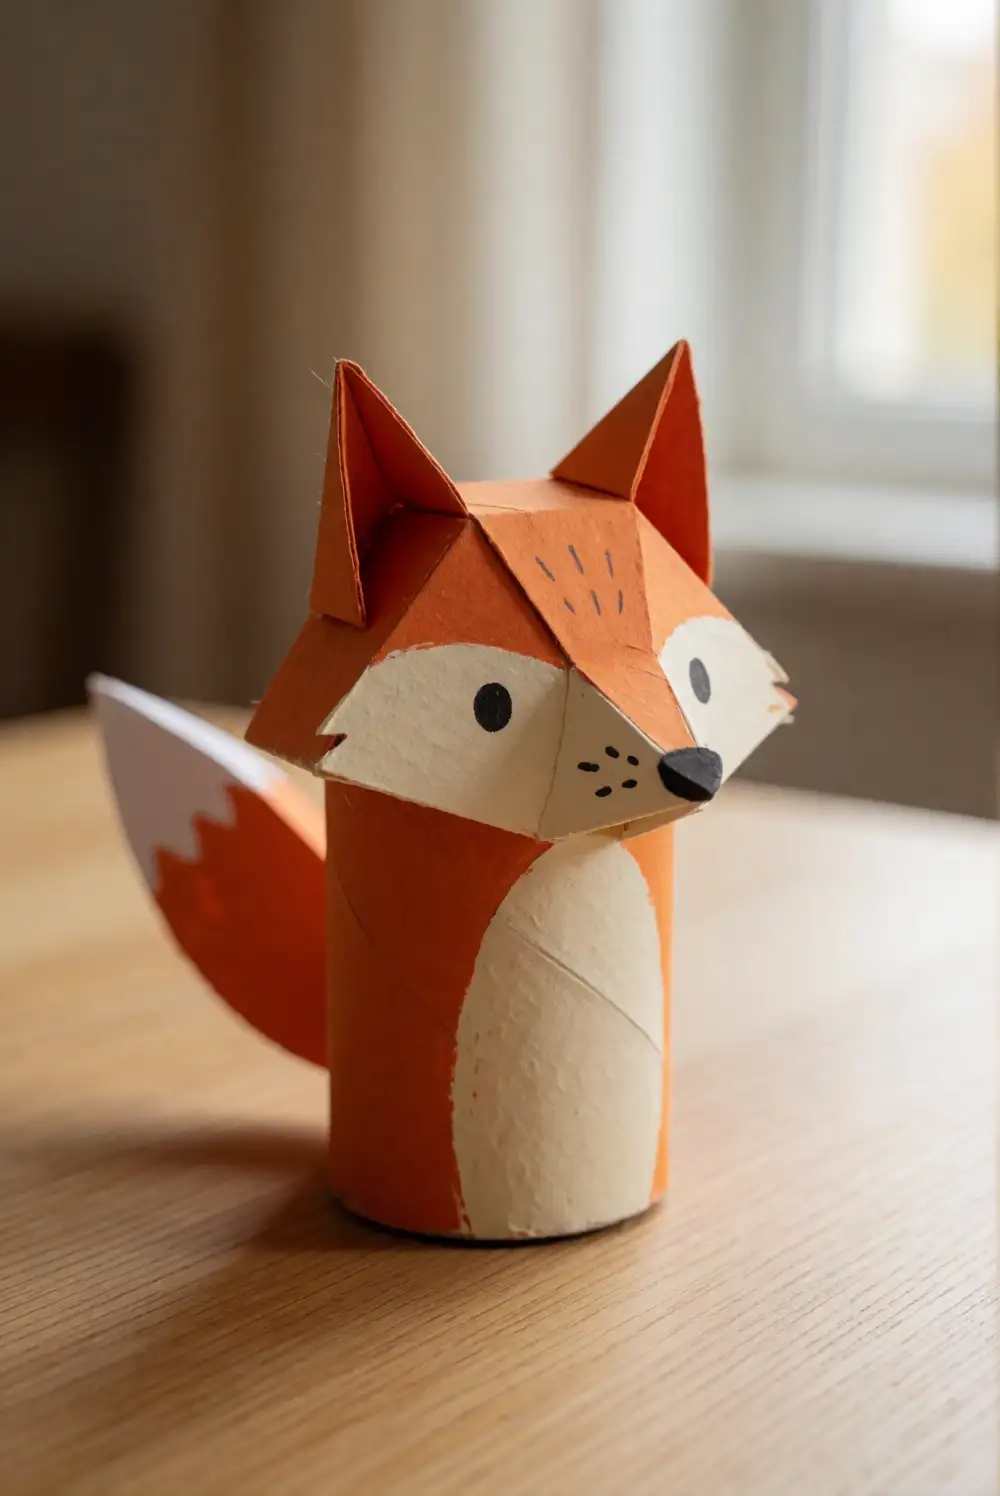
Cover a cardboard tube with orange construction paper, securing the paper with school glue. Fold down the top edges to make pointed ears, then add a broad cream paper patch across the lower front for the fox’s muzzle and chest. Draw the eyes and nose with a washable marker, or use larger paper shapes prepared by an adult. Add a wide white paper tail with an orange tip and let the fox dry upright.
Make a small group of foxes with different shades of orange, cream, and rust, or give one fox a paper scarf in a favorite color. Keep the facial features drawn or made from larger paper pieces, and supervise children as they use craft materials. Display the finished fox on a bookshelf or use it as a character in pretend play. A flat cardboard base can help it stand steadily.
Autumn Leaf Window Catcher
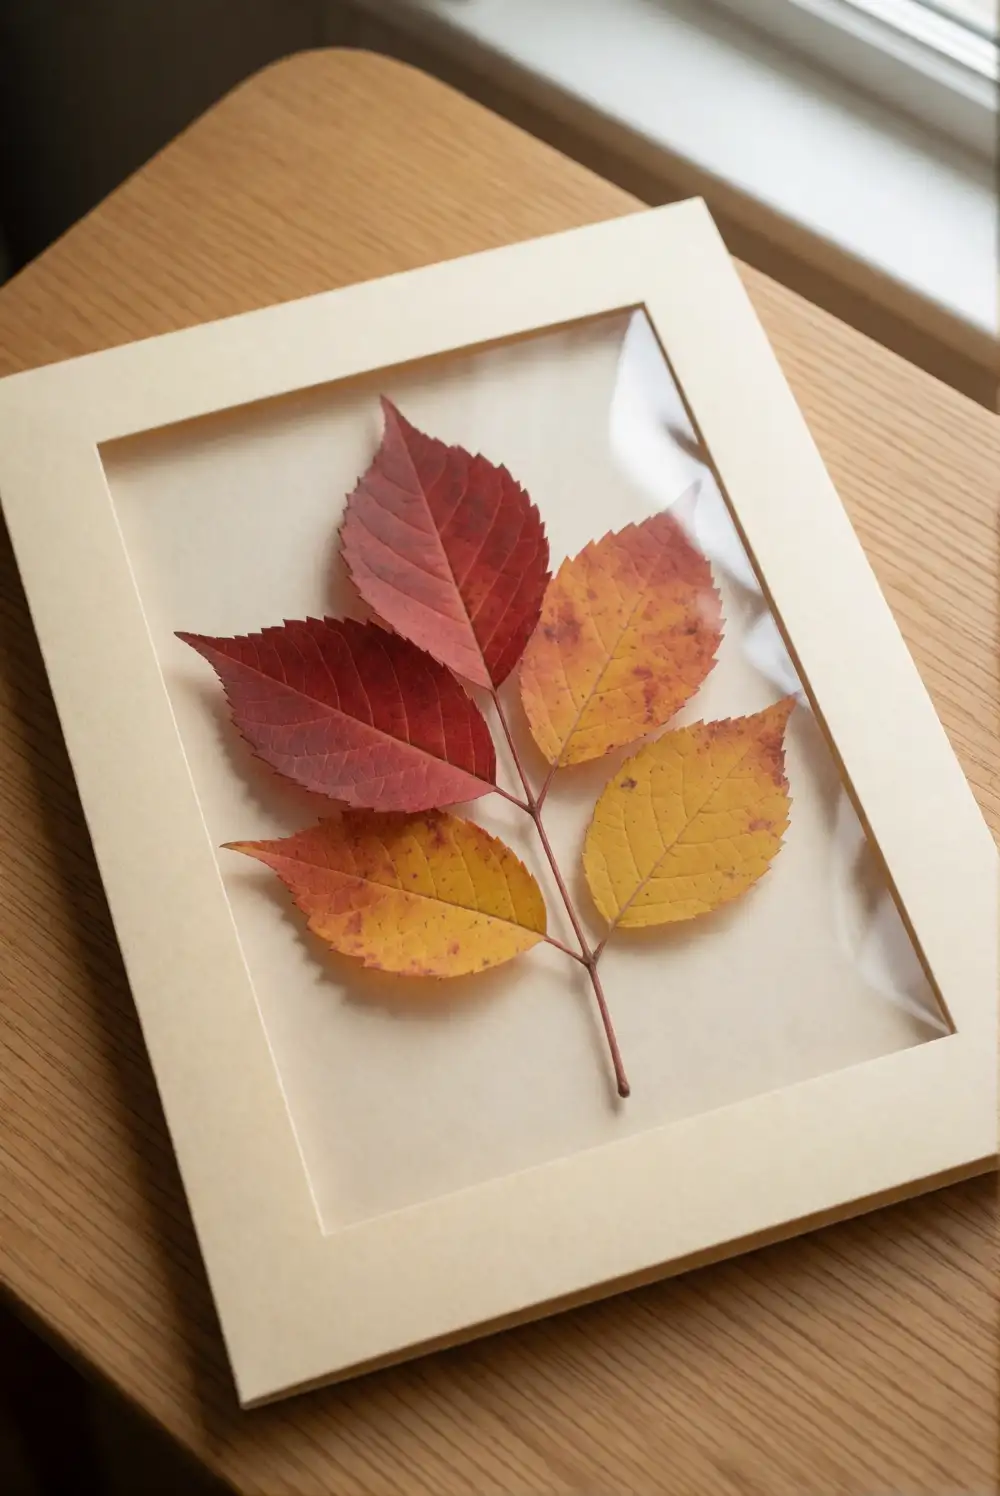
Cut two matching shapes from clear, self-adhesive laminating film or contact paper, leaving a wide border around each one. Press large, clean autumn leaves onto the sticky side of one sheet, arranging them with space between the shapes. Place the second sheet over the leaves and smooth it gently from the center outward. An adult can trim the edges and add a broad cardstock frame before the catcher is ready to hang.
Choose leaves in contrasting colors so their shapes show clearly when daylight passes through. If fresh leaves are damp, blot them first to help the finished piece stay neat. Hang the catcher in a bright window using a simple loop of ribbon attached by an adult, or tape it to the glass. This project also works with large paper leaf cutouts when nature leaves are unavailable.
Paper Bag Scarecrow Puppet
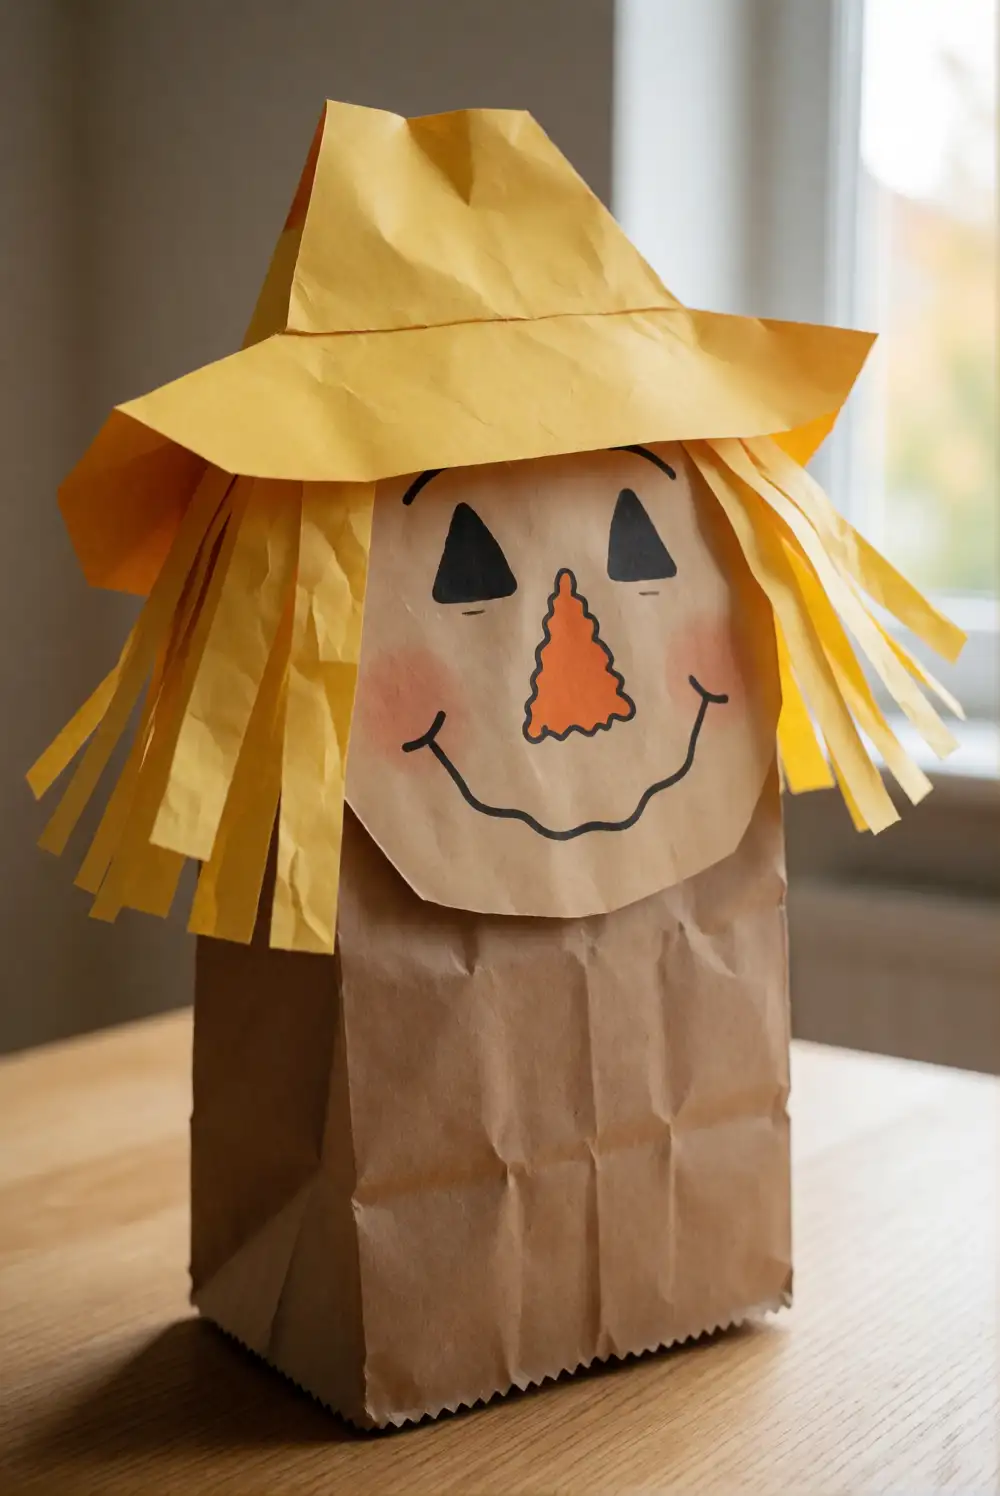
Turn a paper lunch bag into a friendly scarecrow by gluing a large paper face onto the flat bottom flap. Add a wide paper hat, a simple orange triangle nose, and drawn eyes and mouth. For hair, attach broad strips of yellow or brown paper along the sides of the face. Let children choose the colors and arrange the pieces before gluing. Once everything is dry, the child’s hand can slip inside the bag to move the puppet.
Try a plaid paper hat or a bright patchwork shirt made from large cardstock shapes. Keep the puppet’s features broad and firmly attached, and avoid small decorative pieces. Children can use their scarecrow in a pretend harvest scene or stand it beside a basket of play vegetables. Make a second puppet with a different hat so siblings can invent a simple autumn story together.
Yarn-Wrapped Cardboard Pumpkin
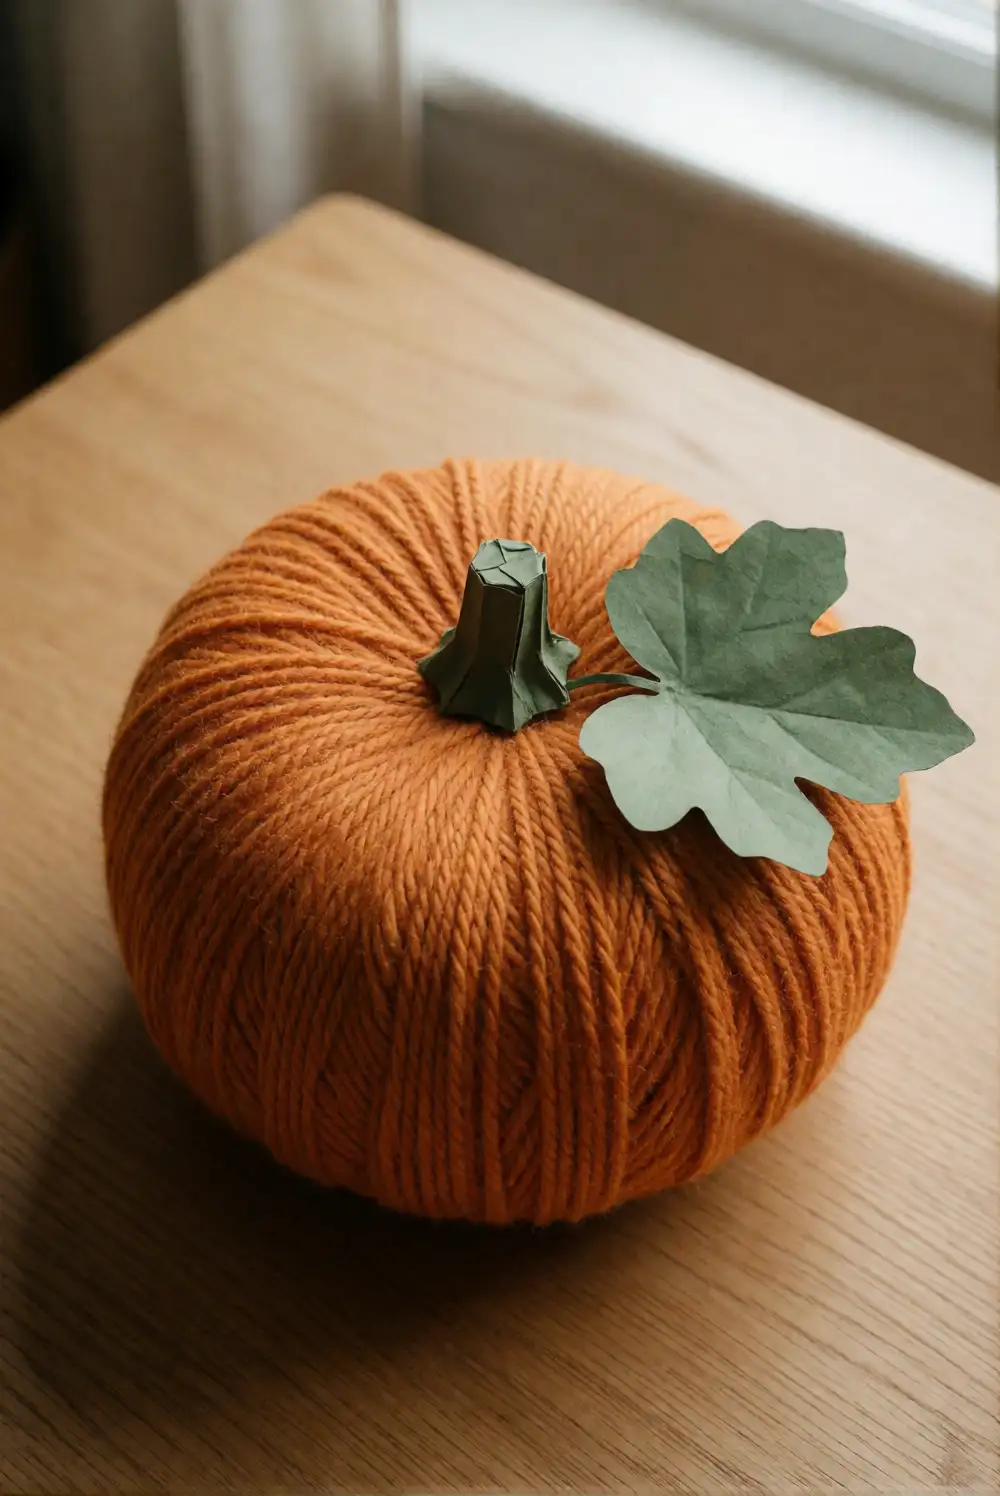
Cut a broad pumpkin shape from sturdy cardboard, including a short stem at the top. Secure the end of thick orange yarn on the back with tape, then wrap the yarn around the shape until the cardboard is mostly covered. An adult can help guide the yarn around the stem and keep it from slipping. Finish by tying or taping the end securely on the back, then add a large green paper leaf if desired.
Use two shades of orange yarn to create gentle stripes, or choose cream yarn for a softer farmhouse look. The pumpkin can hang from a door handle with an adult-attached loop or sit on a shelf when propped against a book. Keep the yarn under adult supervision and store leftover lengths out of reach when crafting is finished. A larger cardboard shape makes the wrapping easier for younger children.
Layered Paper Leaf Wreath
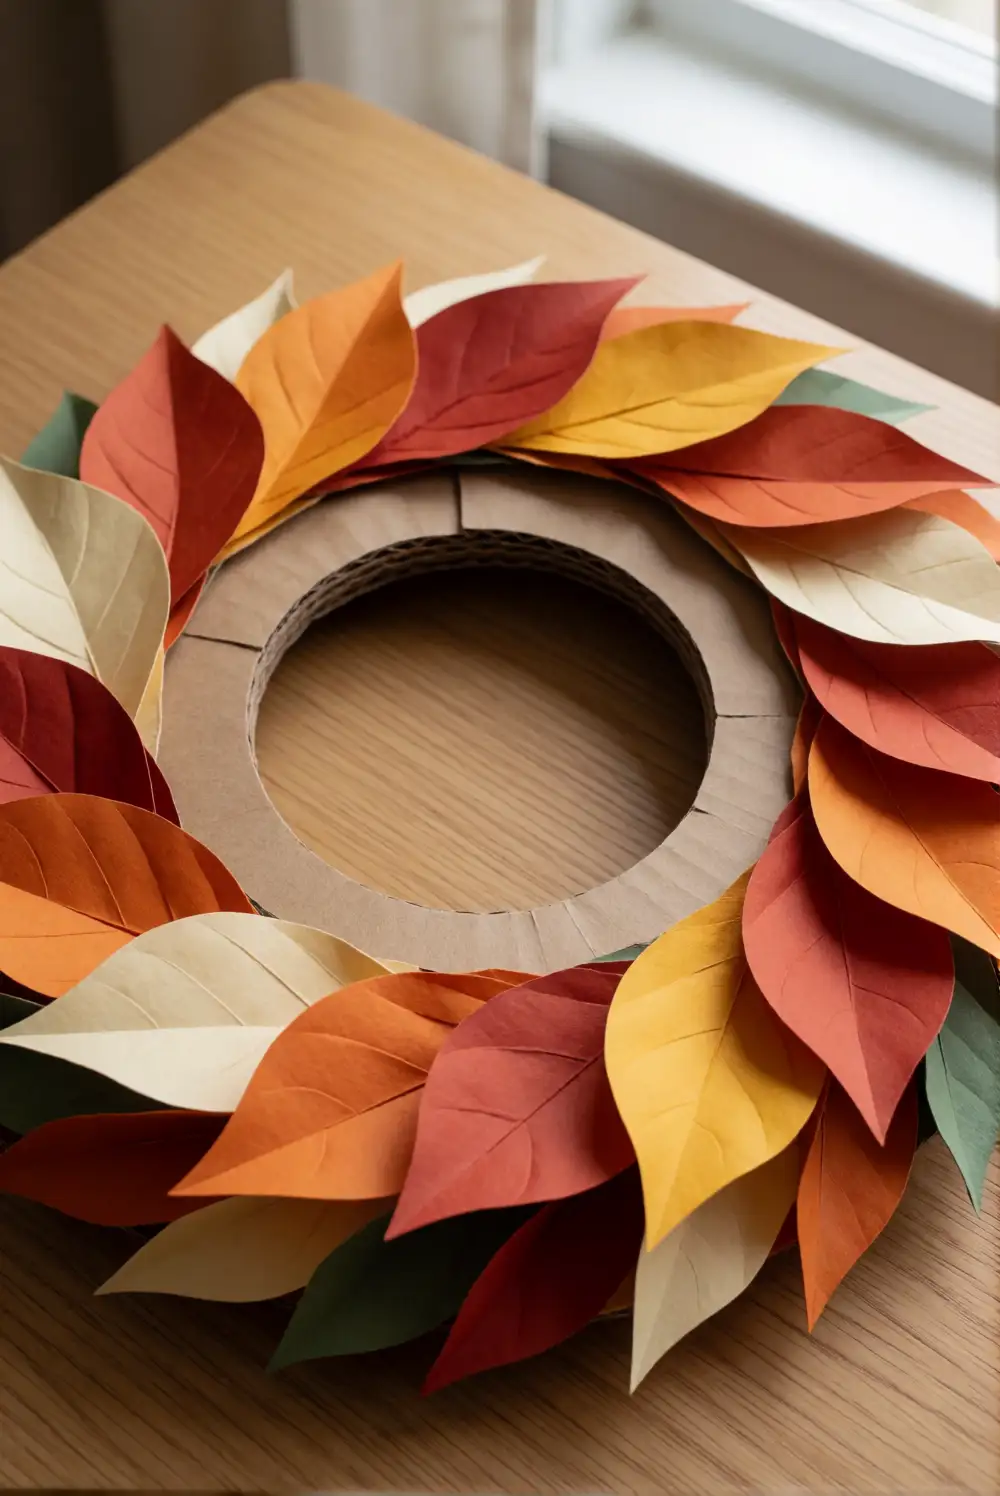
Cut a large ring from sturdy cardboard, then prepare broad paper leaves in autumn shades. Children can arrange the leaves around the ring, overlapping them as they go, and glue each one in place. Alternate warm colors for an even pattern or cluster similar shades together for a softer effect. An adult can attach a ribbon loop to the back after the glue has dried, making the wreath easy to hang.
Add a few cream or muted green leaves to bring contrast to the oranges and reds. Keep the center of the cardboard ring open so the wreath looks light rather than crowded. Display it on an interior door, above a child’s craft table, or flat as a seasonal centerpiece. If cutting is challenging, prepare the leaf shapes in advance and let the child focus on arranging and gluing them.
Watercolor Resist Autumn Leaves
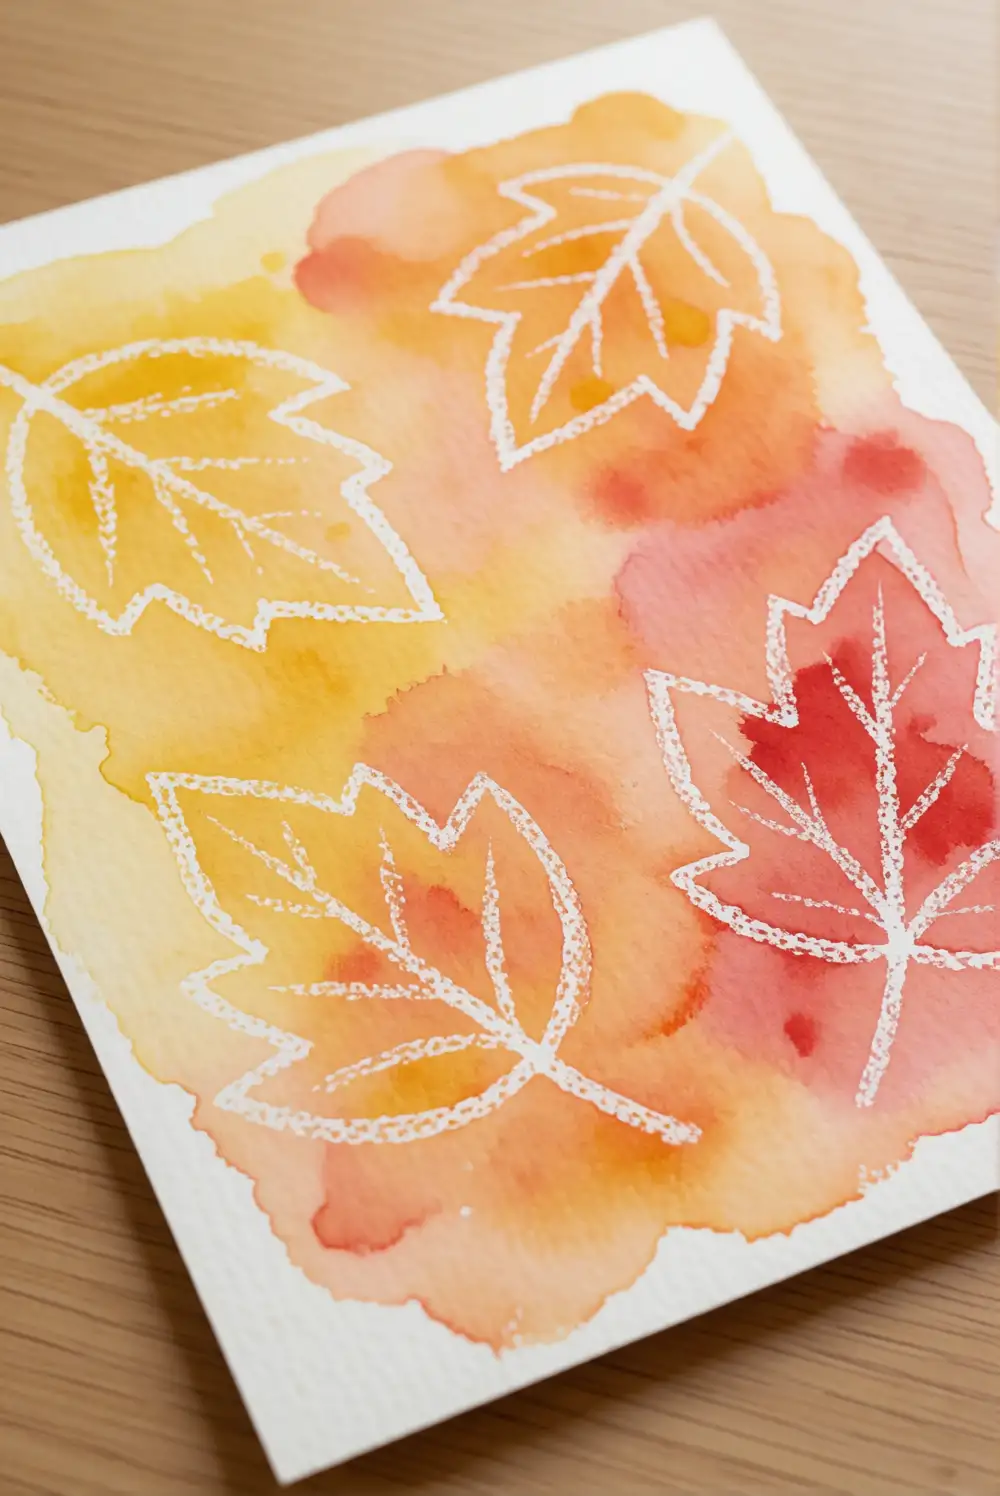
Draw large leaf outlines on thick watercolor paper using a white crayon, pressing firmly enough to leave a waxy line. Invite children to brush diluted red, yellow, and orange watercolor over the page; the crayon outlines will remain visible as the paint spreads. Offer a separate water cup and a wide brush, and protect the table with a washable covering. Leave the artwork flat until it is completely dry.
Try painting the background in pale blue or cream to make the warm leaves stand out, or use just one wash of golden yellow. Children can add several large leaves to a single page or make one bold leaf the focus. Display the finished painting in a frame or clip it to a seasonal art display. If the paper curls slightly, an adult can flatten it under a heavy book after it dries.
Footprint Autumn Turkey Art
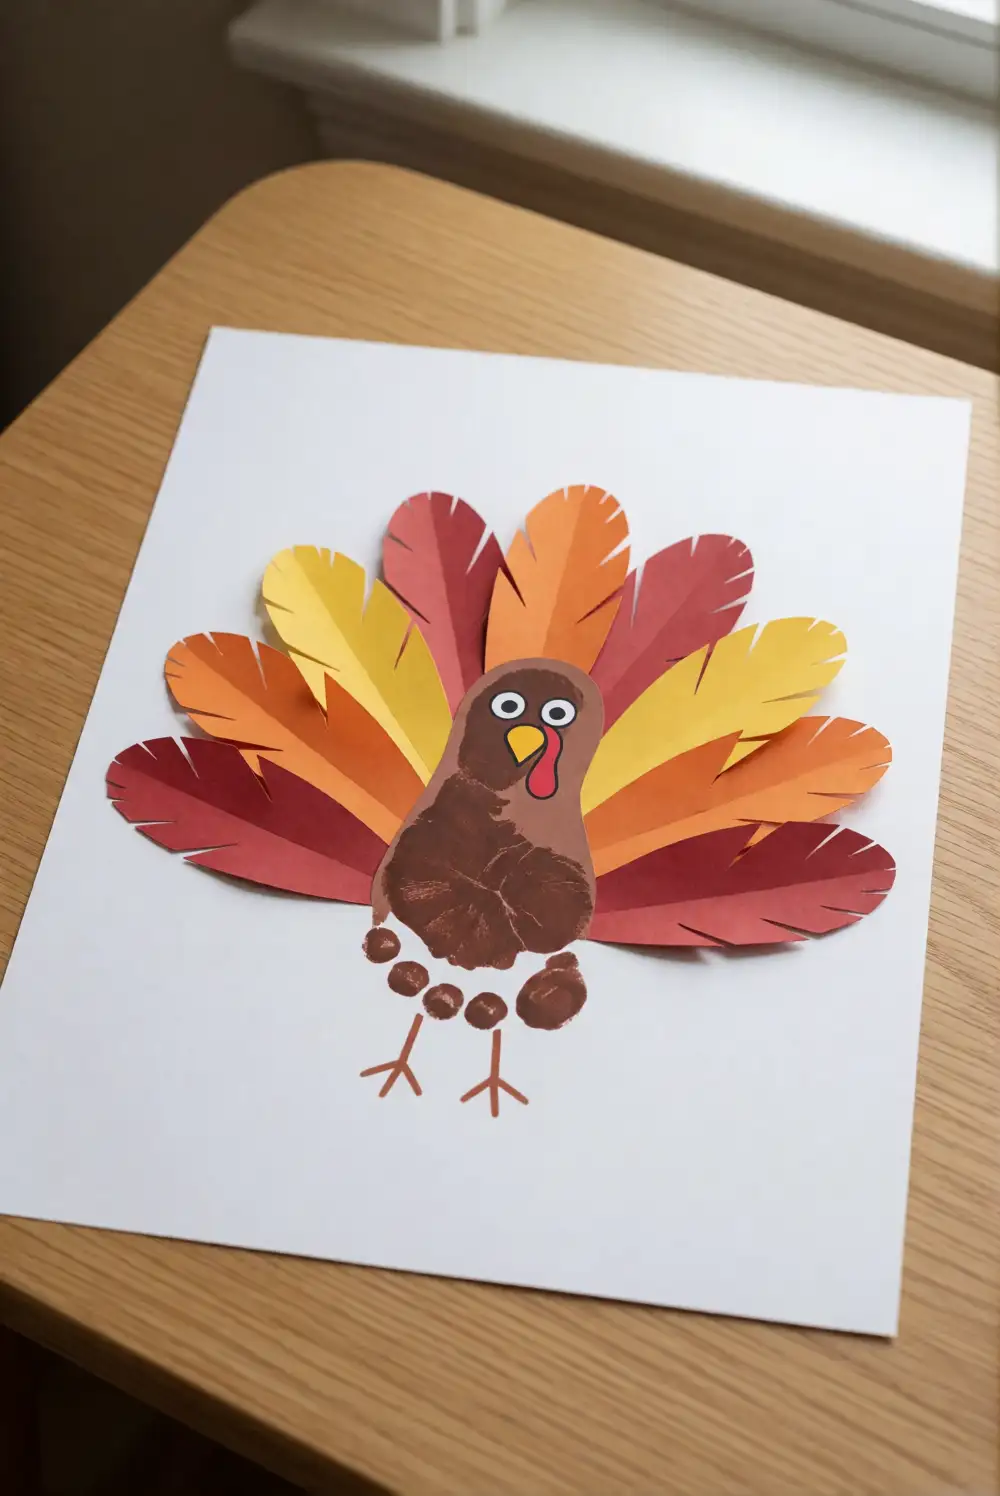
Place a sheet of sturdy paper on a protected floor and help the child make one footprint with washable brown paint. After cleaning the foot, turn the dried print upside down so the heel becomes the turkey’s body. Add broad paper feathers in red, orange, and yellow around the heel, then draw a simple beak and legs with a marker. An adult should manage the paint and help the child step carefully onto the paper.
Make the feathers wide and easy to arrange, changing their colors or layering them for a full fan shape. Add a simple paper ground beneath the turkey if the child wants a finished scene. Let the picture dry flat before placing it in a frame or saving it in a seasonal art folder. Keep a damp cloth nearby for cleanup, and wash the child’s foot promptly after printing.
Rolled Paper Hedgehog Picture
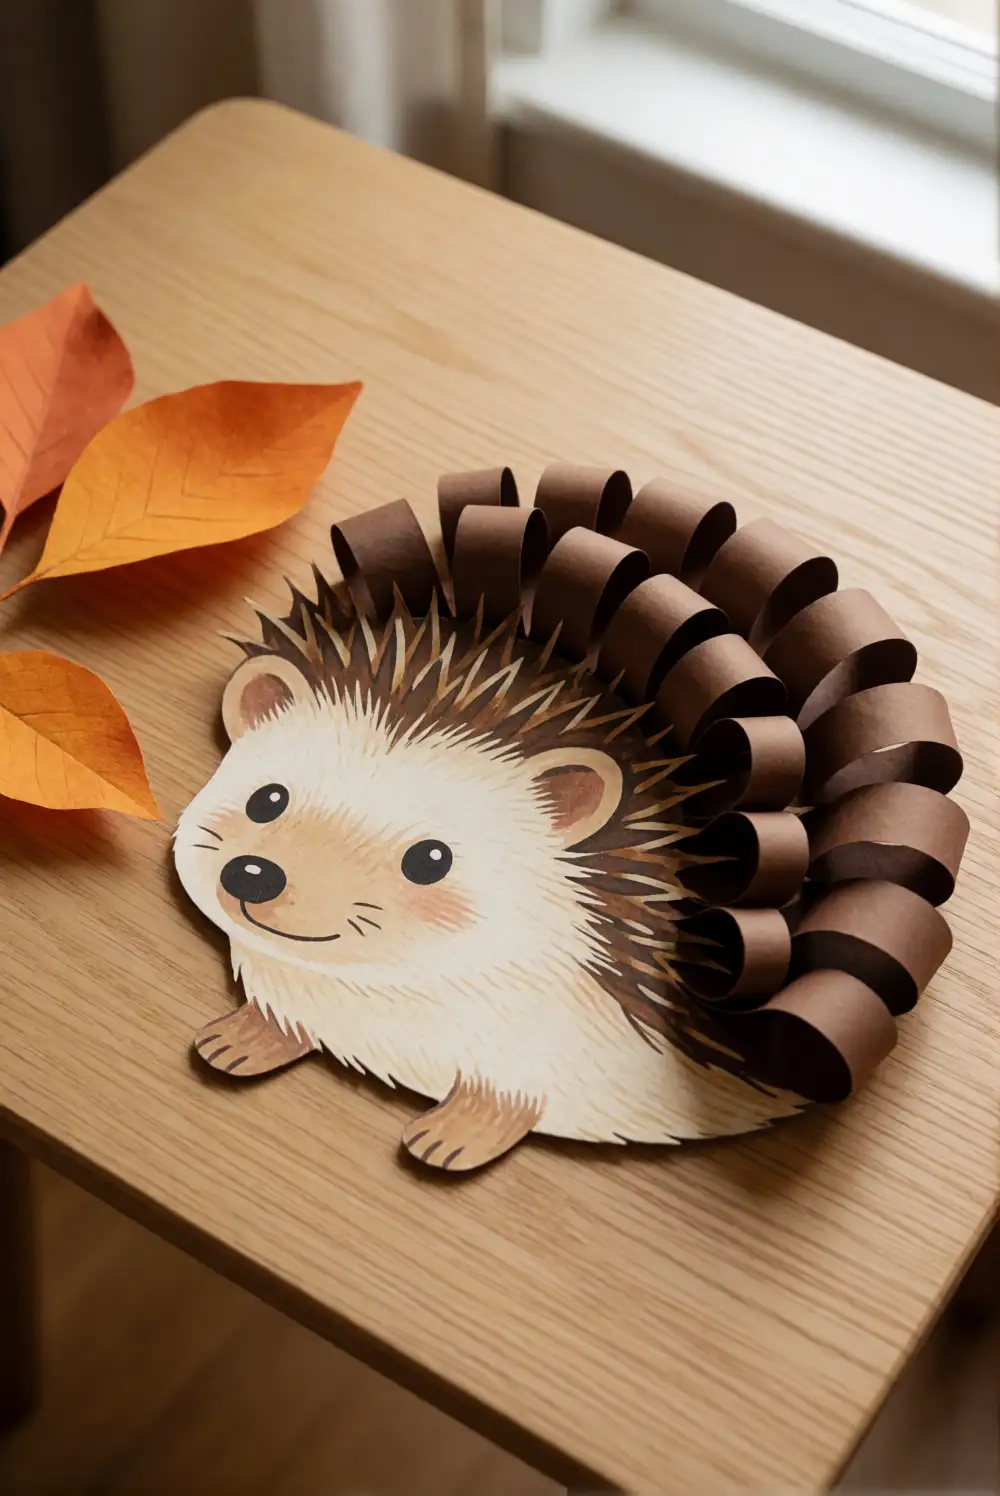
Draw a large hedgehog body on cardstock, with a rounded face and back. Cut wide strips of brown paper, curl each strip around a marker barrel, and glue the rolled shapes along the hedgehog’s back to form soft-looking spines. Add a broad cream face patch and draw a small eye and nose with a washable marker. An adult can prepare the body outline and paper strips, leaving the child to curl and arrange them.
Use a mix of light and dark brown paper to give the spines a layered appearance, or add a few broad orange leaves beside the hedgehog. Keep the rolled paper pieces large and firmly glued. Once dry, prop the picture on a shelf or mount it on a larger sheet of warm-colored cardstock. Children can make a companion hedgehog with a different face shape or a colorful paper leaf nearby.
These fall crafts give kids plenty of ways to explore autumn colors with simple, hands-on projects. Choose a favorite, adapt the materials to what you already have, and display the finished artwork on a shelf, wall, or bright window. A little preparation and a protected work surface make it easier for children to enjoy making seasonal decorations at their own pace.