Make the season feel extra special with toddler fall crafts that turn colorful leaves, simple paper shapes, and everyday supplies into charming keepsakes. These cheerful projects are designed for little hands, with grown-up help for tricky steps and plenty of room for creative choices.
Colorful Leaf Print Art
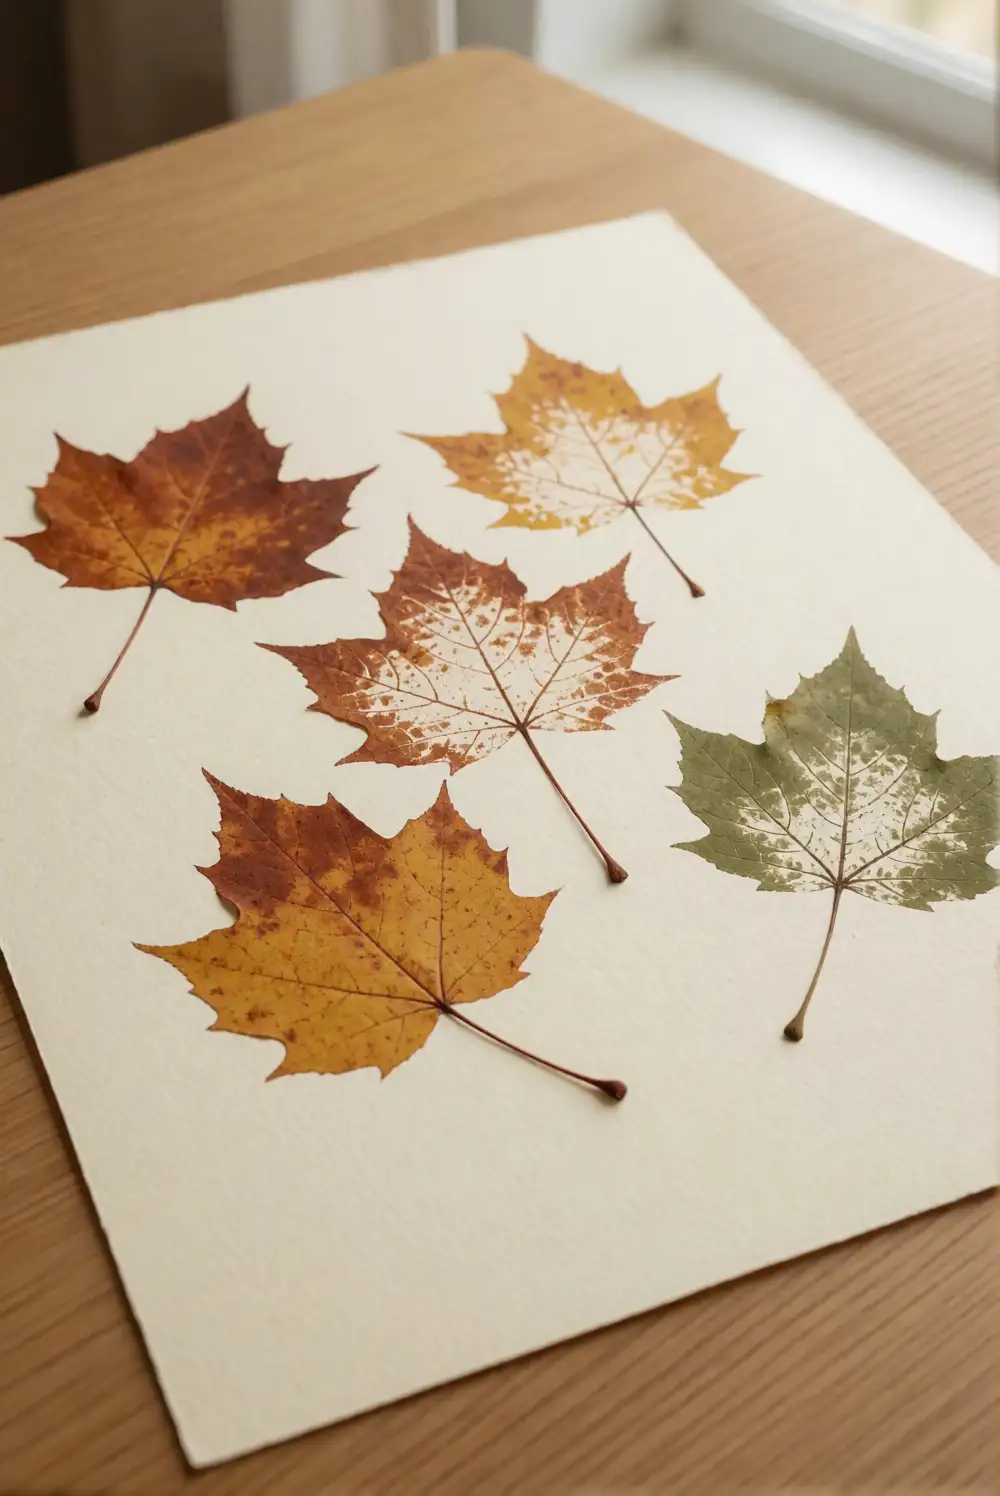
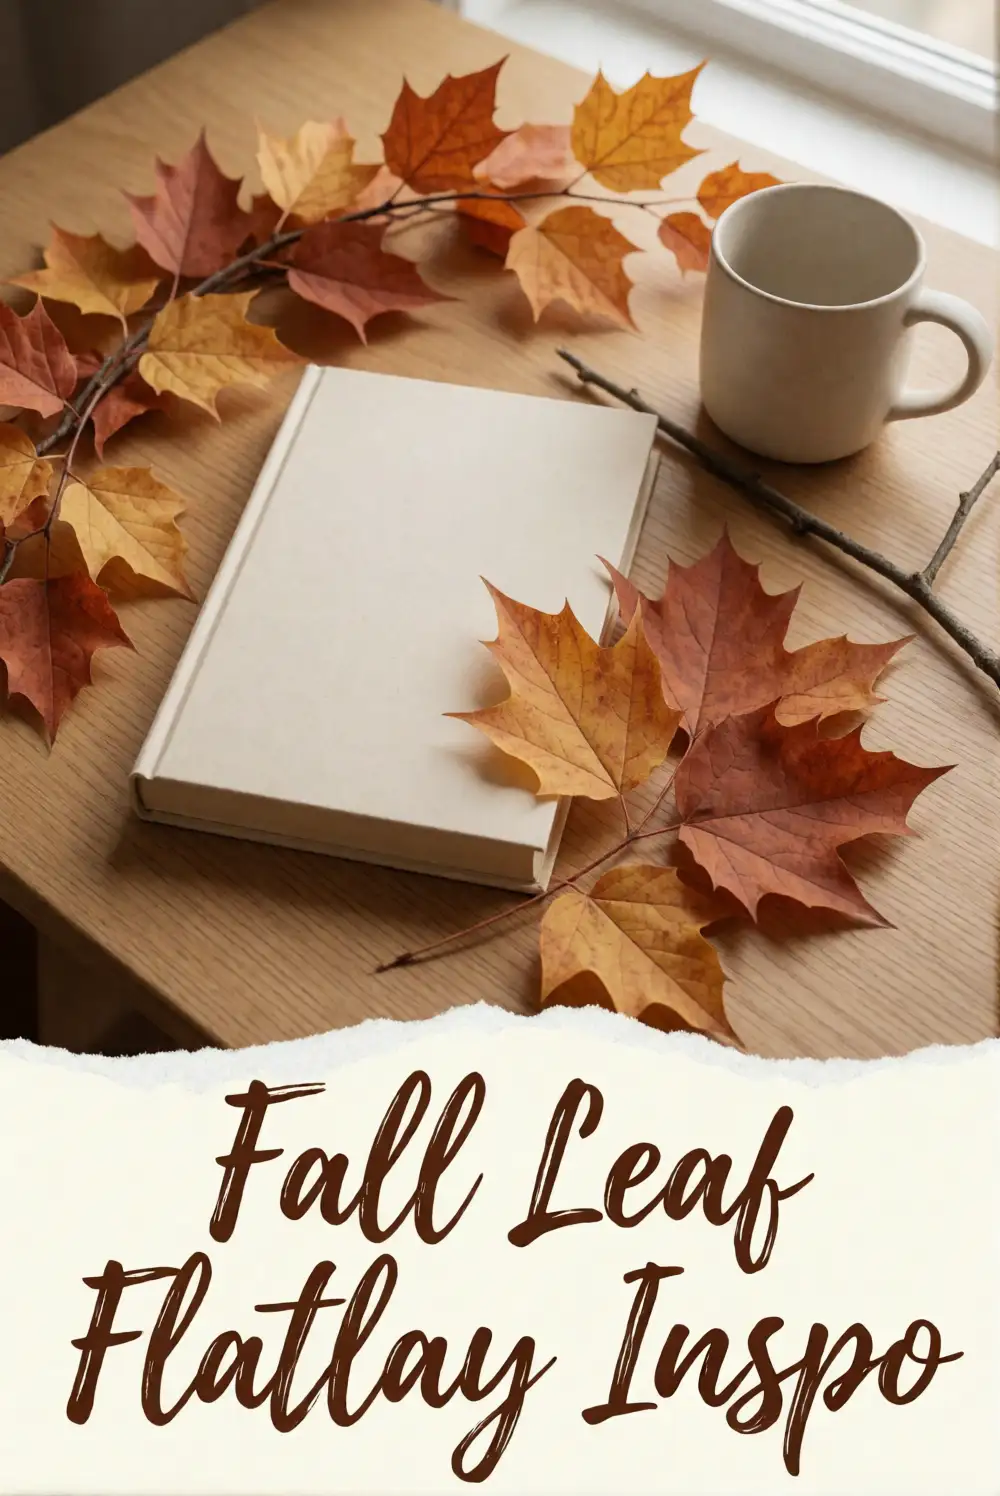
Turn sturdy fallen leaves into natural stamps for a bright autumn picture. Gather clean, dry leaves with visible veins, washable tempera paint, a shallow tray, and thick paper. An adult can help brush a thin layer of paint onto the veined side of each leaf. Press it gently onto the paper, then lift it to reveal the print. Offer a few leaf shapes and let your toddler choose where each one goes.
Use warm shades such as ochre, rust, and muted green, or keep the palette to two colors for a calmer look. Let each print dry flat before displaying the finished art in a simple frame or on the refrigerator. Leaves with broad surfaces tend to make clearer impressions, and pressing rather than sliding helps preserve their delicate vein patterns.
Big Paper Leaf Collage
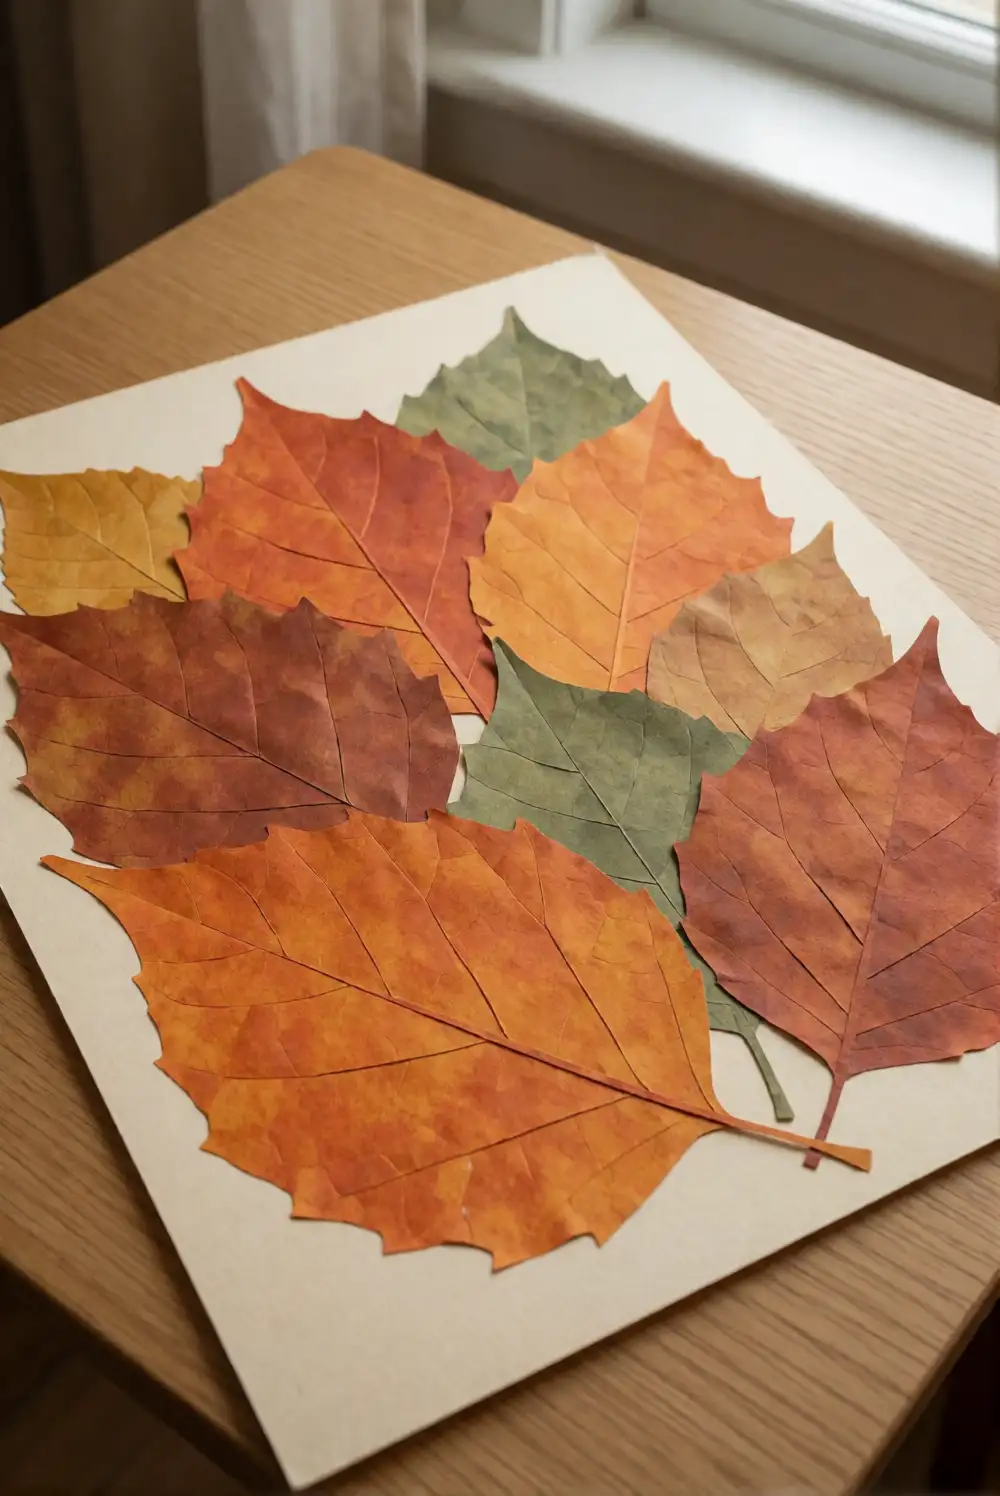
Create a layered leaf picture using large, adult-cut leaf shapes, sturdy paper, and a washable glue stick. Choose construction paper in autumn colors, then cut a variety of broad leaves that are easy for little hands to pick up. Invite your toddler to arrange the shapes across a larger sheet before adding glue to the backs. Press each leaf down gently, overlapping a few to make a full, colorful collage.
Try mixing smooth paper with lightly textured paper for a little contrast, while keeping every shape large and easy to handle. A plain cream or pale brown backing lets the leaves stand out without competing with their colors. Once the collage is dry, place it in a frame or use it as seasonal artwork on a low shelf where your child can enjoy seeing the finished creation.
Apple Stamp Painting
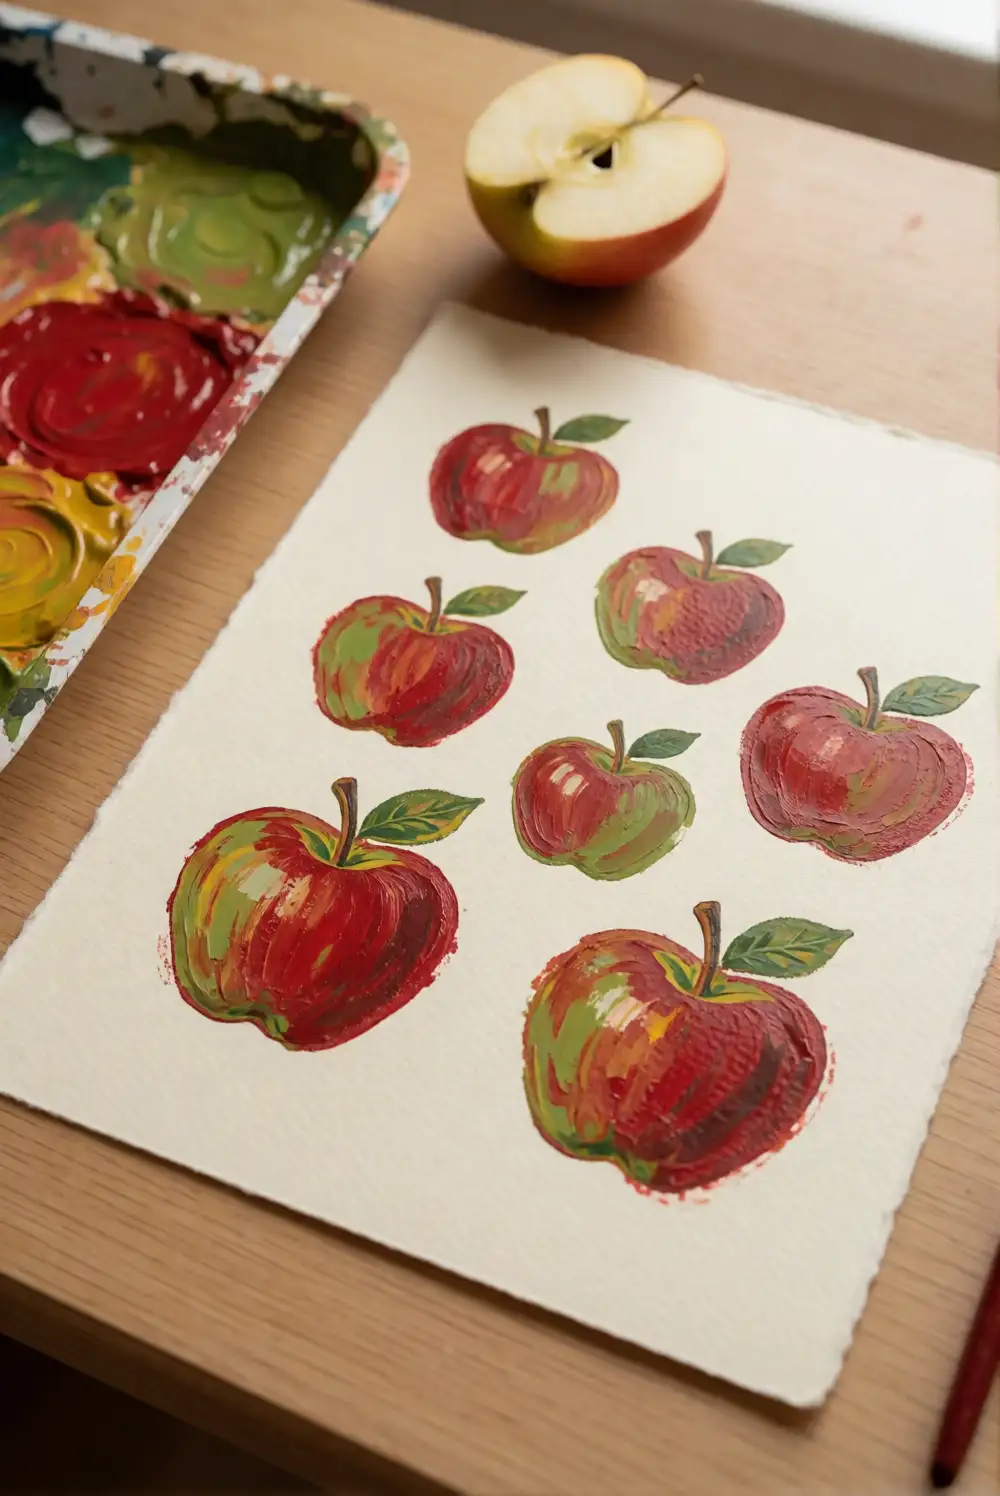
Make playful apple shapes with washable paint and a real apple cut in half by an adult. Set out thick paper, a shallow plate of red or green tempera paint, and the apple halves with their cut sides ready for stamping. Show your toddler how to press an apple into the paint and then onto the paper. Offer a fresh section of paper when the paint begins to look muddy.
Use one apple color for a simple pattern or alternate red and green prints across the page. An adult can add a paper leaf shape after the paint has dried, keeping the finished picture bright and recognizable. Place the artwork flat to dry, then display it in the kitchen or use it as a cheerful seasonal decoration. A shallow tray underneath helps keep paint contained.
Handprint Autumn Tree
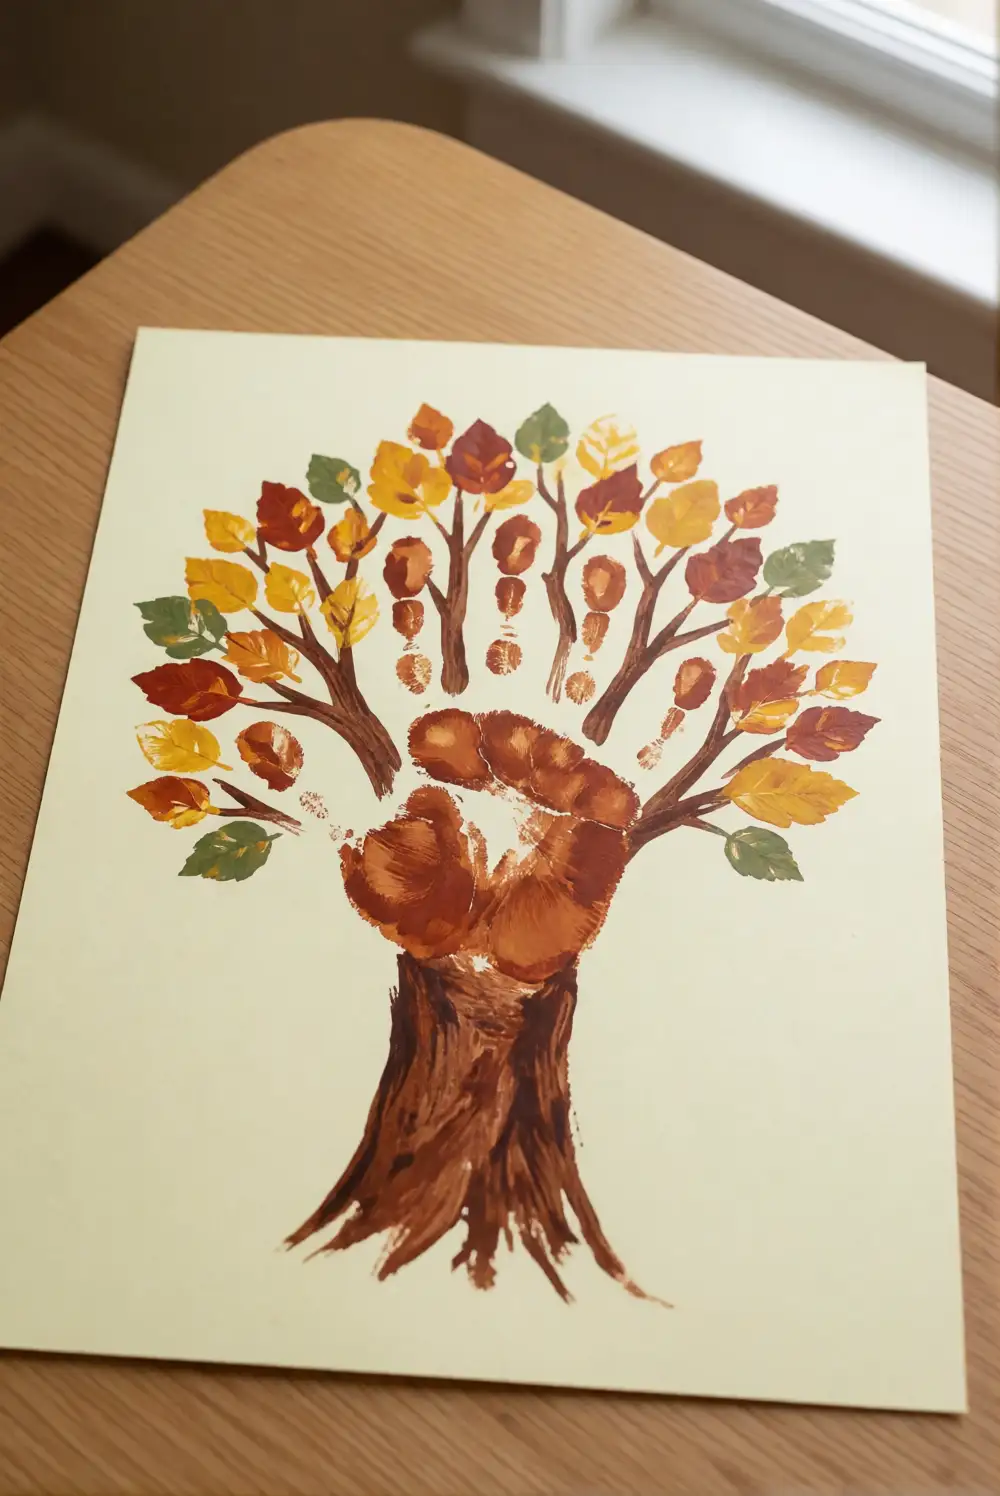
Make a keepsake tree with washable brown paint, thick paper, and autumn-colored paint for the leaves. Help your toddler coat one open hand with a thin layer of brown paint, then press it onto the paper with fingers spread to form the trunk and branches. After the handprint dries, use fingertips to dab red, orange, and yellow leaves around the branches. Keep a damp cloth nearby for an easy cleanup.
Let your child decide whether the tree has a full canopy or just a few scattered leaves. For a softer look, use a pale background and just two leaf colors; for a brighter piece, add a larger cluster of prints near the branches. Allow the paint to dry completely before framing the picture or placing it on a seasonal display shelf.
Paper Plate Pumpkin Face
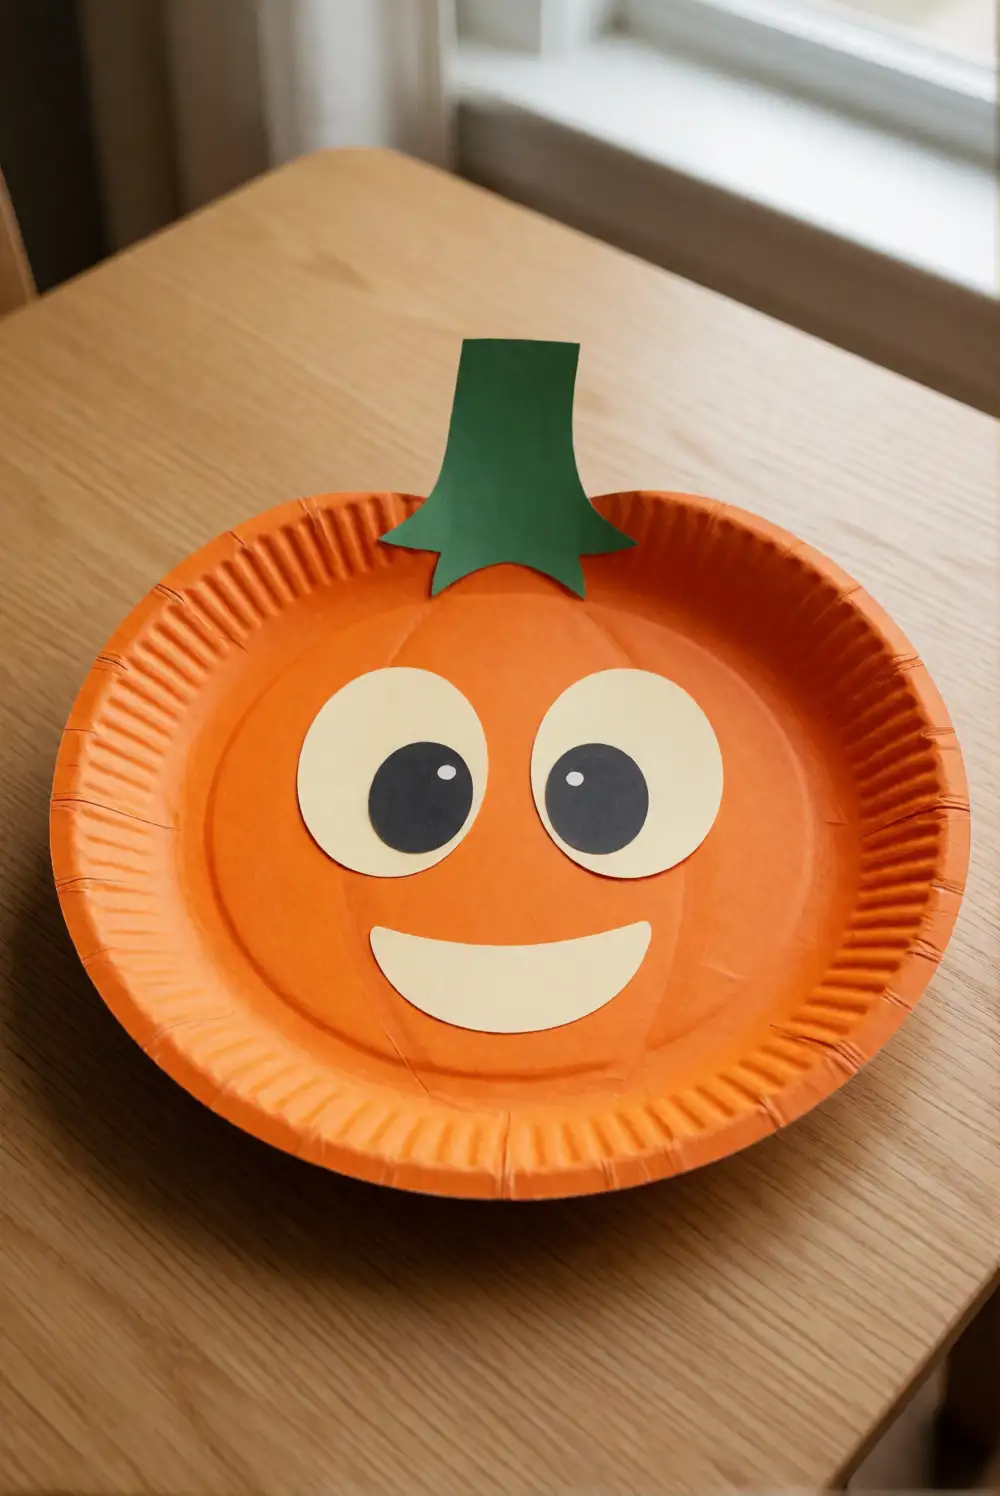
Make a friendly pumpkin from a sturdy paper plate, washable orange paint, and large shapes cut from construction paper by an adult. Let your toddler paint the plate orange with a broad brush or sponge, then leave it flat until dry. Add a large green paper stem and oversized paper features using a glue stick. Keep the expression cheerful with rounded shapes and a warm smile.
Try a pale green stem, a cream-colored smile, or a pair of wide paper eyes to give each pumpkin its own personality. The large shapes are easy to position and keep the finished design uncluttered. Hang the dry plate on a wall or lean it on a picture ledge as a bright fall accent. If painting is messy, use orange paper instead of paint.
Cozy Paper Bag Harvest Friend
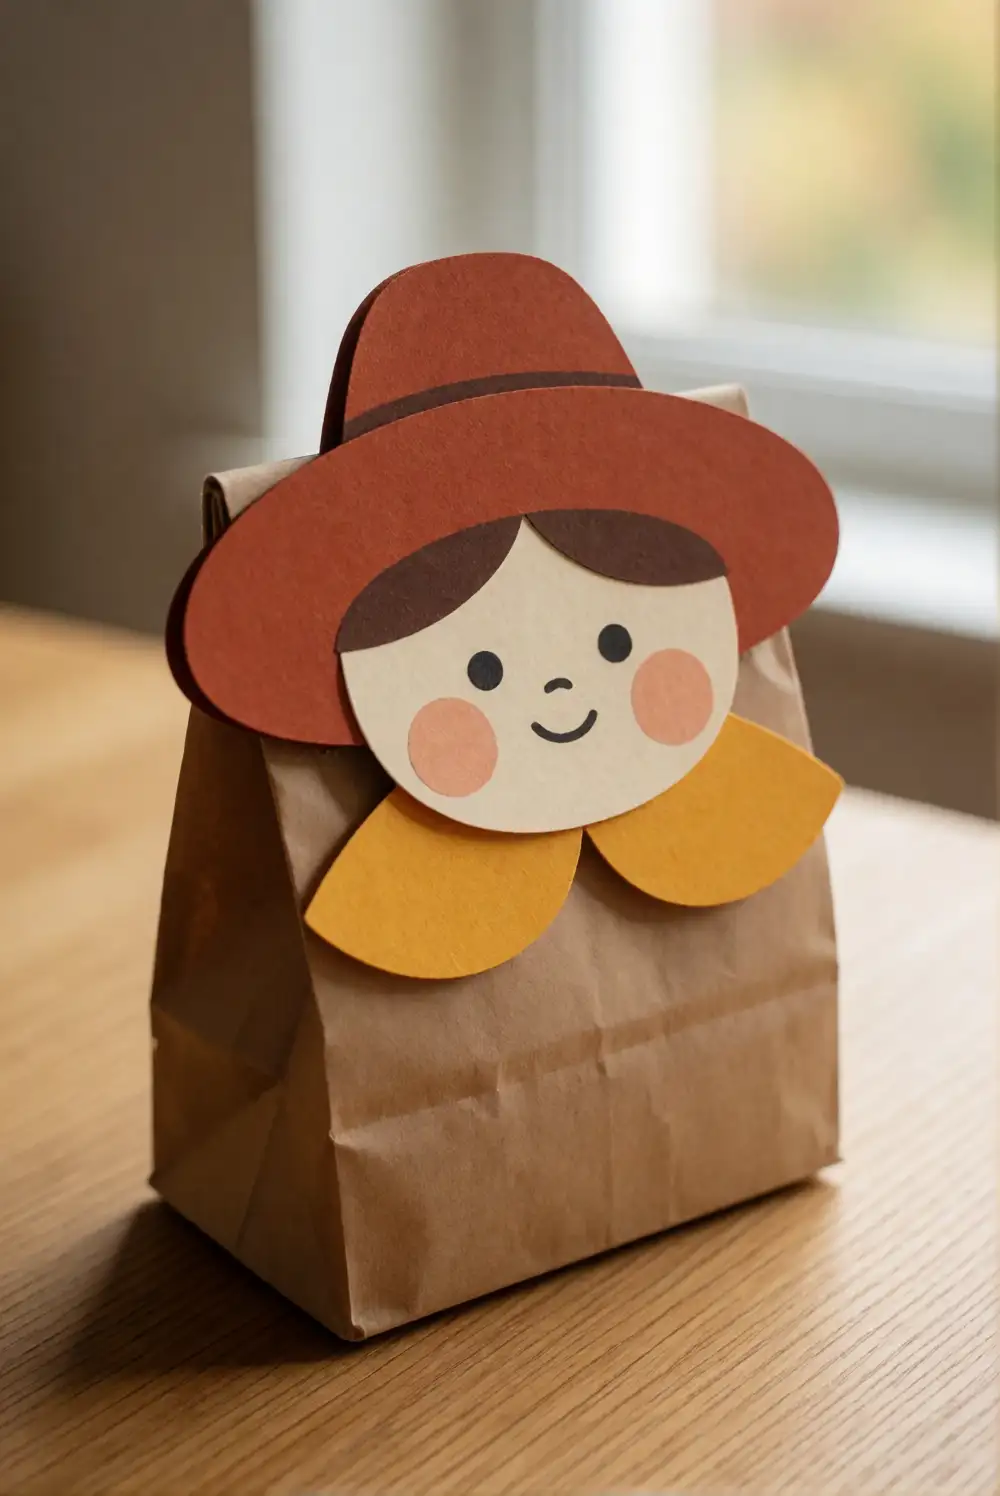
Transform a small paper lunch bag into a friendly harvest character with large paper shapes, a glue stick, and washable crayons. An adult can fold the bag’s top flap down to make a simple face area, then prepare broad shapes for a hat, cheeks, and collar. Invite your toddler to color the bag and choose where the shapes belong. Glue them in place, keeping the design simple and easy to recognize.
Use cream, rust, and golden yellow paper for a cozy seasonal palette, or choose soft green and orange for a fresh variation. The bag can stand upright on a sturdy shelf once the glue has dried, or become a simple puppet for pretend play with adult supervision. Avoid adding small accessories; large paper details give the character plenty of personality without extra pieces.
Autumn Paper Leaf Crown
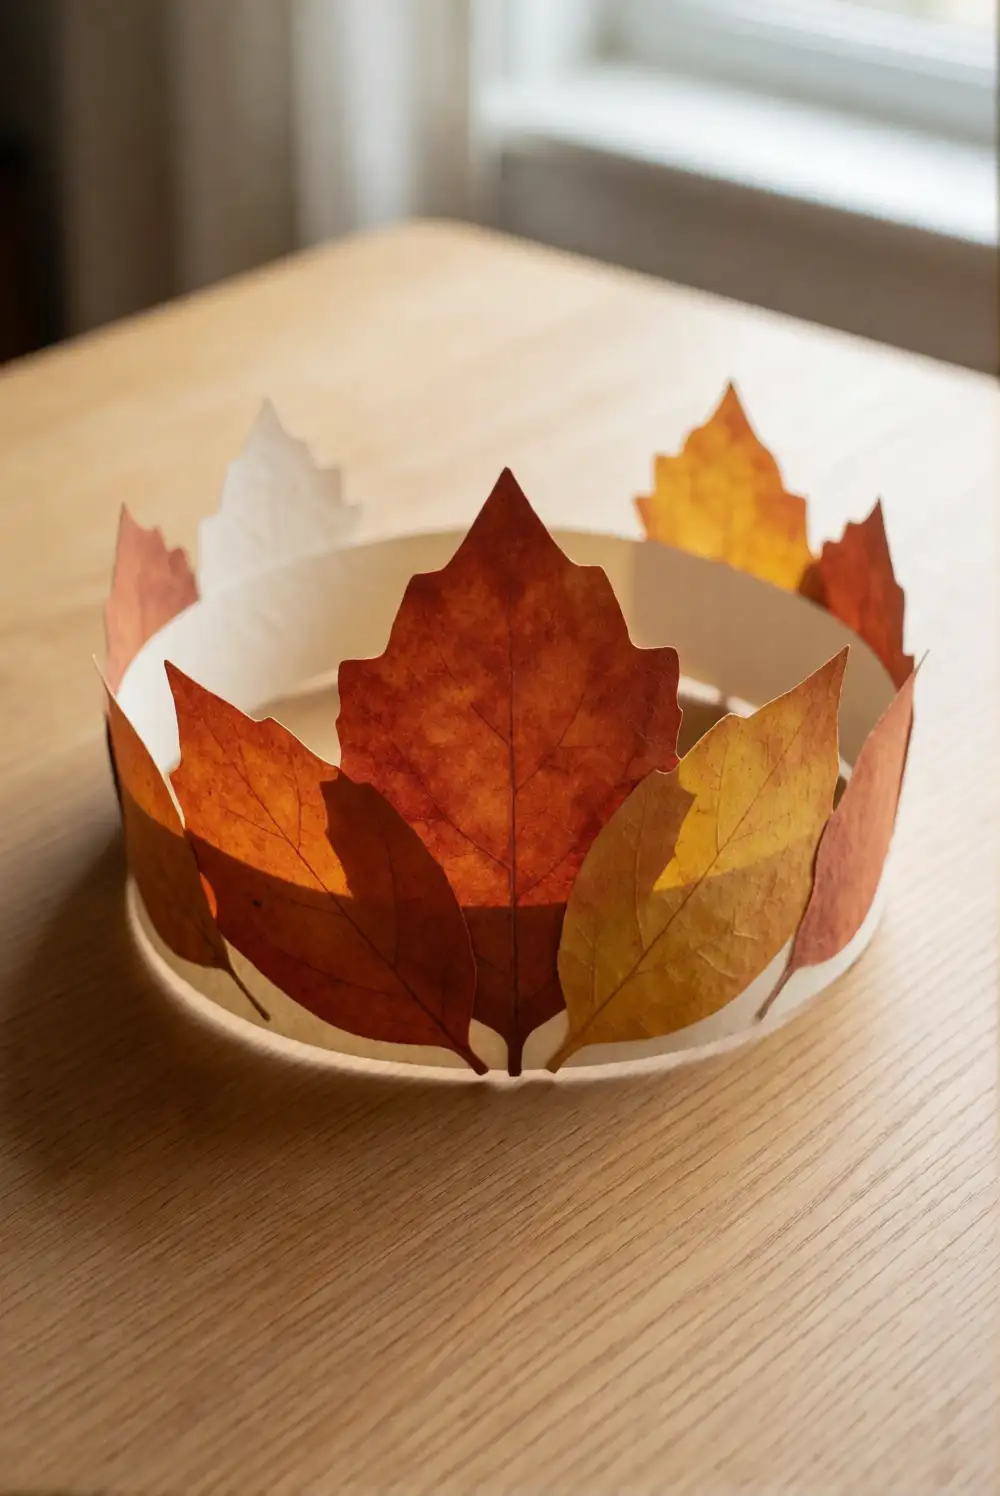
Make a lightweight leaf crown from a wide paper strip and large paper leaves. An adult can measure and fasten the strip to fit comfortably, leaving enough room to adjust it before securing the ends. Cut broad leaf shapes from orange, yellow, and red paper, then let your toddler choose how to arrange them along the band. Attach the shapes with a glue stick and wait until everything is fully dry.
Keep the crown comfortable by using light paper and a band that rests loosely rather than pressing on the head. A few layered leaves create a fuller look, while a single row makes the crown easier to wear. Use it for a pretend autumn walk or place it around a soft toy for display. Supervise wear and remove the crown if it becomes uncomfortable.
Autumn Window Leaf Suncatcher
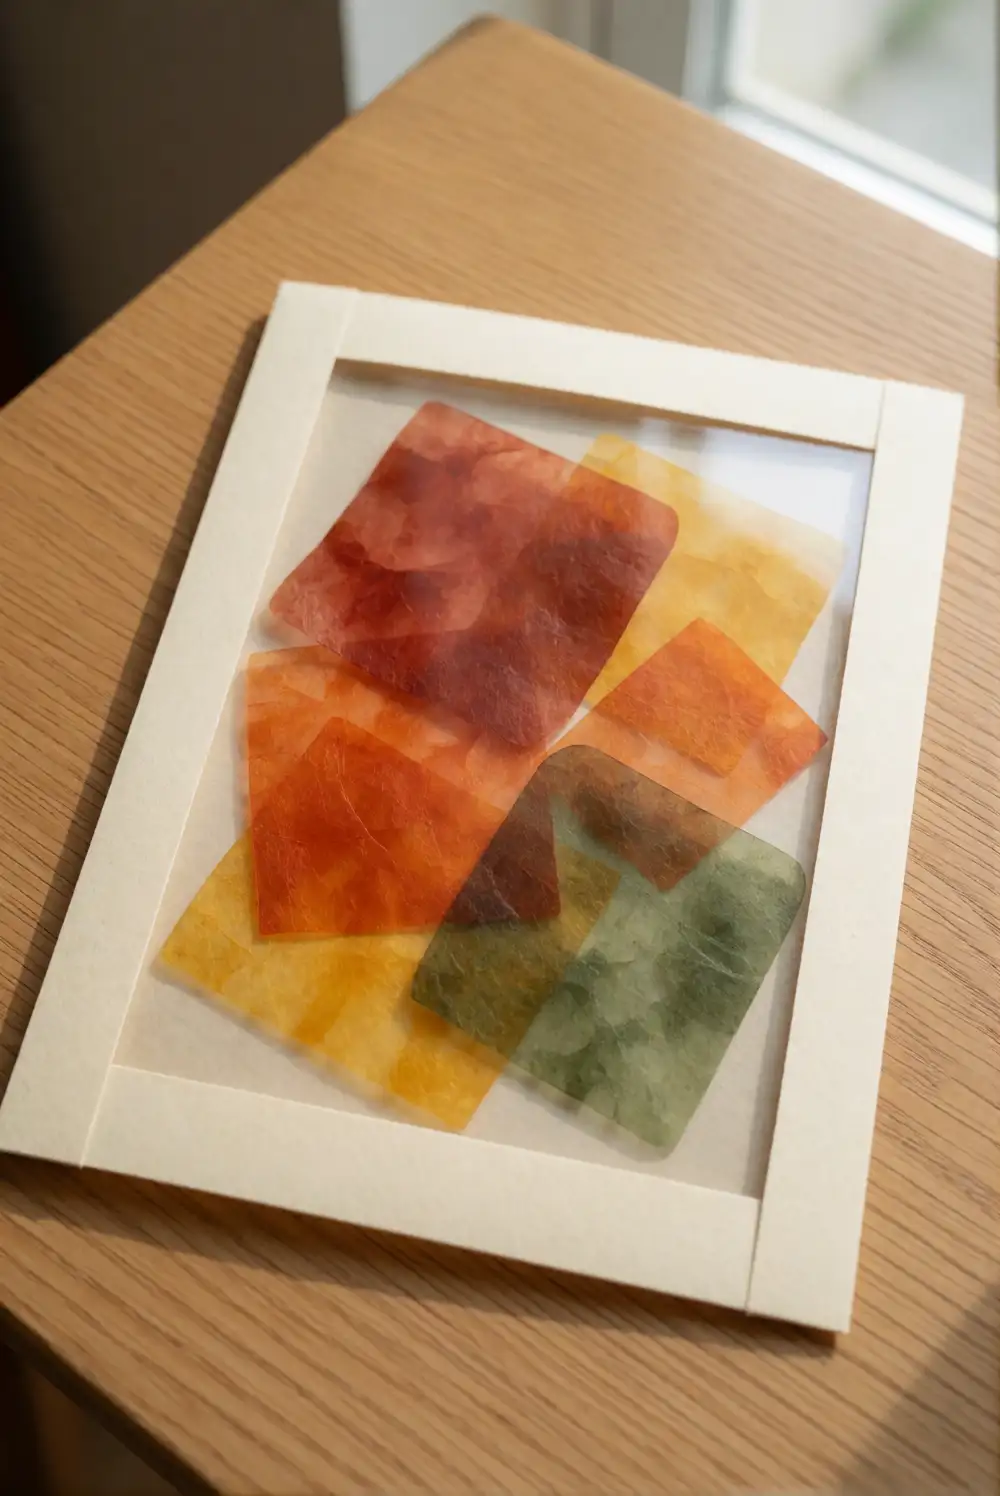
Make a glowing window decoration with clear contact paper, large tissue-paper pieces, and an adult-prepared paper frame. Cut the tissue into broad shapes that are easy to handle, then peel the backing from the contact paper and place it sticky-side up on a work surface. Let your toddler arrange the colors across the center. Add a second clear sheet on top, smooth it gently, and trim or frame the edges with adult help.
Choose orange, yellow, and red for a classic autumn glow, or mix in pale green for a softer effect. Keep the tissue layers mostly single thickness so daylight can shine through. Attach the finished piece to a window at an adult-selected height, away from cords or busy doorways. The decoration looks lovely when viewed from indoors as light passes through its colorful shapes.
Large Leaf Crayon Rubbings
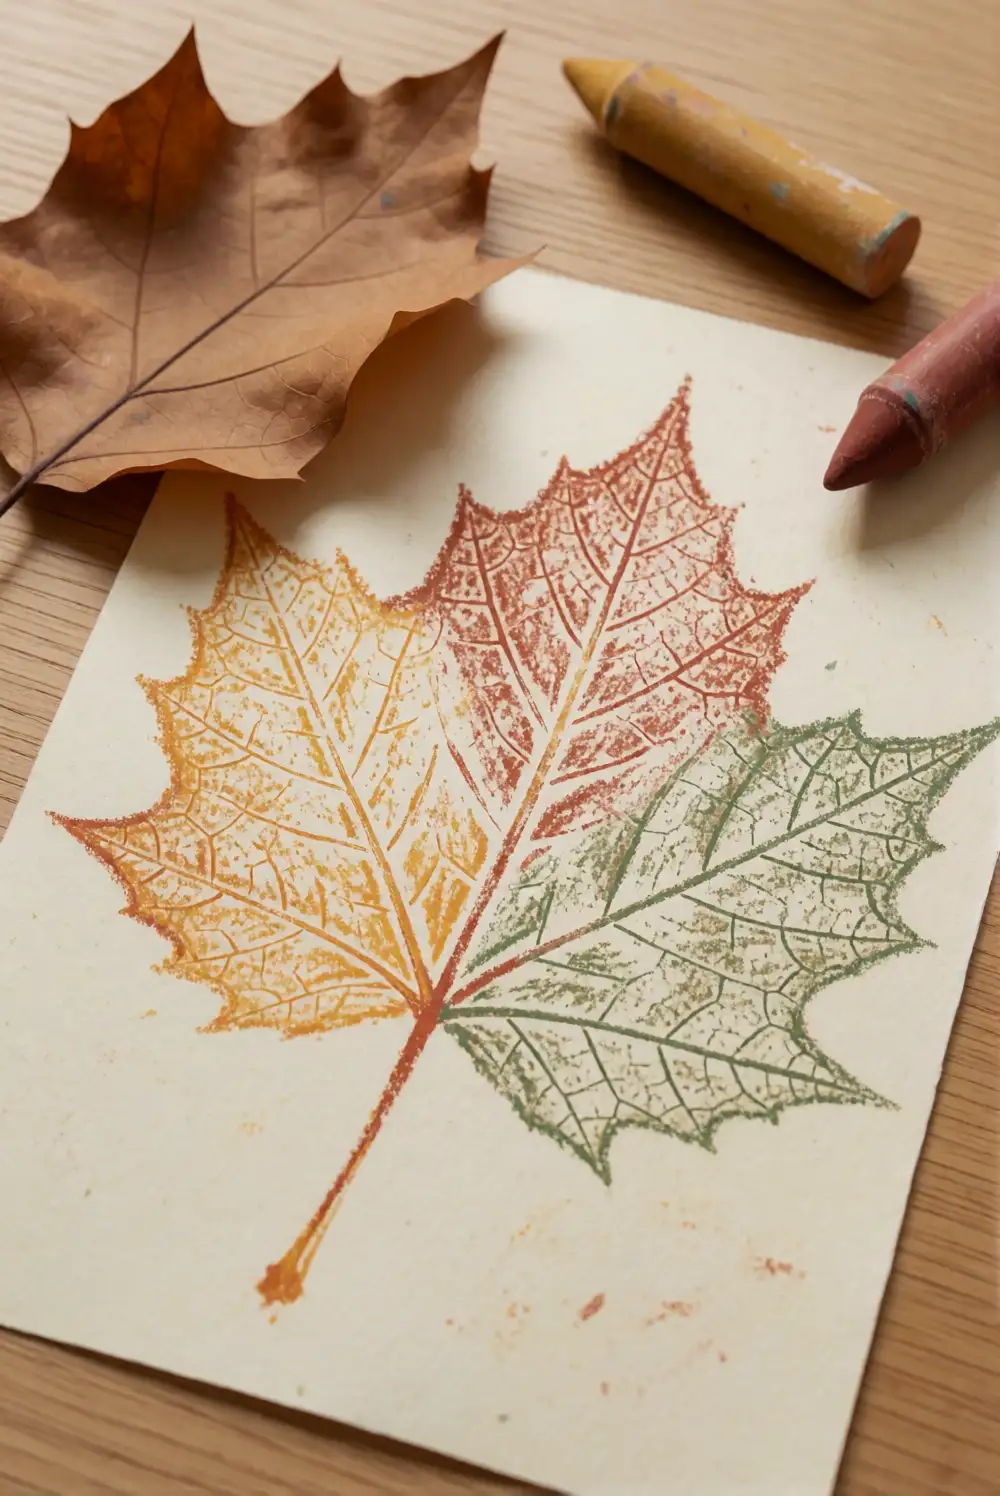
Reveal the raised veins of sturdy leaves with paper and chunky crayons. Place a broad, dry leaf vein-side up on a table, cover it with thin drawing paper, and show your toddler how to rub the side of a crayon across the surface. Hold the paper steady at the edge while your child makes gentle strokes. Repeat with another leaf and a different crayon color for a varied collection of impressions.
Choose leaves with strong veins and smooth edges so their shapes show clearly through the paper. Warm crayons create a traditional fall look, while green and blue can make the rubbings feel more playful. Tape the paper lightly at the corners if it shifts during rubbing. Display the finished pages together in a folder or frame a favorite impression after the crayon marks are complete.
Friendly Paper Hedgehog Picture
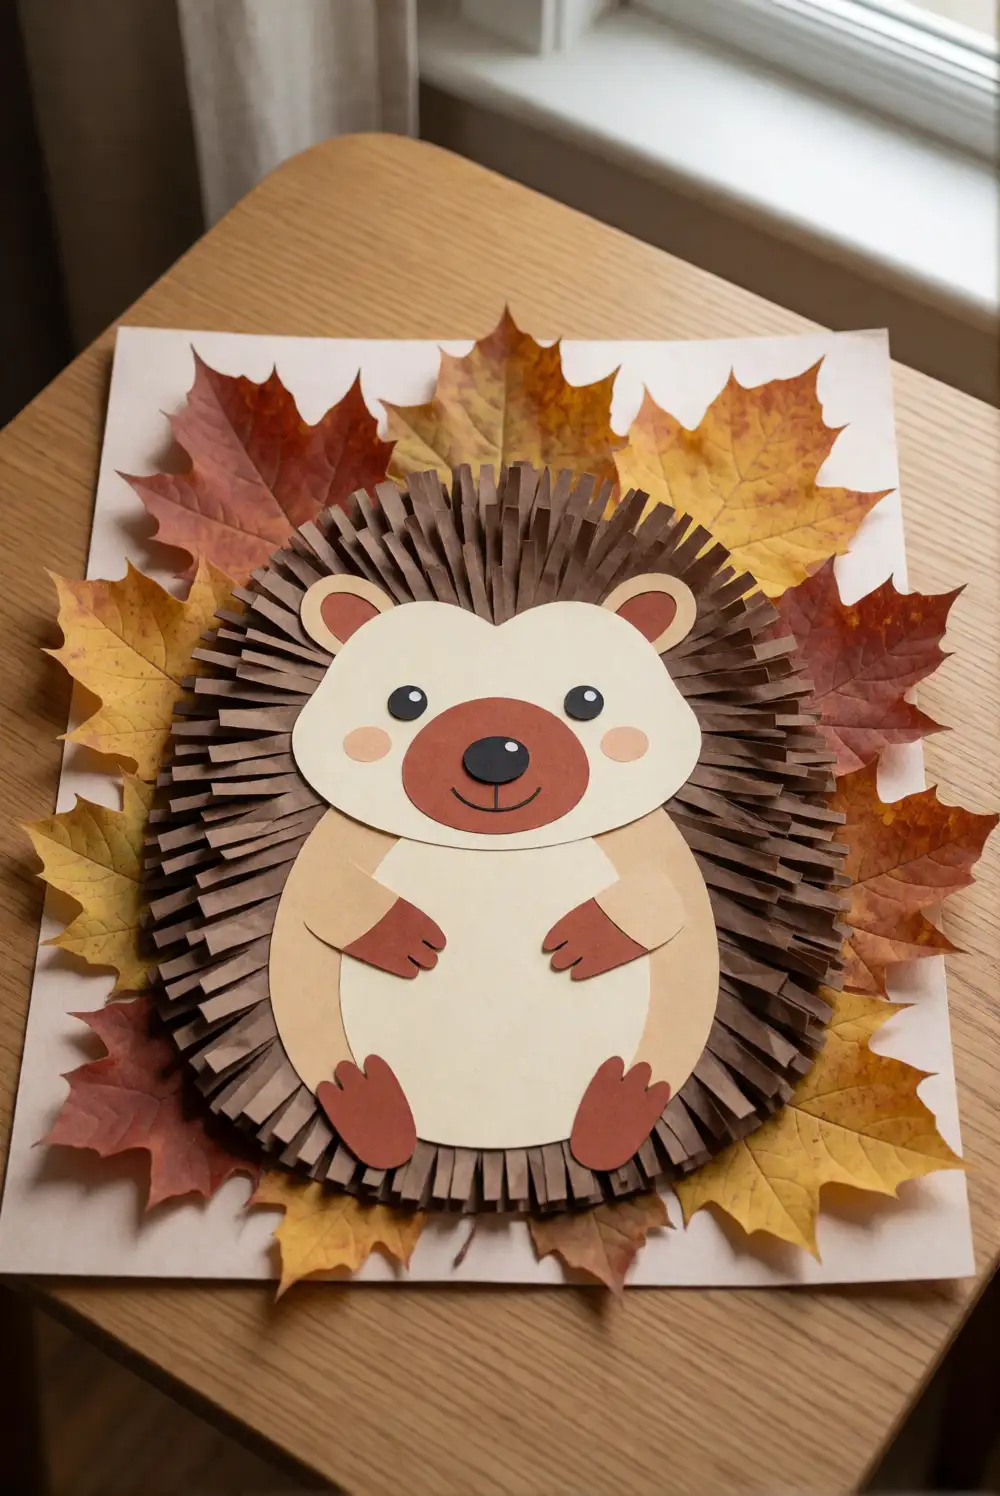
Build a gentle woodland picture from a large oval body, a rounded face, and broad paper fringe. An adult can cut the body and wide fringe shapes from brown construction paper, while your toddler chooses where to place them on a cream background. Glue the body down first, then layer the fringe along its back. Add a large paper nose and simple drawn features with a washable crayon.
Use two shades of brown to make the hedgehog’s back look layered, and keep the face area open so the expression remains clear. A few large paper leaves nearby can complete the autumn scene without crowding the main subject. Once the glue dries, place the picture in a frame or display it beside other seasonal artwork. Keep all added paper shapes broad and easy for little hands to position.
Handprint Fall Turkey Picture
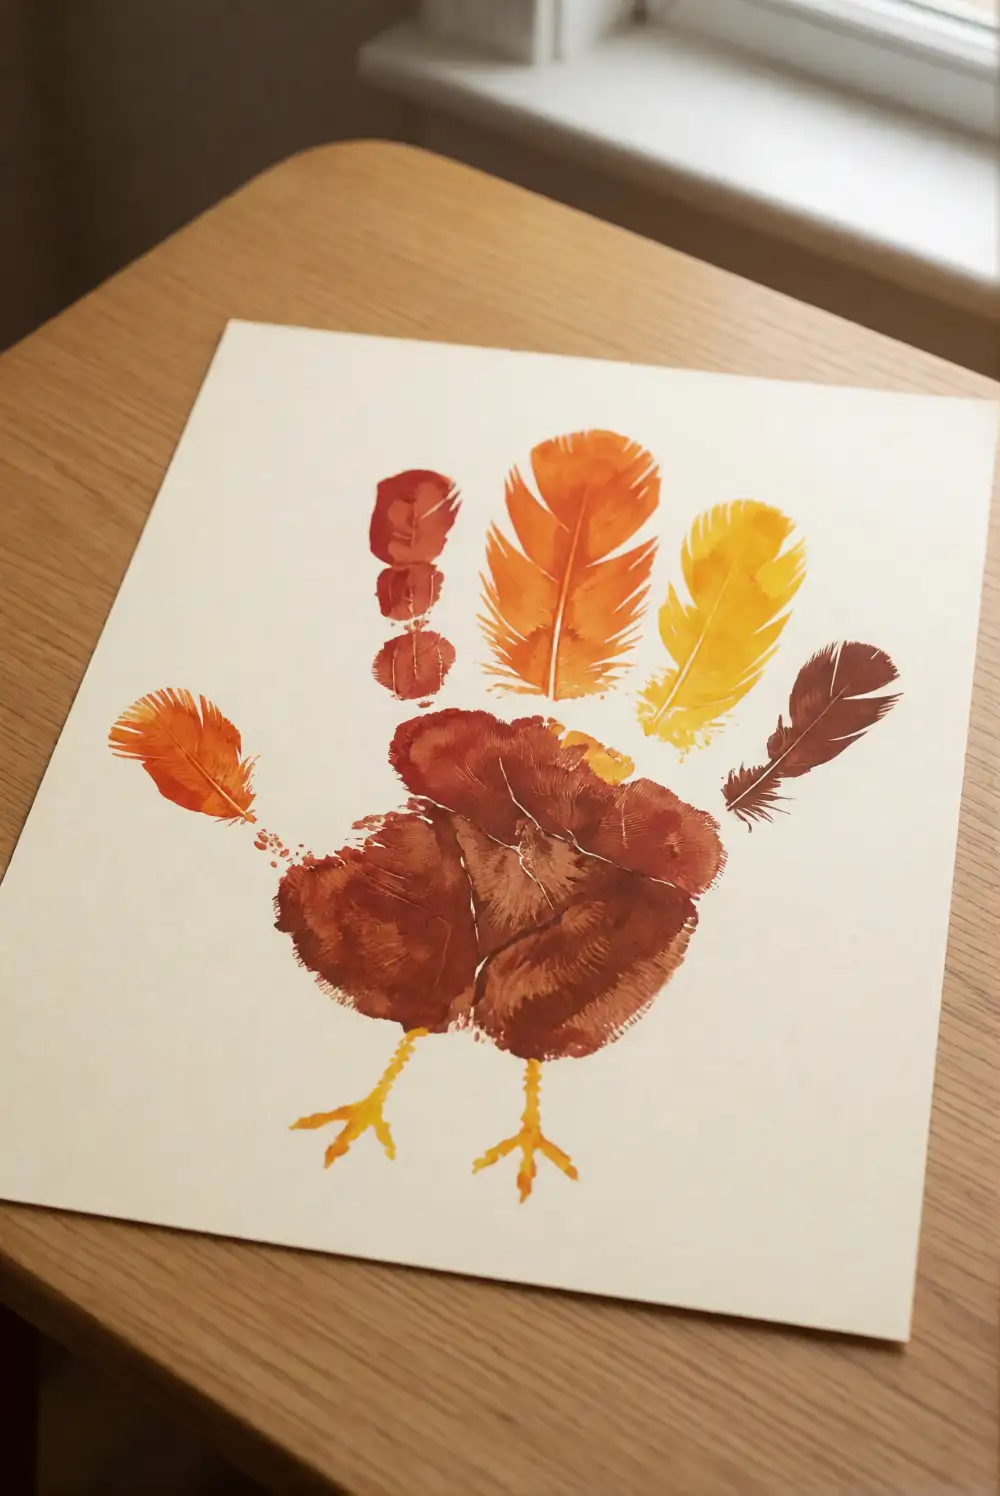
Create a cheerful turkey picture using washable brown paint, thick paper, and a few autumn colors. Help your toddler press one painted hand onto the paper, with the palm forming the turkey’s body and the fingers spreading into tail feathers. After the print dries, add large paper feather shapes around the fingers or use washable paint to make colorful dots. An adult can draw or attach a simple beak and feet.
Choose bright orange, yellow, and red accents, or keep the feathers in softer rust and cream tones. Let your toddler decide which colors go around the handprint, making each picture feel personal without adding written details. Allow the page to dry fully before framing it or placing it on a shelf. A washable table covering and a nearby cloth make cleanup easier after painting.
Cardboard Tube Autumn Owl
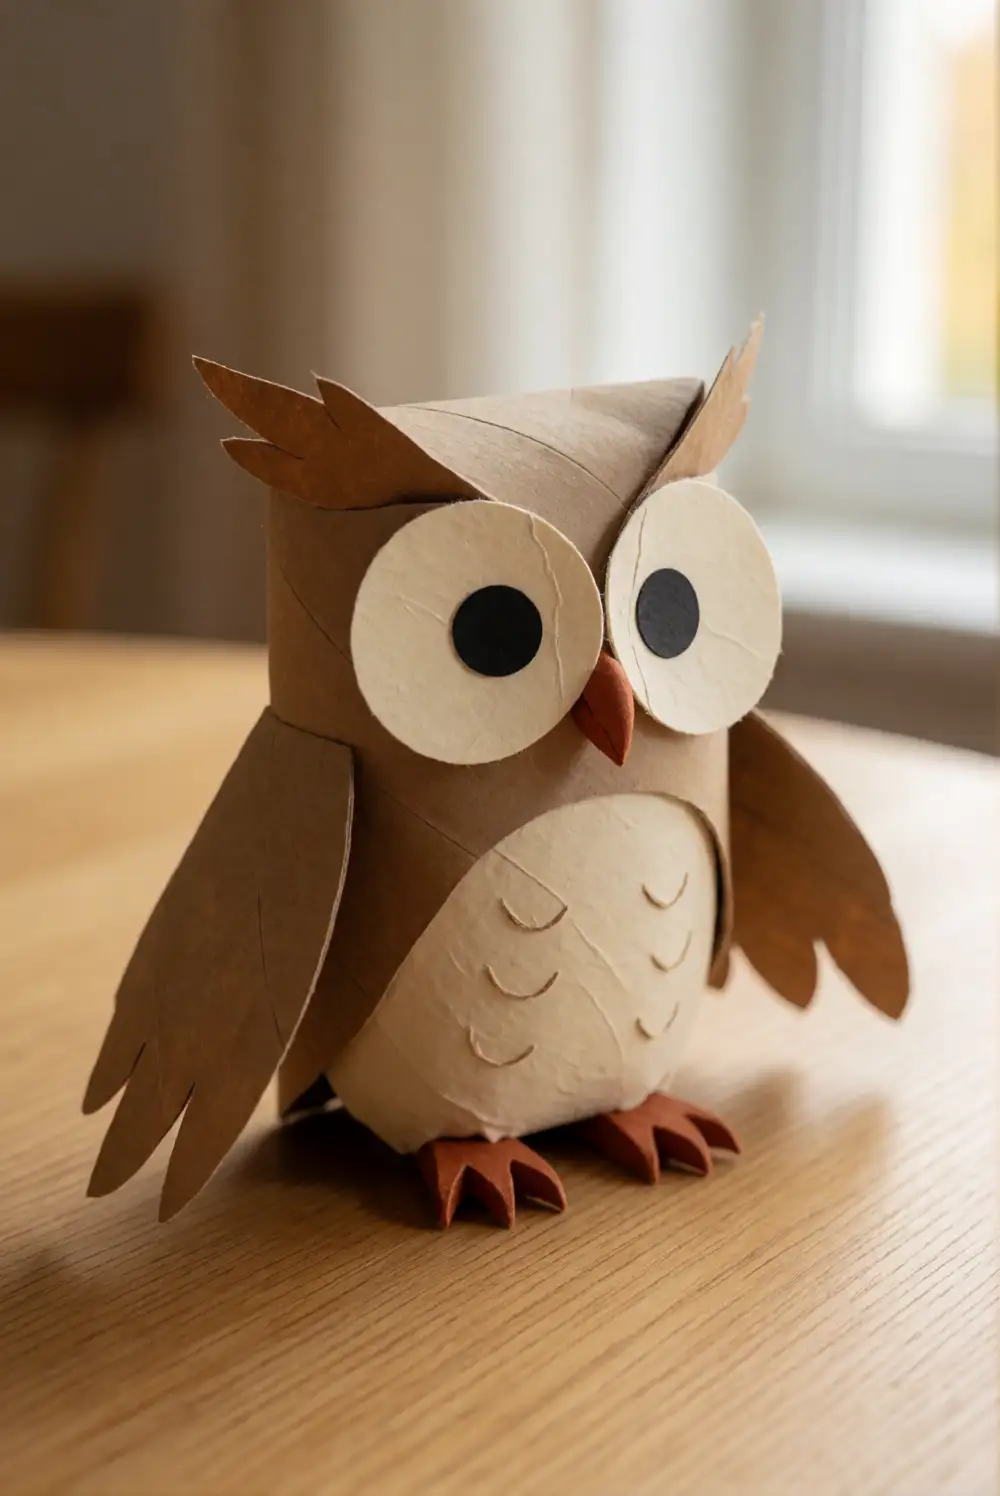
Turn a clean cardboard tube into a simple autumn owl with large paper shapes and a glue stick. An adult can gently fold the top edges inward to form two rounded ear points, then prepare broad paper wings, a belly, and oversized eyes. Let your toddler choose the colors and position the pieces around the tube. Glue each shape in place, pressing gently until it holds, and draw any small details with a washable crayon.
Use cream and brown for a woodland look, or add orange wings to bring in a bright seasonal accent. The finished owl can stand on a sturdy shelf or join a pretend-play scene alongside larger toys. Keep the paper pieces generously sized and avoid adding loose decorations. If the tube tips easily, set it inside a shallow, stable display tray after the glue has dried.
With simple supplies and grown-up help for cutting or fastening, these toddler fall crafts make it easy to bring seasonal color into your home. Choose a project that suits your child’s interest, set out a few inviting materials, and enjoy displaying the finished art around your cozy autumn space.