Give your walls a warm seasonal refresh with fall paper crafts made from simple, easy-to-find materials. These hands-on ideas turn colorful paper into layered leaves, sculptural pumpkins, woodland scenes, and other display-worthy pieces. Choose a project that suits your space, then customize its colors and scale to create a personal autumn accent for a gallery wall, entryway, or cozy reading corner.
Layered Paper Leaf Wreath
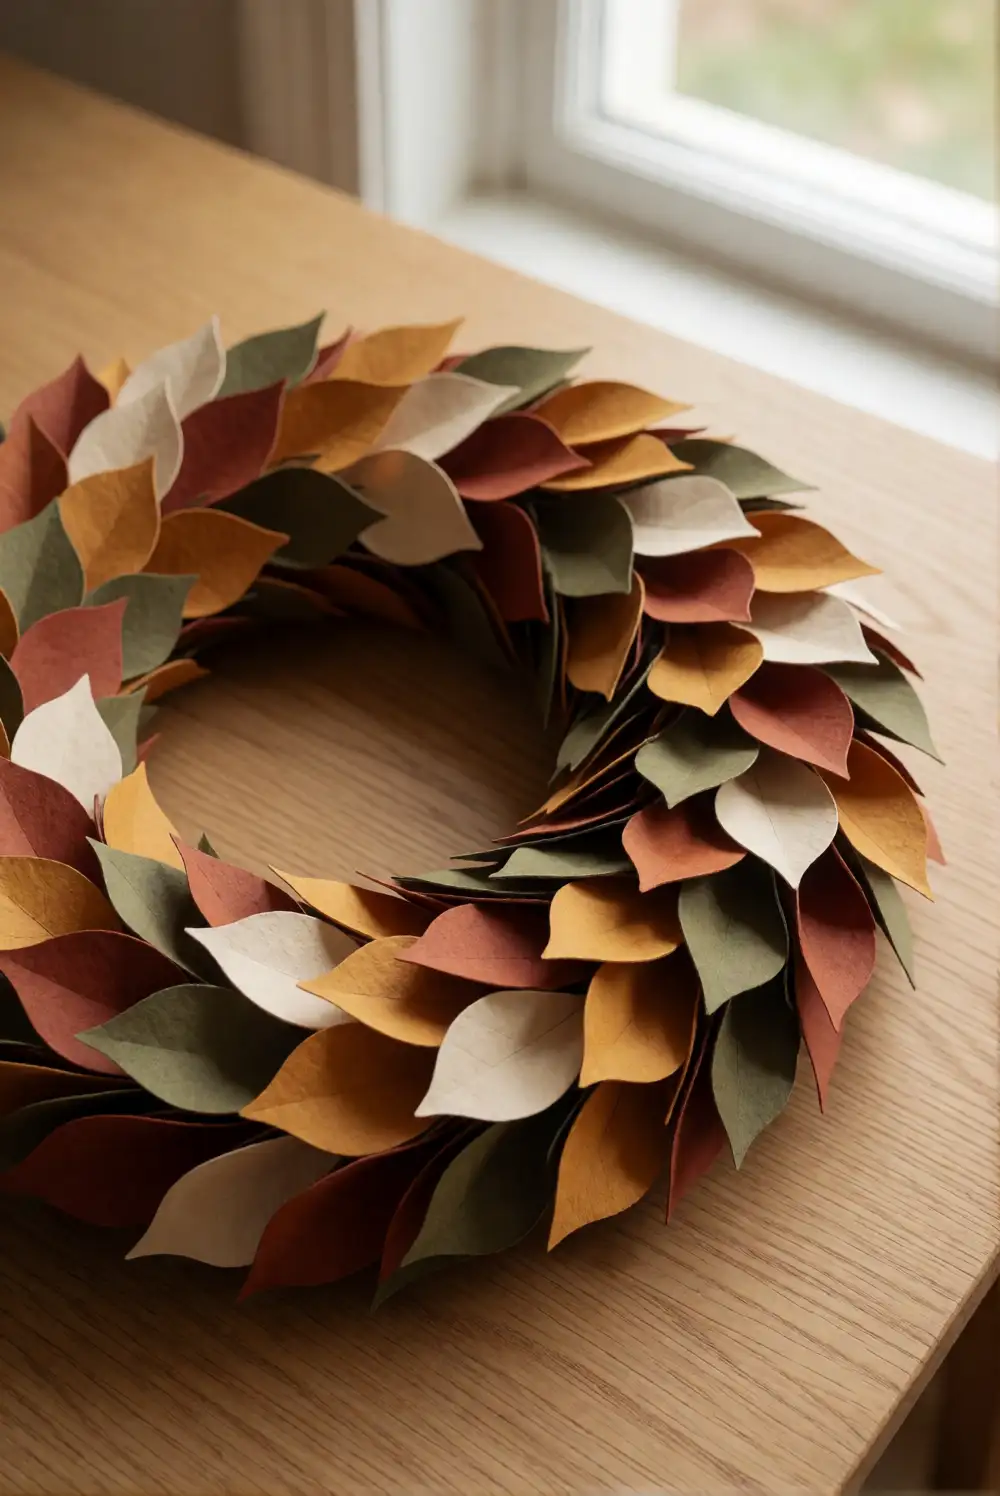
Shape a welcoming wreath from sturdy cardstock in rust, ochre, olive, and cream. Cut a large ring from cardboard, then cut several paper leaves with simple pointed silhouettes. Score each leaf lightly down its center and fold it for dimension. Arrange the leaves around the ring, overlapping them in a loose pattern, and attach them with craft glue. Add a few smaller leaves between the larger shapes so the cardboard base disappears and the wreath looks full from edge to edge.
Keep the palette to a few coordinated shades for a polished look, or mix patterned paper with solid colors for a collected feel. Let the wreath dry flat before hanging it with a discreet ribbon loop or removable wall hook. A smaller version works beautifully among framed prints, while a broad wreath can be the focal point above a console. If you want a more natural silhouette, leave a small section of the ring uncovered and cluster the leaves to one side.
Dimensional Maple Leaf Wall Cluster
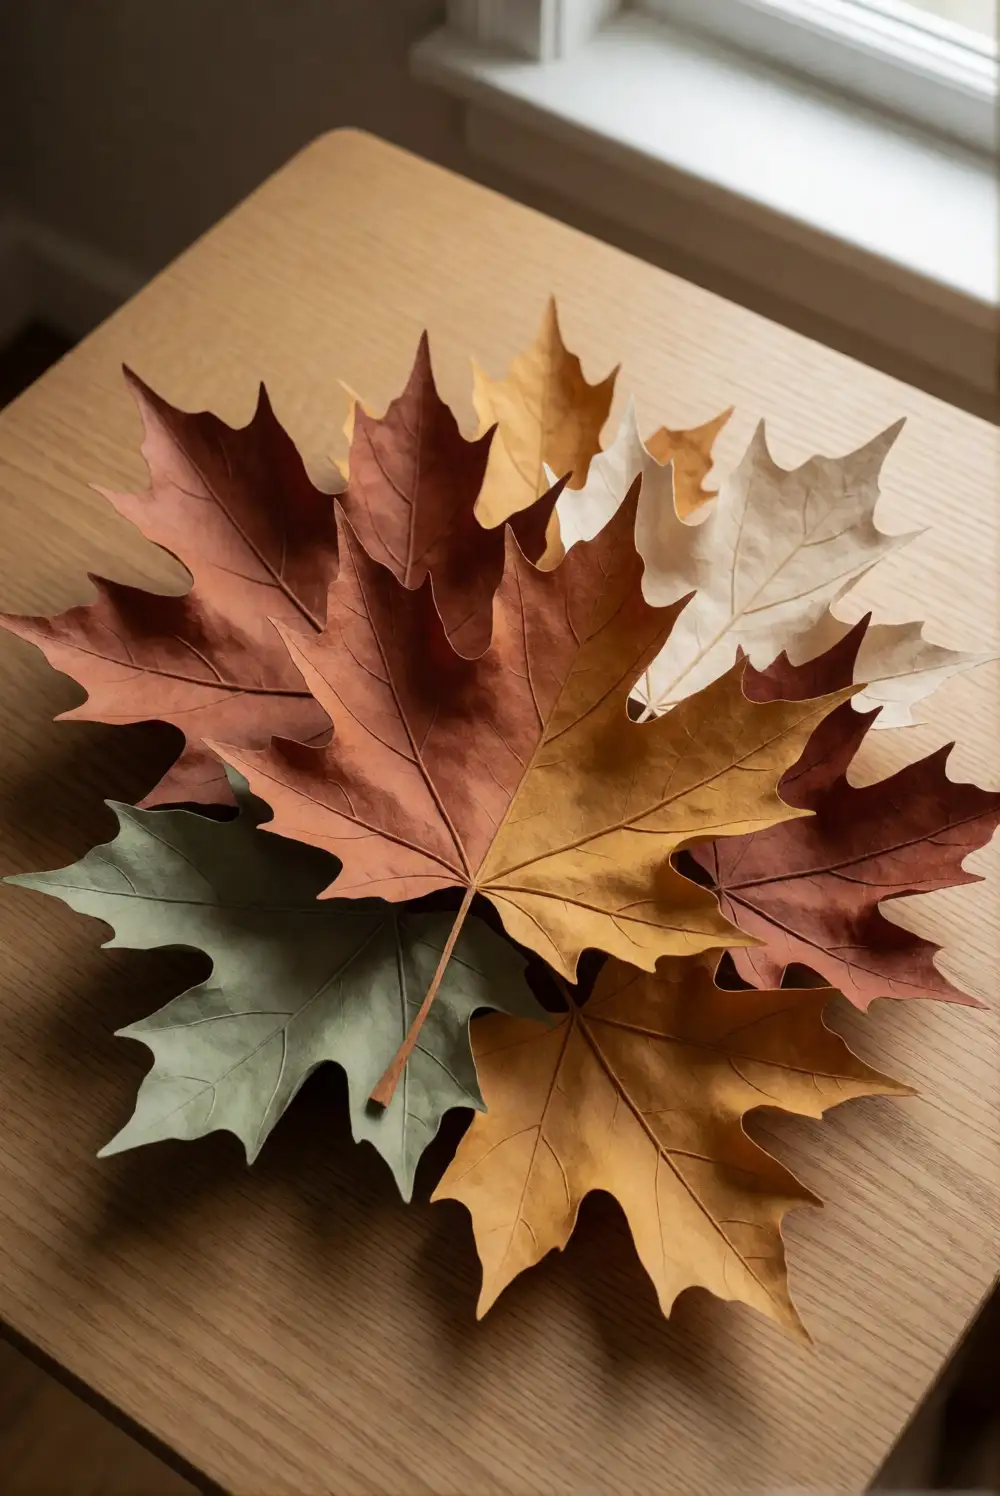
Make a sculptural wall cluster by cutting matching maple leaf shapes from several fall-colored sheets of cardstock. Fold each leaf along its central vein, then gently bend the side sections upward to create a raised shape. Cut a few smaller leaves in contrasting colors and layer them over larger leaves with paper-safe adhesive. Arrange the finished pieces in a loose diagonal sweep on a clean surface first, adjusting the spacing until the cluster feels balanced and lively.
Vary the leaf sizes and angles to give the arrangement movement without making it look crowded. Use removable adhesive tabs suited to your wall, or attach the leaves to a narrow backing sheet for easier repositioning. The cluster looks lovely above a desk or beside a mirror, and it can be rearranged as the season changes. For a softer effect, choose dusty sage and cream with just a few rust leaves as accents.
Accordion Paper Pumpkin Relief
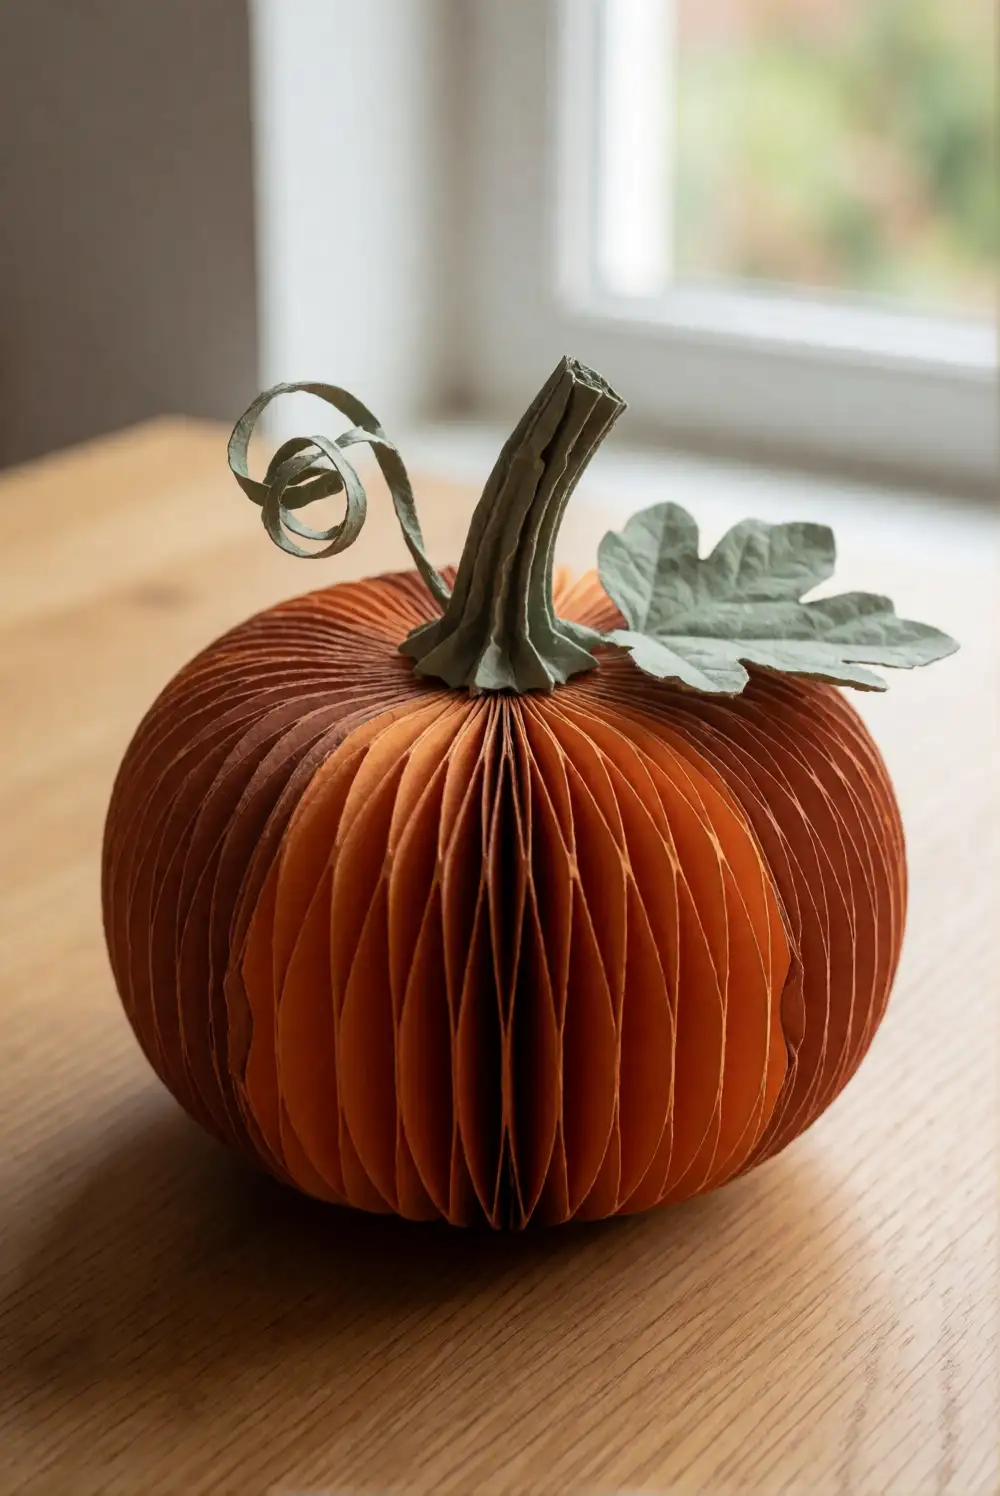
Create a plump paper pumpkin from orange cardstock, scissors, and adhesive. Cut several identical pumpkin-shaped pieces, fold each one vertically, and glue the folded halves together in sequence until the shape opens into a rounded, dimensional form. Add a curled green paper stem and a simple leaf cut from sage or olive cardstock. Press the center folds together gently, then set the pumpkin on a flat surface until the adhesive holds its shape.
Use a muted terracotta orange for a refined wall display, or combine warm orange shades for a cheerful harvest accent. Make a few pumpkins in different sizes and mount them on a cream backing sheet to keep their edges crisp against the wall. They work especially well in a kitchen nook or entryway. For a flatter piece that is easier to store, use fewer folded layers and attach the pumpkin to a lightweight card base.
Layered Woodland Silhouette
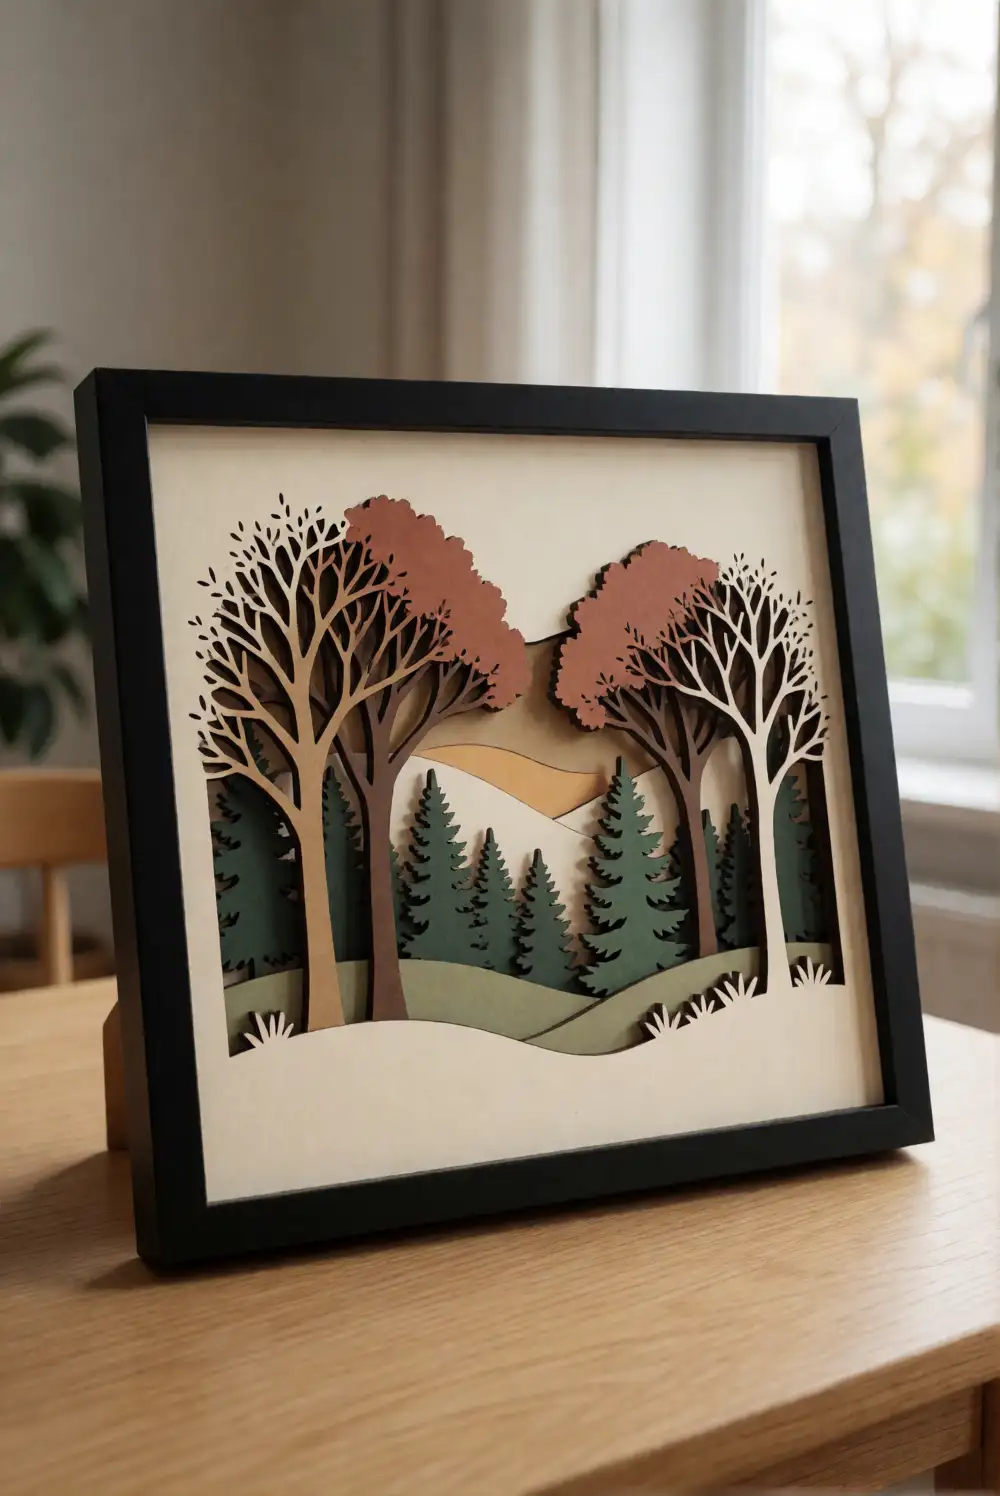
Build a peaceful woodland scene with cardstock, a craft knife used by an adult, scissors, and a shallow frame. Cut a pale background panel, then create overlapping bands of hills and rows of simple evergreen and bare tree silhouettes in forest green, brown, and muted rust. Stack the layers from lightest in back to darkest in front, using small spacers or folded paper strips between them to add depth. Keep the shapes bold so the scene reads clearly from across the room.
Choose a frame with enough depth to protect the raised layers, or leave the scene open for a more handmade look. A restrained palette makes this piece easy to pair with neutral decor, while a dusky blue background gives it a cool autumn evening feeling. Place it on a gallery wall with botanical prints or let it stand alone on a narrow shelf. Trim the tree shapes to different heights for a more natural horizon.
Paper Leaf Shadowbox
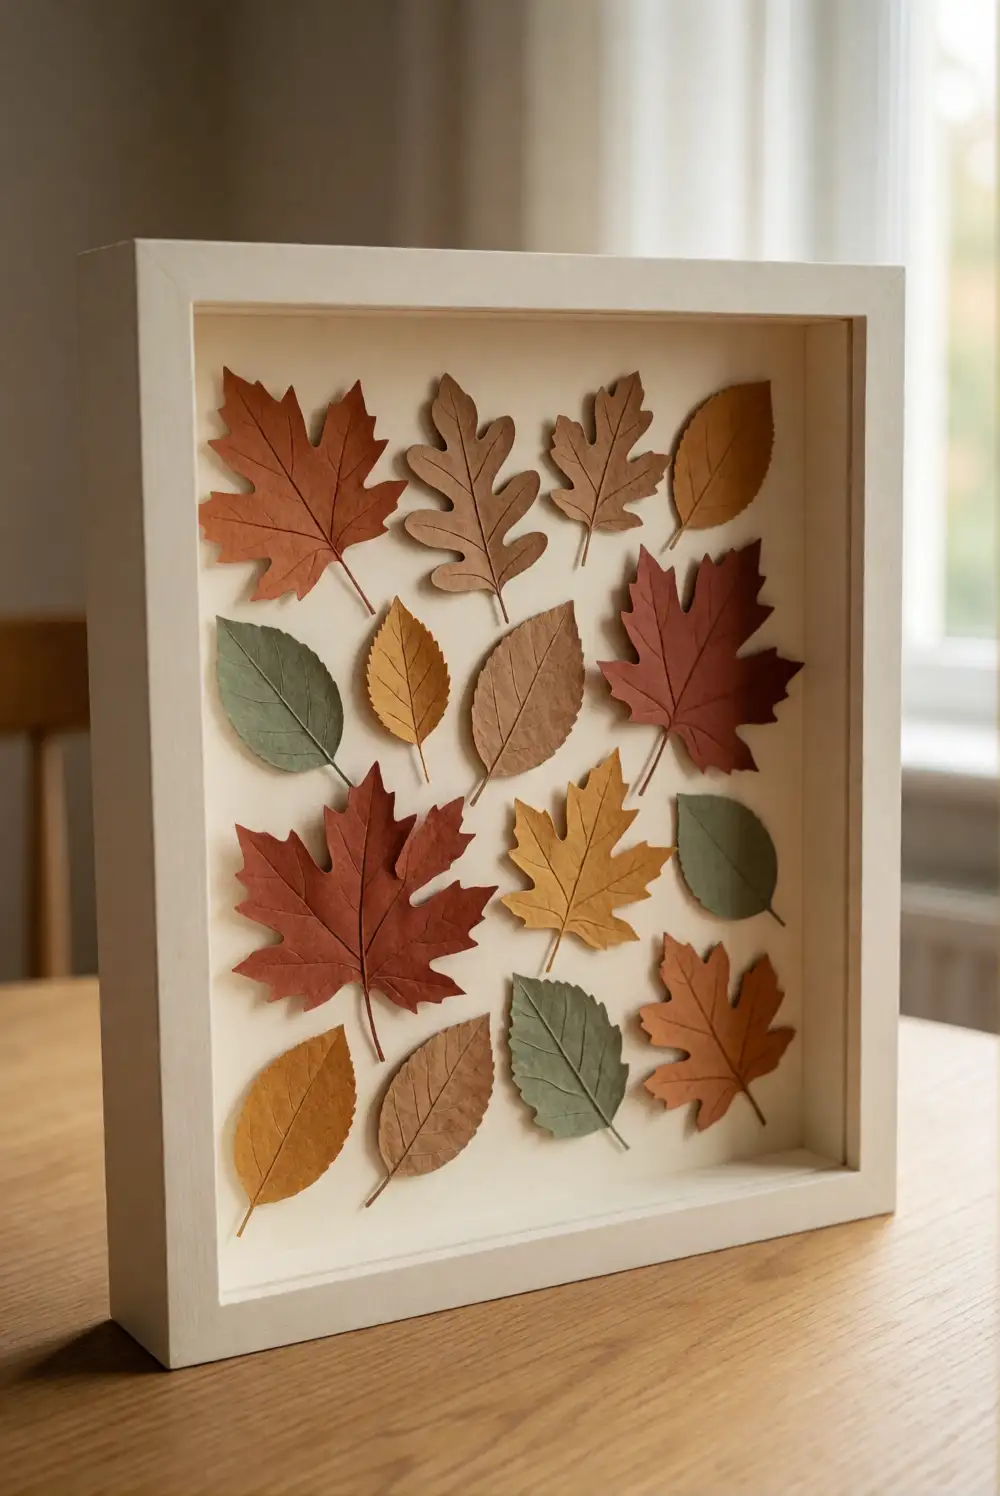
Turn a deep frame into a tidy display for sculpted paper leaves. Cut leaf shapes in several sizes from textured cardstock, then crease each one down the middle and gently lift the sides. Arrange them inside the frame over a warm cream backing, layering a few leaves so their edges cast delicate shadows. Secure the shapes with small dots of adhesive, checking the composition before closing the frame. A mix of maple, oak, and simple oval leaves gives the piece varied silhouettes.
Keep the leaves within a narrow color family for a calm, collected appearance, or blend rust, mustard, and sage for a richer seasonal palette. A deep frame helps protect the raised forms and makes the display easy to hang. Set one shadowbox among family photographs or group a pair above a side table. For a more airy design, leave plenty of background visible and position just a handful of leaves near one corner.
Folded Paper Fan Sunburst
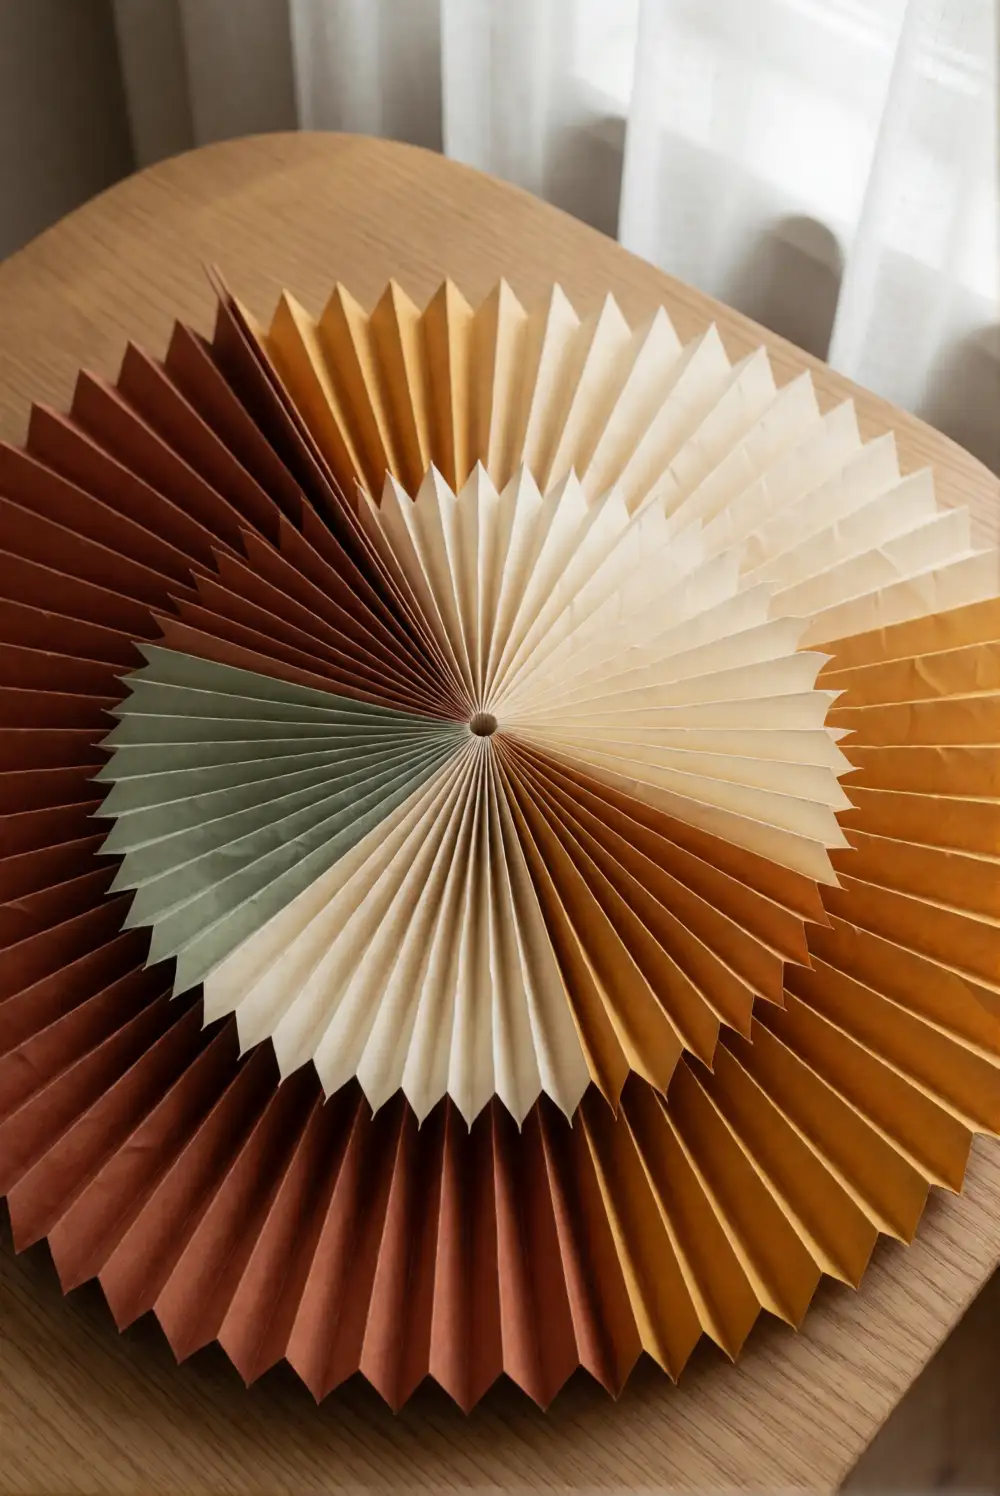
Make a fan-shaped sunburst from long strips of heavyweight paper in warm autumn shades. Accordion-fold each strip with even creases, join the ends into a loop, and press the loop flat into a fan. Repeat with strips in complementary colors, then layer the fans from largest to smallest and attach them to a firm circular backing. Finish the center with a small plain paper circle so the folds meet neatly and the shape stays securely together.
Alternate solid and subtly patterned papers to add detail without making the design feel busy. A single large fan makes a striking accent above a mantel, while a group of smaller fans can fill an empty wall space with rhythm. Use a discreet hanging loop on the back, and make sure the piece is fully dry before displaying it. If the fan springs open, add a little extra backing support and press it flat while the adhesive sets.
Paper Acorn Branch Art
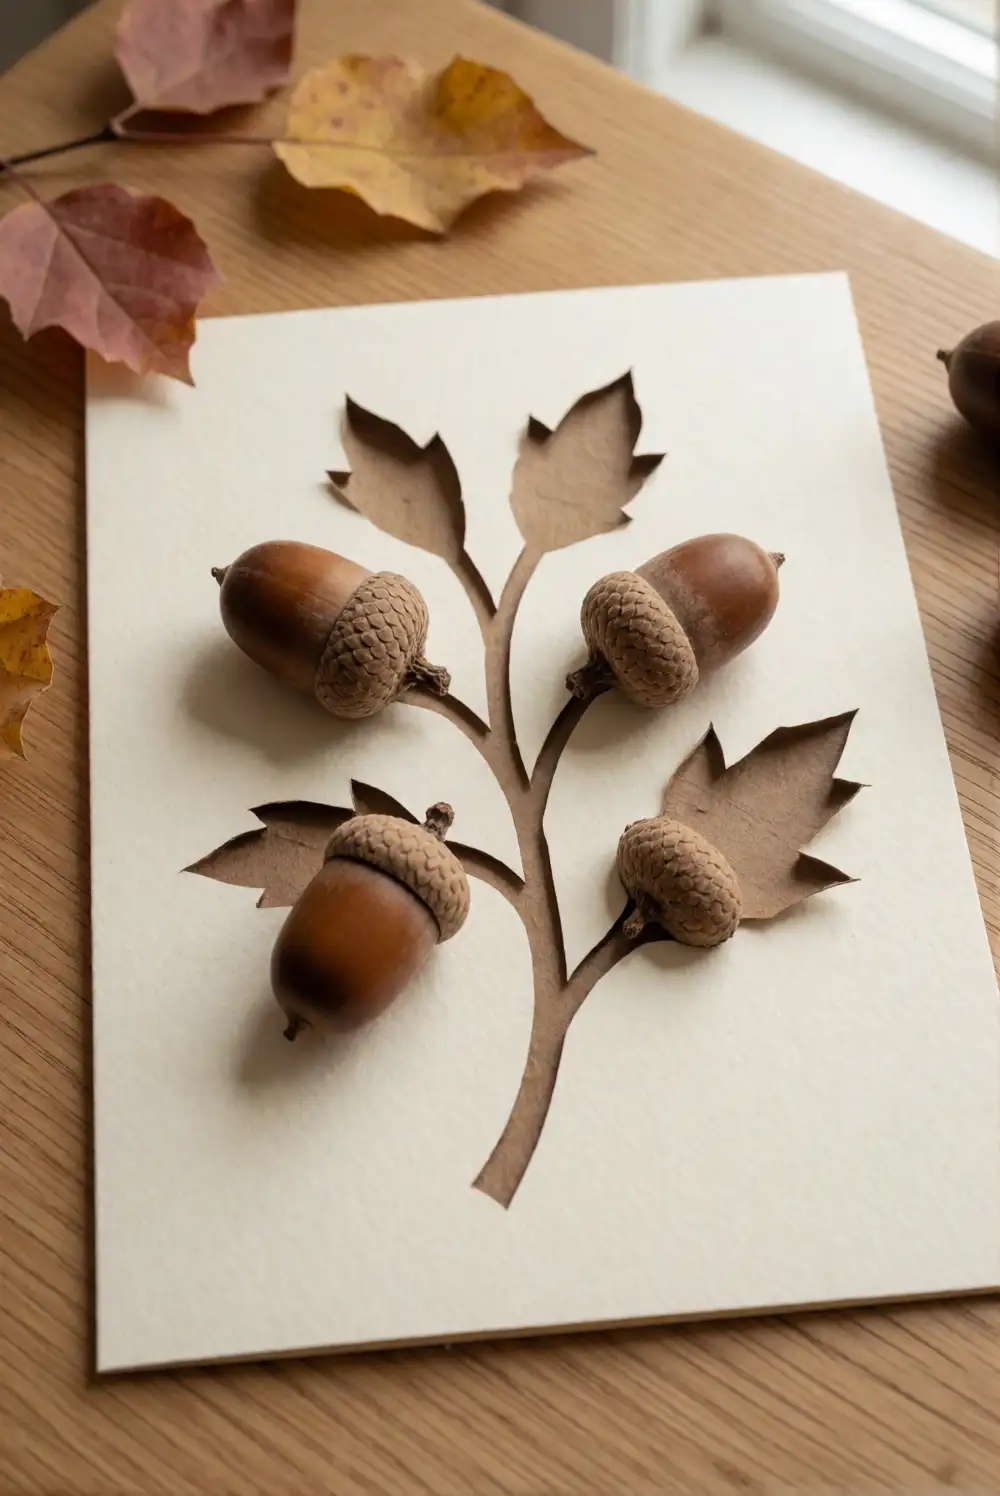
Create a botanical wall piece using a sheet of cream cardstock, brown paper, and small scraps in autumn colors. Cut a branching silhouette from dark brown paper and attach it to the background. Make acorns from simple oval shapes, topping each one with a small textured cap cut from a contrasting paper. Arrange the acorns along the branches, varying their direction and spacing, then add a few narrow leaves to make the composition feel like a gathered woodland specimen.
Choose a slim frame to give the branch a finished, gallery-like appearance, or mount the paper directly on a larger backing sheet with generous margins. Layering two shades of brown for the acorn caps adds gentle depth without complicated construction. This design suits an entryway, study, or quiet corner beside a reading chair. Keep the branches asymmetrical and leave some open space so the small details remain easy to see from a distance.
Autumn Birch Tree Collage
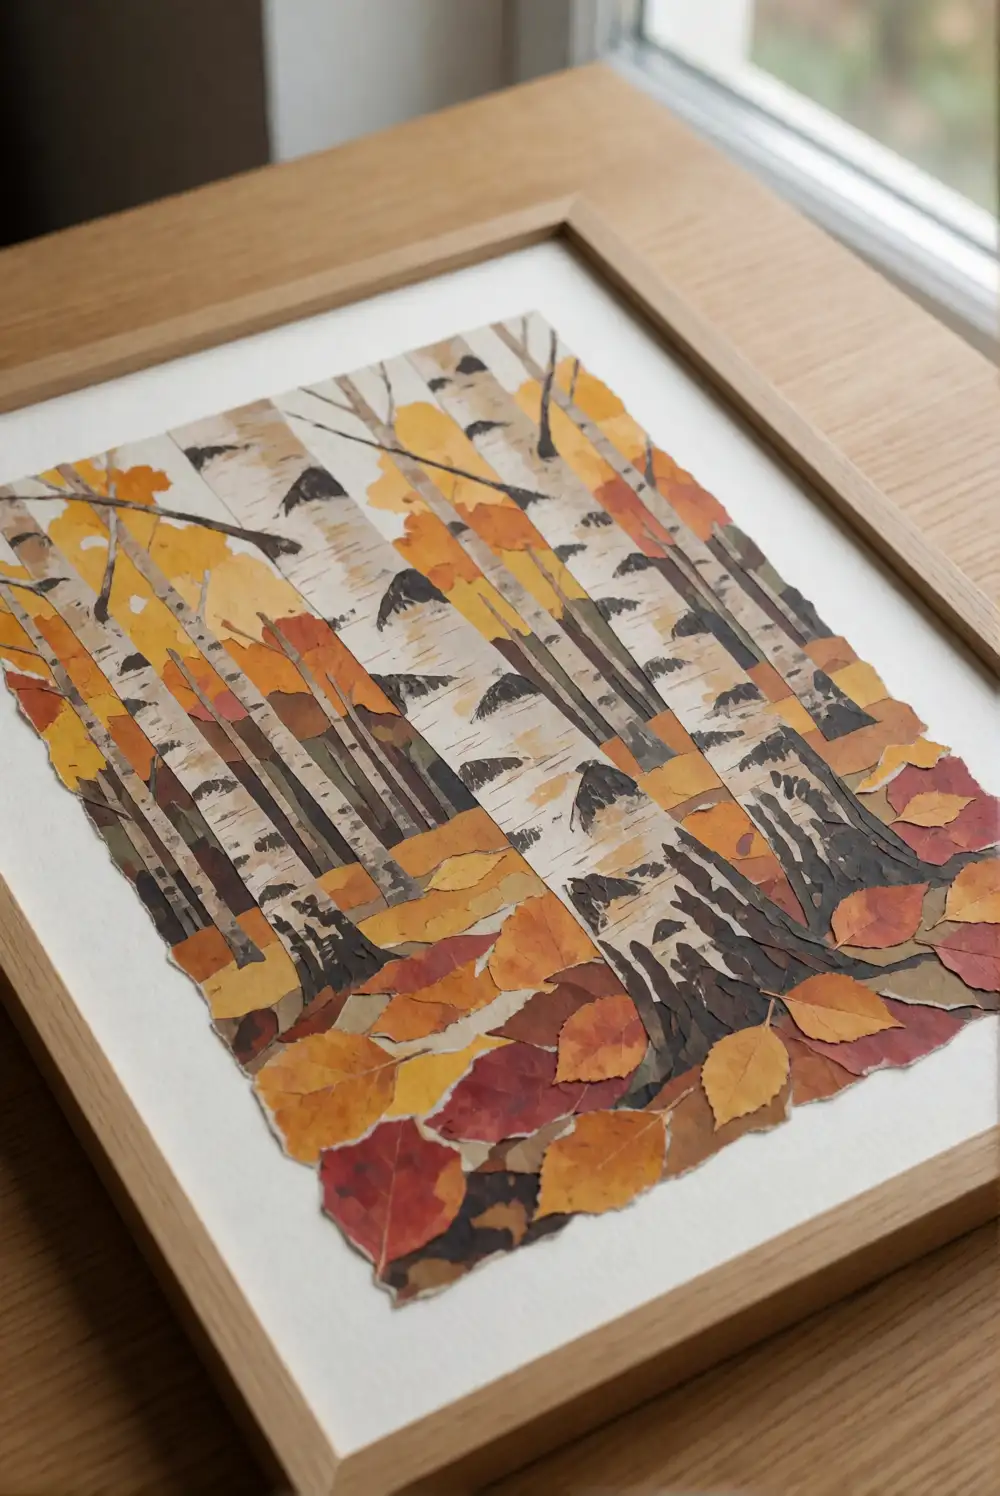
Compose a birch grove from torn and cut paper on a sturdy backing sheet. Add a pale cream or light gray background, then layer narrow white tree trunks across it. Mark the trunks with short dark paper strips to suggest birch bark, keeping the marks irregular. Finish the scene with clusters of small torn leaves in ochre, burnt orange, and muted red around the branches and along the ground. Overlap the pieces slightly so the collage has texture and a natural forest-floor feel.
Use larger leaf shapes for a bold, graphic result or smaller torn pieces for a softer, painterly effect. Leave open space around the trunks to keep the grove from feeling dense. Once the collage is dry, place it in a simple frame or mount it on a contrasting mat. This project looks especially effective near a window or above a sideboard, where its light background can brighten deeper seasonal colors elsewhere in the room.
Layered Paper Fox Wall Art
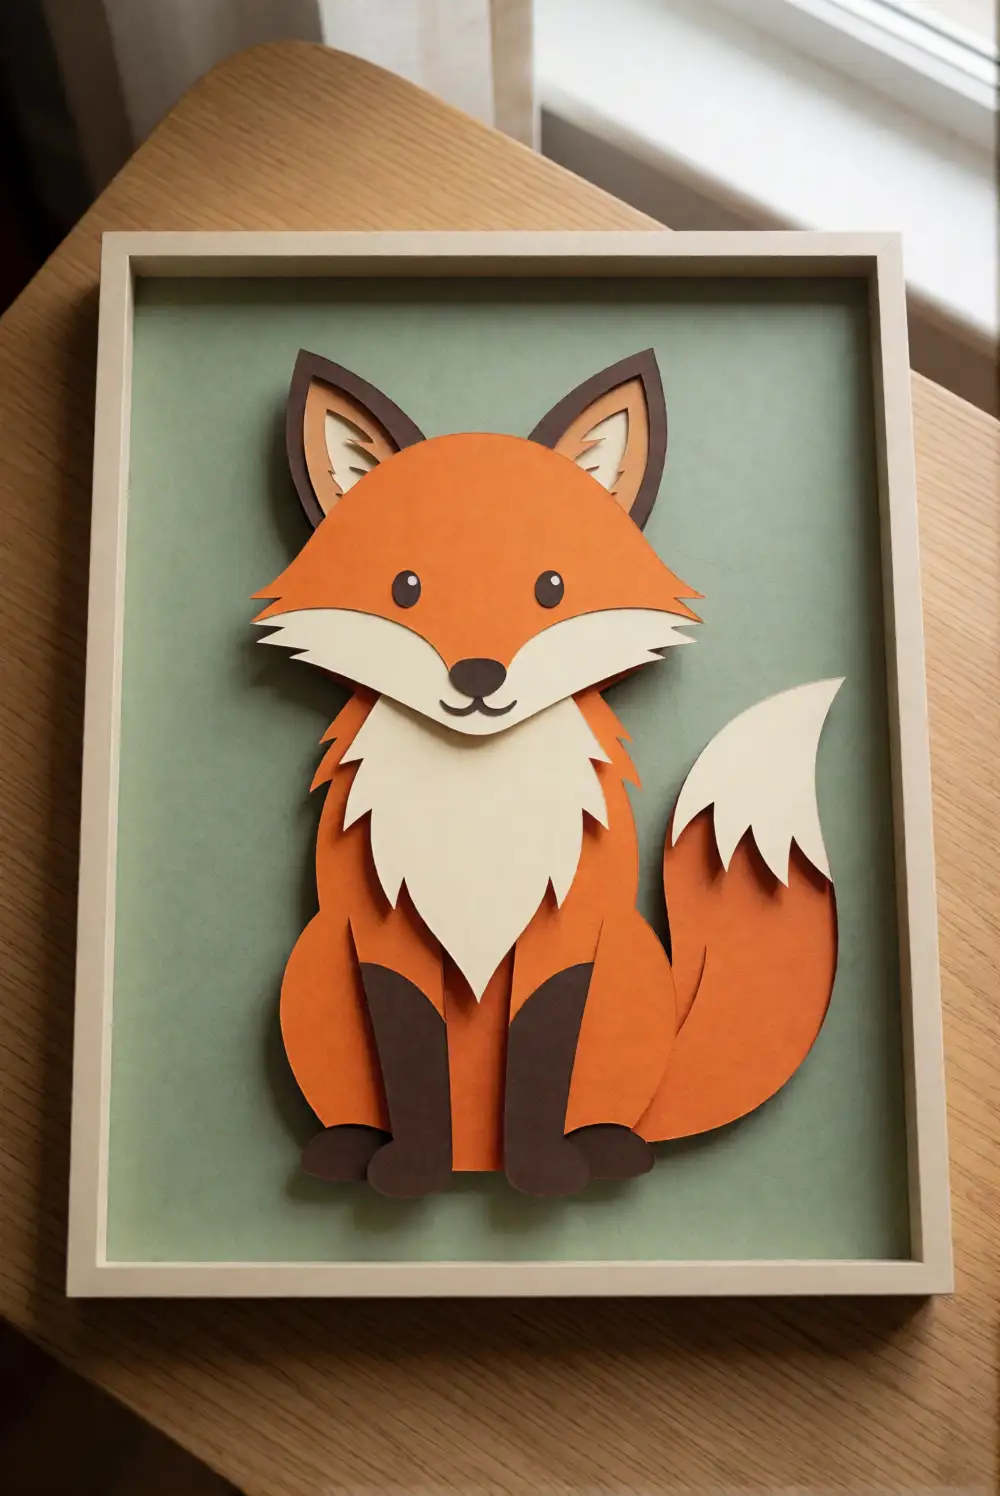
Cut a friendly fox silhouette from orange cardstock, then create separate cream shapes for its cheeks, chest, and tail tip. Add a dark brown nose and ear details using larger paper pieces rather than tiny loose decorations. Layer the shapes on a warm neutral background, aligning the edges carefully so the fox looks crisp and dimensional. A simple sitting pose is easy to assemble and makes a clear focal point without requiring elaborate drawing or intricate cutting.
Frame the fox with a slim natural wood border or mount it on a larger sheet of sage paper for a gentle woodland palette. Keep the features broad and simple so they remain visible when the art is hanging on a wall. Pair it with leaf or tree prints for a small seasonal gallery, or let it stand alone in a child’s room or family space. For a more grown-up look, use rust, cream, and charcoal with minimal background detail.
Torn Paper Harvest Landscape
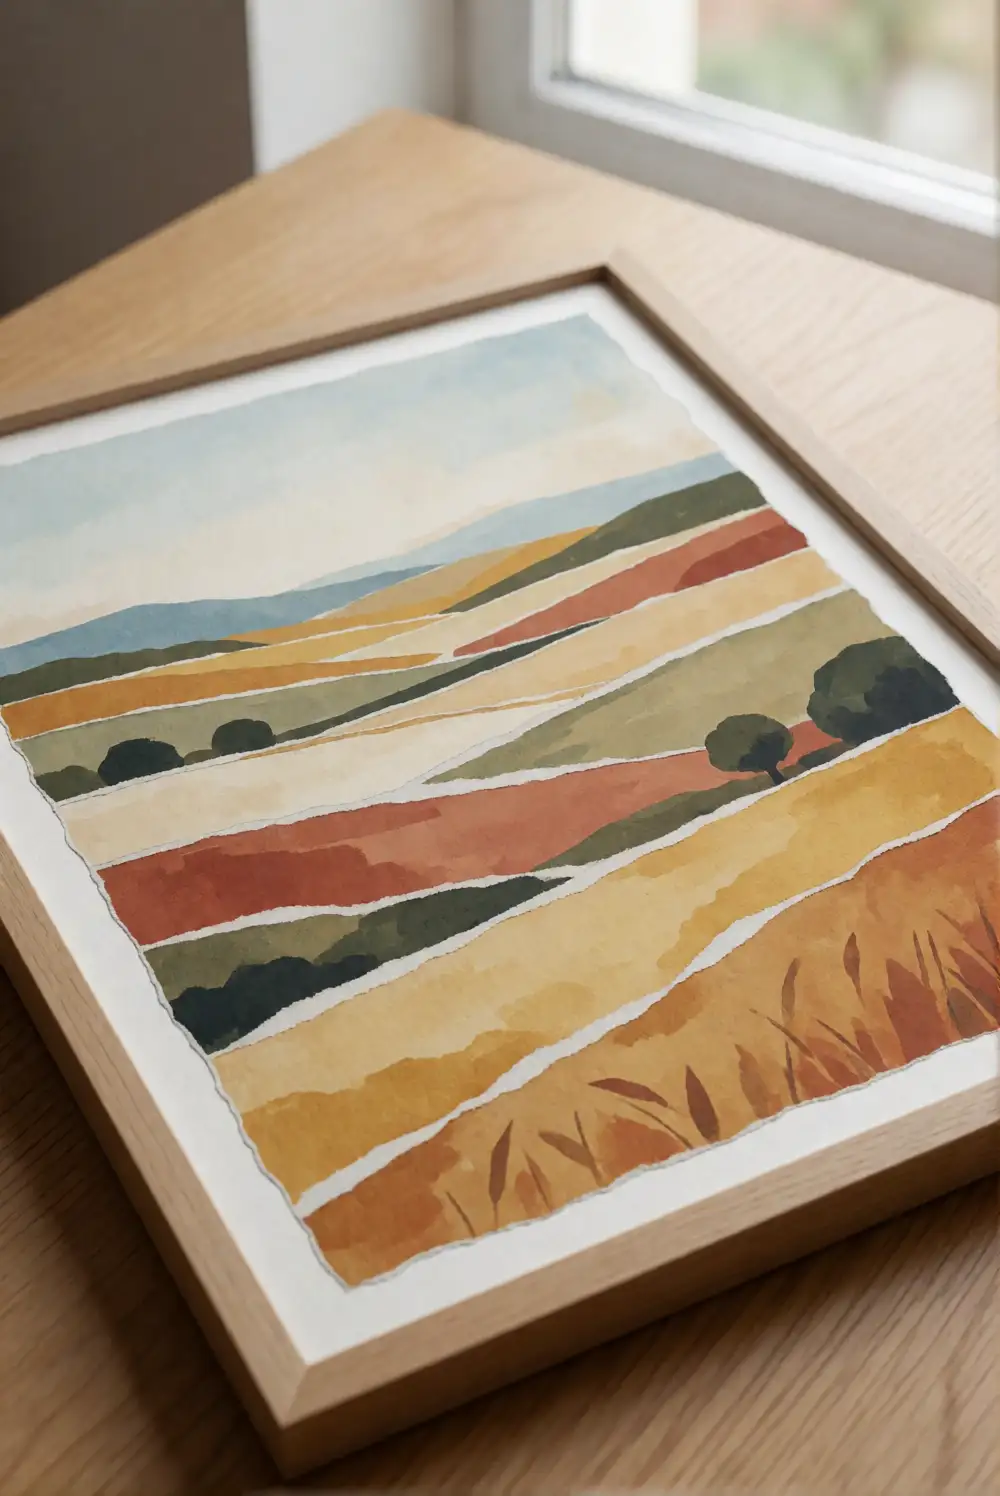
Build a layered landscape by tearing paper into broad bands for the sky, distant hills, fields, and foreground. Choose muted gold, terracotta, olive, cream, and soft blue, then overlap the torn edges from the top of the backing sheet downward. Add small paper silhouettes of trees or a barn if desired, keeping the shapes bold and easy to cut. Press each layer flat as you work so the finished scene sits neatly and the torn edges create subtle texture.
Shift the color placement to suggest a warm sunset, a misty morning, or a sunlit field without changing the basic method. A narrow frame gives the landscape a finished appearance, while a larger border makes it feel like a piece of handmade art. Display it above a dining nook or among nature-inspired prints. If the torn edges look uneven, embrace their texture; the irregular lines help the fields feel organic rather than overly precise.
Paper Mushroom Forest Wall Hanging
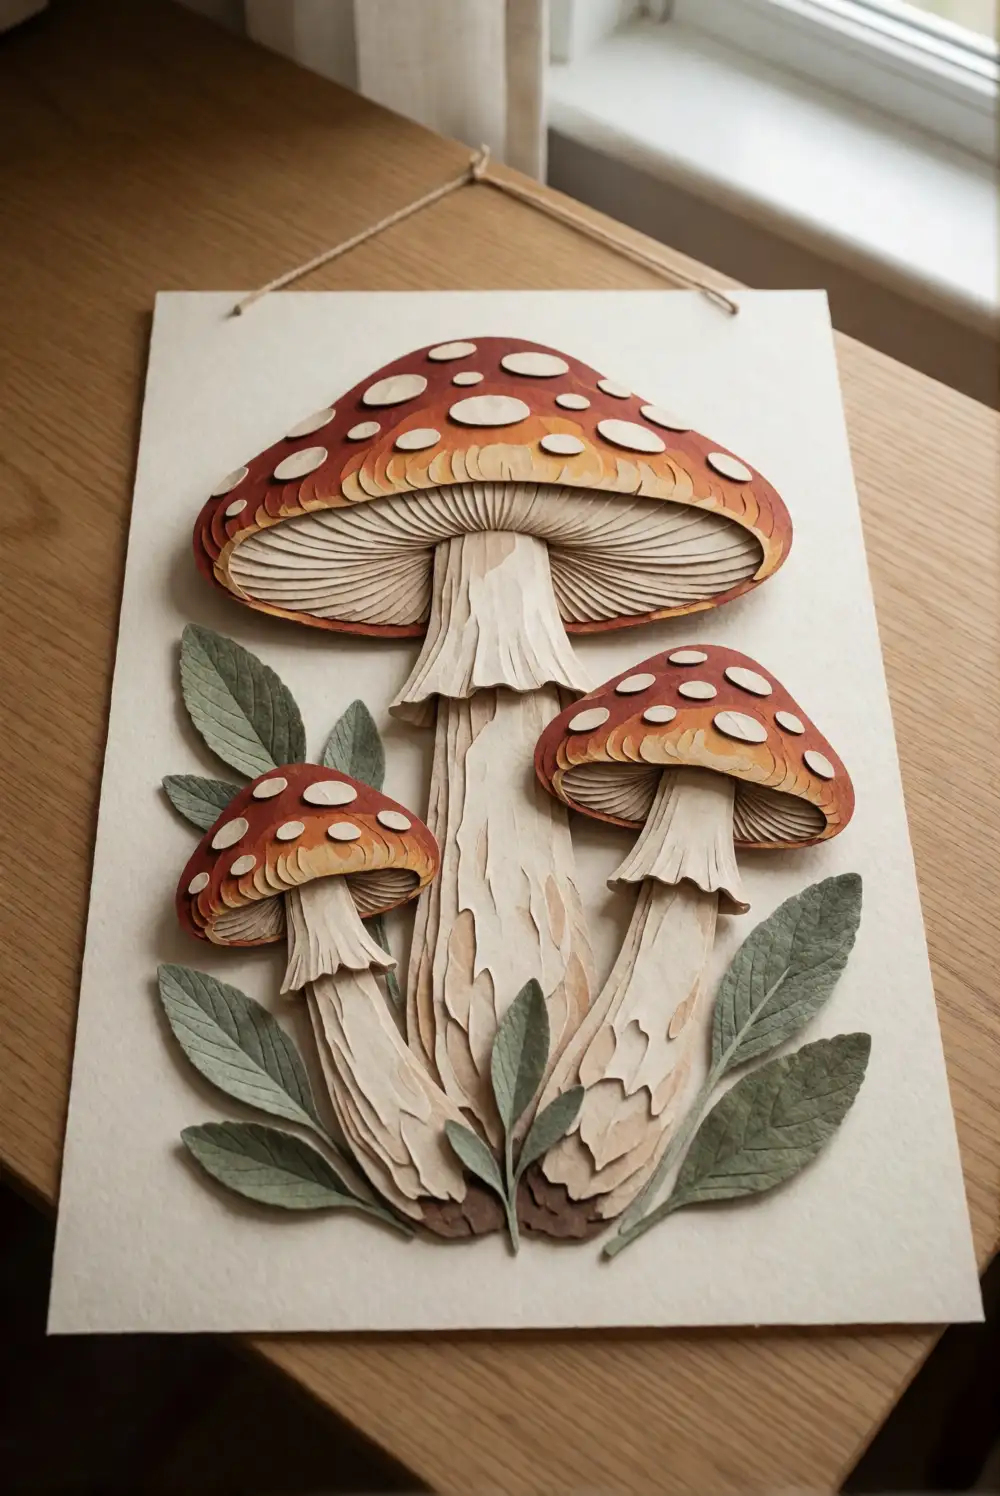
Make a sweet woodland wall hanging by cutting mushroom caps and stems from sturdy paper in cream, rust, and muted red. Layer each cap over a simple stem and add broad cream paper spots for a playful forest look. Arrange several mushrooms at different heights on a long backing strip, then add paper leaves and a low band of green ground beneath them. Attach a paper loop or a length of ribbon to the back for hanging once the composition is fully dry.
Mix rounded and gently wavy cap shapes to keep the group lively, and vary the colors while repeating a few shades to tie everything together. A narrow hanging works well on a door or beside a bookcase, while a framed version suits a gallery wall. Leave enough space between the mushrooms so each silhouette is clear. Use a soft cream background to make the warm caps stand out without overwhelming the rest of the room.
Woven Paper Leaf Panel
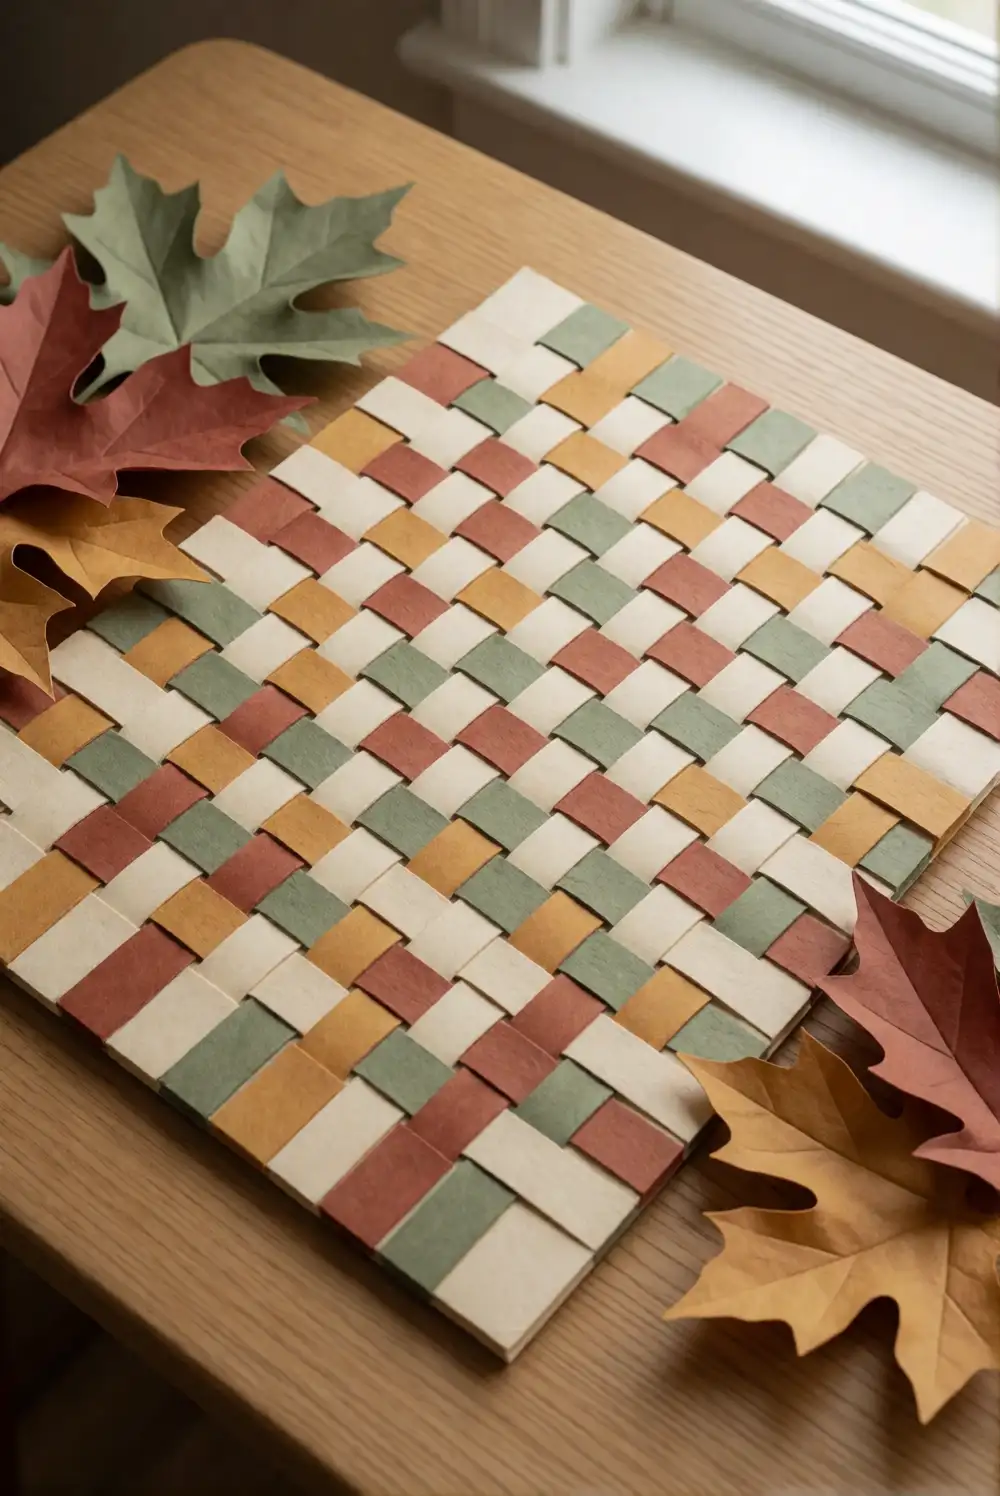
Create a textured wall panel by weaving paper strips in autumn colors across a firm backing. Cut wide strips from cardstock, lay them vertically, and weave contrasting horizontal strips over and under them, alternating the pattern as you go. Secure the ends on the back, then trim the panel into a neat rectangle. Add a few large paper leaves to the corners, attaching them flat so the woven texture remains the main feature and the edges stay tidy.
Combine cream and sage for a subtle look, or bring in rust and ochre for stronger seasonal contrast. Keep the strips broad enough to handle easily and press the finished panel beneath a book while the adhesive sets. Mount it in a shallow frame or attach a backing loop for hanging. A single panel looks polished above a small table, and a pair in complementary colors can fill a wider stretch of wall without feeling repetitive.
With layered shapes, warm paper colors, and a few simple tools, these fall crafts can bring handmade character to nearly any wall. Choose a design that fits your space, adjust its colors to suit your home, and display the finished piece in a frame, as a hanging, or among favorite seasonal art.