
Bring the colors and textures of fall indoors with handmade projects that feel warm, natural, and effortlessly charming. These autumn craft ideas pair earthy materials with simple techniques, creating thoughtful decorations for mantels, tables, and cozy corners. Try a leafy garland, a painted pumpkin, or a softly glowing lantern to give your home a personal seasonal touch.
Pressed Leaf Garland in Warm Autumn Colors
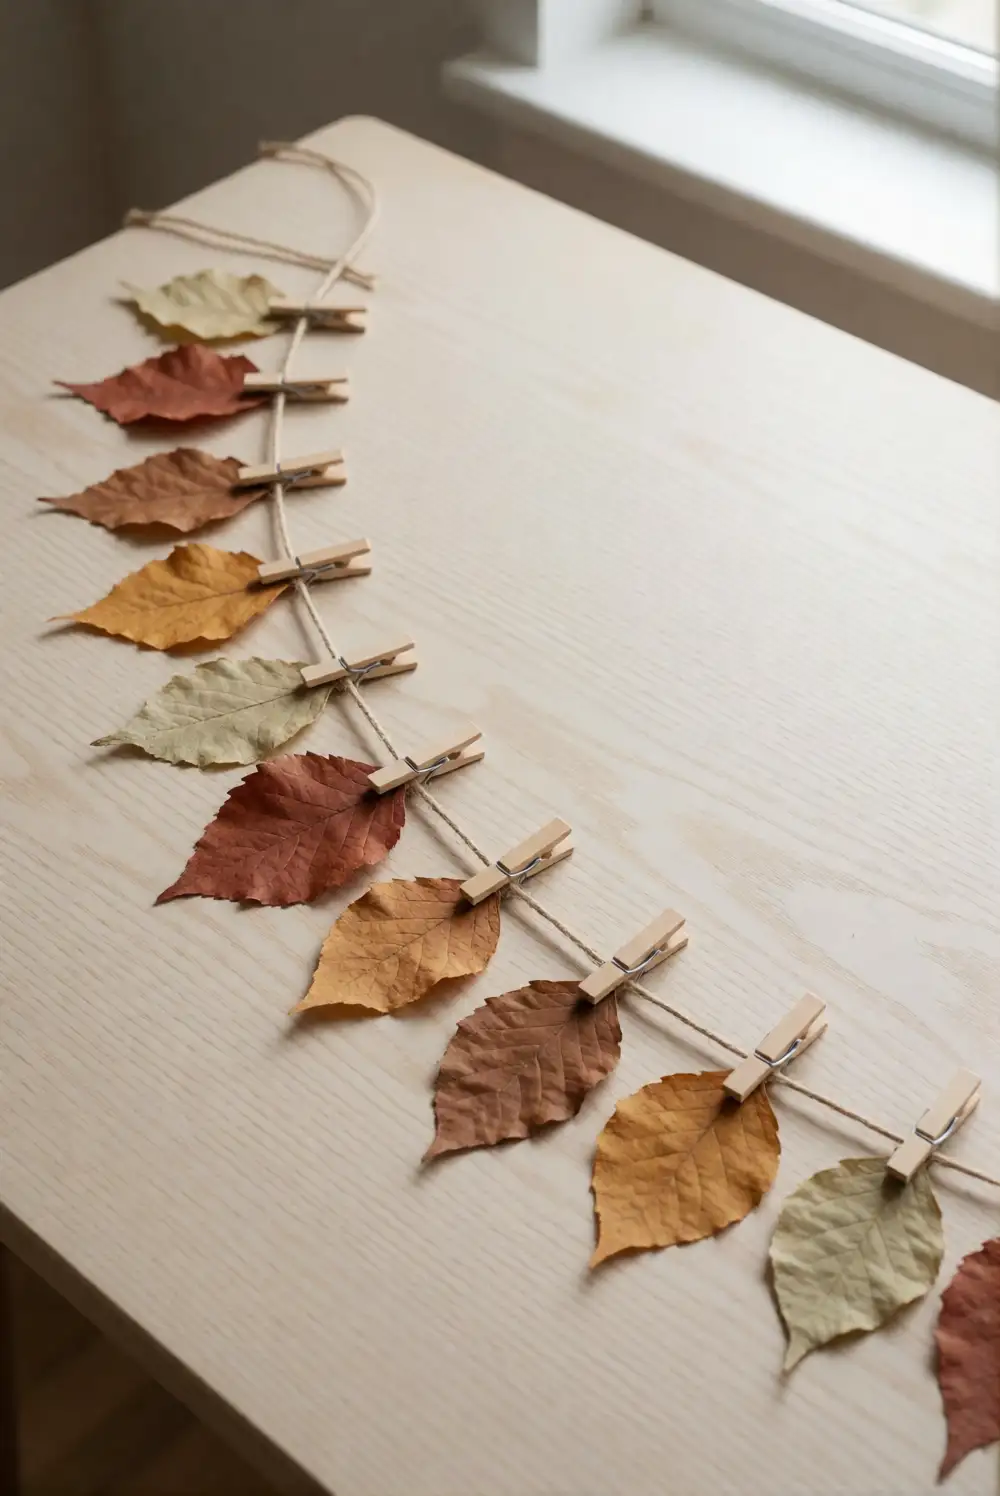
Make a delicate garland with freshly fallen leaves, clear adhesive laminating sheets, twine, and small wooden clips. Press the leaves between sheets of paper beneath a heavy book until they feel flat and dry. Sandwich each leaf between laminating sheets, trim around its shape, and attach it to the twine with clips. Leave a little space between leaves so their individual silhouettes and autumn shades remain easy to see.
Choose leaves in a mix of rust, ochre, and muted brown for a naturally layered look, or keep to one color family for a calmer display. Hang the garland across a mantel, along a shelf, or in a window where soft light can filter through the leaves. If your leaves are brittle, laminated shapes will hold their form better; swap the twine for a narrow velvet ribbon for a softer finish.
Earthy Painted Mini Pumpkins for a Cozy Shelf
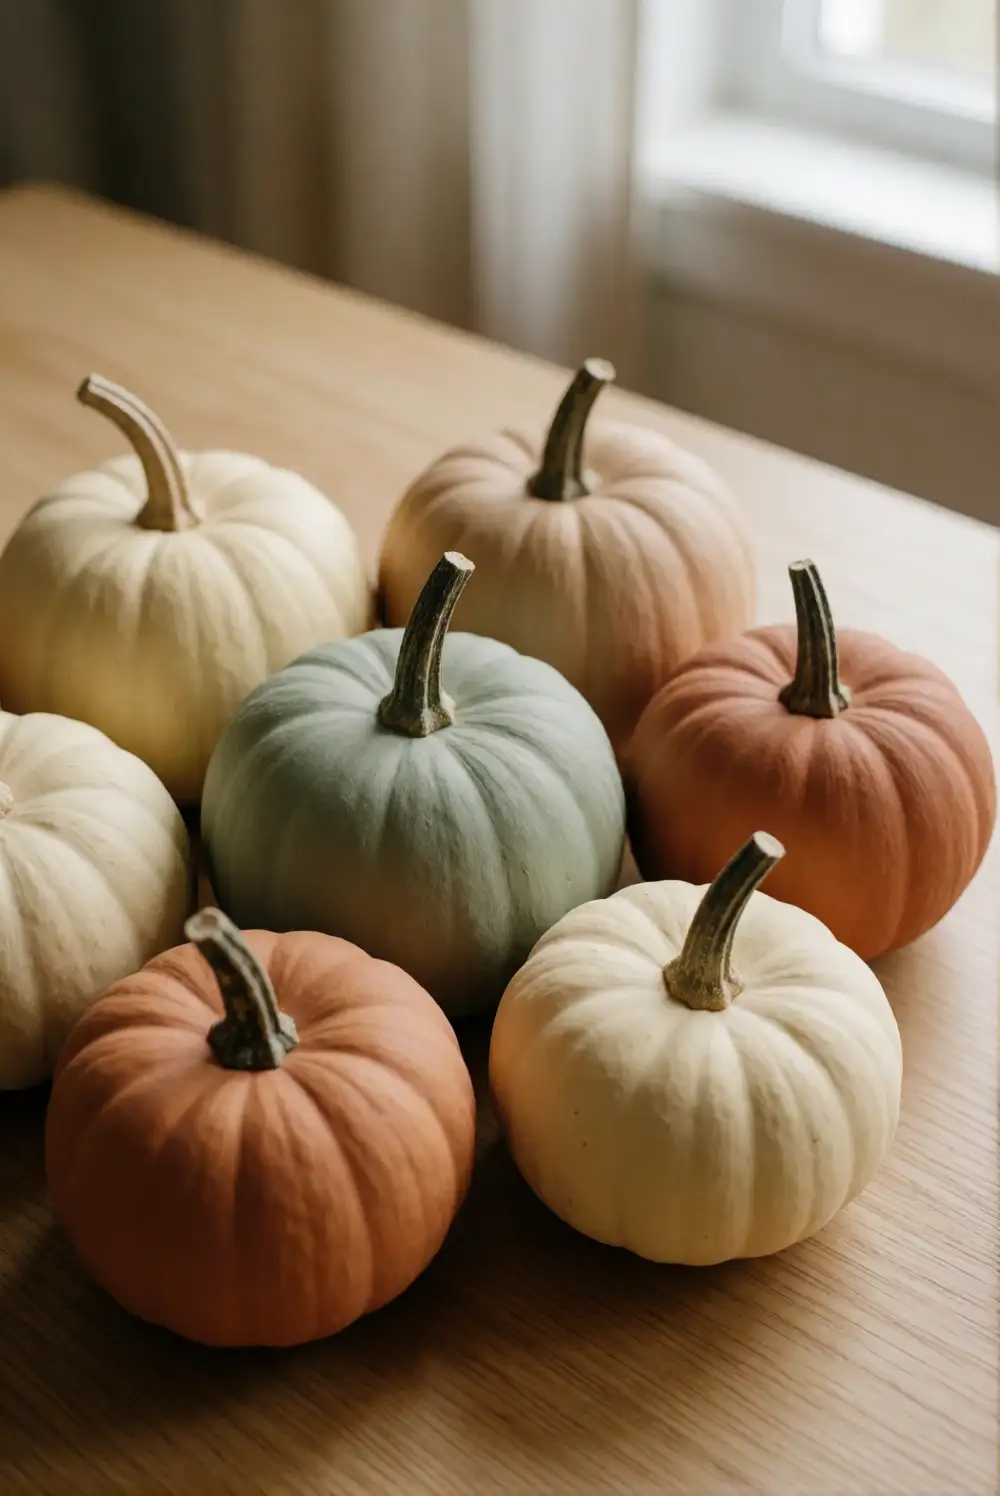
Gather small pumpkins, craft paint, a soft brush, and a drop cloth to create a coordinated shelf accent. Wipe the pumpkins clean and let them dry, then brush on a thin base coat in cream, sage, or muted terracotta. Allow the paint to dry before adding simple accents such as a narrow painted band or tiny scattered dots. Keep the stems uncovered, or finish them with a touch of brown paint for a gently aged appearance.
Choose shades that complement your room rather than competing with its existing colors. A group of differently sized pumpkins looks collected when the palette stays consistent, while a single painted pumpkin can add a subtle seasonal note to a bedside table. For a matte finish, use chalk-style paint; for a smoother look, apply a clear craft sealer once everything is dry. Keep the arrangement uncluttered with a small stack of books or a ceramic vase.
Dried Orange and Cinnamon Garland
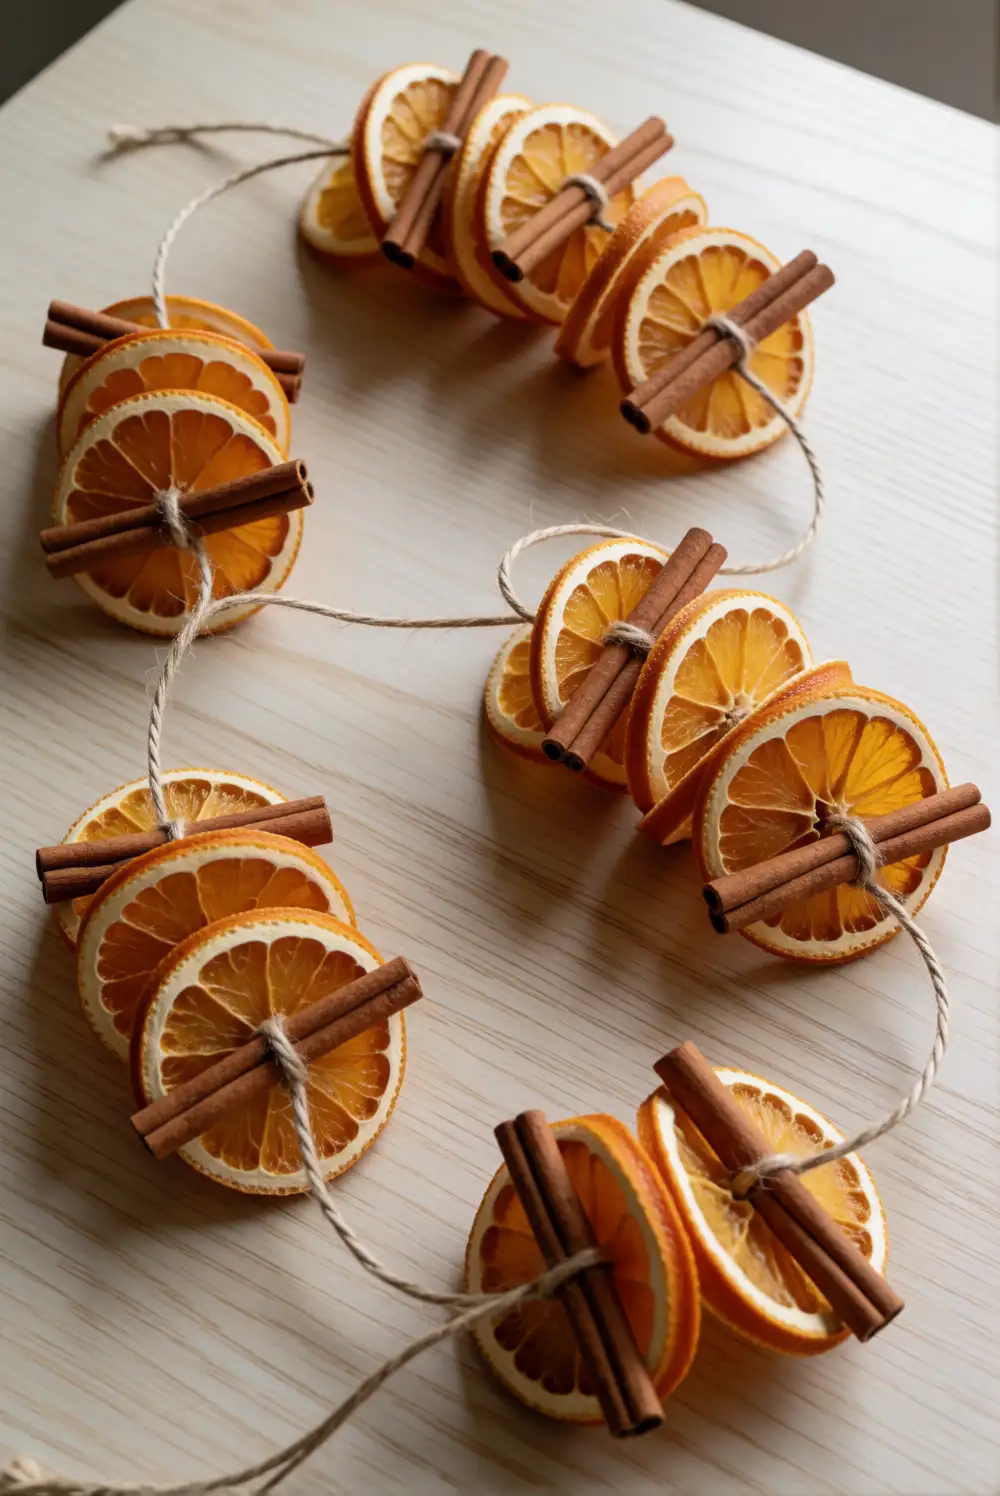
Slice oranges into even rounds and pat away excess juice with a clean towel. Dry the slices on a lined baking tray in a low oven, turning them occasionally until they look translucent and feel dry. Once completely cool, thread each slice onto sturdy twine with a large blunt needle, spacing the pieces with short cinnamon sticks. Tie secure knots at the ends and leave enough twine to hang the finished garland.
The citrus brings a glowing amber color, while cinnamon adds a rustic texture that suits a kitchen or dining space. Let the slices dry fully before storing or displaying them, since lingering moisture can affect their appearance. Add a few dried bay leaves for a muted green accent, or keep the arrangement simple for a clean, natural look. Drape it over a mantel or hang it against a plain wall away from damp areas.
Soft Felt Acorns in a Wooden Bowl
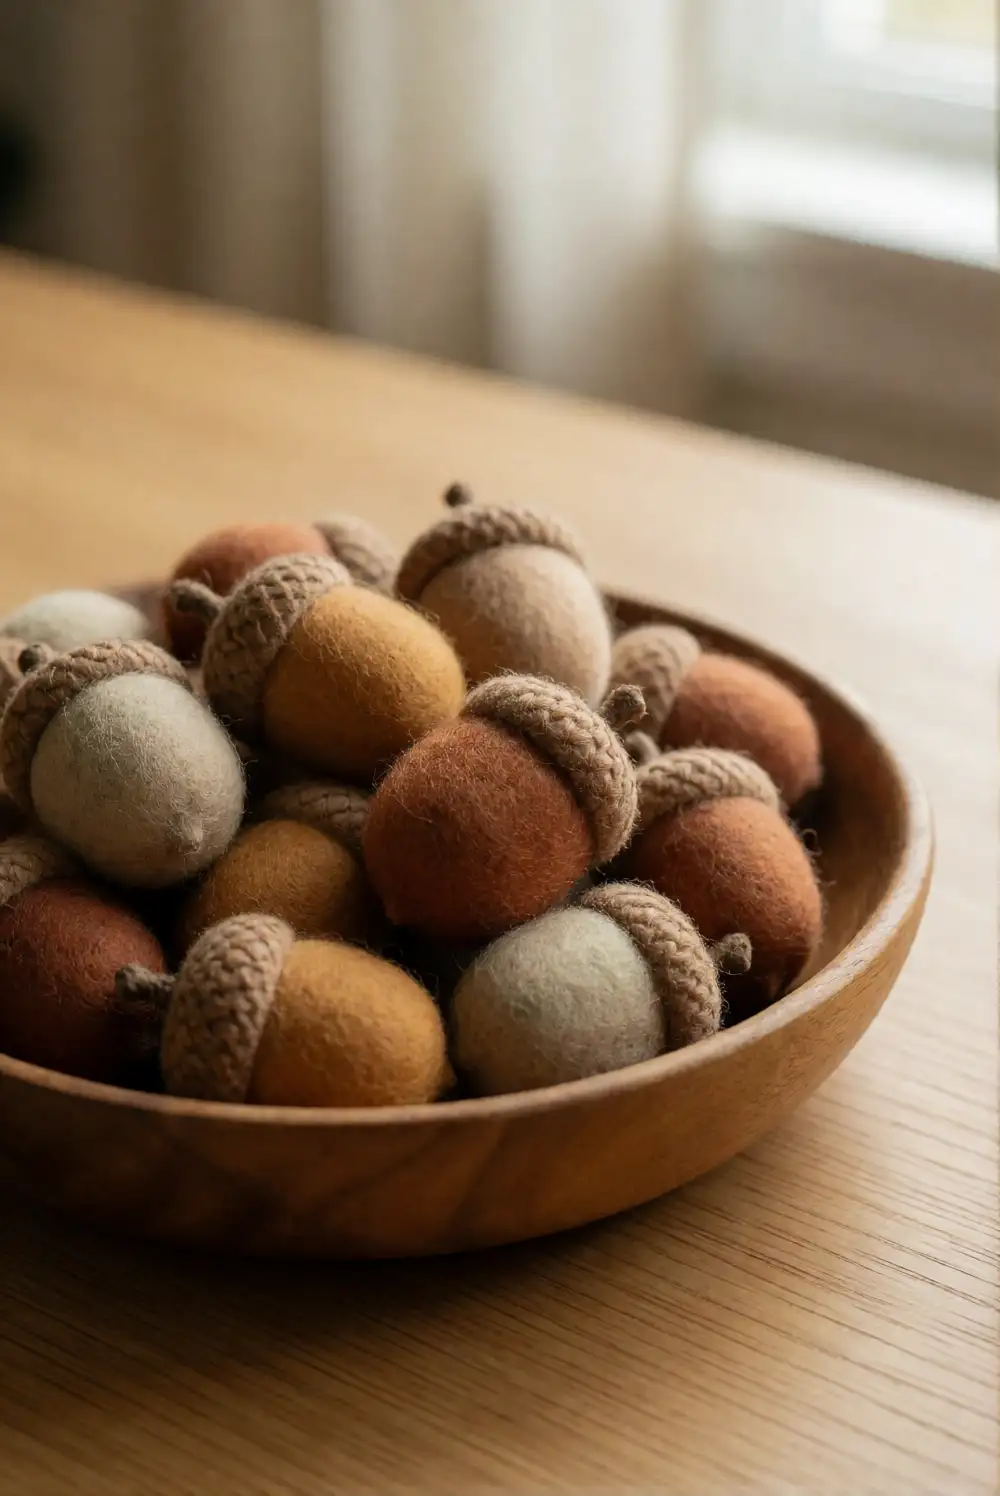
Create soft decorative acorns using brown wool felt, acorn caps collected outdoors, embroidery floss, and craft glue. Cut the felt into small teardrop shapes, roll each piece into a firm oval, and stitch or glue the seam closed. Add a small amount of glue inside each clean, dry cap, then press the felt body into place. Let the glue set fully before arranging the finished acorns in a shallow wooden bowl.
Vary the felt shades from warm tan to deep chestnut to give the bowl a naturally gathered look. A few acorns can also be tucked into a woven tray or arranged around a larger centerpiece. Check that outdoor caps are clean and dry before using them, and choose a bowl with a simple grain so the handmade details stand out. For a softer texture, combine the felt acorns with a folded linen napkin or a sprig of dried foliage.
Fabric Scrap Wreath with a Rustic Twig Base
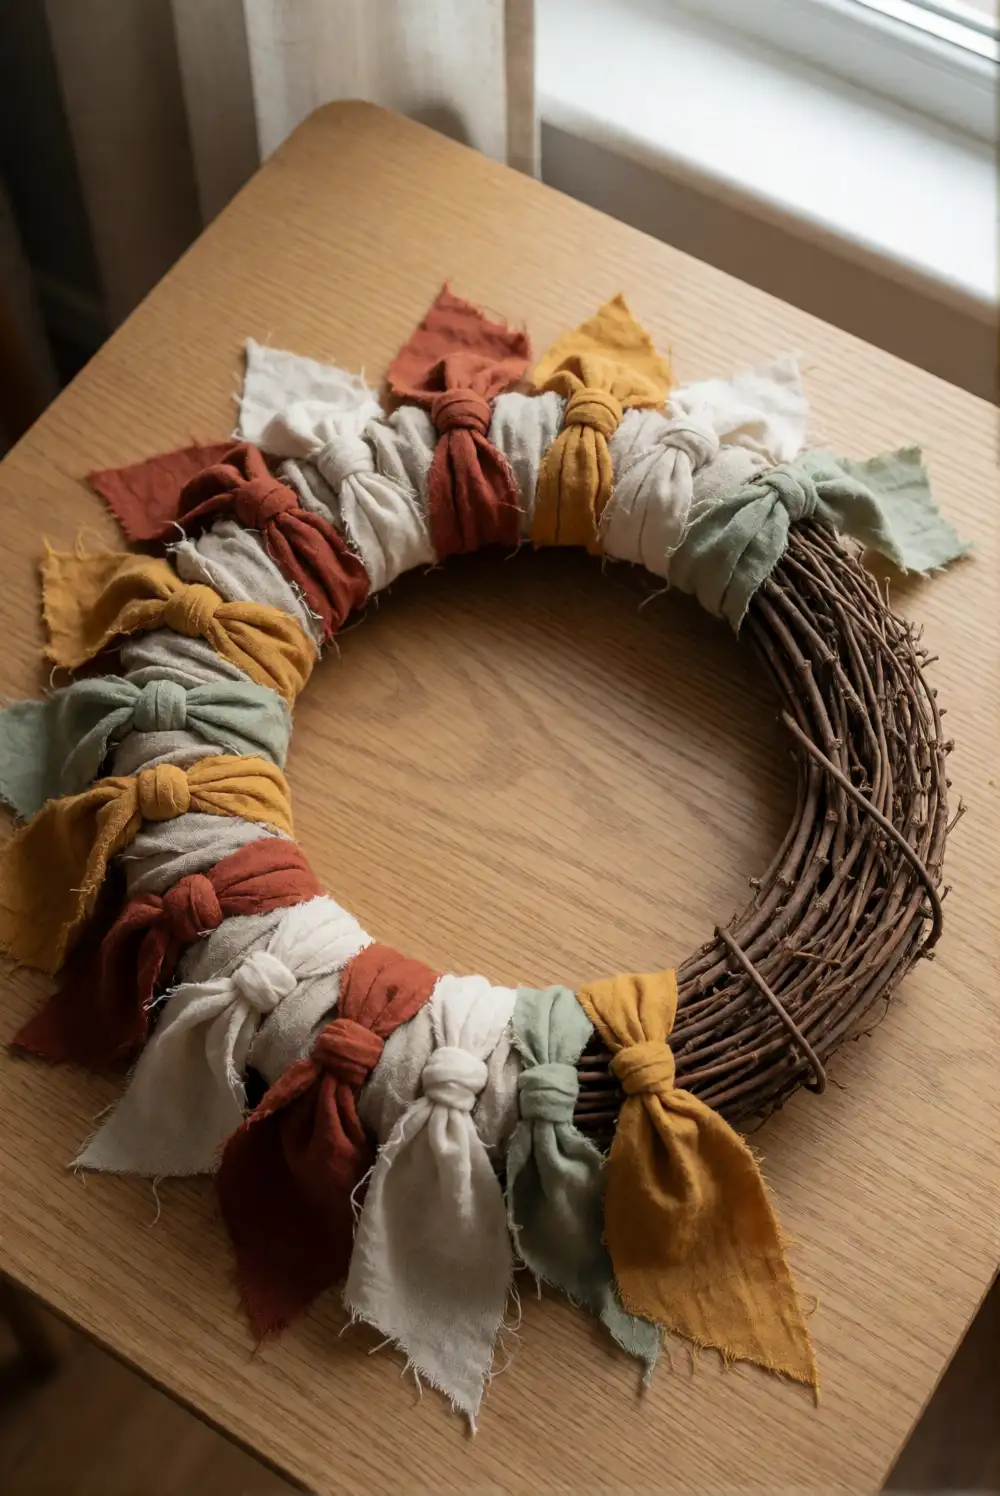
Gather a plain twig wreath, fabric scraps in autumn shades, scissors, and thin craft wire. Cut the fabric into narrow strips of similar length, then knot each strip around the wreath base, alternating colors and textures as you work. Fill the front and sides while leaving some of the twigs visible for a relaxed, handmade finish. Add a loop of ribbon or wire at the back so the wreath is ready to hang.
Use cotton, linen, or lightweight plaid fabric to create a mix that feels collected rather than overly polished. Keep the knots close together for a full wreath, or space them out to show more of the natural base. A small cluster of dried leaves tucked beneath a few strips can add dimension without overwhelming the fabric. Hang the finished piece on an interior door, above a console, or against a plain wall where its textures are easy to appreciate.
Air-Dry Clay Leaf Dishes for Small Keepsakes
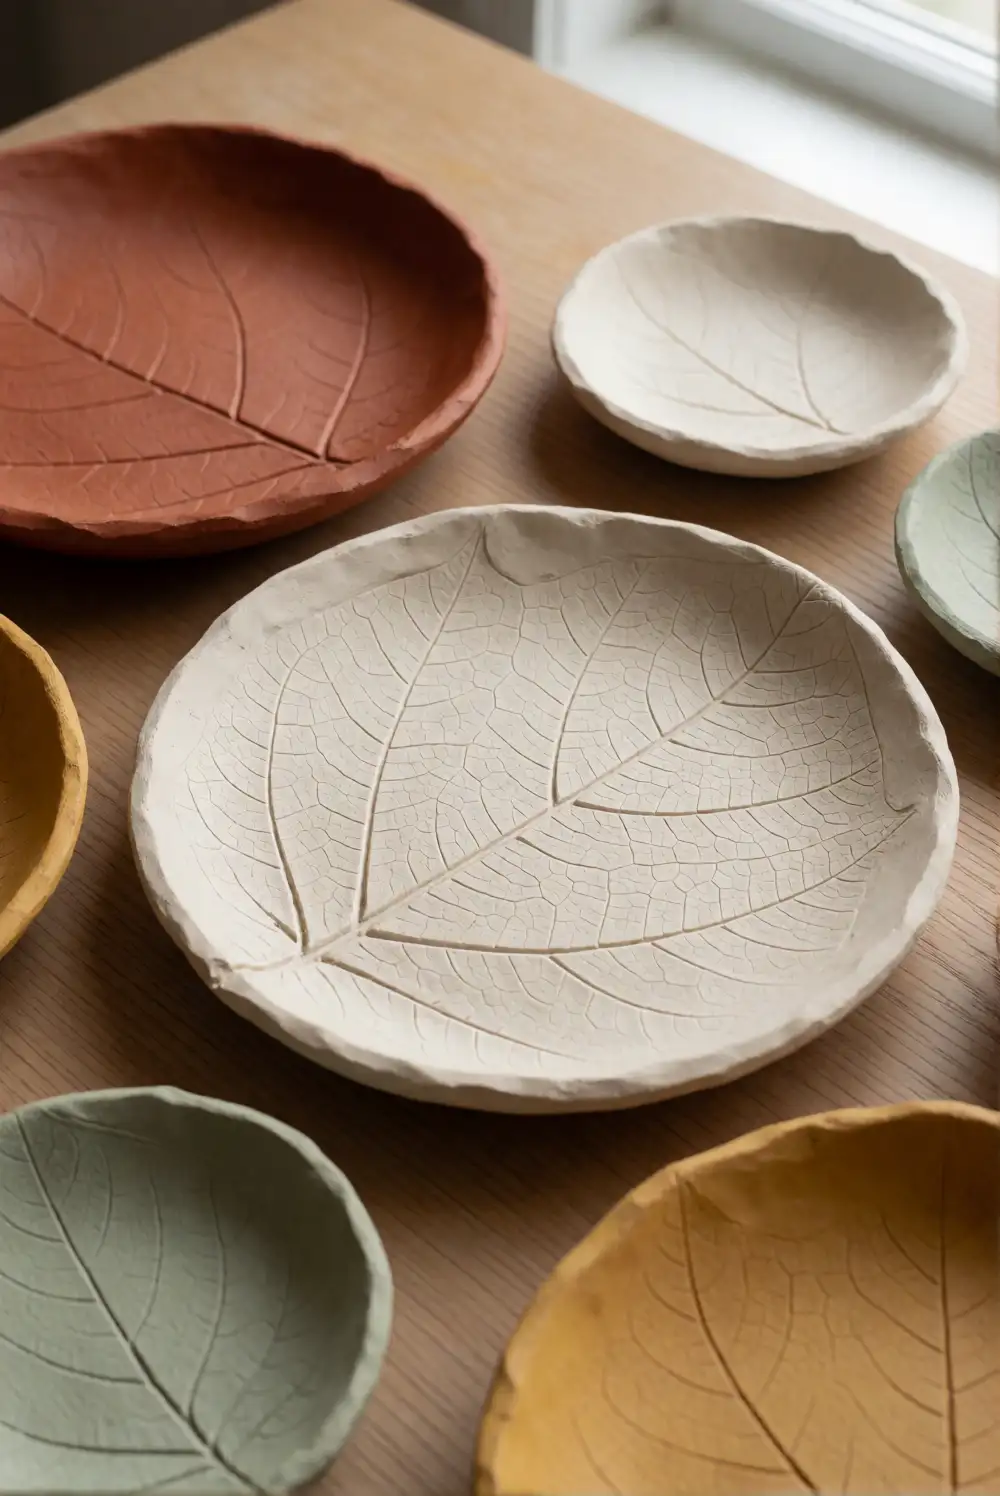
Roll air-dry clay into an even sheet on a protected work surface, then press a clean, veined leaf gently into it to transfer its pattern. Cut around the leaf outline with a craft knife, lift the clay shape, and place it inside a shallow bowl so the edges curve upward as it dries. Follow the clay package directions, then smooth any rough edges with fine sandpaper and brush on a matte finish if desired.
Use broad leaves for dishes with a clear imprint and enough room to hold rings, hair clips, or other small keepsakes. Natural clay looks lovely on a bedside table, while a thin wash of cream or muted sage paint can emphasize the embossed veins. Make sure the dish is fully dry before placing objects inside, and avoid using it for food or liquids. Display one dish on its own or group several shapes on a dresser.
Embroidered Autumn Leaf Hoop for a Quiet Wall Accent
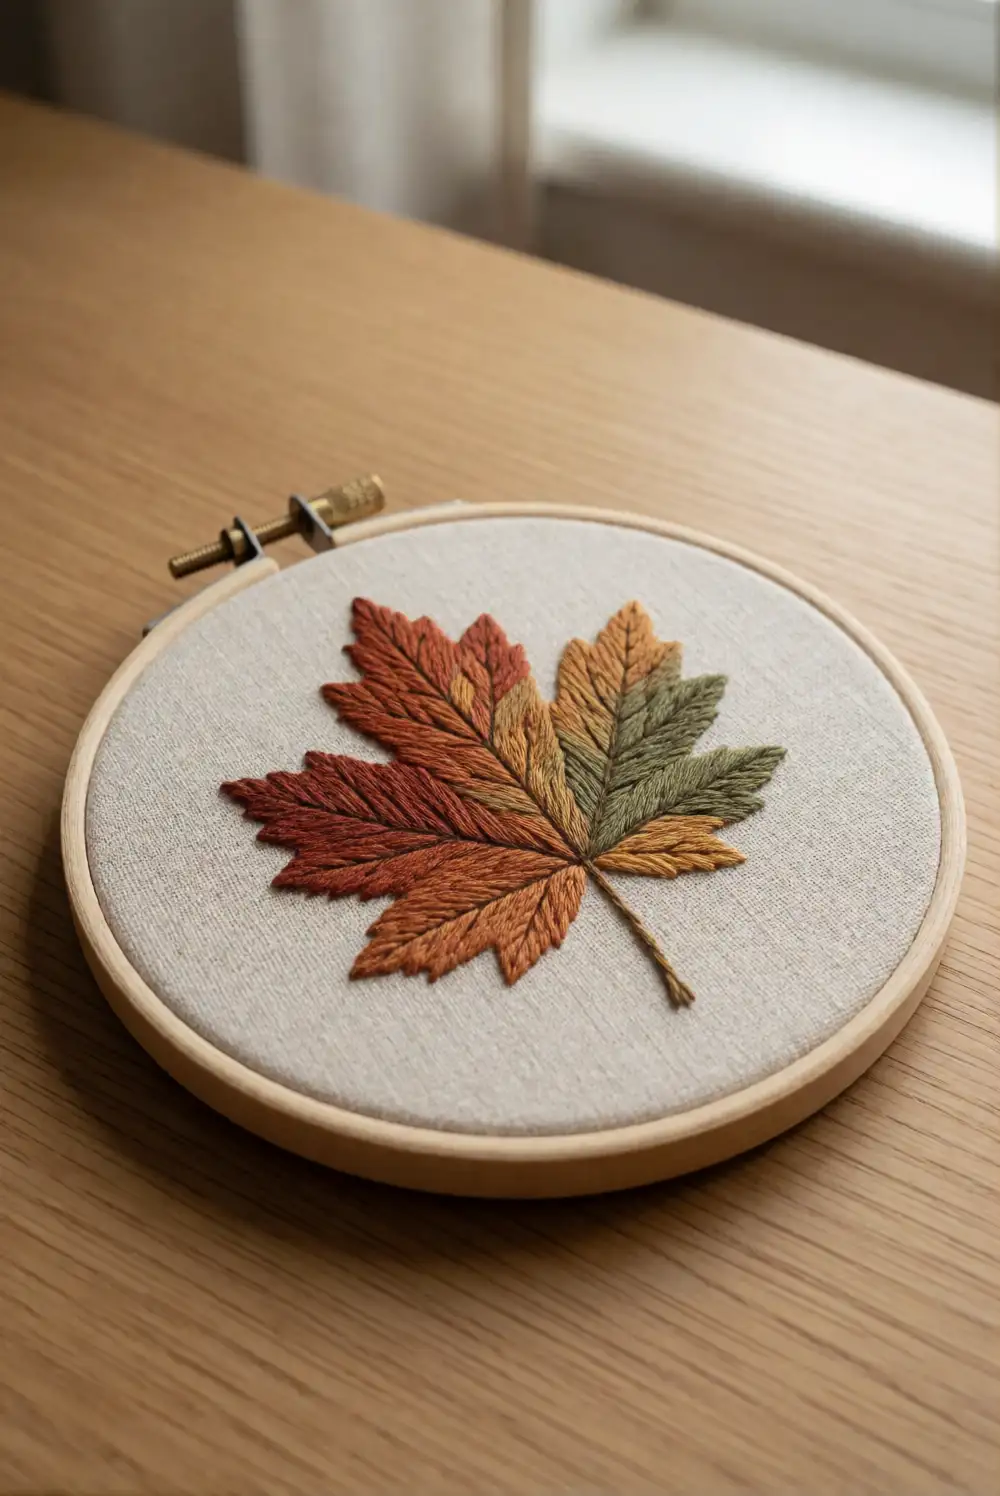
Stretch natural linen in an embroidery hoop and sketch a simple leaf outline lightly with a removable fabric marker. Choose embroidery floss in rust, olive, and golden brown, then fill the outline with straight stitches that follow the leaf veins. Add a short stem and a few stitched lines for definition, keeping the design centered within the hoop. When the stitching is complete, trim the excess fabric at the back and secure it neatly around the frame.
A single leaf makes a calm, minimal decoration, while a pair of hoops in complementary thread colors can create a balanced wall arrangement. Choose linen with a visible weave for a tactile look, or use smooth cotton for crisp stitching. This project also works well as a small seasonal accent above a desk or beside a reading chair. Keep the finished hoop away from prolonged direct sunlight to help the thread colors remain rich.
Pinecone and Wool Tabletop Centerpiece
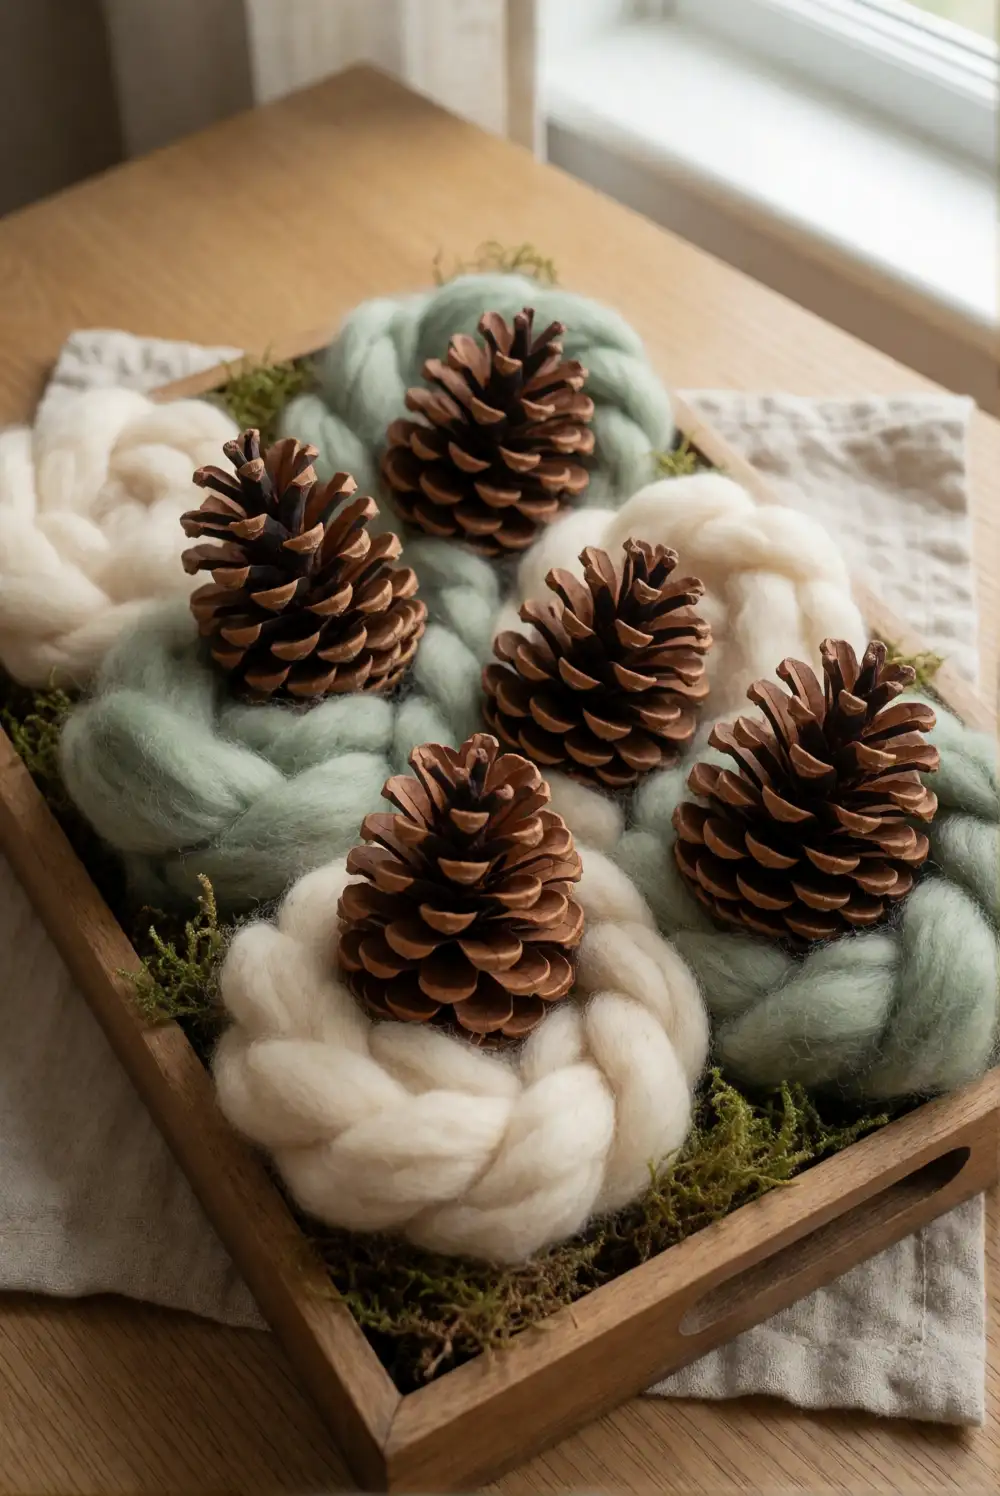
Arrange a few clean, dry pinecones in a shallow ceramic dish or wooden tray, then weave soft wool roving between their scales for a gentle pop of color. Add a layer of moss or folded linen beneath the pinecones to soften the base and bring in another natural texture. Keep the taller cones toward the center and angle smaller ones outward so the arrangement feels relaxed and balanced from every side.
Choose cream, rust, or muted sage wool to complement the wood and foliage without making the centerpiece feel busy. A low arrangement works especially well on a dining table because it leaves the view across the table open. For a shelf or entryway, add a small ceramic vessel nearby rather than filling every open space. Refresh the display with different natural materials as the season changes, and keep the pinecones dry so they hold their shape.
Pressed Botanical Frame with Layered Leaves
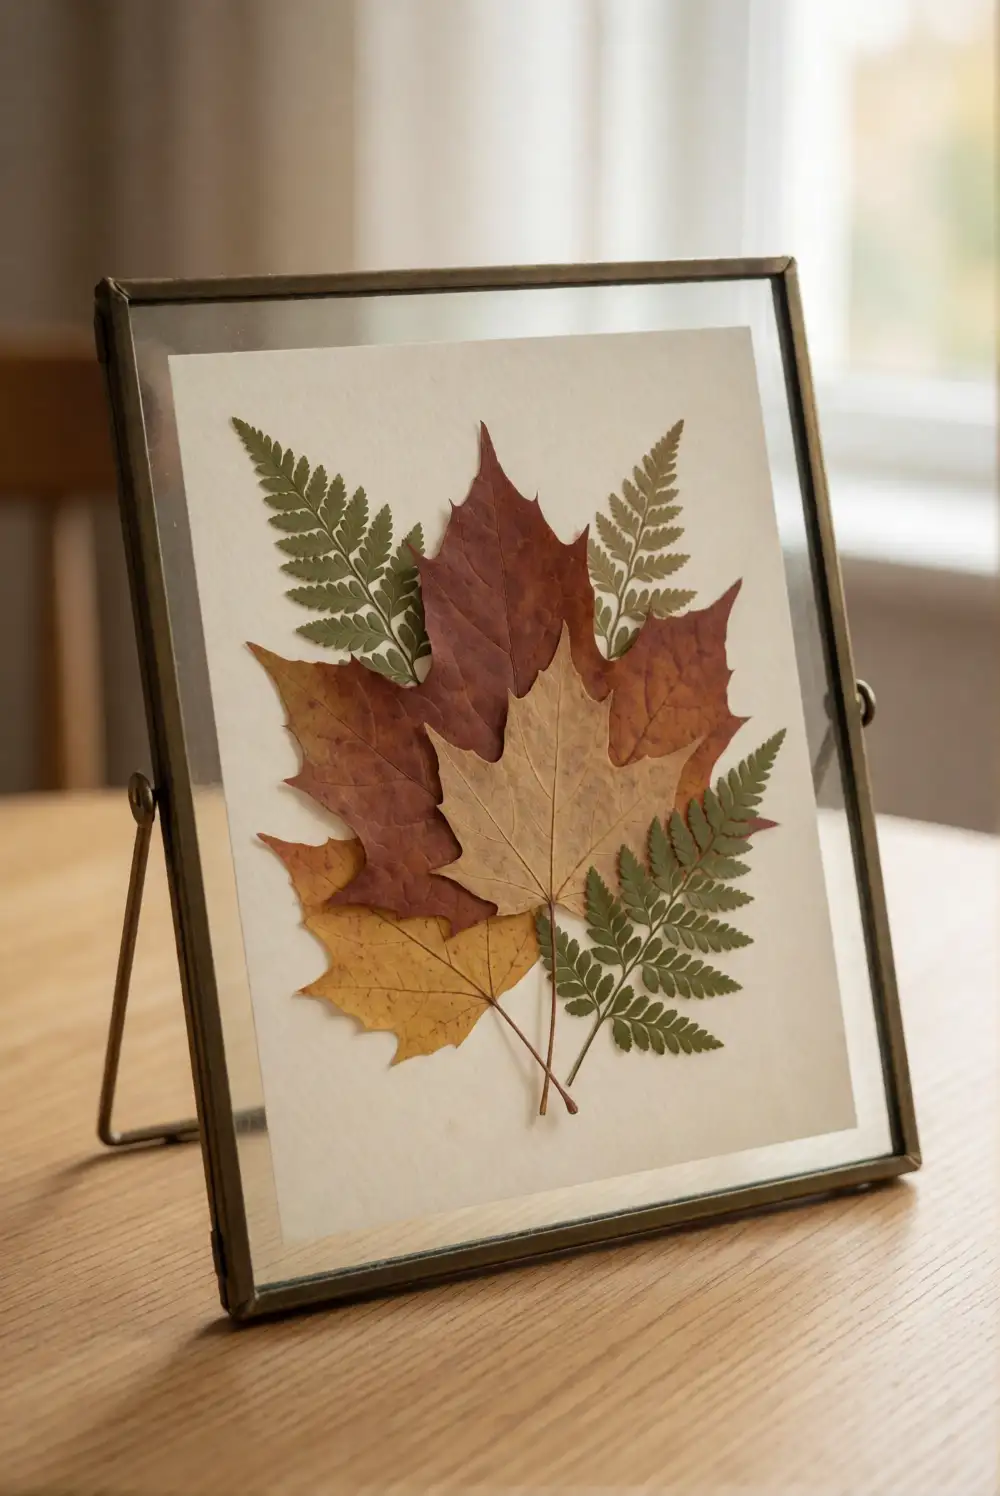
Press delicate leaves and small fern fronds between absorbent paper under a heavy book until they are completely flat. Arrange the dried botanicals on a piece of cream cardstock, experimenting with overlapping shapes before attaching them with tiny dots of clear craft glue. Place the composition inside a simple glass frame, taking care to keep the leaves flat. Choose a frame with a narrow border so the natural forms remain the focal point.
Mix fine fern shapes with broader leaves for contrast, or use one type of foliage for a quieter, more graphic arrangement. A pair of frames can be displayed together above a console, while a single frame fits neatly on a small shelf. Cream cardstock creates a warm backdrop, but pale gray or soft sage can also suit the palette. Keep the frame out of direct sunlight and away from moisture to preserve the botanicals.
Glass Jar Lantern with a Warm LED Glow
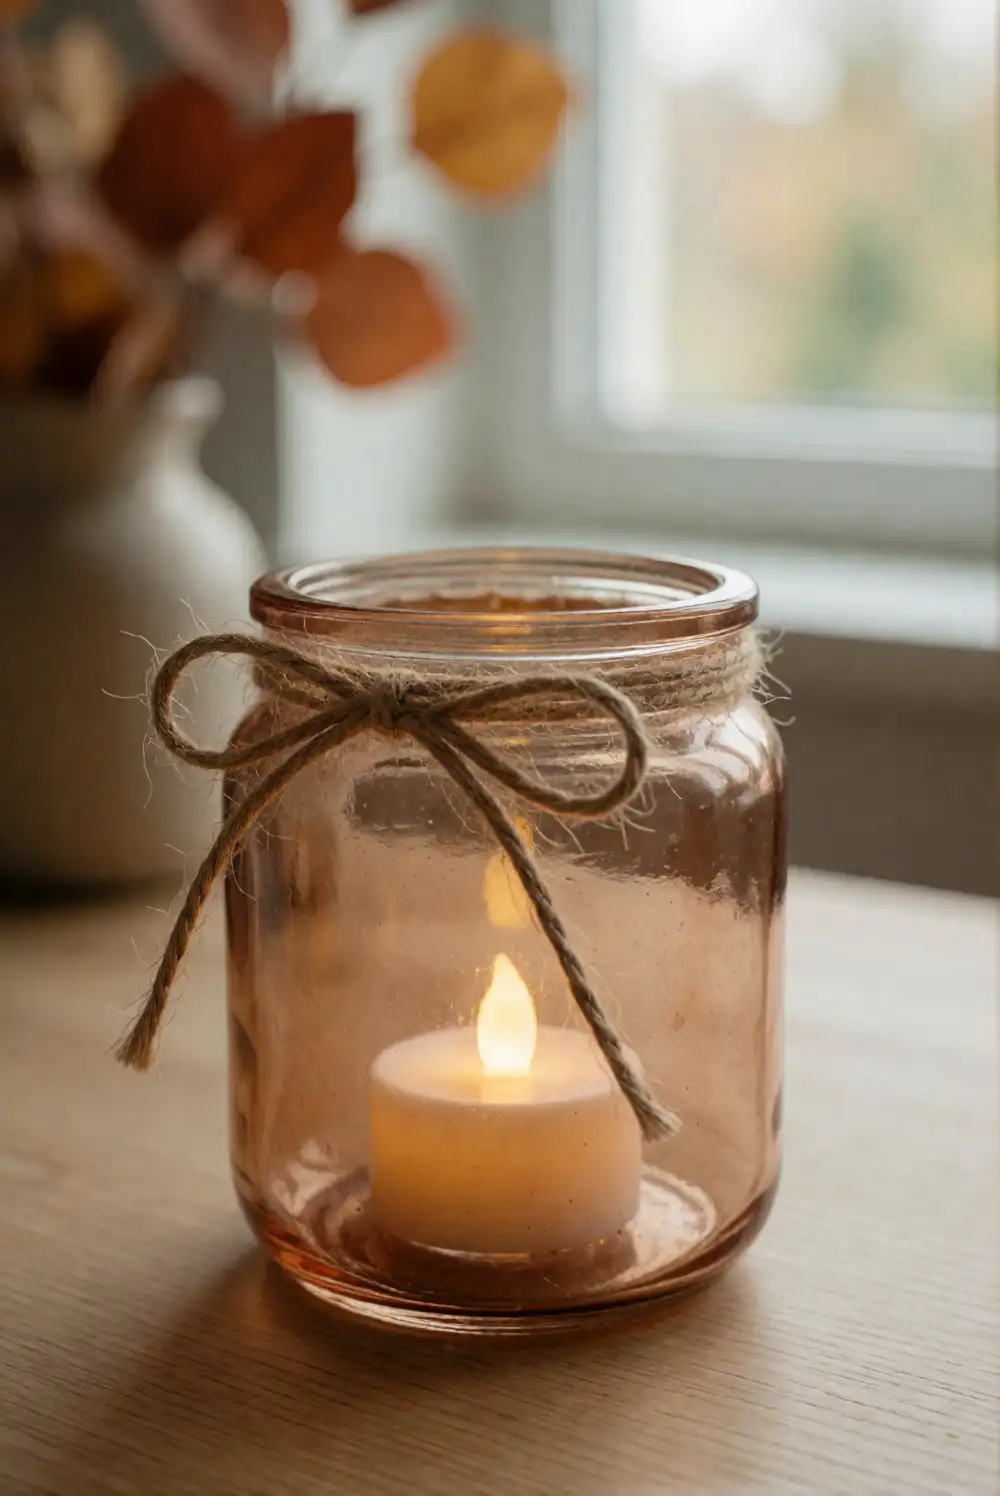
Clean and dry a clear glass jar, then brush a thin layer of translucent amber glass paint around its sides. Leave an open band near the top for a softly varied finish, and let the paint cure according to its package directions. Tie a short piece of jute twine around the neck, adding a small dried leaf beneath the knot if desired. Place a warm-toned LED tea light inside and settle the jar on a stable tray.
The tinted glass gives the LED glow a cozy, honeyed effect that works nicely on a mantel, side table, or sheltered porch. Try a pale sage or smoky cream tint for a different mood, keeping the finish translucent so light can still shine through. Use a jar with a wide opening to make inserting and removing the LED tea light easy. Arrange the lantern with a folded linen napkin or a few small pumpkins for a cohesive seasonal vignette.
These handmade autumn accents bring natural color, soft textures, and a personal touch to everyday spaces. Start with a project that suits your materials and display area, then combine a few pieces in a restrained palette for a cozy seasonal arrangement. Whether you choose pressed leaves, painted pumpkins, or a glowing jar lantern, each craft can help your home feel warm and thoughtfully prepared for fall.