
Give your manicure a beautifully eerie edge with spooky nails in inky black, deep plum, smoky gray, and rich red. These dark, moody designs range from easy glossy finishes to detailed marble, chrome, and hand-painted accents, with practical tips to help you recreate each look at home. Choose a style that suits your nail length and polish collection, then make it your own with a few carefully placed details.
Velvet Black and Plum Ombre Nails
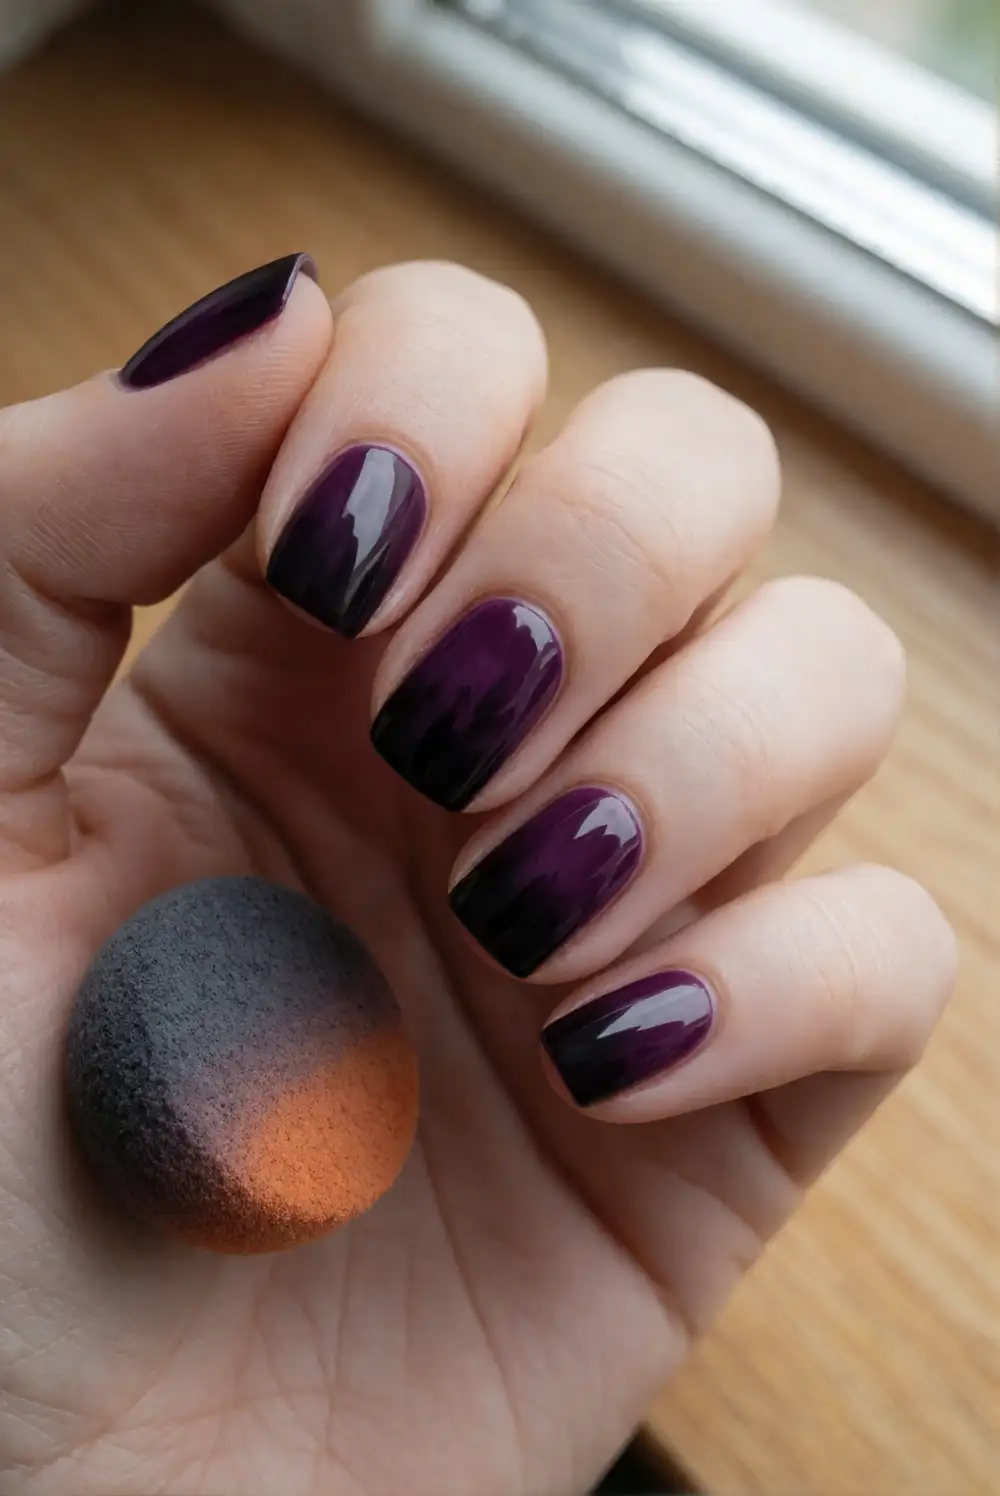
Blend a rich plum polish into glossy black for an ombre manicure with a soft, shadowy finish. Apply a base coat, paint plum over each nail, then use a small makeup sponge to dab black polish onto the tips and blend the colors where they meet. Build the gradient with light layers, letting each pass settle before adding more. Finish with a smooth top coat to seal the fade and bring out the depth of the dark shades.
For a subtle version, keep the plum concentrated near the cuticle and let black take over the tips; reversing the gradient creates a different mood. A makeup sponge with a fine texture helps soften the transition, while a small brush dipped in remover cleans polish from the skin. Try the design on every nail for a dramatic look or use it as an accent beside plain black nails. The glossy finish pairs especially well with silver rings.
Black Cherry Chrome Tips
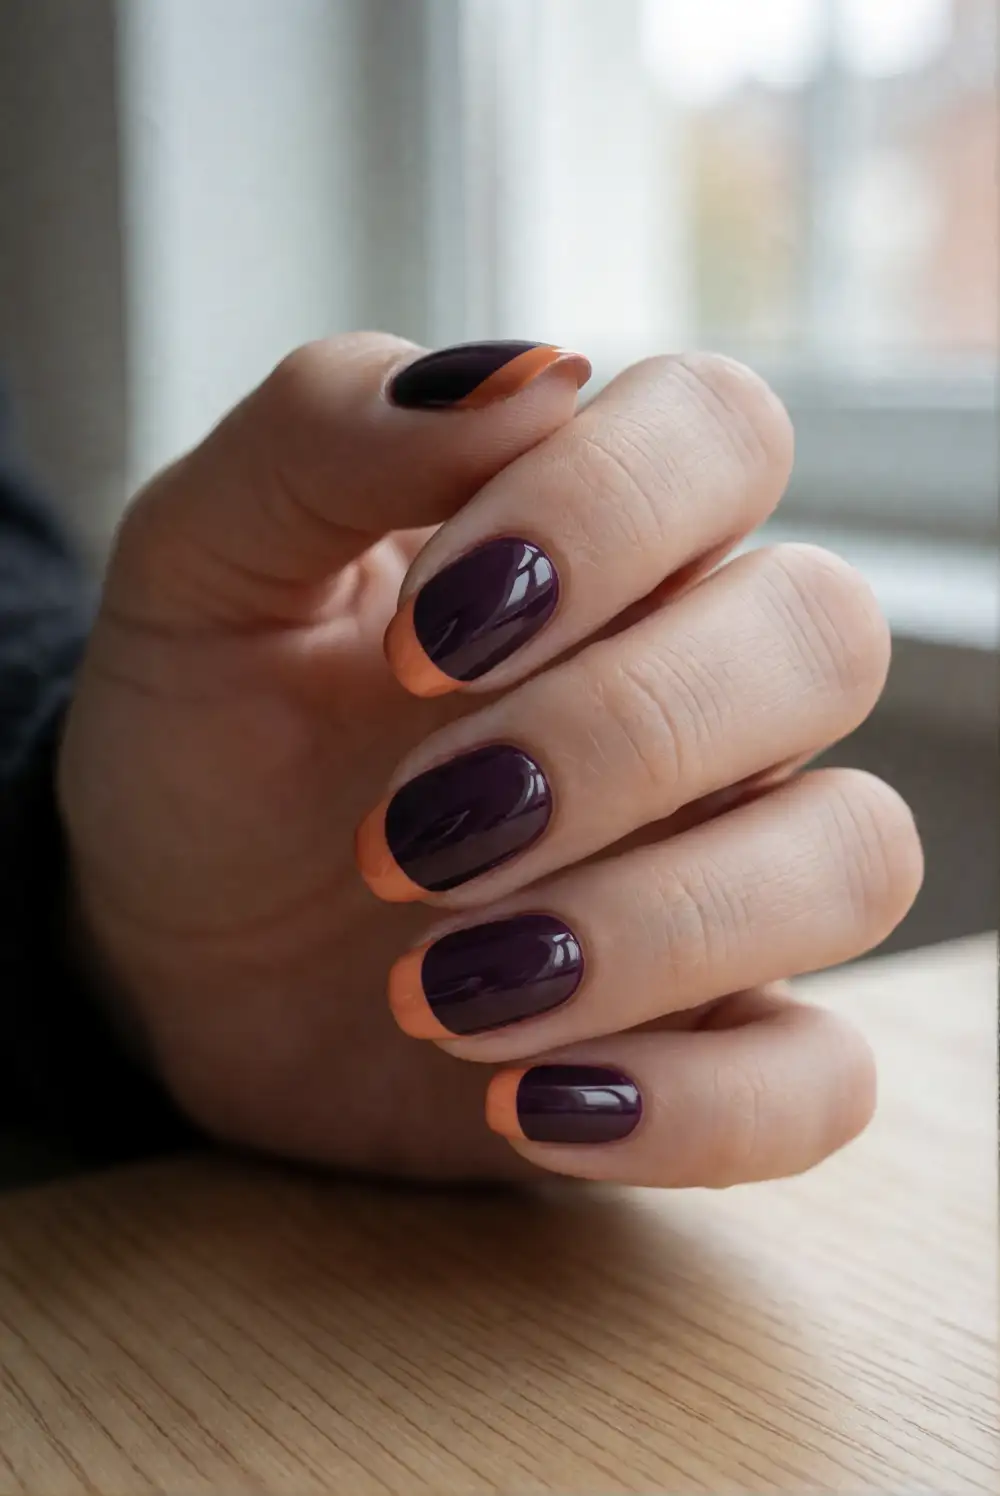
Pair a black cherry base with reflective chrome tips for a manicure that catches the light without losing its moody color. Shape and prep the nails, apply a base coat, then paint on two thin coats of deep burgundy polish. Once dry, create curved French tips with chrome polish or a chrome powder applied over the appropriate gel top coat. Keep the tip line slim for a refined look, and finish with a compatible top coat to protect the metallic detail.
Deep wine, oxblood, and nearly black red all work well, so choose the shade that suits your polish collection. For straighter tips, use French manicure guides and remove them while the polish is still workable. If you prefer a softer effect, apply the chrome only to the outer edge rather than covering the entire tip. This design looks striking on almond and oval nails, but a short square shape gives it a crisp, modern feel.
Charcoal Night Sky Nails
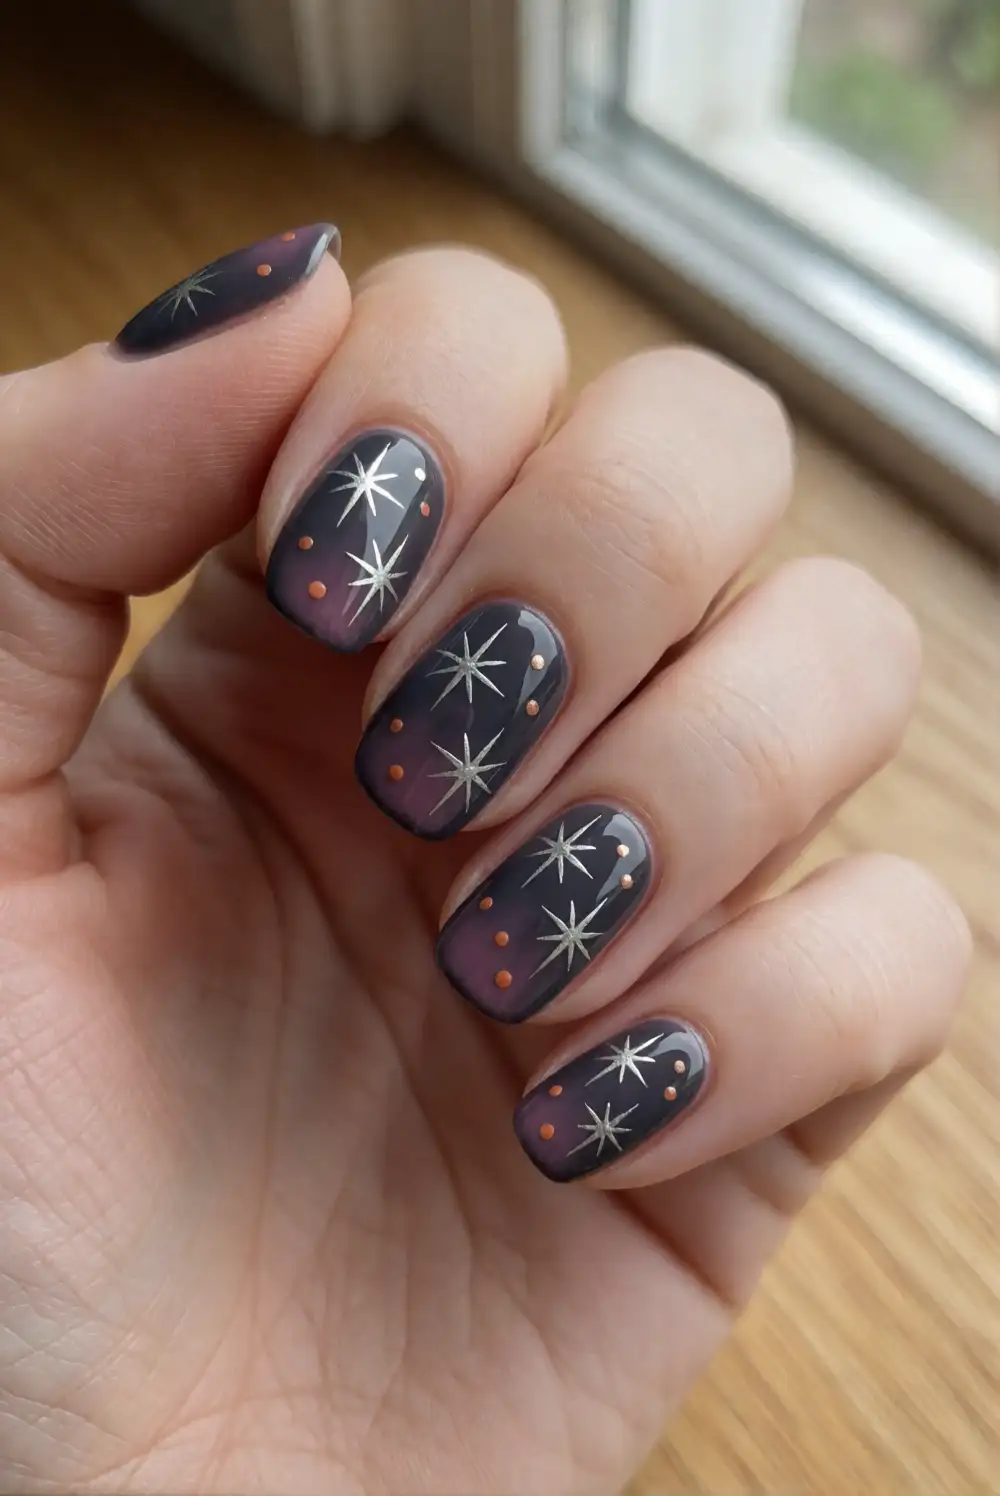
Turn a charcoal manicure into a miniature night sky with tiny silver stars and scattered dots. Start with a charcoal-gray base coat, allow it to dry, and use a fine nail-art brush or dotting tool to add small starbursts in silver polish. Place a few dots nearby, leaving plenty of dark space so the design stays clean. Seal everything with a clear top coat, taking care to float the brush over the decorations instead of dragging through them.
Keep the stars on one or two accent nails for a restrained look, or scatter them across every nail for a more celestial finish. A metallic silver shade gives crisp contrast, while muted pewter makes the art feel softer. If freehand stars feel tricky, make simple crosses with a thin brush and add a dot at each center. A charcoal base with a satin finish also creates a lovely contrast against shiny star details.
Black French Tips with Plum Bases
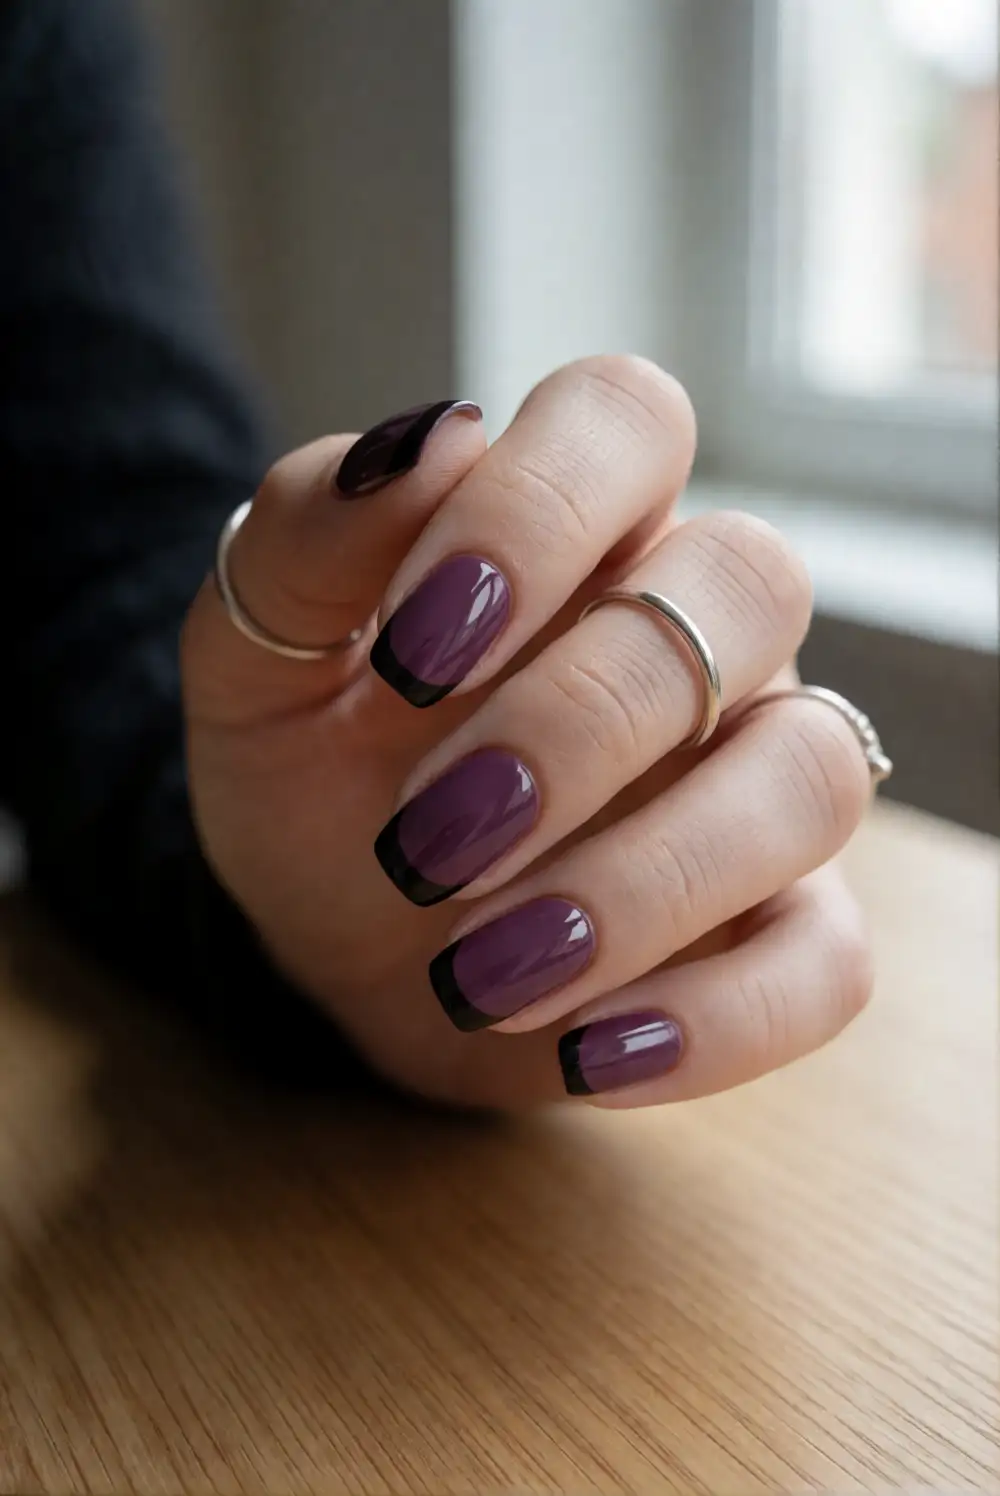
Give the French manicure a darker twist by pairing a sheer plum base with precise black tips. After applying a base coat, brush on a sheer plum polish in thin layers, letting the natural nail show through. Paint a slim curved tip in black, following the shape of each nail, and clean the smile line with a small detail brush if needed. Once the design is fully dry, finish with a glossy top coat for a smooth, polished surface.
Short nails look especially neat with a narrow tip, while longer nails can carry a deeper black curve. For easier application, rest your painting hand on a steady surface and work one nail at a time. A slightly muted plum makes the manicure feel romantic, while a saturated berry shade reads bolder. Try a matte top coat over the plum with glossy black tips for a subtle finish that reveals its contrast when the light shifts.
Smoky Black Marble Nails
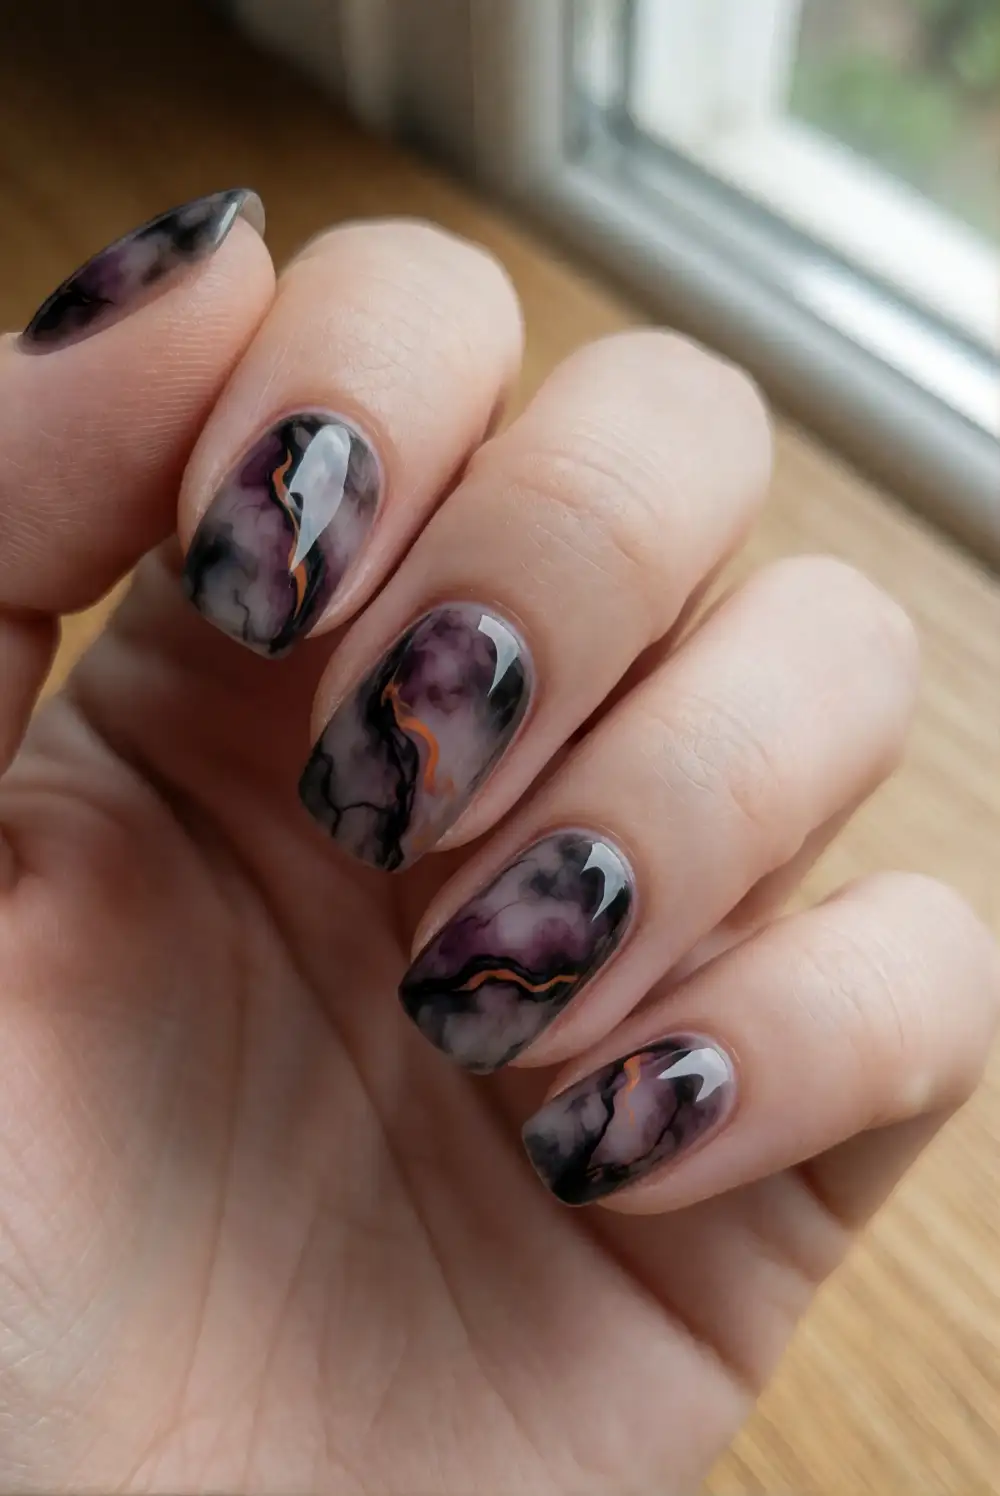
Create a smoky marble effect with black, gray, and a touch of sheer polish. Paint each nail with a pale smoky-gray base, then add a few uneven wisps of black and translucent gray while the polish remains workable. Use a fine brush to gently pull and curve the colors into soft veins; avoid overmixing, so the pattern keeps its cloudy depth. Let the design dry completely before applying a generous layer of clear top coat to smooth the surface.
Every nail can have a different pattern, which makes this look forgiving and naturally varied. Keep the black concentrated in a few veins rather than covering the whole nail, and add a little white polish if you want brighter contrast. For a simpler alternative, marble just one or two nails and paint the rest glossy black. A detail brush gives more control than a toothpick, and a clean brush helps soften sharp edges before the polish sets.
Deep Green and Black Mismatched Nails
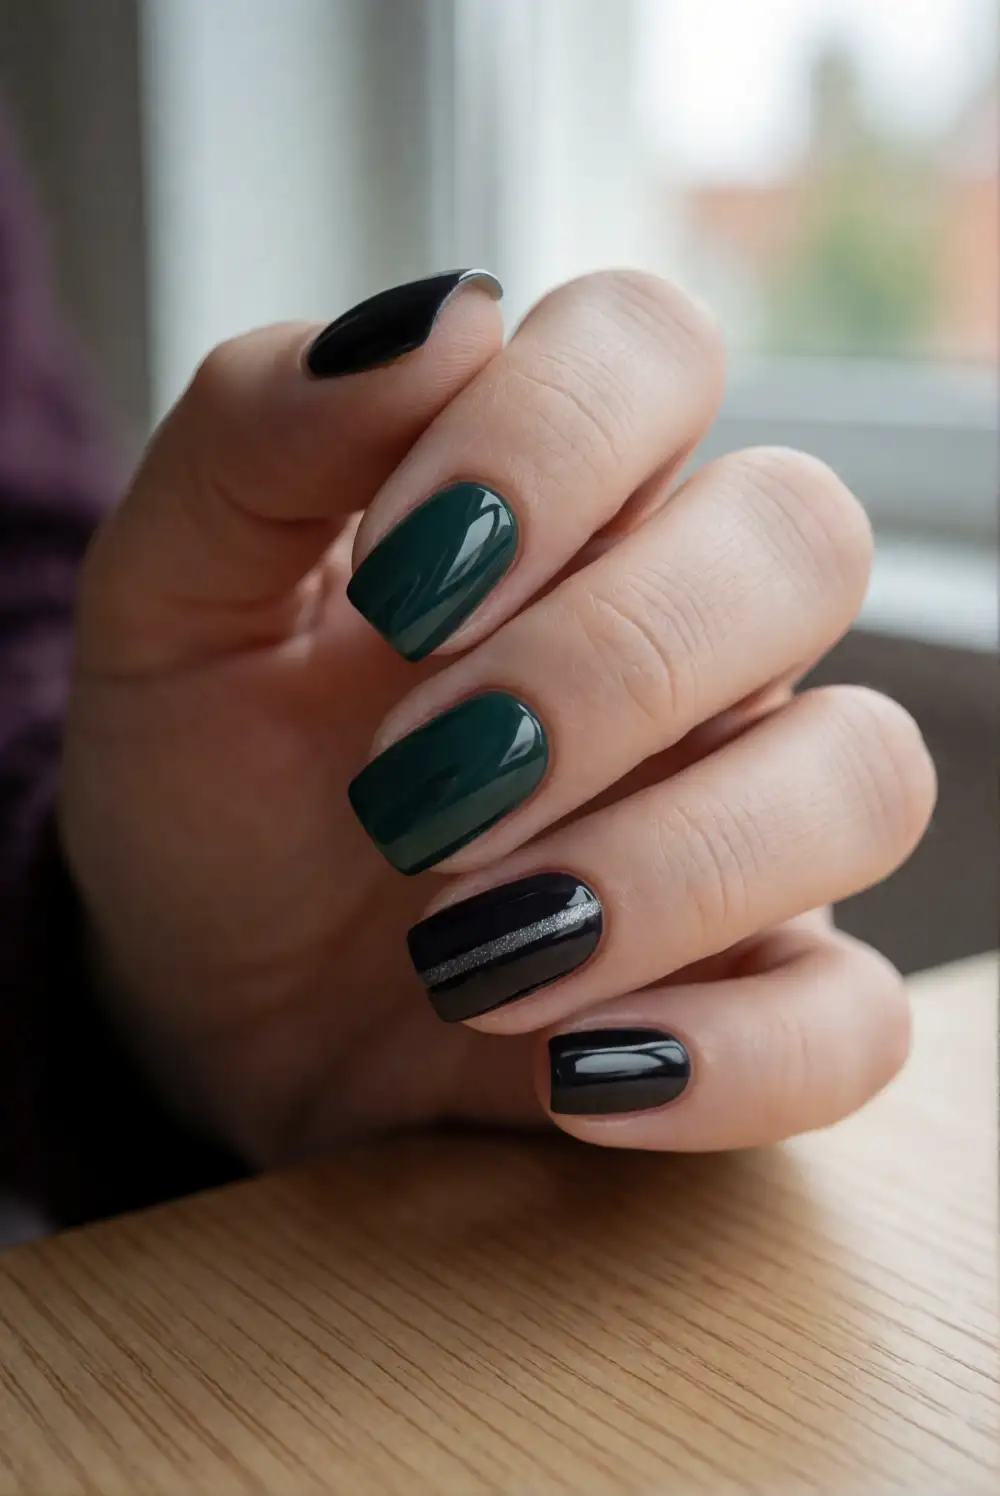
Mix deep forest green and glossy black across a coordinated set of nails for a moody manicure with little extra effort. Apply a base coat, then alternate the two colors on different fingers, using two thin coats for even coverage. Add a narrow metallic accent line to one or two nails with a fine brush, or leave the colors solid for a clean, minimal finish. Seal the manicure with top coat, making sure to cap the free edge so the polish wears evenly.
Choose a nearly black green for a subtle color shift, or a richer emerald shade for more contrast against black. You can also paint one accent nail with a smoky green-to-black gradient while keeping the rest solid. A small amount of gold or pewter detailing can warm up the cool palette, but restraint keeps the manicure cohesive. This easy design works particularly well on shorter nails and pairs nicely with dark clothing, silver jewelry, or a soft neutral outfit.
Little Bat Silhouette Accent Nails
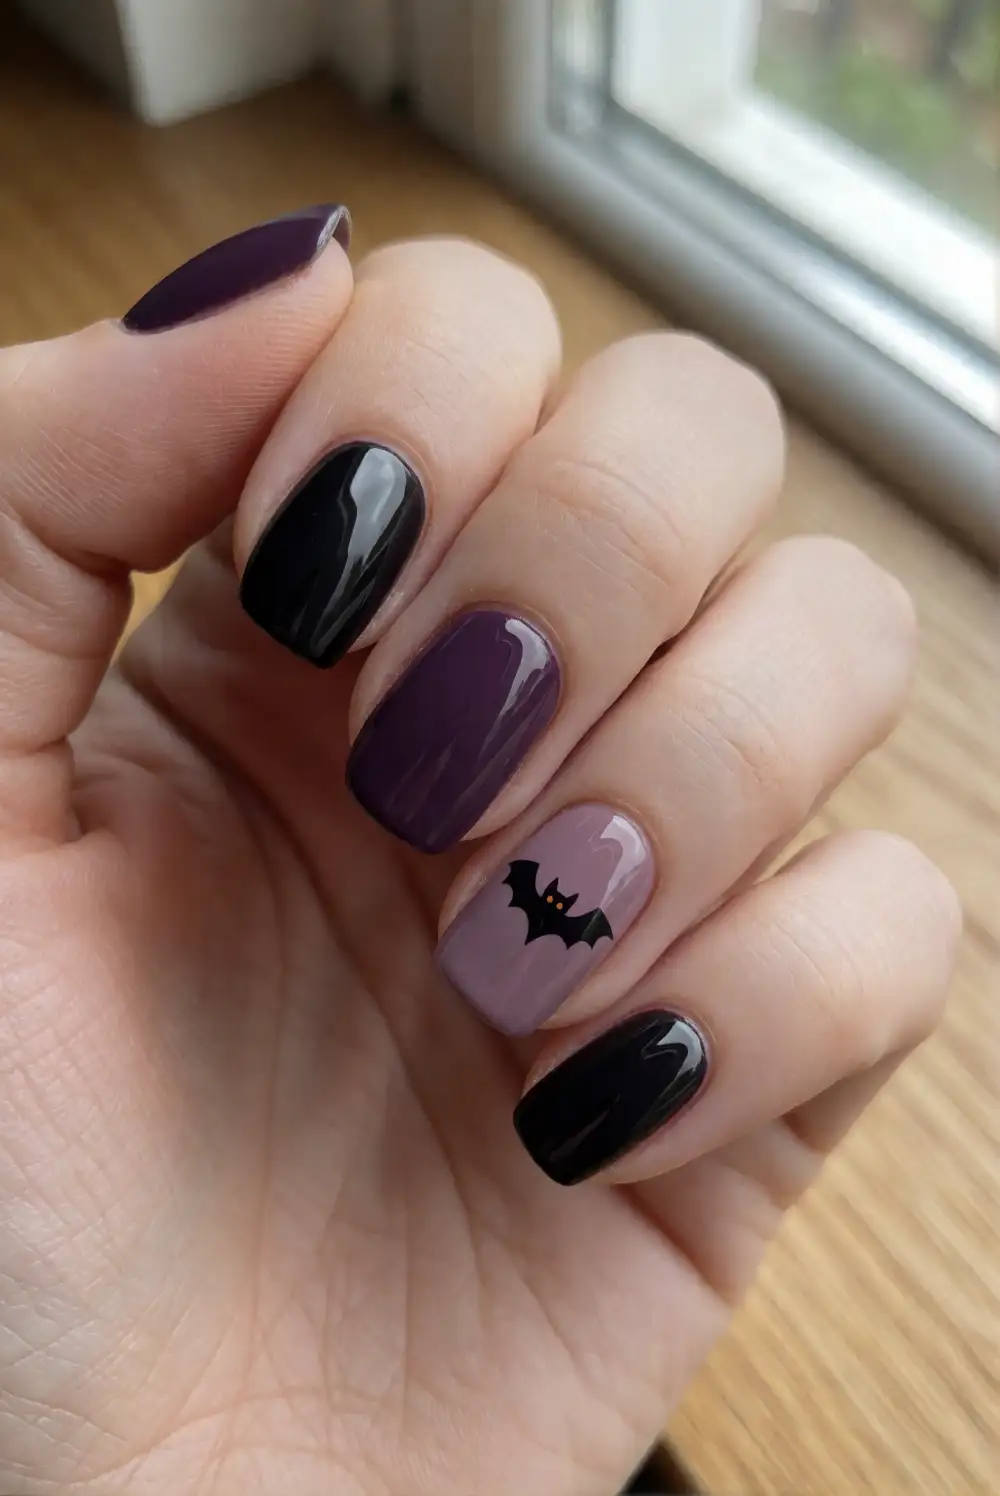
Add a simple bat silhouette to an otherwise glossy black or plum manicure. Paint the nails with your chosen dark base and let it dry fully. On one accent nail, use a fine brush to make a small rounded center, then draw two curved wings with gently scalloped lower edges. A dark silhouette on a pale gray or muted mauve accent nail gives the shape definition; alternatively, use silver polish against a black base for a more graphic look. Seal with top coat.
Keep the bat small and centered so the design remains easy to paint and the nail still feels polished. Use a detail brush with only a little polish on its tip to avoid bulky lines, and let each part dry briefly before adding the next. If drawing wings feels difficult, make a simplified shape with two short angled strokes and a curved body. Repeat the accent on just one hand or mirror it on both ring fingers for a balanced finish.
Glossy Crimson Drip Tips
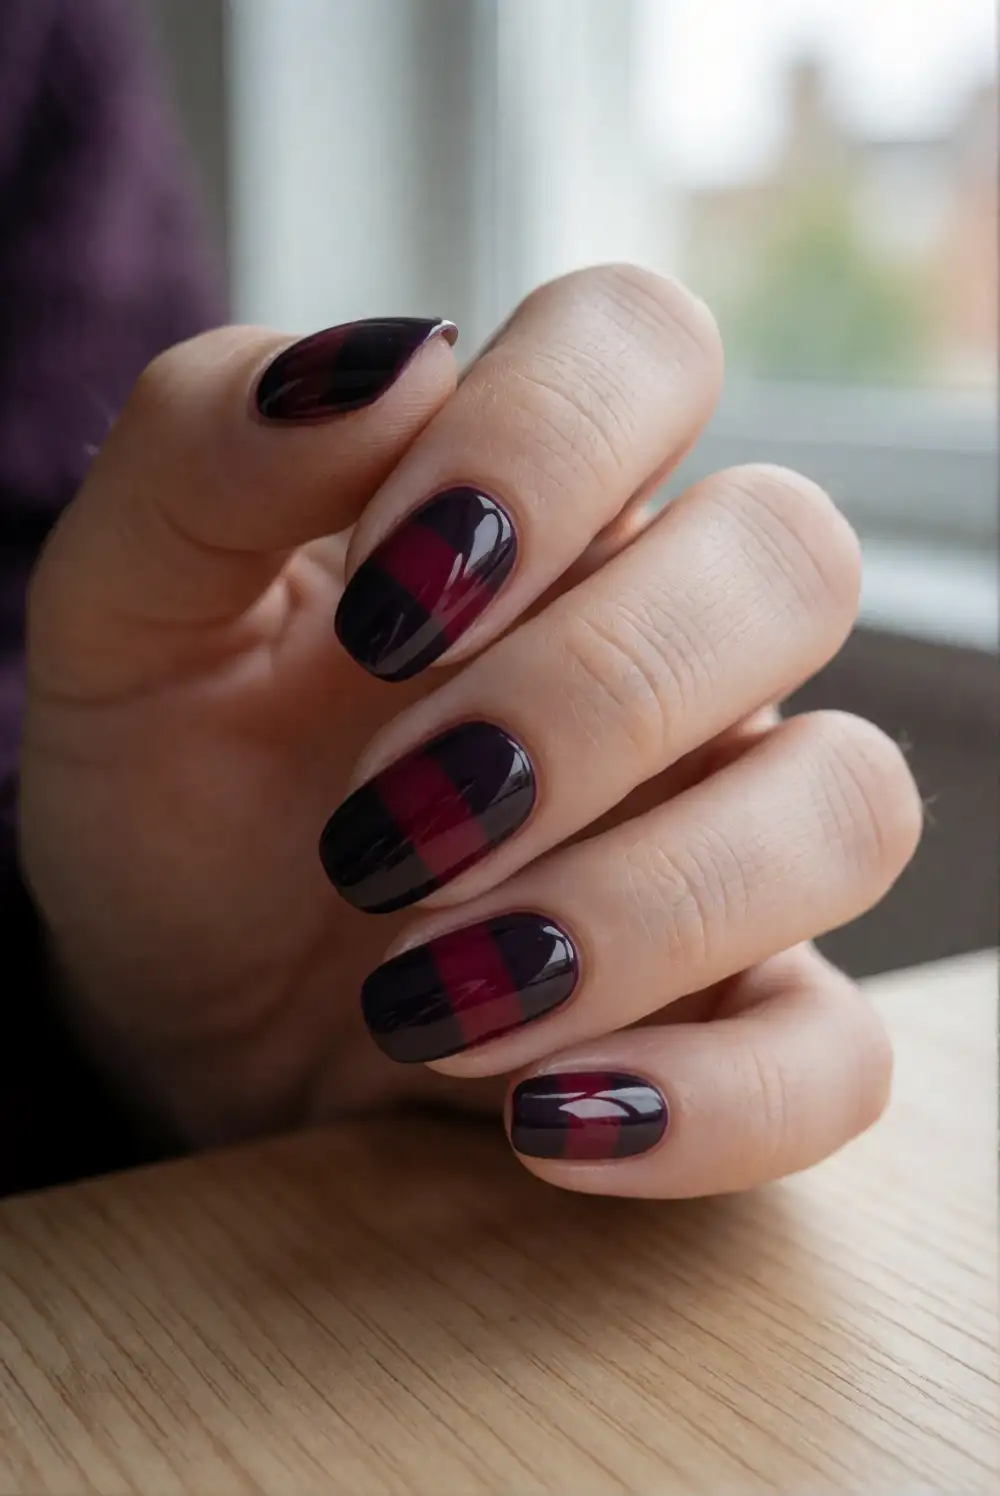
Give black nails a vivid accent with deep crimson drips along the tips. Apply a black base coat and let it dry before painting a red band near each free edge. With a fine brush, pull a few narrow red drops down from the band, varying their lengths slightly for a natural, rounded finish. Keep the shapes smooth rather than pointed, and leave some black visible between drips. When the polish has set, apply a glossy top coat to unite the colors.
A wine-red shade creates a sophisticated, low-contrast effect, while brighter crimson makes the detail stand out. For a wearable take, add drips to only one or two accent nails and keep the rest solid black. A dotting tool can help make rounded drip ends, which you can connect to the red band with a fine brush. If the lines look uneven, adjust them before the polish dries. This design looks especially sharp on medium-length square or almond nails.
Matte Black Nails with Glossy Moons
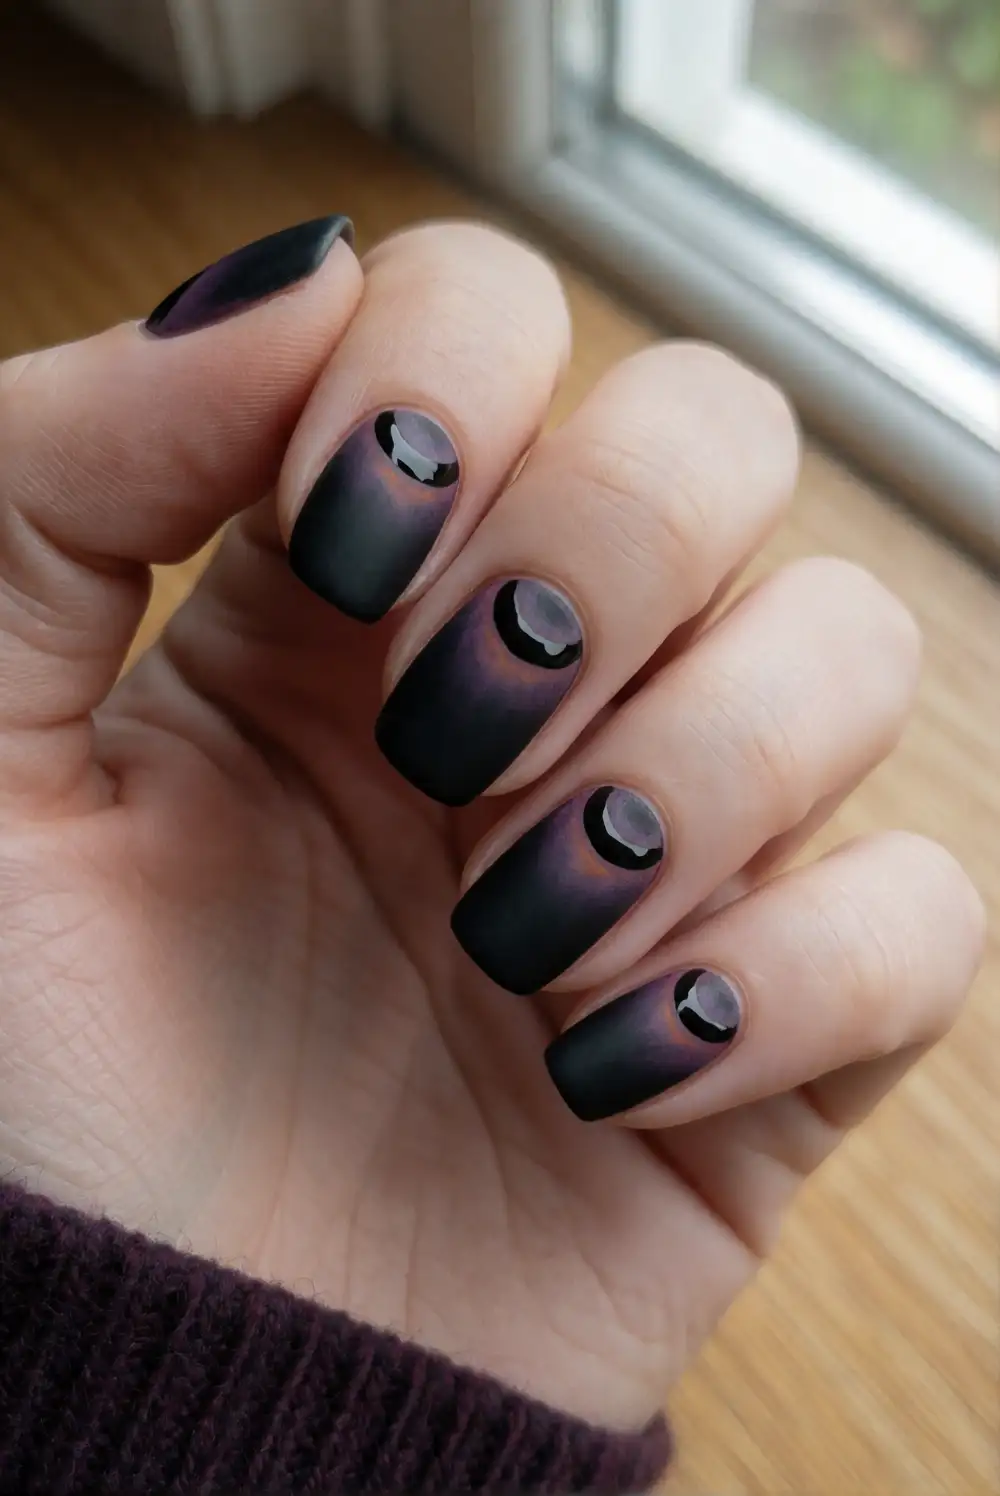
Use contrasting finishes to create a quiet but distinctive moon detail on matte black nails. Paint the nails black and apply a matte top coat, allowing it to dry completely. With a fine brush and regular glossy black polish, paint small crescent shapes near the cuticle or along one side of each nail. The matching color keeps the design understated; the difference in shine reveals the shapes as the hands move. Let the glossy details dry without adding another matte layer.
Try the crescent on a single accent nail if you want the manicure to feel especially minimal. A nail-art stencil can help guide the curve, but small brushstrokes are easy to adjust while the polish is wet. For more contrast, make the moons metallic pewter instead of glossy black. Keep the crescent shapes slim and consistent in placement, and avoid applying hand cream immediately before polishing, since oils can affect how evenly the base and top coats adhere.
Plum Cat-Eye Shimmer Nails
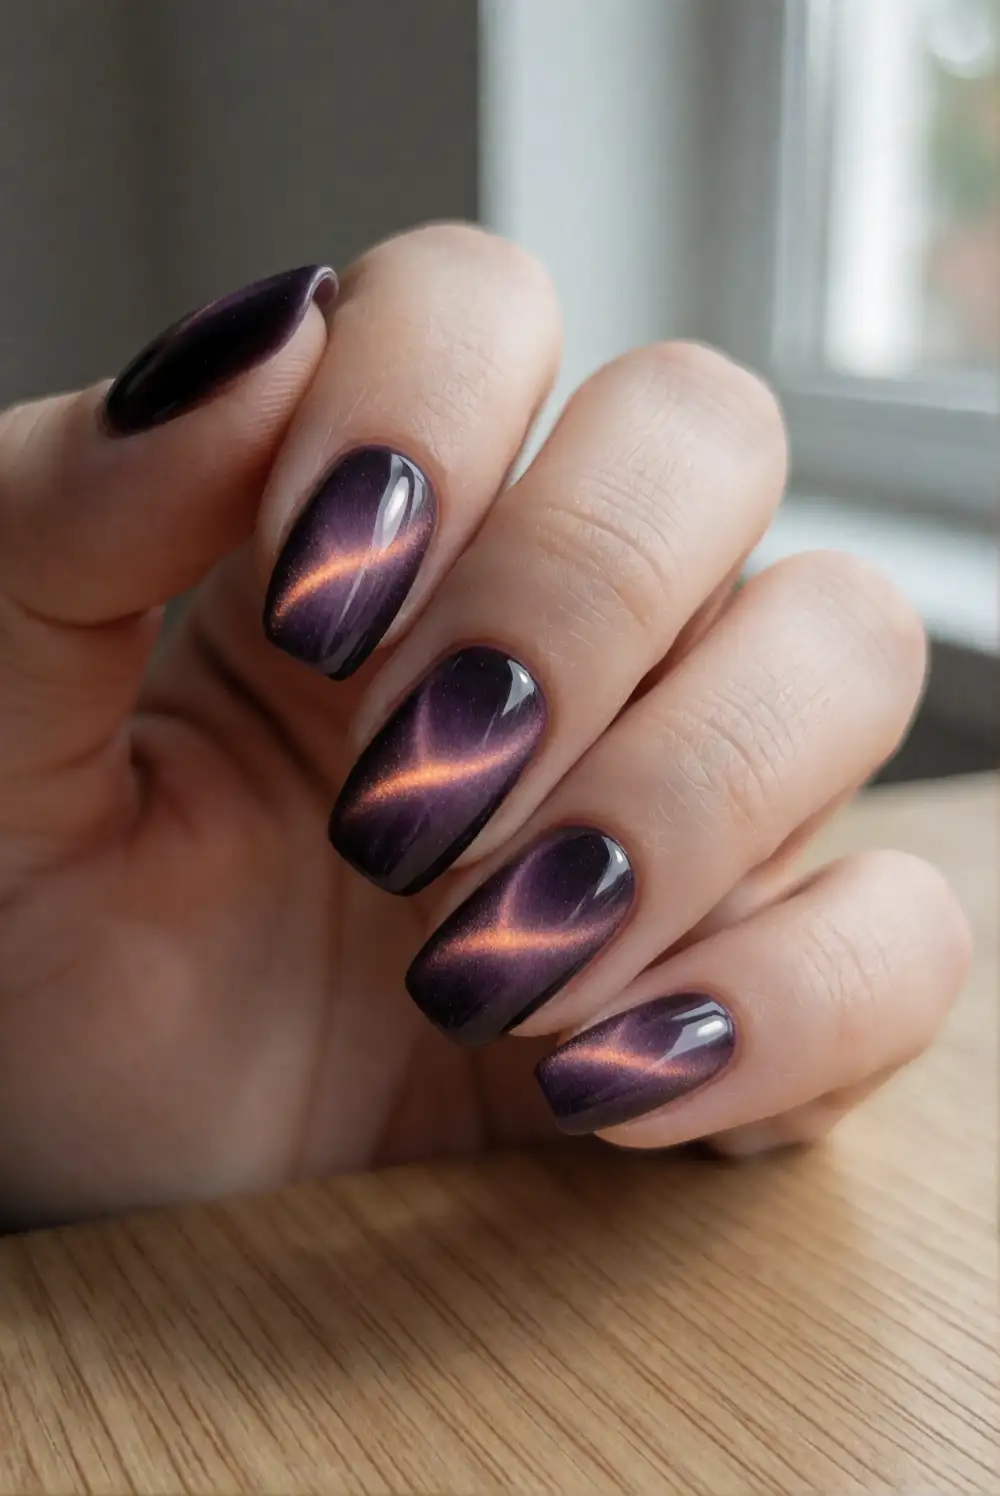
Make a deep plum manicure shimmer with a magnetic cat-eye polish and its coordinating magnet. Apply the polish according to the product directions, working one nail at a time so the magnetic particles remain movable. Hold the magnet above the wet polish to guide the shimmer into a narrow glowing line, then cure or allow the polish to dry as directed. Repeat across the nails and finish with the recommended top coat for a smooth, reflective finish.
Move the magnet to a different angle on each nail for a softly varied set, or align the shimmer line consistently for a more polished appearance. A black base beneath the plum can deepen the color, provided the polish system allows layering. Keep the magnet close without touching the wet surface, and check the effect under good light before setting the polish. This design looks beautiful on its own or paired with a single matte black accent nail.
Whether you prefer a soft plum fade, a crisp black tip, or a gleaming cat-eye finish, these spooky nail ideas make it easy to find a dark manicure that feels personal and polished. Choose one detailed accent or combine a couple of complementary shades, then finish with a top coat that suits the look you want. A little contrast in color and texture is all it takes to make a moody set feel gorgeous.








