
Give your Halloween manicure a polished, moody finish with spiderweb nail art and glossy black tips. These wearable designs range from delicate silver web accents to bold black-and-cream contrasts, with practical ideas for different nail shapes and skill levels. Pick a look that suits your style, gather your polish and a fine nail-art brush, then make the details your own.
Glossy Black French Tips With Fine Webs
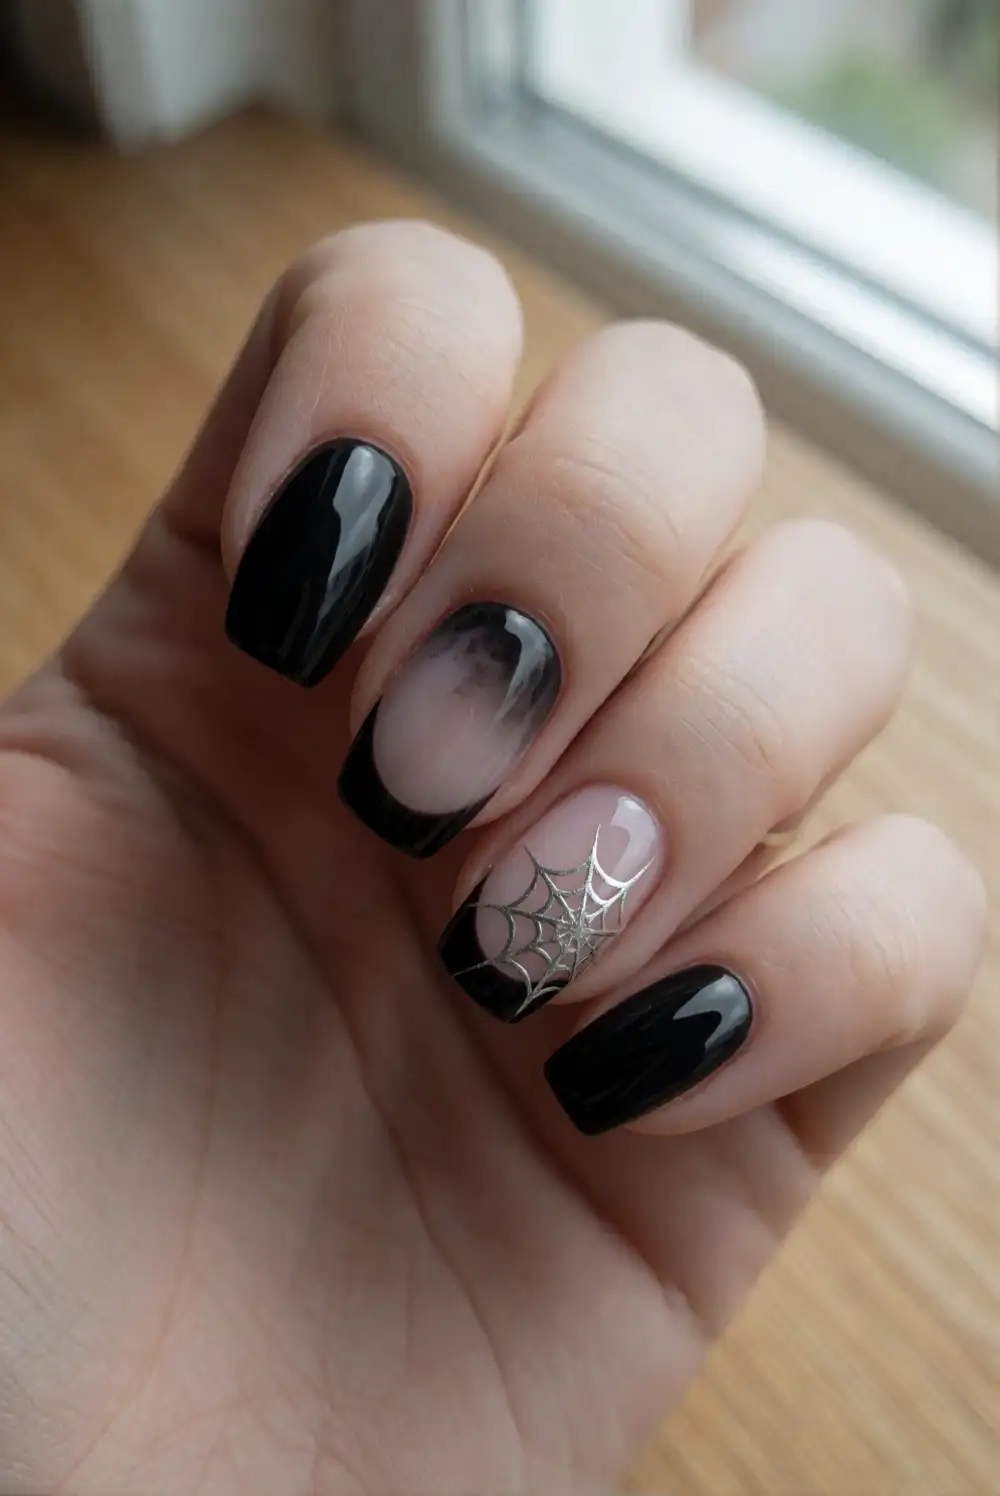
Start with clean, shaped nails and apply a clear base coat. Paint the tips with glossy black polish, following the natural curve of each nail; let them dry before adding a delicate web to one accent nail. Use a fine nail-art brush and silver polish to draw a few lines from one corner, then connect them with curved strokes. Finish with a clear top coat to smooth the design and give the black tips a glassy shine.
Keep the web small and airy so it complements the French tips rather than crowding them. A nail-art pen can make the curved lines easier to control, while a dotting tool helps place the web’s starting point. For a quieter manicure, add webs to just one or two nails. Pair this look with a sheer nude base for a classic finish, or choose smoky gray if you want a more dramatic background.
Silver Spiderweb Accent on a Black Base
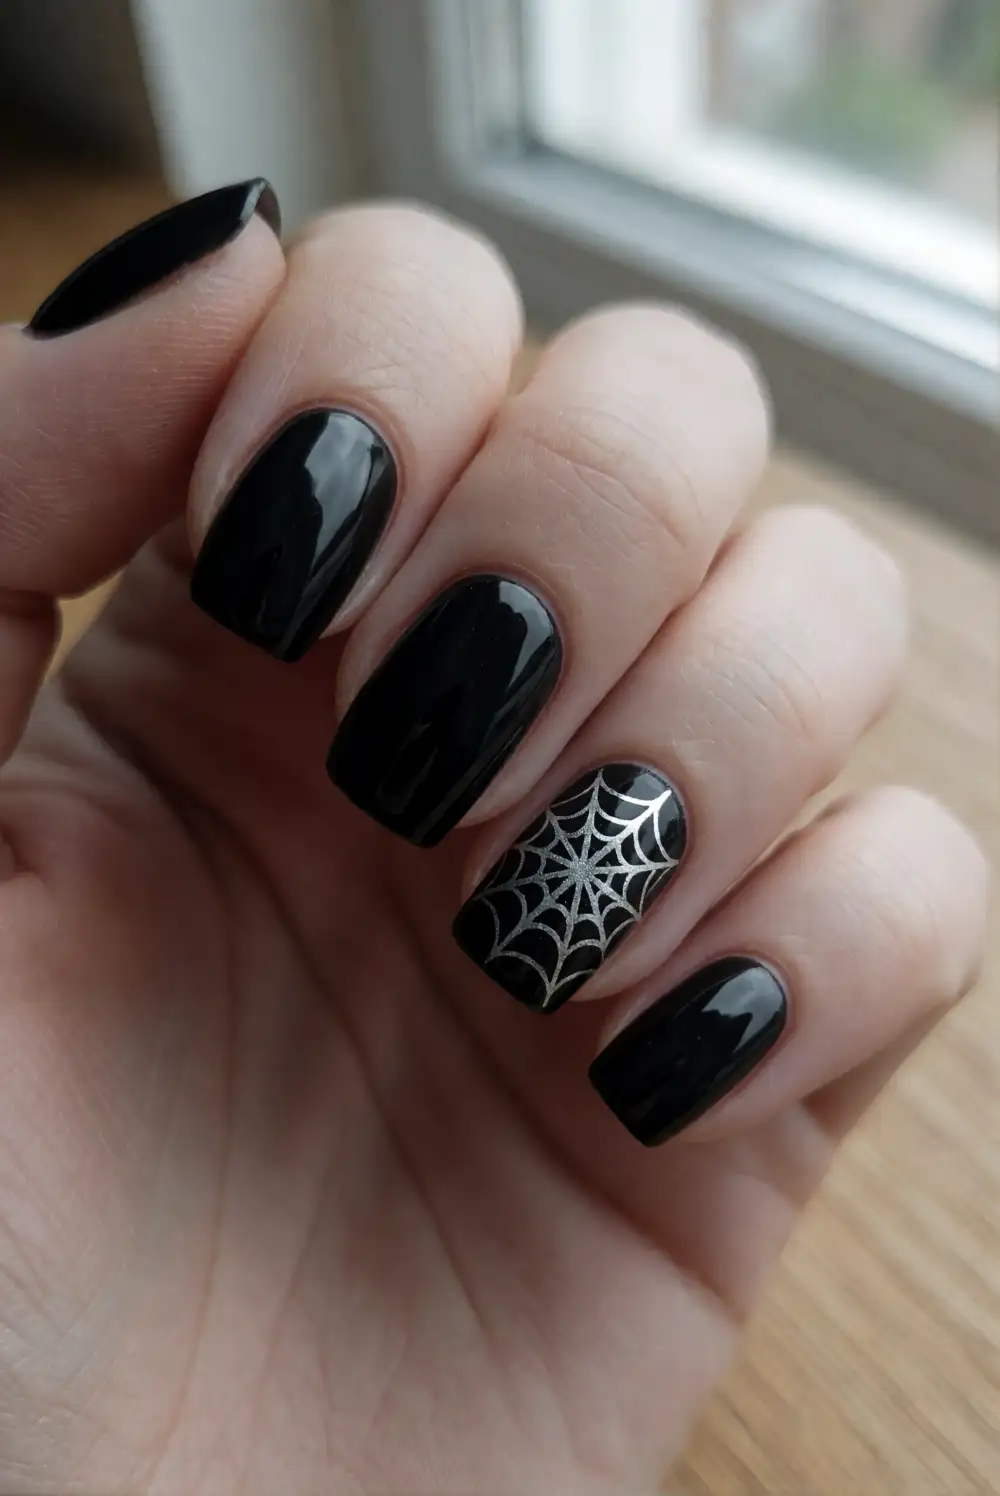
Apply a base coat, then paint each nail with two thin coats of glossy black polish, allowing each layer to dry. Choose one accent nail and use a fine brush dipped in metallic silver polish to draw several lines from a shared point near the cuticle or outer edge. Connect those lines with shallow arcs to create a web. Seal the whole manicure with a clear top coat, taking care not to drag the silver detail.
Metallic polish stands out best when the web lines are slender and the surrounding black remains smooth and glossy. If freehand curves feel tricky, practice on a piece of paper first or use a thin nail-art sticker as a guide. Place the accent web on a ring fingernail for a familiar arrangement, or move it to the thumb for a larger canvas. A silver shimmer top coat on the remaining nails ties the design together.
Black Cat-Eye Polish With Web Details
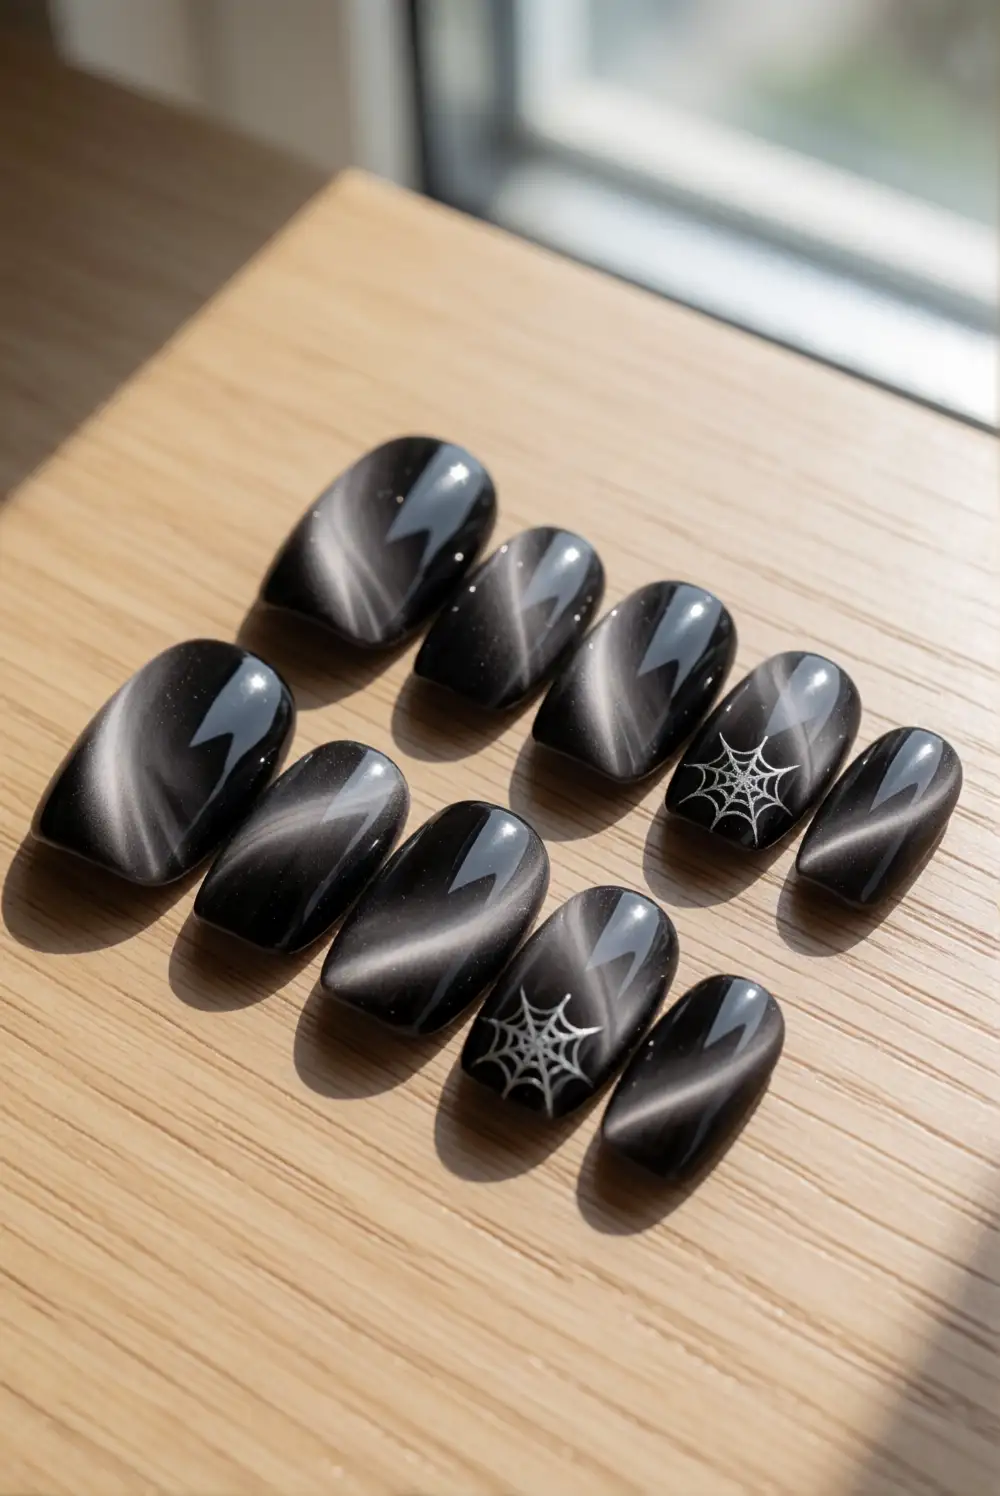
Begin with a dark magnetic cat-eye polish over a suitable base coat. While each nail is still wet, hold the magnet above the surface according to the polish directions to draw its reflective shimmer into a bright stripe. Cure or allow the polish to dry as directed, then paint a small spiderweb on one nail with a fine brush and black or silver detail polish. Finish with a compatible top coat for a sleek reflective surface.
Move the magnet’s position from nail to nail to create varied bands of light while keeping the overall manicure cohesive. A silver web gives a crisp, luminous accent, while black web lines create a more subtle layered effect. Keep the web on a nail with a calmer shimmer pattern so the fine lines stay visible. This design looks especially striking under soft light, where the magnetic polish reveals its shifting, smoky depth.
Violet Corner Webs on Sheer Nails
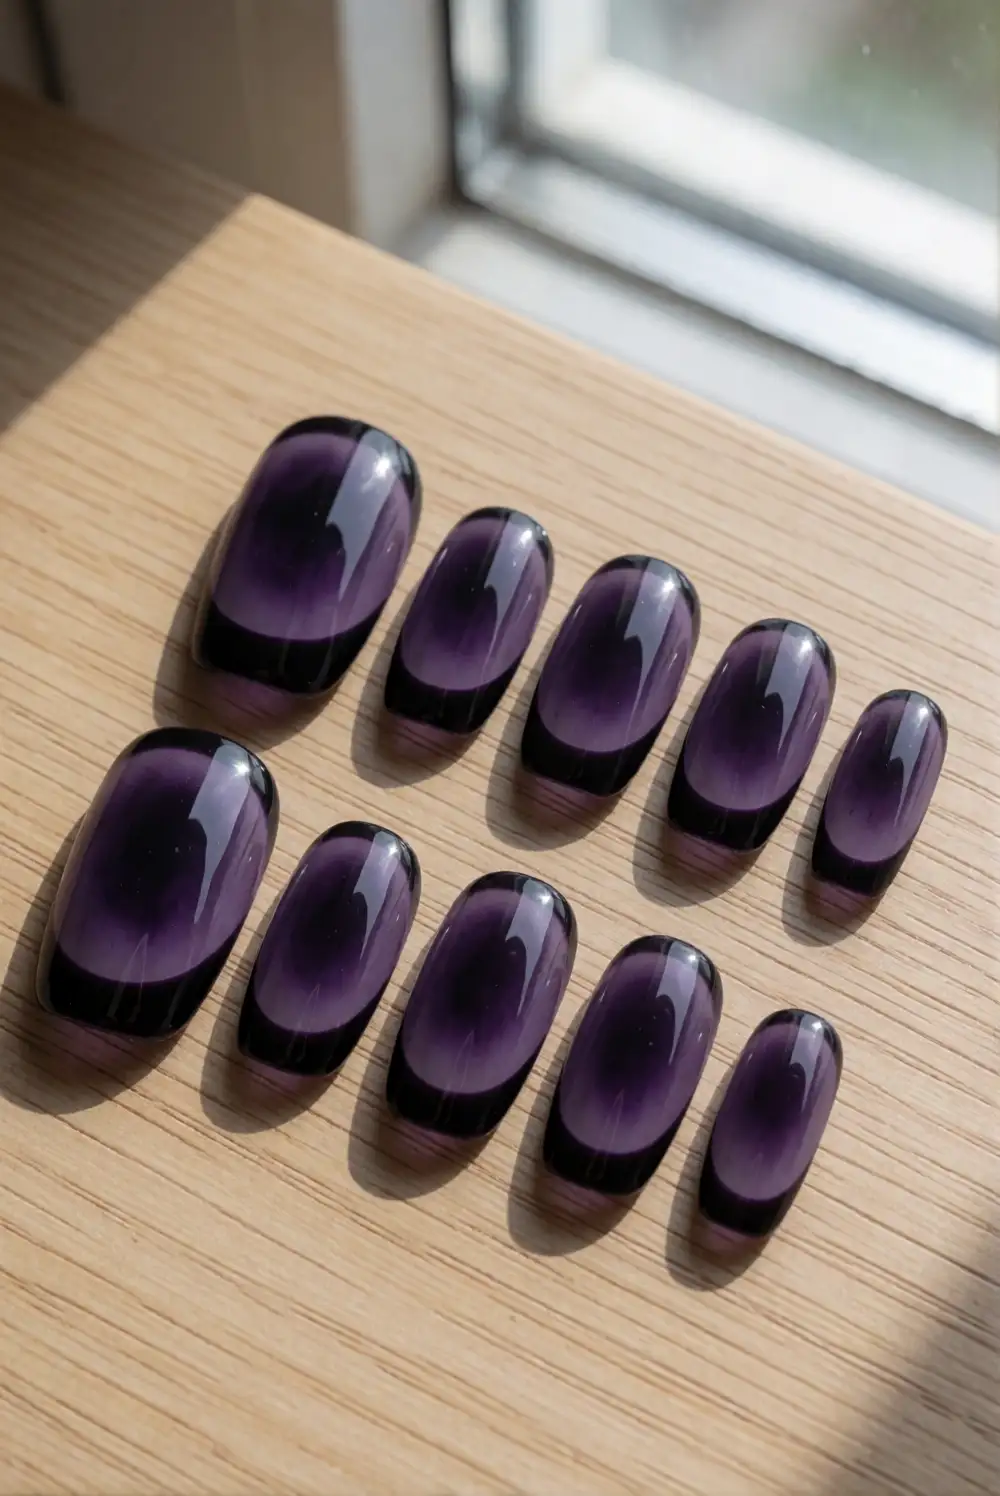
Apply a sheer pink or milky nude polish to clean nails and let it dry completely. With a fine brush and deep violet polish, draw a few thin rays from a corner of an accent nail, then connect them with small curved lines to form a partial spiderweb. Add glossy black French tips to the other nails, or leave them sheer for a softer contrast. Finish with a clear top coat to protect the lines and even the surface.
A corner web uses less detail than a full-nail design, making it a useful choice when you want a delicate manicure. Keep the violet lines fine and leave plenty of open space around them. For a more coordinated set, add one small violet accent at the base of a black-tipped nail. Short or long nails both work; simply use fewer web spokes on a smaller nail so the pattern remains clean and readable.
Matte Black Nails With Glossy Webs
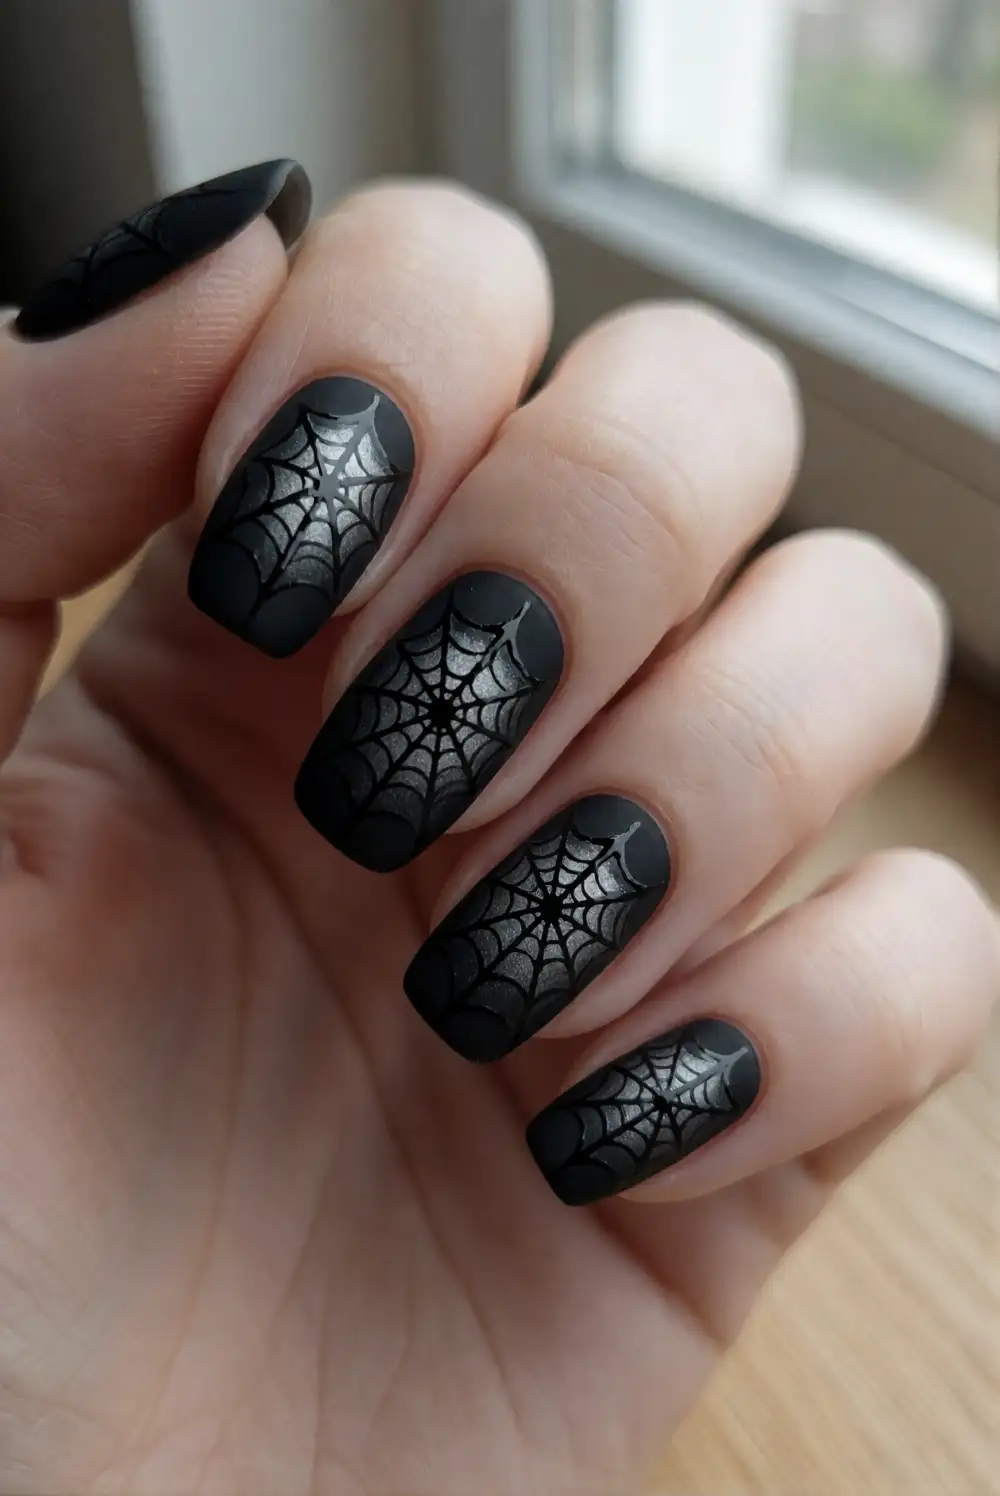
Paint shaped nails with black polish and let the color dry fully. Apply a matte top coat over every nail, then use a fine brush and glossy black polish to draw a web on one or two accent nails. The same-color finish creates contrast through texture rather than color. Let the glossy details settle before applying any additional top coat; a matte finish over the artwork would hide the shine that makes this design distinctive.
Use a steady hand and a light touch to keep the glossy lines narrow against the velvety background. Try a single web near the tip for a restrained look, or extend the pattern from a side corner for a little more coverage. If you want the web to stand out further, add one tiny silver point at its center. This manicure pairs well with simple black accessories and works on both rounded and squared nail shapes.
Negative-Space Webs With Black Tips
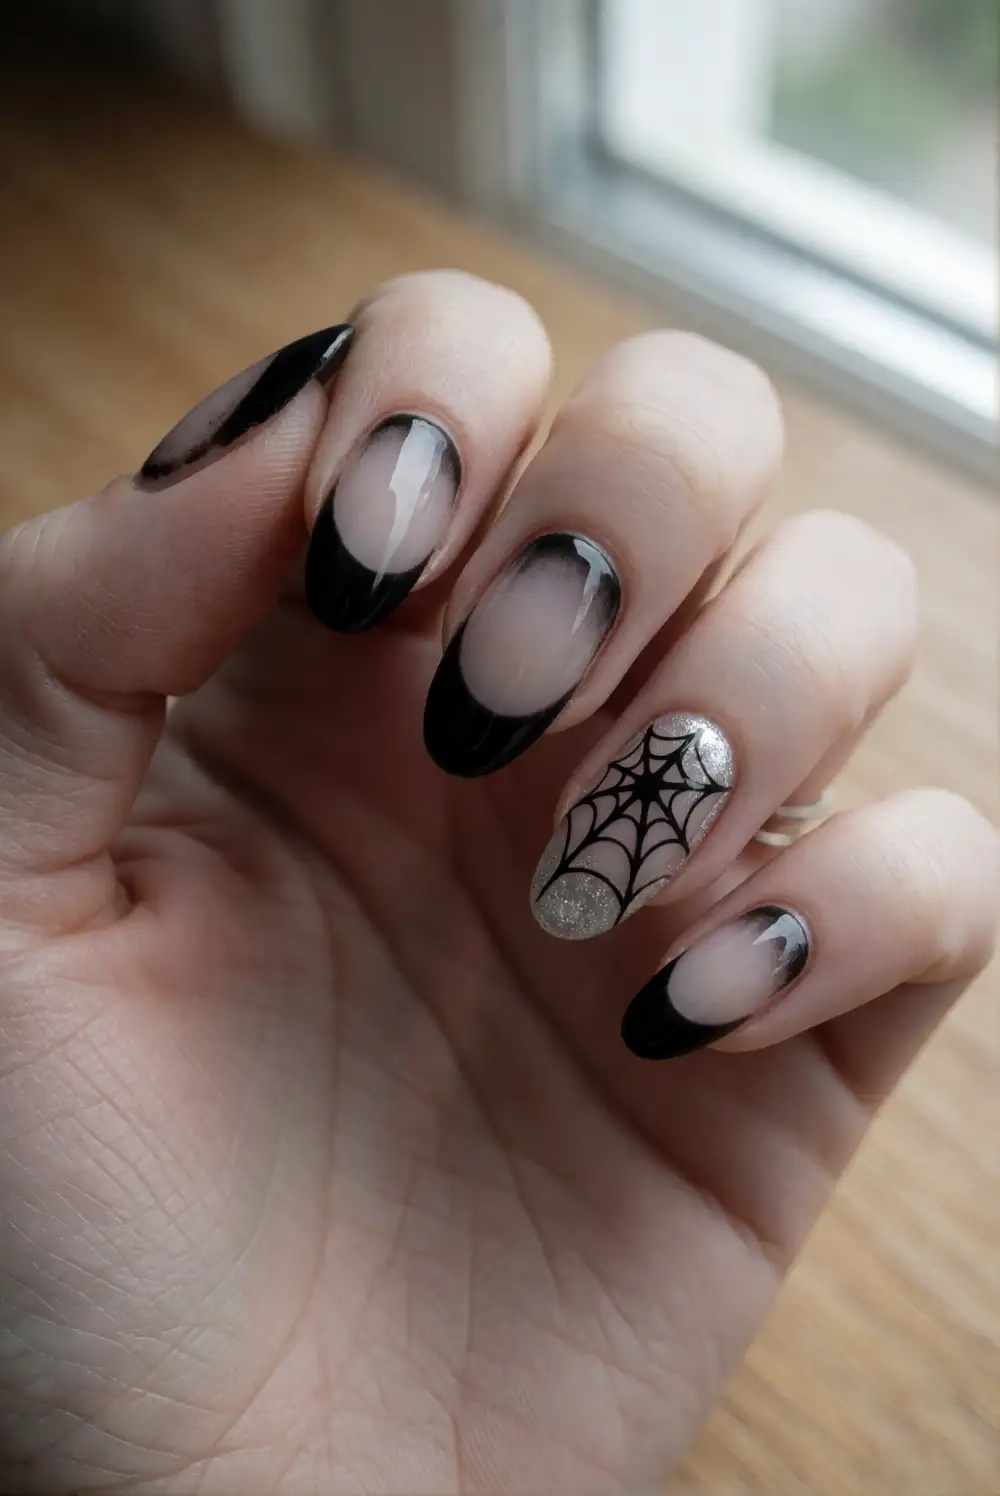
Start with a clear or sheer nude base coat and let it dry. Paint glossy black tips along the edges, leaving the middle of each nail mostly bare. On an accent nail, draw a fine spiderweb with black polish over the sheer base, beginning at one side and connecting delicate spokes with short arcs. Allow the design to dry before applying a clear top coat. Keeping the natural-looking space visible makes the manicure feel light despite its dark details.
Adapt the web placement to the nail shape: a side-corner design suits shorter nails, while a web stretching across the tip can fill a longer nail gracefully. Use thin strokes so the pattern does not overpower the negative space. If you prefer a little sparkle, add a subtle silver line to one spoke rather than covering the whole web. The sheer base also makes small chips less noticeable as the manicure grows out.
Midnight Glitter Nails With Silver Webs
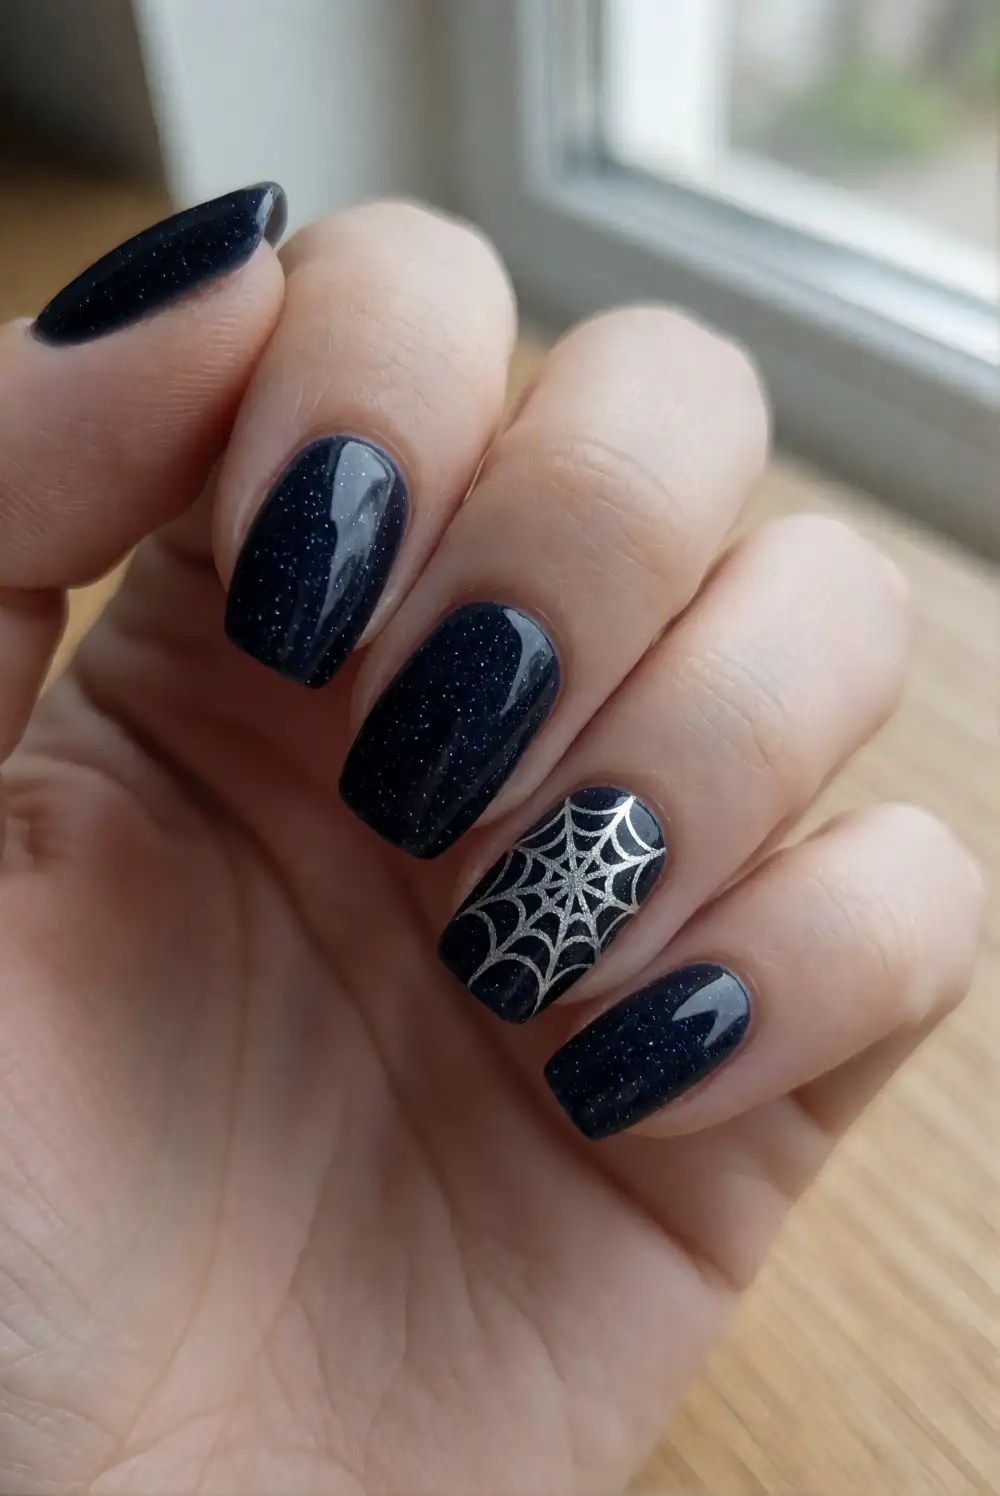
Apply a dark navy or black base coat, then add a fine midnight glitter polish to create a soft, starry sheen. Once dry, choose an accent nail and use silver polish with a detail brush to draw a spiderweb from one corner. Keep the glitter layer thin enough that the web remains distinct. Finish with a smoothing top coat, especially if the glitter feels textured, and let the manicure dry fully before handling anything.
Fine glitter gives the design depth without competing with the web, while larger glitter pieces can make delicate lines harder to see. Choose a silver that contrasts clearly against the darkest part of the base and reserve the web for one or two nails. For a more understated set, use glitter only on the accent nail and leave the others glossy black. The combination looks polished with evening outfits and festive seasonal accessories.
Almond Nails With Fine Side Webs
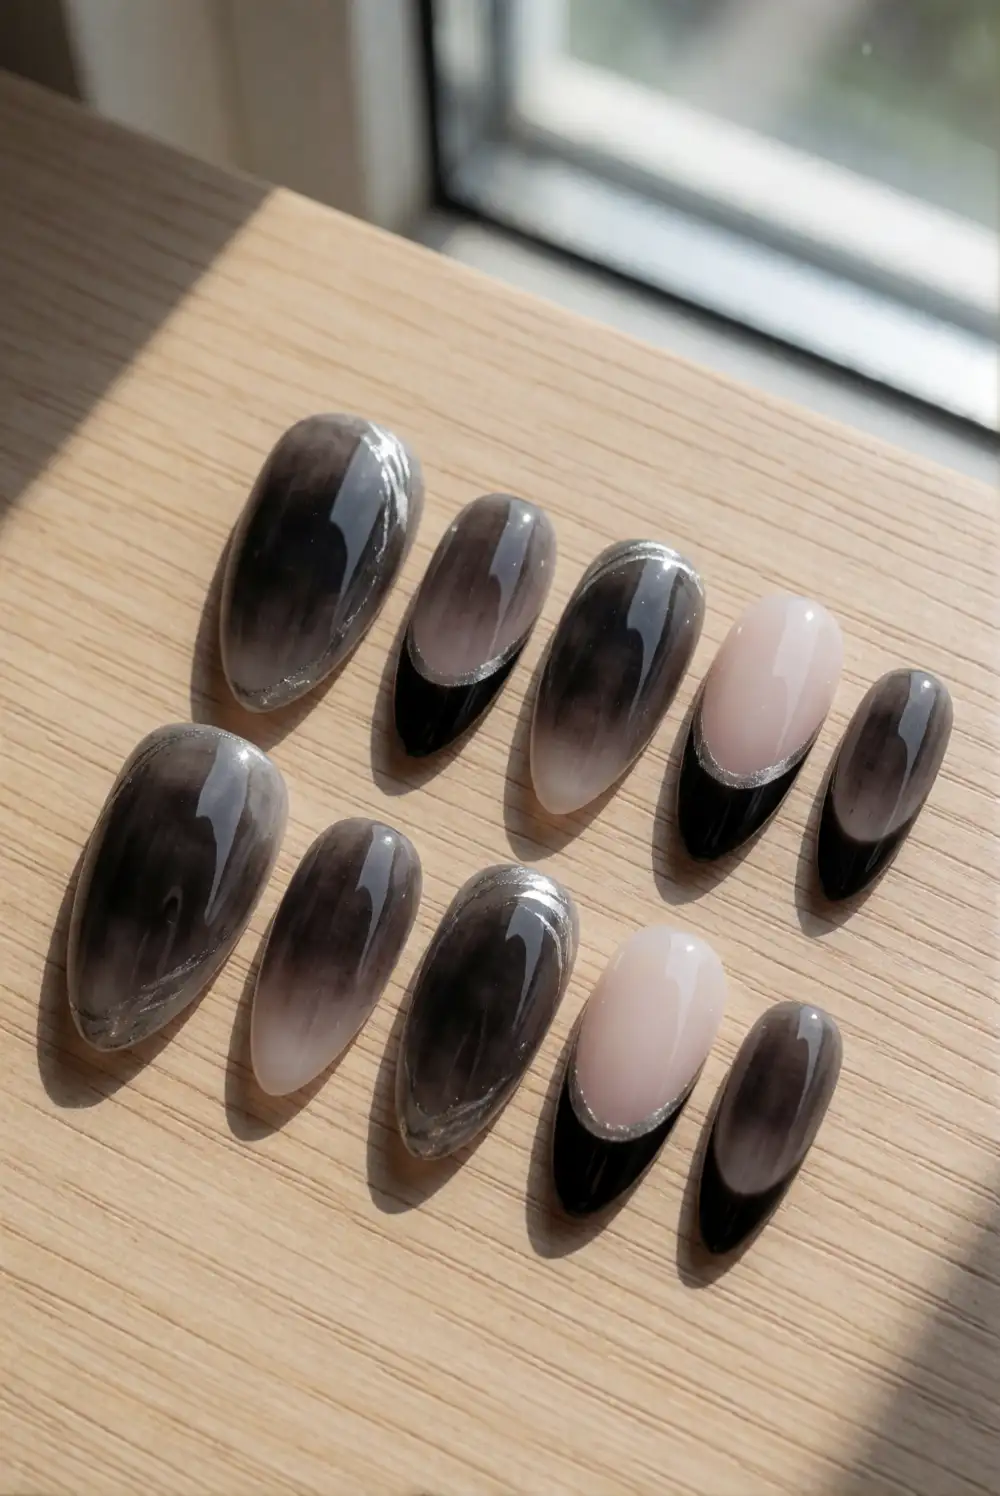
Shape the nails into a soft almond silhouette and apply a sheer charcoal or pale nude base. With a fine brush, paint a small spiderweb that begins at one side of each chosen accent nail, letting the curved lines follow the nail’s length. Add glossy black tips to the remaining nails for a coordinated finish. Work in thin layers and allow the detail to dry before sealing it with a clear top coat.
The tapered shape gives a side web room to stretch without covering the entire nail. Keep the starting point close to one edge and vary the web size to suit each nail rather than repeating a rigid pattern. For a bolder version, use a black base and silver web lines; for a softer effect, choose charcoal over nude. This layout is particularly effective when you want the manicure to look detailed from the side as well as straight on.
Short Rounded Nails With Tiny Webs
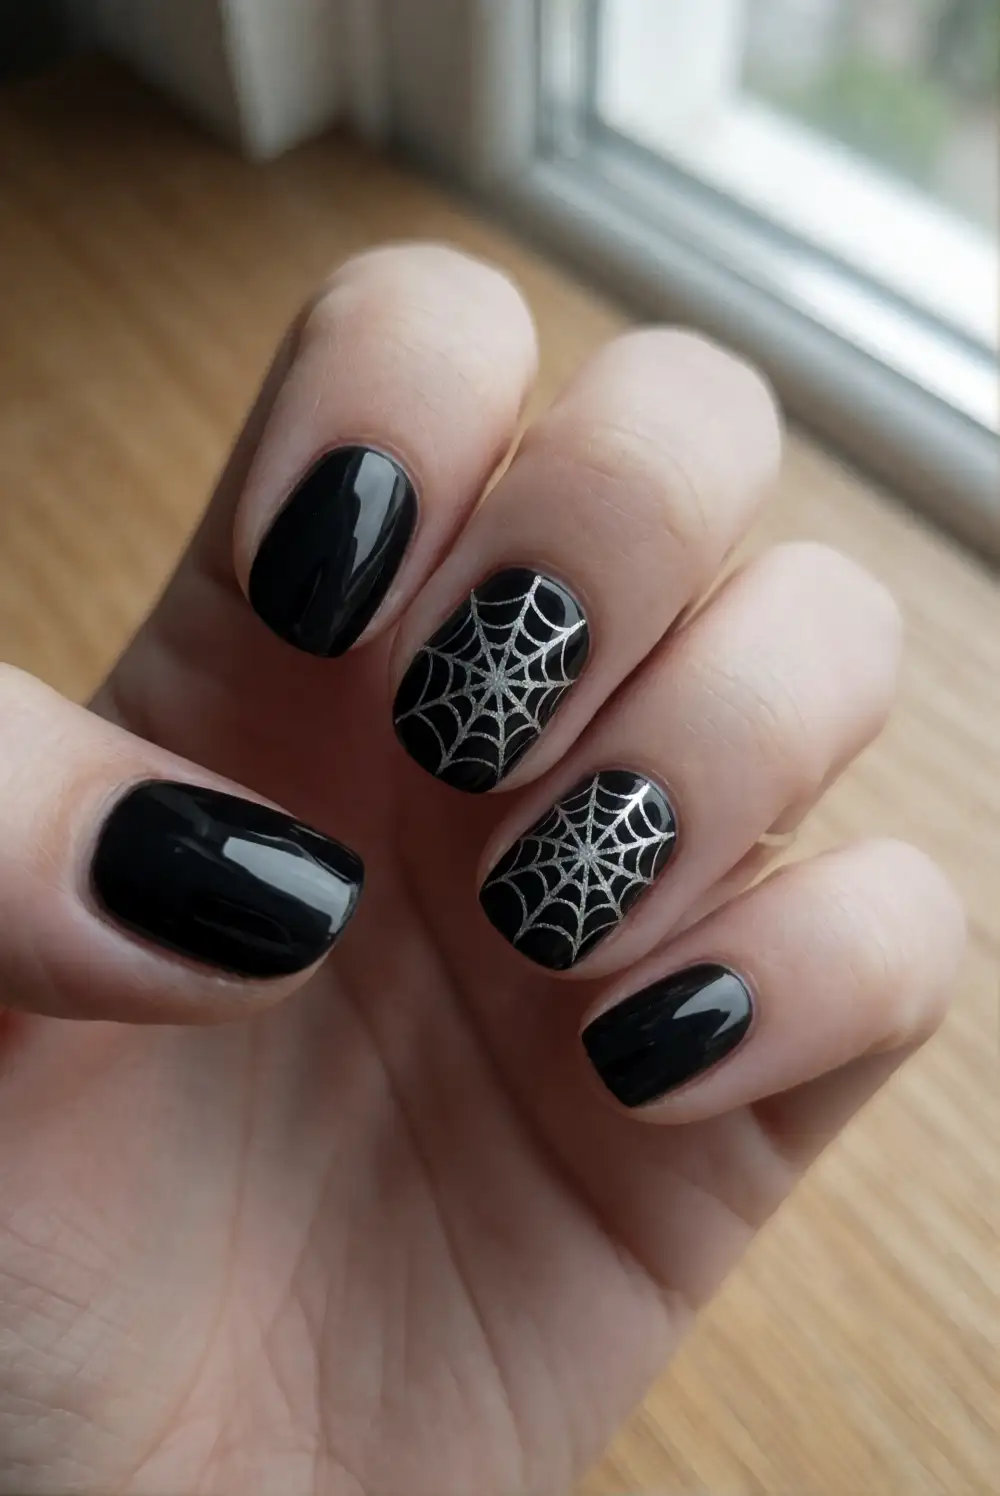
File short nails into a gently rounded shape, then apply a glossy black polish as the base. Choose one or two accent nails and paint a miniature web in silver, starting at a corner and using only a few fine spokes with small curved connectors. Short strokes help keep the pattern crisp on a smaller canvas. Add a clear top coat after the design dries to protect the detail and bring back a smooth, reflective finish.
A partial web is easier to read on short nails than a dense pattern that covers the full surface. Keep the design near the tip or along one side, and leave the other nails solid black for balance. A sheer charcoal accent base is another option if you want more contrast beneath the silver. Because the shape is practical and low-profile, this manicure is an easy way to wear seasonal nail art without a long extension.
Black and Cream Spiderweb Contrast
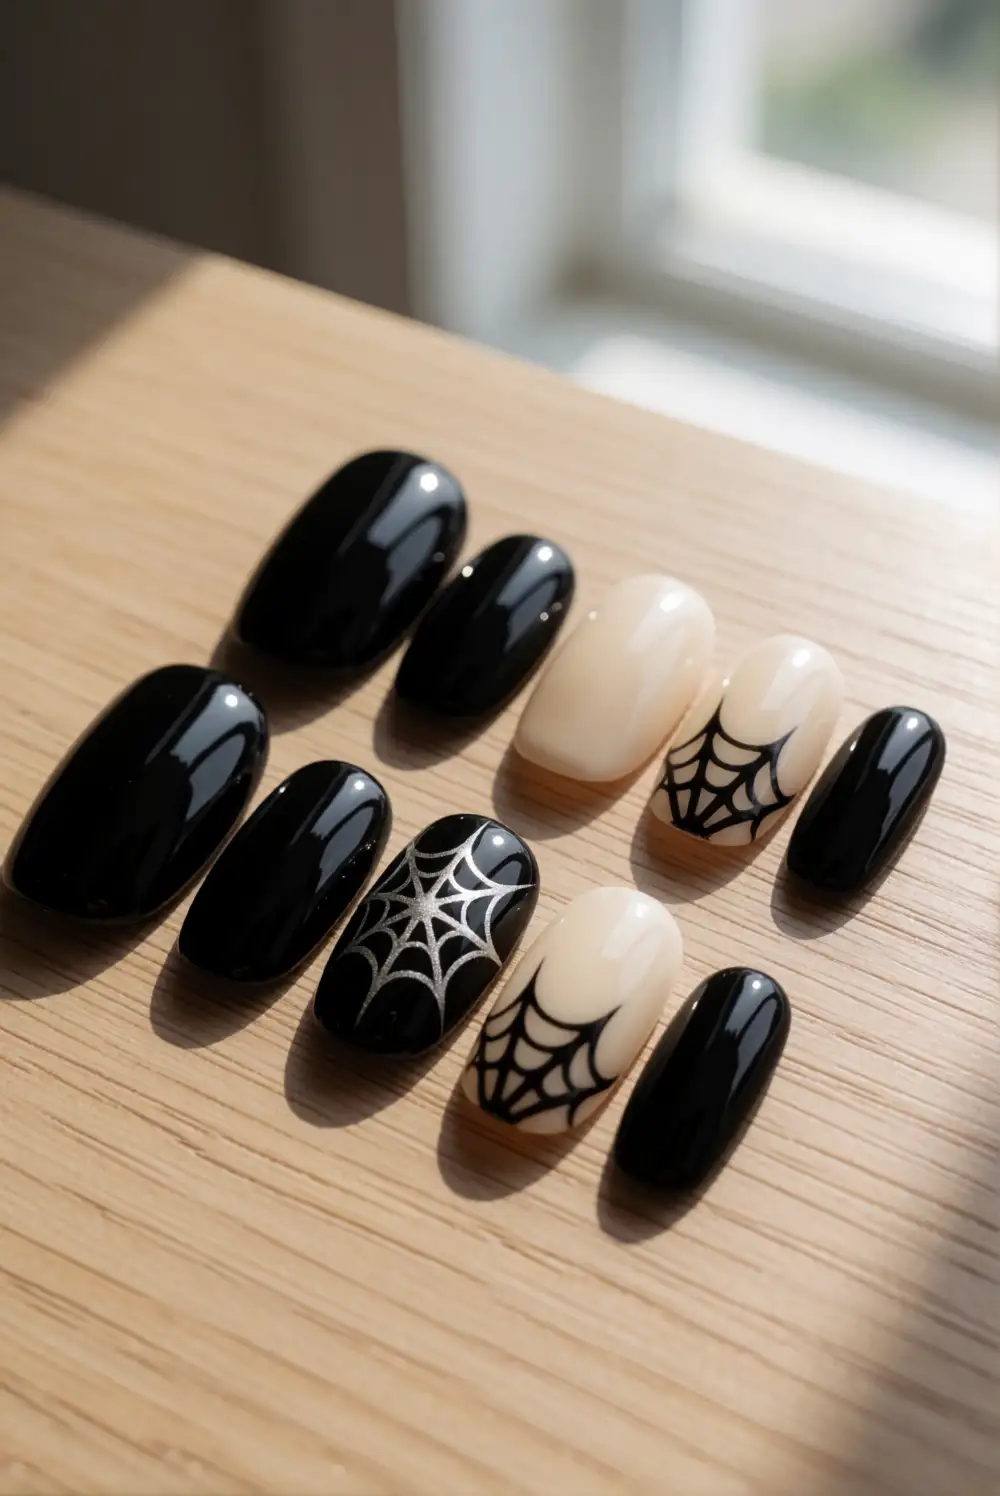
Paint alternating nails with glossy black and warm cream polish, using a base coat to help both colors apply evenly. On a cream accent nail, draw a crisp black spiderweb with a fine brush; on a black nail, add a smaller cream web for a reversed effect. Let each design dry before applying clear top coat. Keep the remaining nails in solid color to give the contrasting artwork space and make the alternating palette feel intentional.
Choose a soft ivory rather than stark white for a warmer, vintage-inspired look, or use bright cream for a sharper graphic finish. Make the webs similar in scale so the reversed colors feel like a matched pair. If you want extra shine, add a tiny metallic accent at the web’s center, but keep it minimal. This high-contrast manicure photographs clearly and offers a fresh alternative to an all-black Halloween nail look.
Whether you prefer a tiny corner detail or a full glossy-black set, spiderweb nail art can feel polished, wearable, and easy to customize. Choose a design that suits your nail shape, work with thin layers, and seal the finished look with a top coat for a smooth seasonal manicure.








