
Bring a cozy, handmade touch to your Halloween manicure with hand-painted pumpkin nail art. These designs range from tiny pumpkin accents and leafy details to plaid patterns and warm seasonal gradients, with practical tips for painting each look at home. Choose the style that suits your favorite polish colors, then customize the shapes and finishes for a festive manicure that feels personal and polished.
Classic Orange Pumpkin Accent Nails
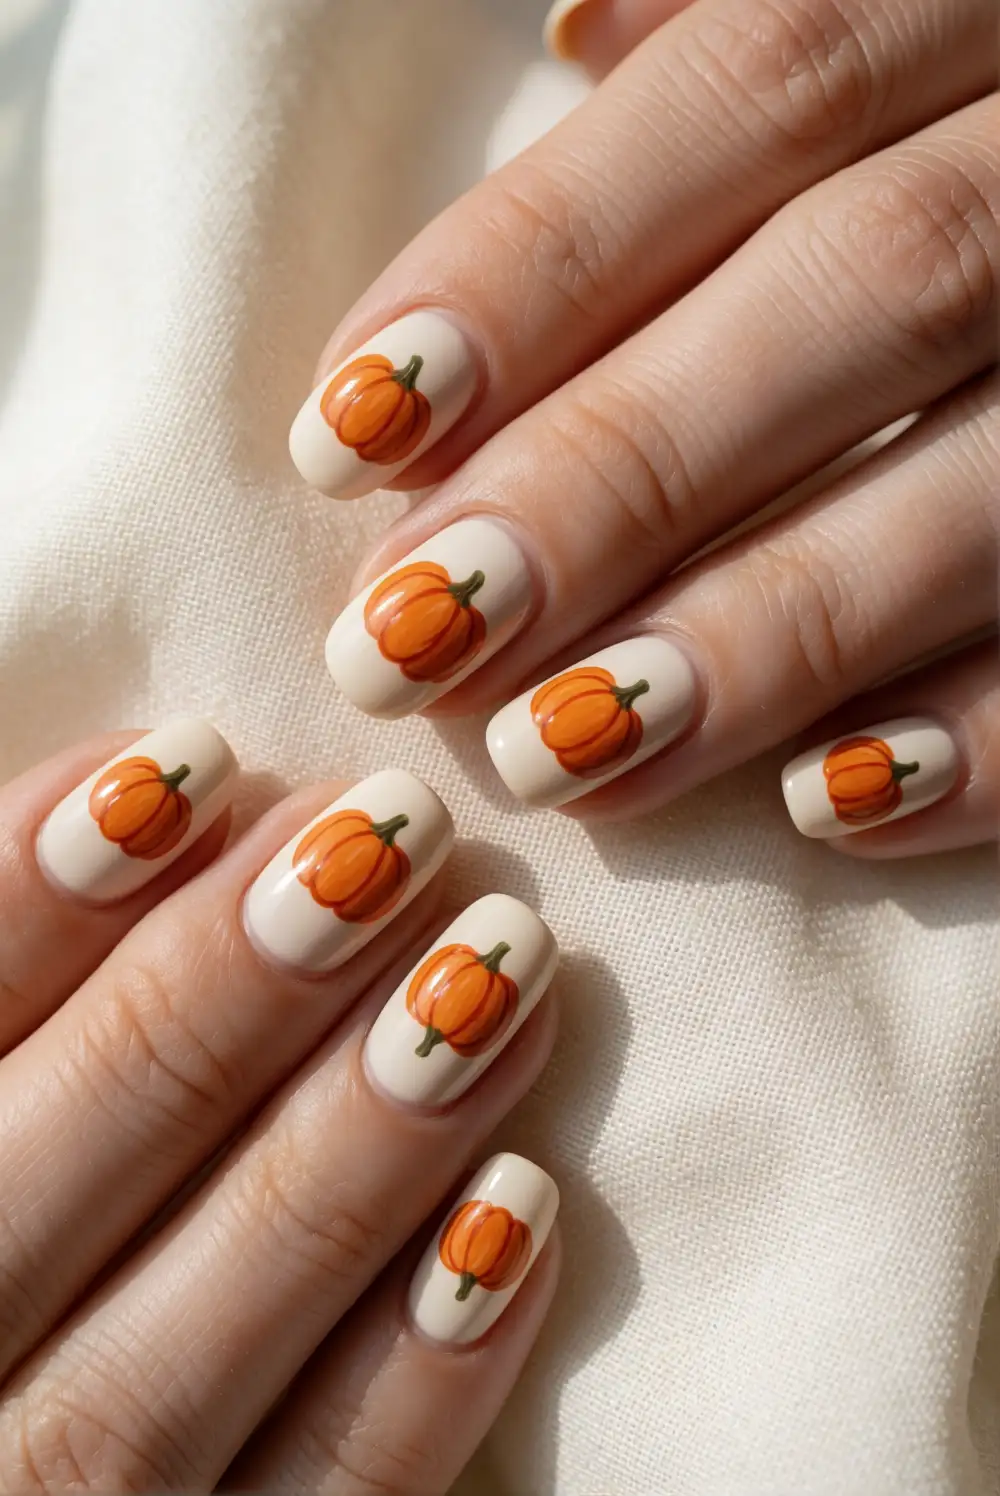
Paint your nails with a sheer nude or warm cream polish, then let the base dry completely. Using a fine nail-art brush and pumpkin-orange polish, paint rounded pumpkin shapes with gently curved sides. Add a short green stem to each design with a detail brush, then use a darker orange shade to add slim curved lines across the pumpkins. Keep the painting loose and slightly irregular for a charming, hand-painted finish rather than a perfectly geometric look.
Choose a glossy top coat to make the orange stand out, or use a matte finish for a softer autumn feel. The pumpkins can sit near the cuticles, toward the tips, or wherever they fit naturally on the nail. If freehand painting feels tricky, make the pumpkin shapes small and build them with several short brush strokes. Pair the manicure with cozy knitwear or warm-toned accessories for an easy seasonal look.
Mini Pumpkin Vine Manicure
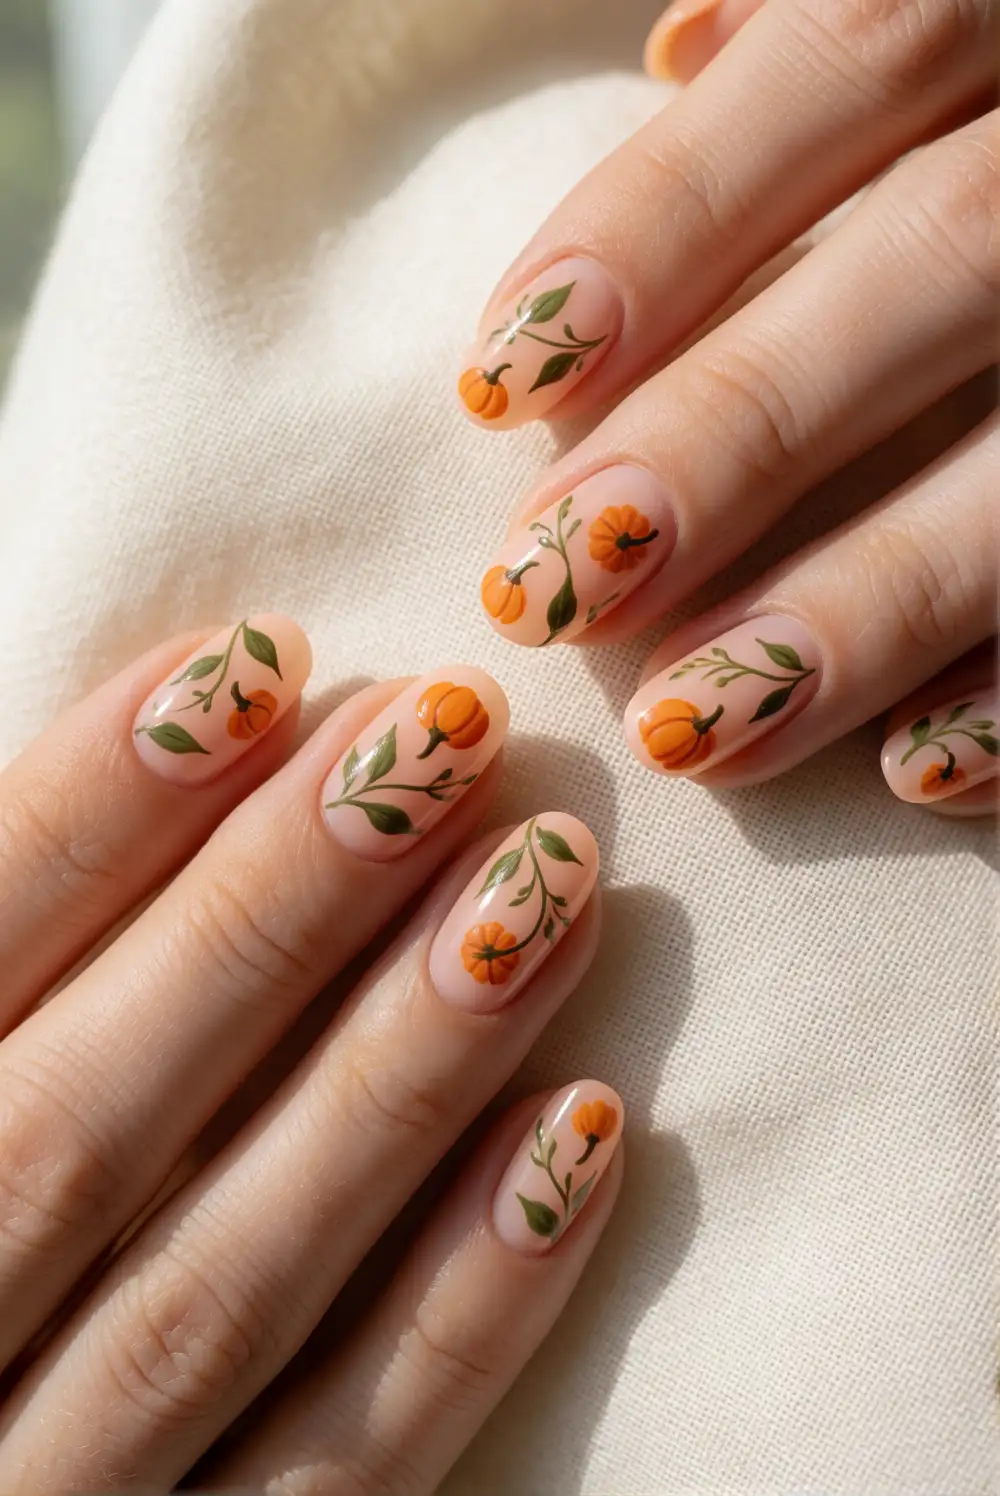
Start with a translucent peach or pale beige base and allow it to dry. With a fine liner brush, paint a delicate olive-green vine that curves diagonally across each nail. Add small orange pumpkin shapes along the vine using a rounded detail brush, then finish with tiny green stems and a few pointed leaves. Keep the pumpkins varied in size and angle so the painted vine looks naturally winding rather than like a repeated stamp.
A fine brush and a steady hand help create clean vine curves, but the design looks lovely with a relaxed, slightly uneven line. Use muted sage for a softer palette or brighter green for a playful contrast. Keep the artwork concentrated along one side of each nail to leave plenty of the base color visible. A glossy top coat protects the fine details and gives the manicure a fresh, finished look.
Cream Base With Orange Pumpkins
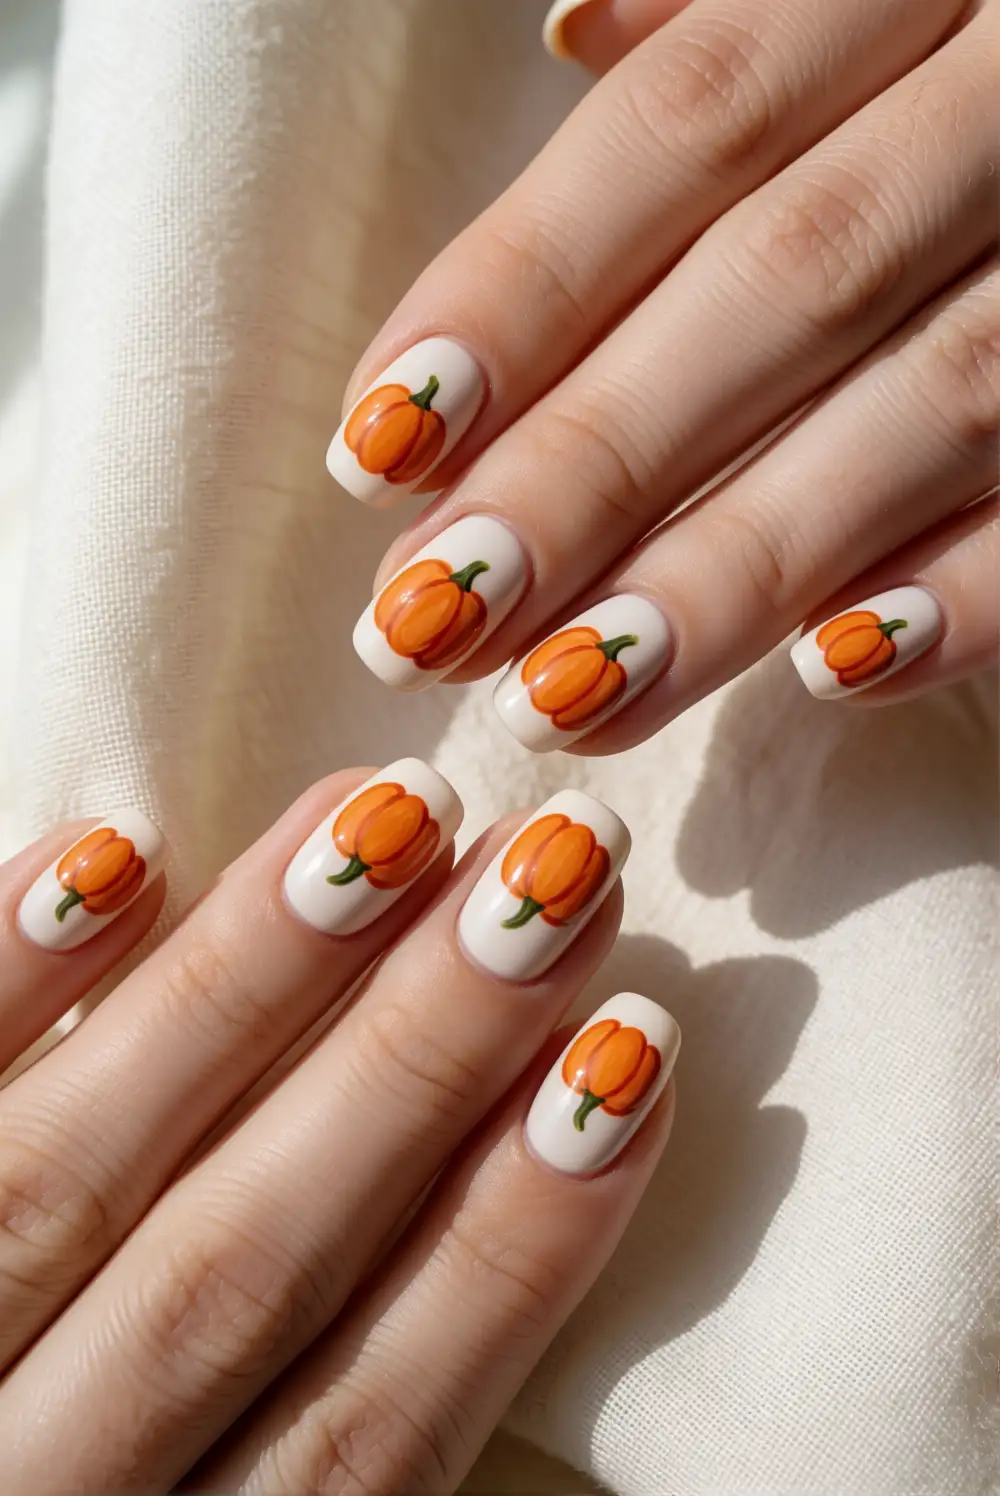
Apply an opaque ivory or soft cream polish as the base and let it dry before painting. Use pumpkin-orange polish and a short detail brush to create rounded, hand-painted pumpkins, varying their silhouettes slightly across the nails. Add curved lines in a deeper orange, followed by small green stems. Leave breathing room around each design so the light background frames the artwork and keeps the manicure feeling clean and cheerful.
This color combination works well with a glossy finish, especially when the cream polish has a warm undertone. For a subtler look, paint pumpkins on selected nails and leave the remaining nails plain cream. Try cinnamon or rust polish for the curved pumpkin lines if dark orange feels too bold. The design pairs beautifully with a neutral sweater and can carry through the season beyond Halloween.
Terracotta Pumpkin French Tips
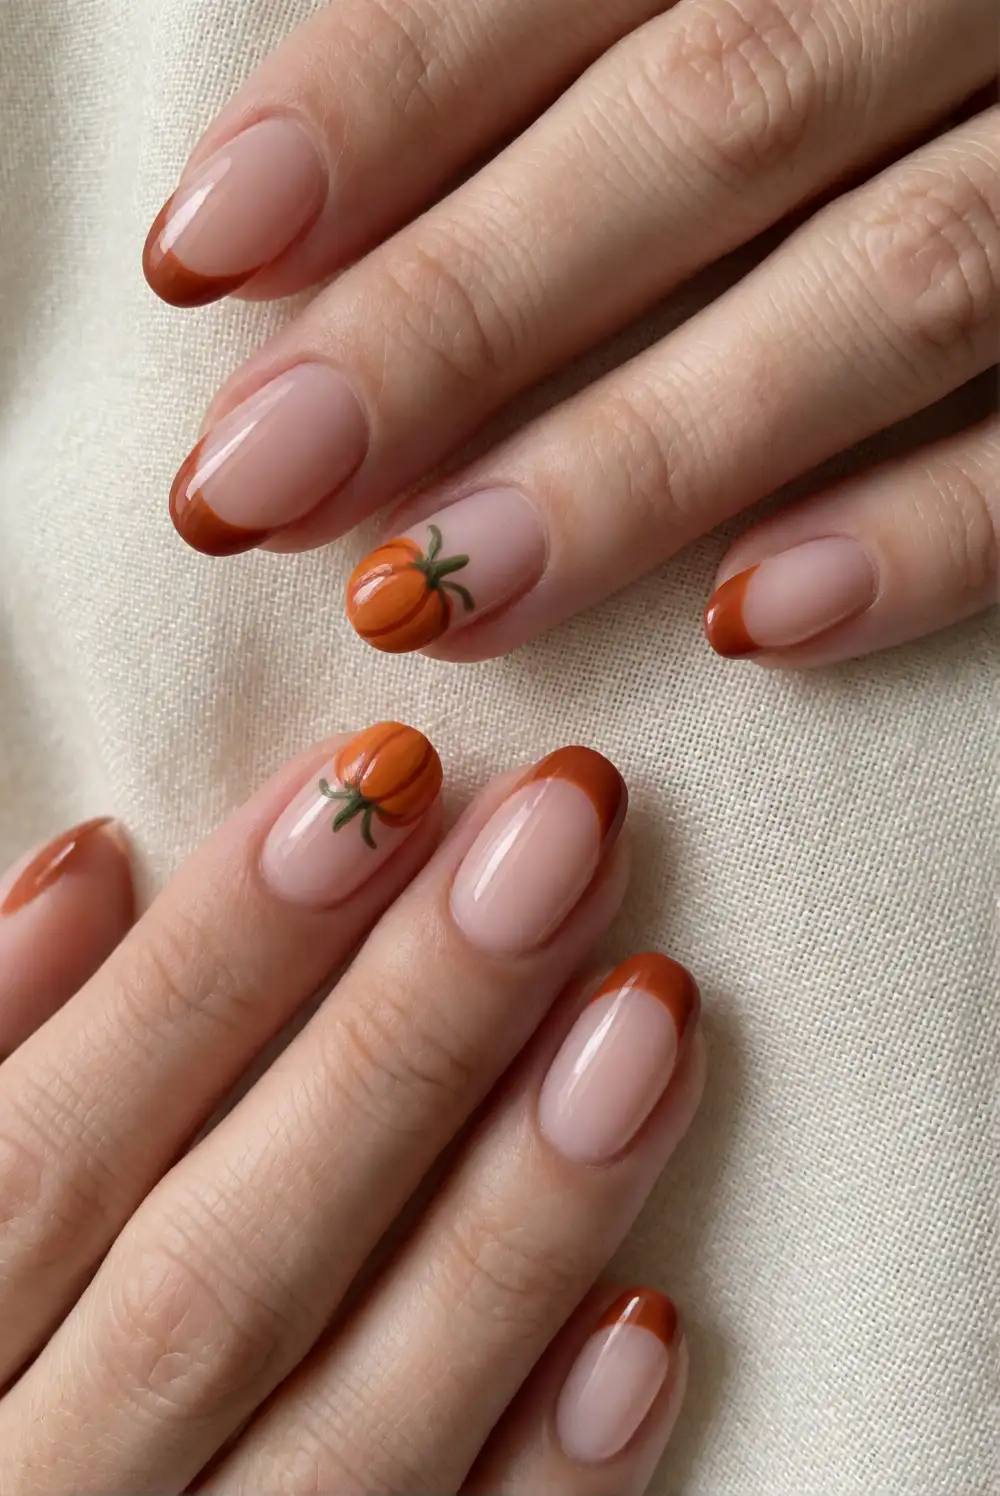
Begin with a sheer pink-beige base and shape the tips with terracotta polish, following the natural curve of each nail. Once the tips are dry, use a fine brush to paint small pumpkin curves near the edge of the terracotta area. Add a slender green stem and a fine darker line to suggest the pumpkin ridges. The warm tip color gives the manicure a French-inspired silhouette while making the seasonal artwork feel integrated into the design.
For an easy freehand approach, paint the terracotta tips with short strokes instead of aiming for a perfectly crisp curve. A thin detail brush helps keep the pumpkin accents neat and delicate. Choose a muted green for the stems so they complement the earthy palette. Finish with a clear glossy top coat, or use a satin finish if you prefer a softer look with less shine.
Black Nails With Pumpkin Accents
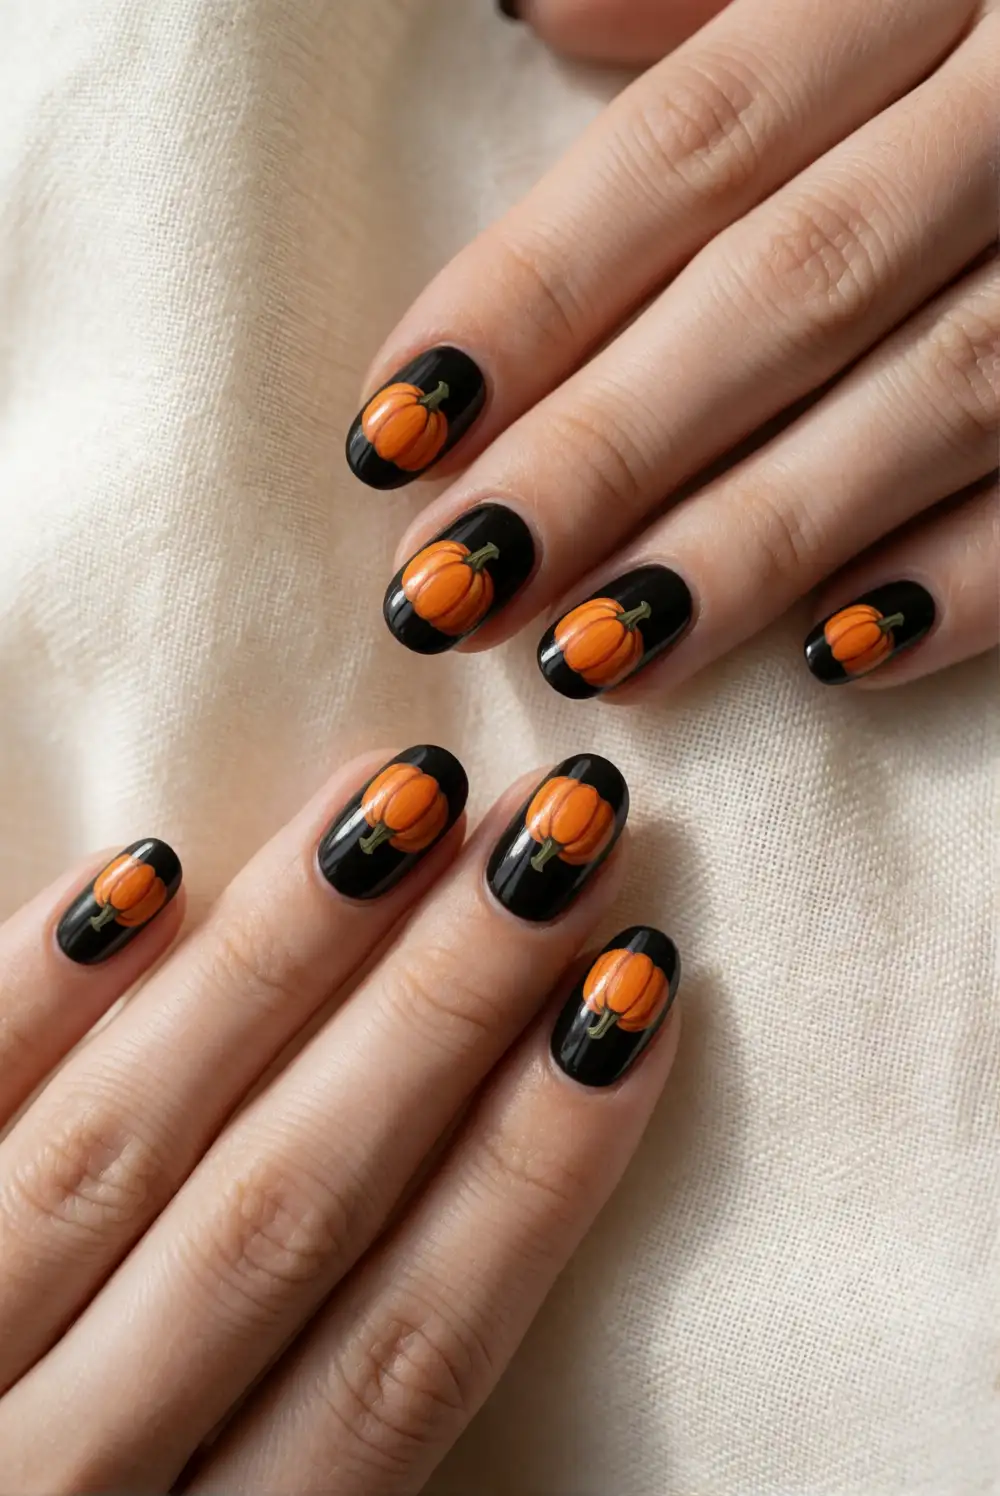
Paint a smooth coat of black polish and let it dry thoroughly before adding the artwork. With a fine brush, paint small orange pumpkins on the dark base, using curved strokes to build their rounded shape. Add a slim green stem and a few orange ridge lines for definition. The strong contrast makes even simple pumpkin silhouettes easy to see, while the handmade brush marks keep the design from looking overly polished or uniform.
Try a deep charcoal polish if you want a softer contrast, or choose vivid orange for a brighter pop against true black. Keep the pumpkin art compact so the dark base remains an important part of the design. A glossy top coat creates a sleek finish, while a matte top coat gives the manicure a velvety look. Let the painted details dry before sealing to help prevent smudging.
Pumpkin Patch Gradient Nails
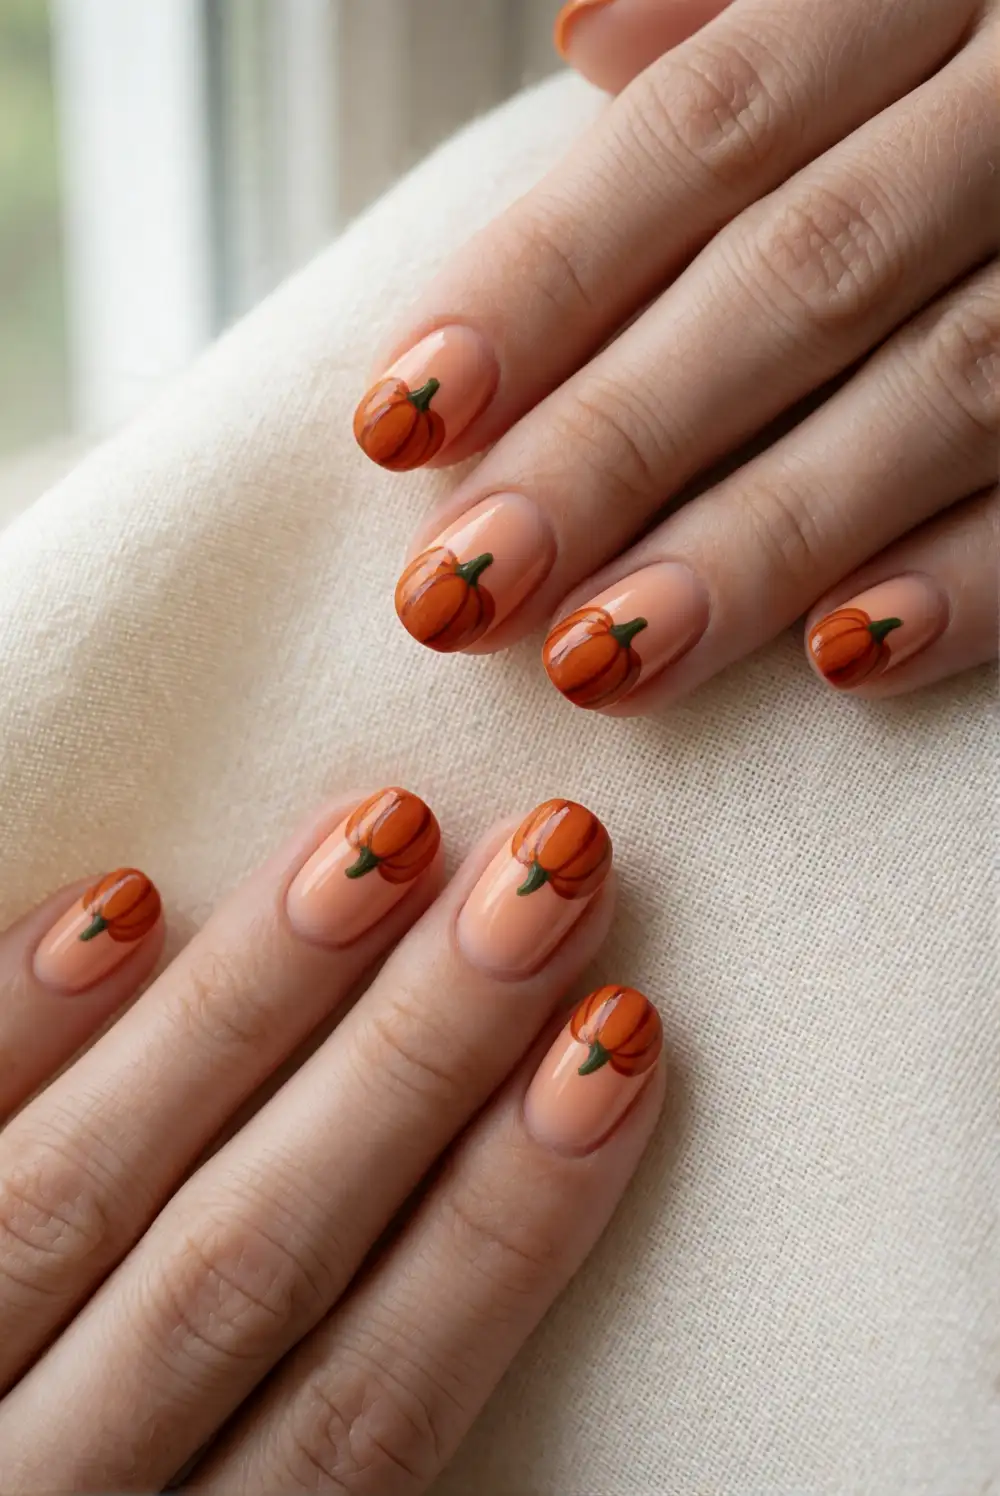
Create a warm gradient by blending pale peach near the cuticle into burnt orange toward the nail tips. Use a makeup sponge to dab the two polish colors together, repeating light layers until the transition looks smooth. After the gradient dries, paint small pumpkin silhouettes over the color with a fine brush. Add dark orange curved ridges and little green stems, placing the artwork where it stands out against the blended background.
Work with thin coats when sponging so the gradient builds evenly without becoming too thick. A small brush dipped in remover can clean polish from the skin around the nails after the color is dry. For a softer patch-inspired look, use muted apricot and rust instead of vivid orange. Seal the gradient and painted pumpkins with a generous clear top coat for a smooth, unified finish.
Cute Ghost and Pumpkin Manicure
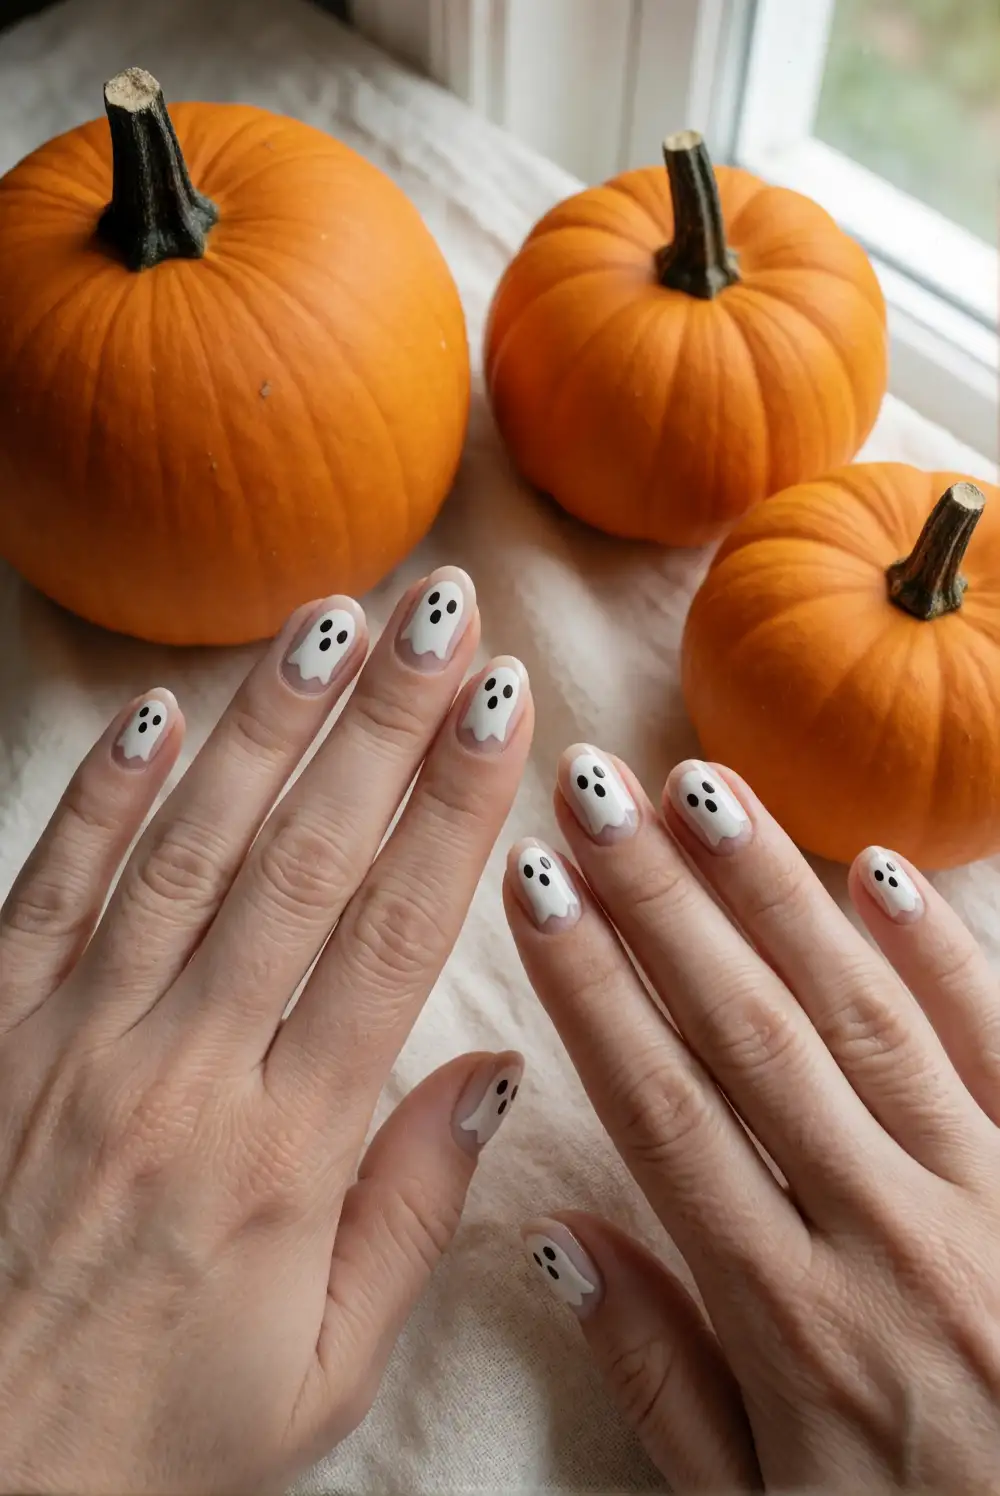
Use a pale blush or cream base, then paint friendly little ghosts with white polish and a rounded detail brush. Add simple dark eyes with tiny strokes from a fine liner brush, keeping each expression sweet and minimal. Paint orange pumpkins beside the ghosts, finishing them with green stems and soft curved ridges. The combination creates a playful Halloween manicure with clear, recognizable shapes and a lighthearted handmade appearance.
Leave enough open base color around the designs so the small details remain distinct. If the ghost shapes are difficult to paint freehand, create them with a rounded body and a gently wavy lower edge. Use a soft gray outline only if you want extra definition against a pale base. A glossy top coat brings the contrasting colors together and helps protect the painted expressions and pumpkin lines.
Plaid and Pumpkin Accent Nails
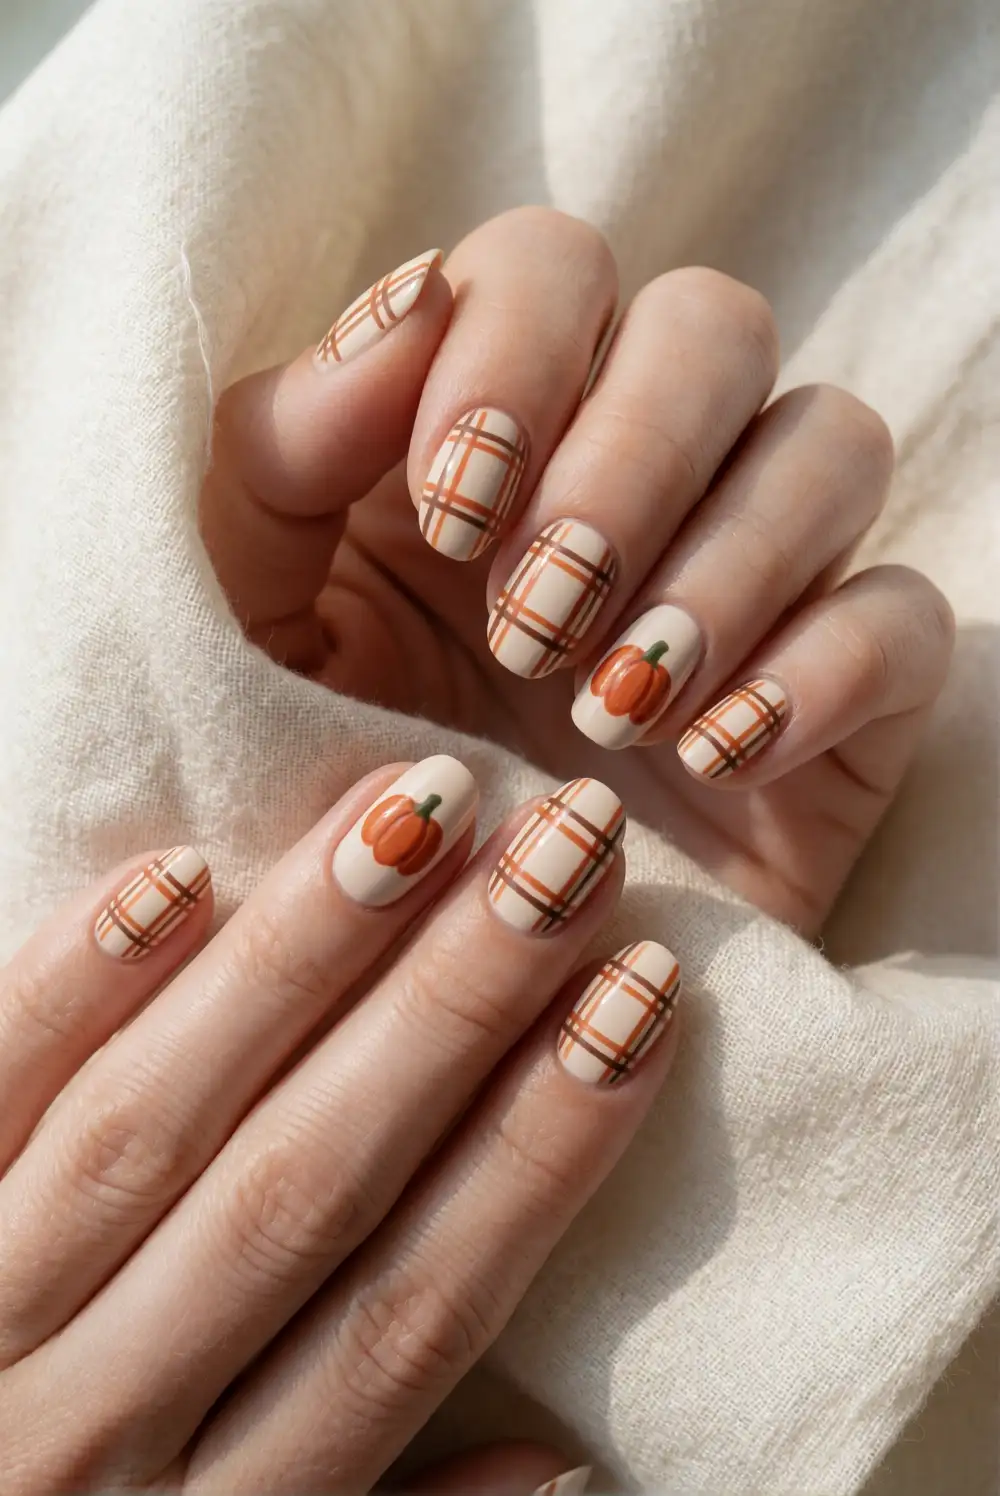
Paint a warm cream base, then use a fine liner brush to add intersecting terracotta and muted brown lines for a relaxed plaid pattern. Vary the line spacing and thickness slightly to preserve the hand-painted feel. On the remaining nails, paint small orange pumpkins with green stems and curved ridge details. The combination of checked pattern and illustrated pumpkins gives the manicure a cozy seasonal look without crowding the artwork onto every nail.
Let each plaid color dry before crossing it with another line to keep the pattern defined. A sheer polish can soften the checks if they appear too bold against the base. Choose a fine brush for the plaid and a slightly wider detail brush for pumpkin shapes. Keep the palette warm and limited, then finish with a clear top coat that smooths the painted lines without blurring them.
Gold Foil Pumpkin Details
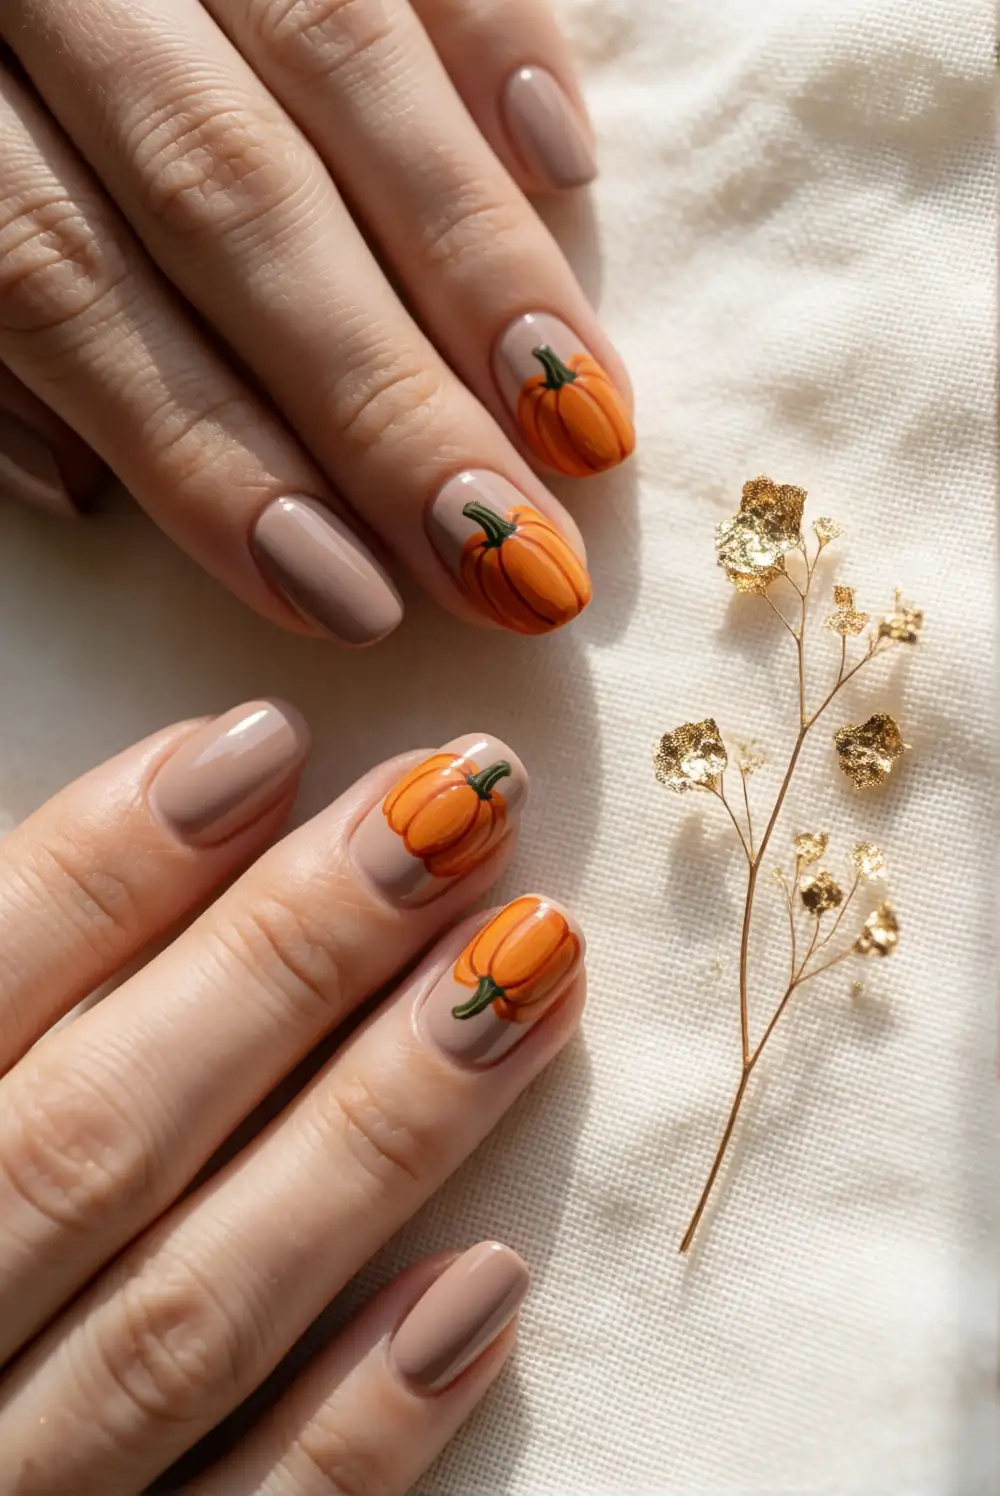
Apply a warm nude or creamy taupe polish and allow it to dry. Paint small orange pumpkins with a fine brush, adding darker curved ridges and neat green stems. While the artwork is still fresh, place tiny fragments of nail foil beside the pumpkins using a wax-tipped tool or a small detail brush. Keep the metallic accents close to the painted shapes so they look like a subtle glow rather than scattered decoration.
Use a light touch with the foil, since small fragments are easier to position and keep balanced around the artwork. Copper or bronze foil also complements the pumpkin colors if bright gold feels too shiny. Press the foil gently into the polish, then seal the design with a smooth top coat. A neutral base lets the metallic glints show clearly while keeping the finished manicure wearable.
Matte Pumpkin Nail Design
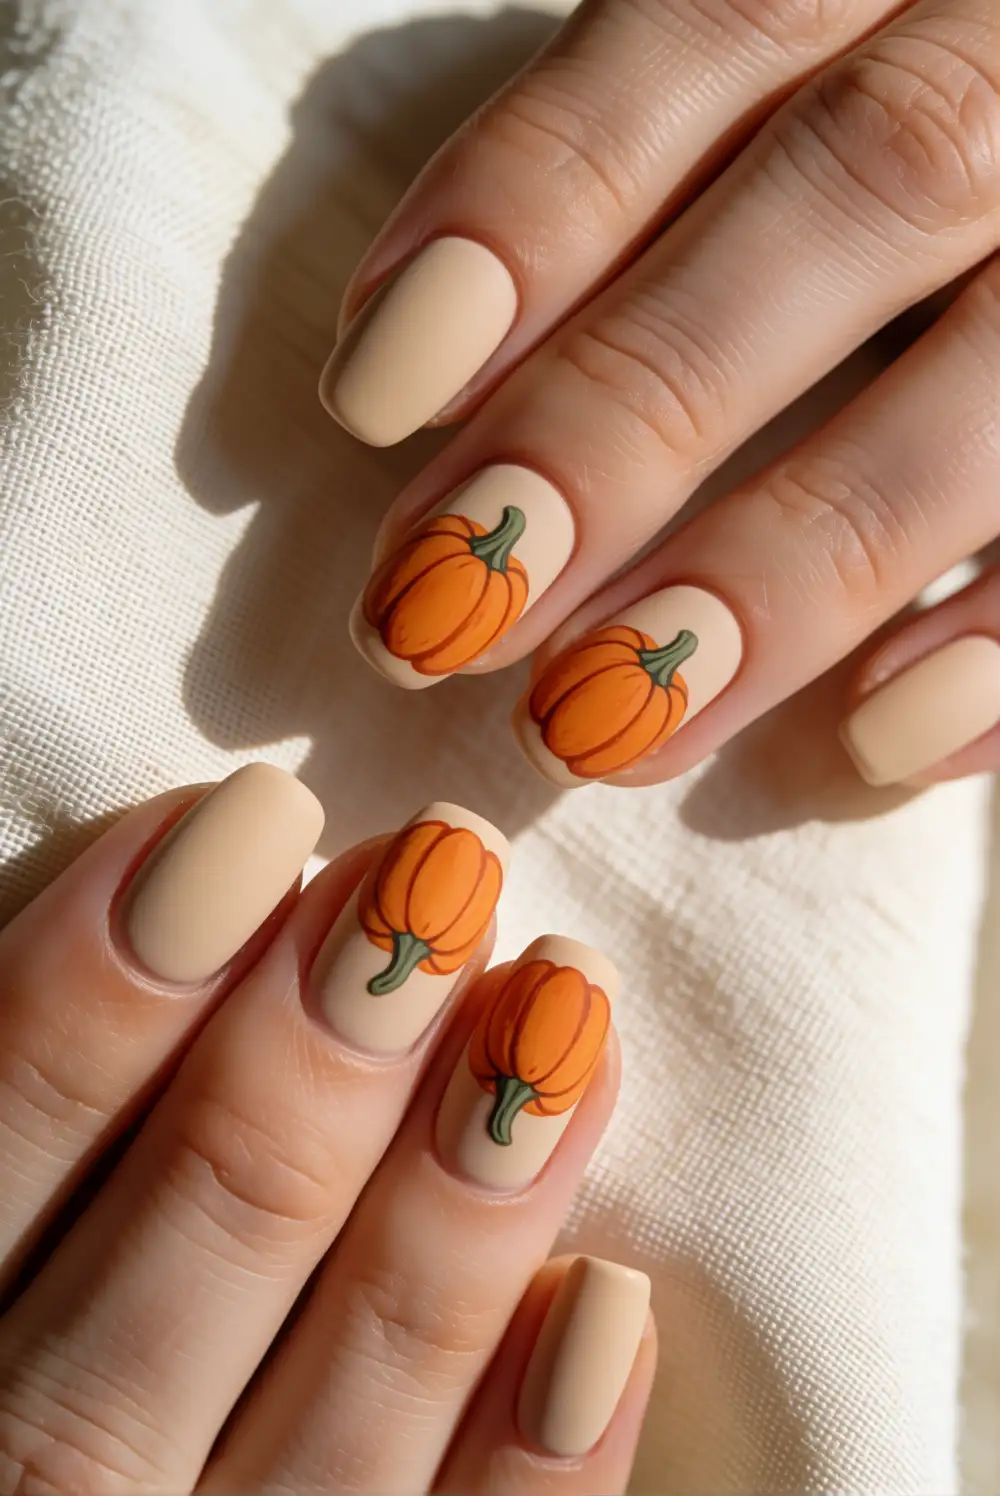
Choose a warm beige, soft rust, or muted sage base and let it dry. Paint pumpkins with contrasting orange polish, using a fine brush to add rounded shapes, curved ridge lines, and small green stems. Allow the artwork to dry fully before applying a matte top coat over the entire nail. The velvety finish softens the colors and gives the hand-painted pumpkins a cozy, almost illustrated appearance.
Contrast helps the pumpkin art remain visible after the shine is removed, so pair orange designs with a lighter or deeper base. If you prefer a mixed finish, leave the pumpkins glossy and apply matte top coat carefully around them with a small brush. Avoid rushing the final coat, as the fine lines need time to set. The matte effect looks especially lovely alongside soft knits and autumn-toned clothing.
Fine-Line Pumpkin Outline Nail Art
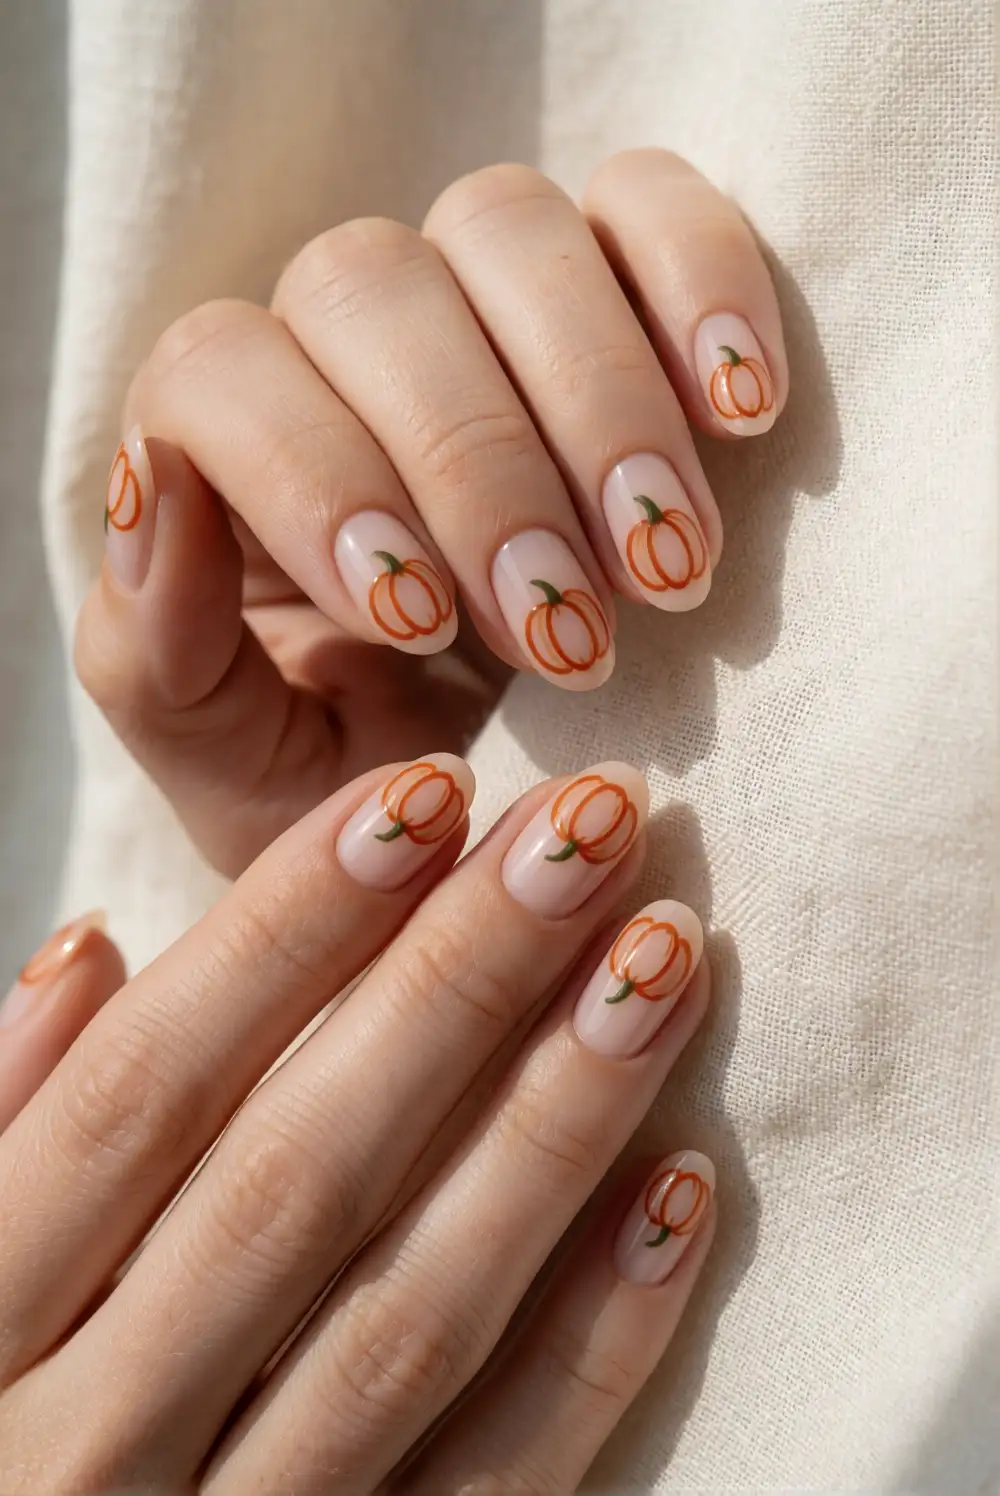
Start with a sheer milky or blush base and let it dry until smooth. Load a fine liner brush with burnt orange polish and draw a curved outline for each pumpkin, adding short inward arcs to suggest the ridges. Finish with a tiny green stem at the top. This open, outline-only approach uses less color than a filled pumpkin and gives the nails an airy, delicate look while keeping the hand-painted details easy to see.
Rest your painting hand on a stable surface and use short strokes to keep the curved lines controlled. If the outline looks too bold, choose a softer rust shade or a very fine brush. Leave generous open space around the pumpkins so the design stays light against the base. A clear glossy top coat enhances the slender lines and helps the artwork wear smoothly.
Pumpkin and Autumn Leaf Nail Mix
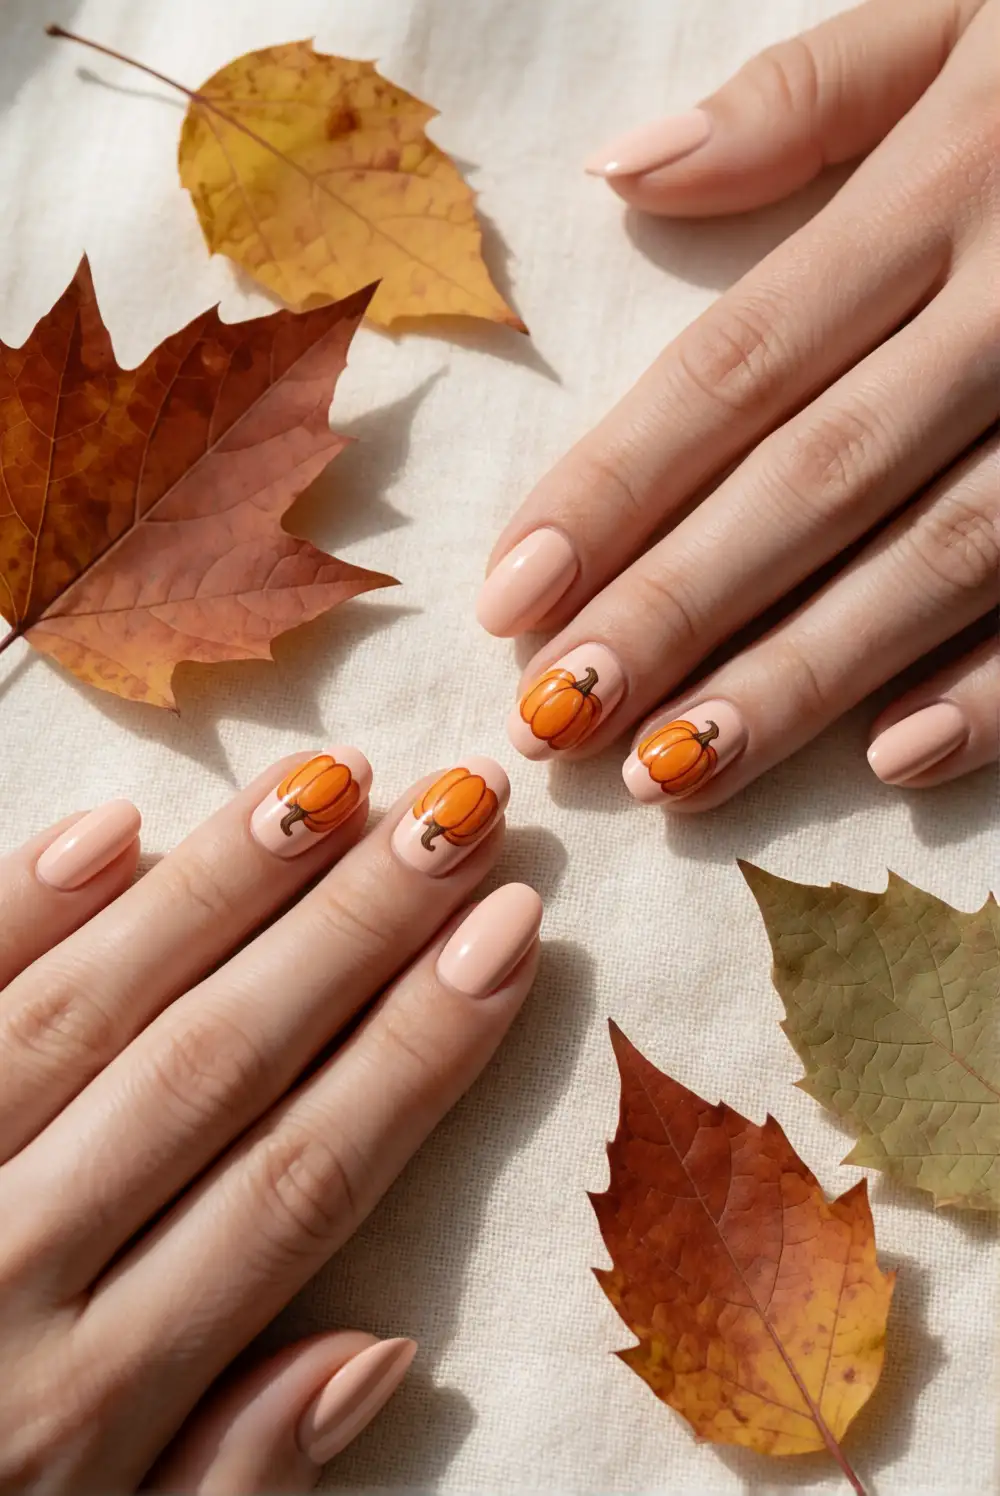
Paint a cream or pale peach base, then create small orange pumpkins with a detail brush and fine curved ridge lines. Add autumn leaves nearby using a pointed brush and shades of terracotta, ochre, and muted olive. Draw a thin central vein through each leaf and finish the pumpkins with short green stems. The mix of rounded fruit and pointed foliage creates varied, hand-painted nail art that still feels cohesive through its warm seasonal palette.
Keep the leaf shapes simple, using a few tapered strokes rather than filling the nails with dense detail. A slightly different arrangement on each nail makes the manicure feel like a miniature collection of autumn motifs. Choose a neutral base to give the warm colors room to stand out, or use soft sage for a gentle contrast. Seal everything with clear polish after the artwork has dried.
Hand-painted pumpkin nails are easy to make your own with warm polish shades, simple brushwork, and small seasonal details. Try a cozy cream-and-orange design, add a leafy vine, or combine pumpkins with plaid for a more detailed look. With a little patience between coats, your finished Halloween manicure can feel festive, wearable, and full of handmade charm.








