
Give your Halloween manicure a softer, sweeter twist with pastel nail art in lavender, mint, blush, peach, and creamy white. These cute designs pair seasonal details like pumpkins, ghosts, moons, and candy-inspired colors with wearable finishes you can create at home. Explore simple accent nails, French tips, and playful patterns, with practical tips for adapting each look to your nail length and favorite polish shades.
Pastel Pumpkin French Tip Nails
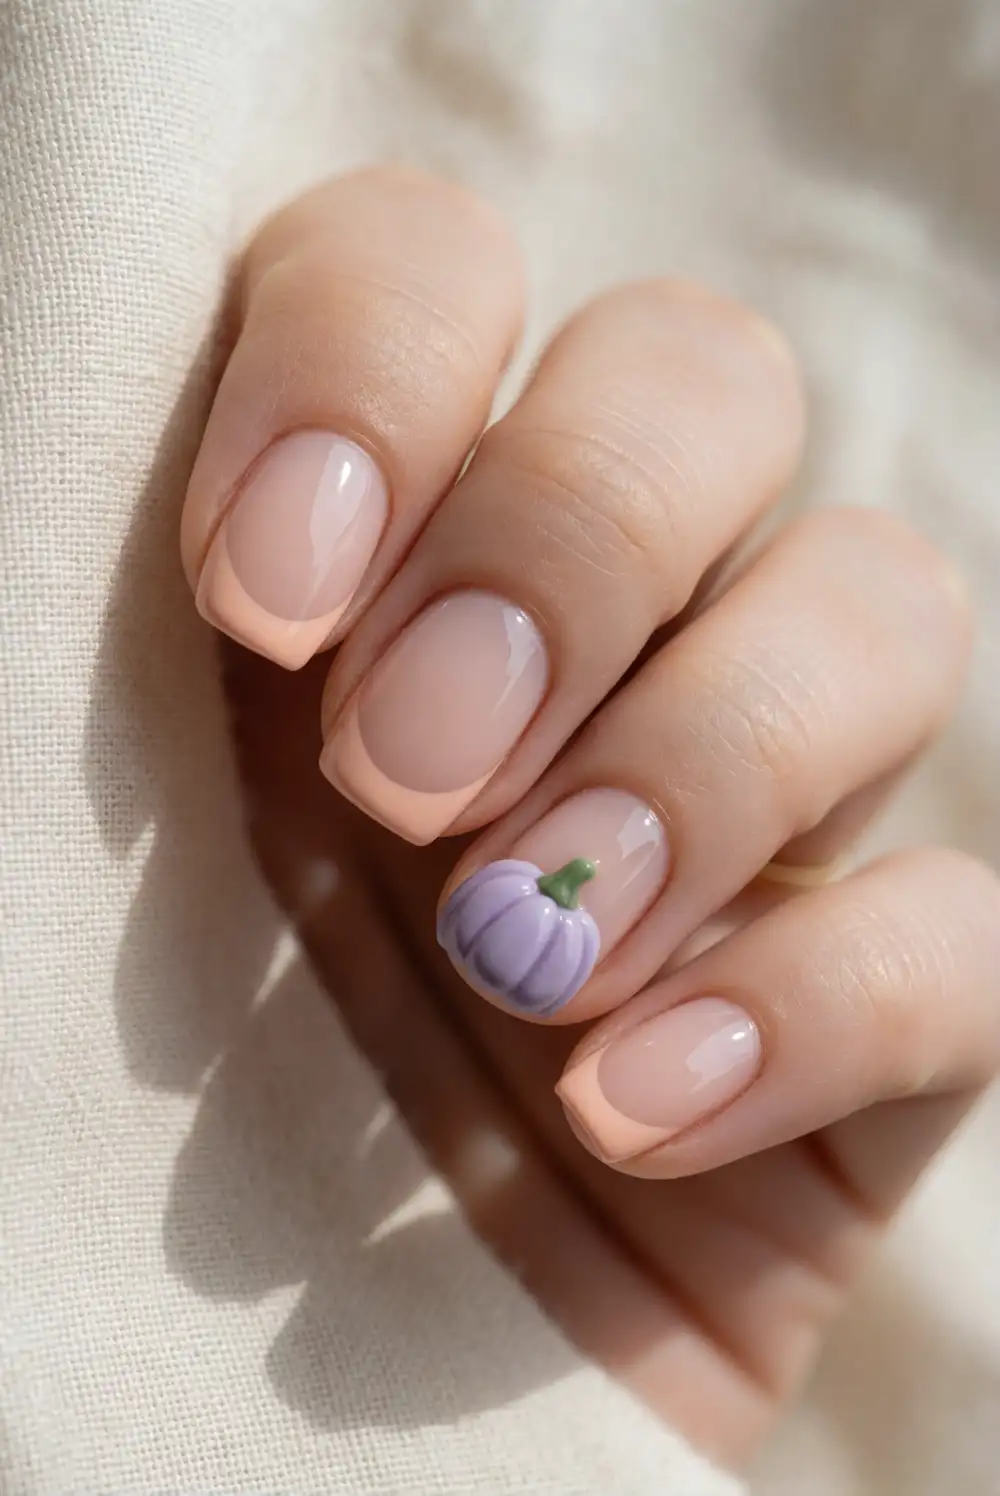
Paint each nail with a sheer blush or milky cream base, then brush a soft peach curve across the tip to make a rounded French manicure. Once the tips are dry, use a fine nail-art brush to add a tiny lavender or pale orange pumpkin to one accent nail. Add a short green stem with a detail brush, and finish every nail with a clear top coat. Keep the pumpkin small so the manicure stays delicate and easy to wear.
For a simpler version, make pumpkin-orange tips on just two nails and leave the rest in a glossy neutral shade. Short, rounded nails suit the curved tips particularly well, while longer nails have room for a slightly larger accent. If painting the pumpkin freehand feels tricky, build it from small curved strokes rather than one solid circle. A thin brush and a steady surface help keep the design neat, and a fresh top coat brings the pastel shades together.
Sweet Lavender Ghost Accent Nails
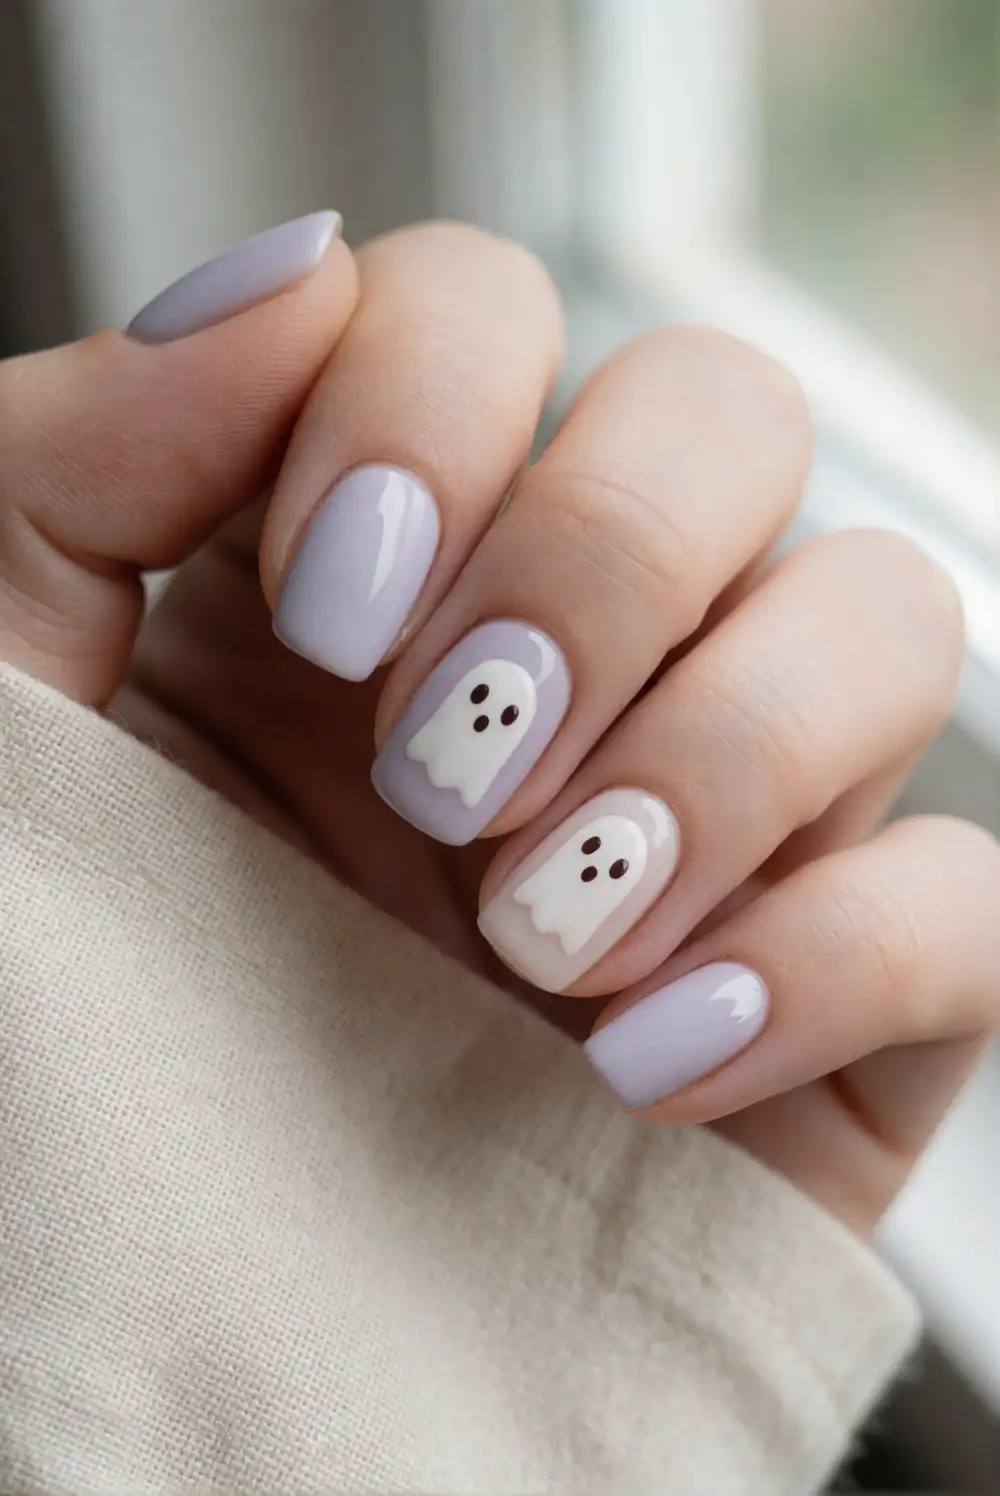
Apply a pale lavender polish to most nails, leaving one or two accent nails creamy white. On each white nail, paint a rounded ghost shape with a small brush, giving it a gently scalloped lower edge. Add two tiny dark eyes with a dotting tool or the end of a fine brush, then let the artwork dry fully before sealing it with a clear top coat. Keep the ghost shape simple and small for a cute design that works on short nails.
Try a single ghost on the ring finger for a subtle manicure, or place a tiny ghost on each accent nail for a more playful look. A sheer pink base can replace lavender if you prefer a warmer palette, and a soft lilac outline adds definition without making the design feel busy. Use polish that is fully dry before adding the face details to prevent smudging. A glossy finish keeps the white shapes bright against the pastel background.
Mint Green Spiderweb Corner Nails
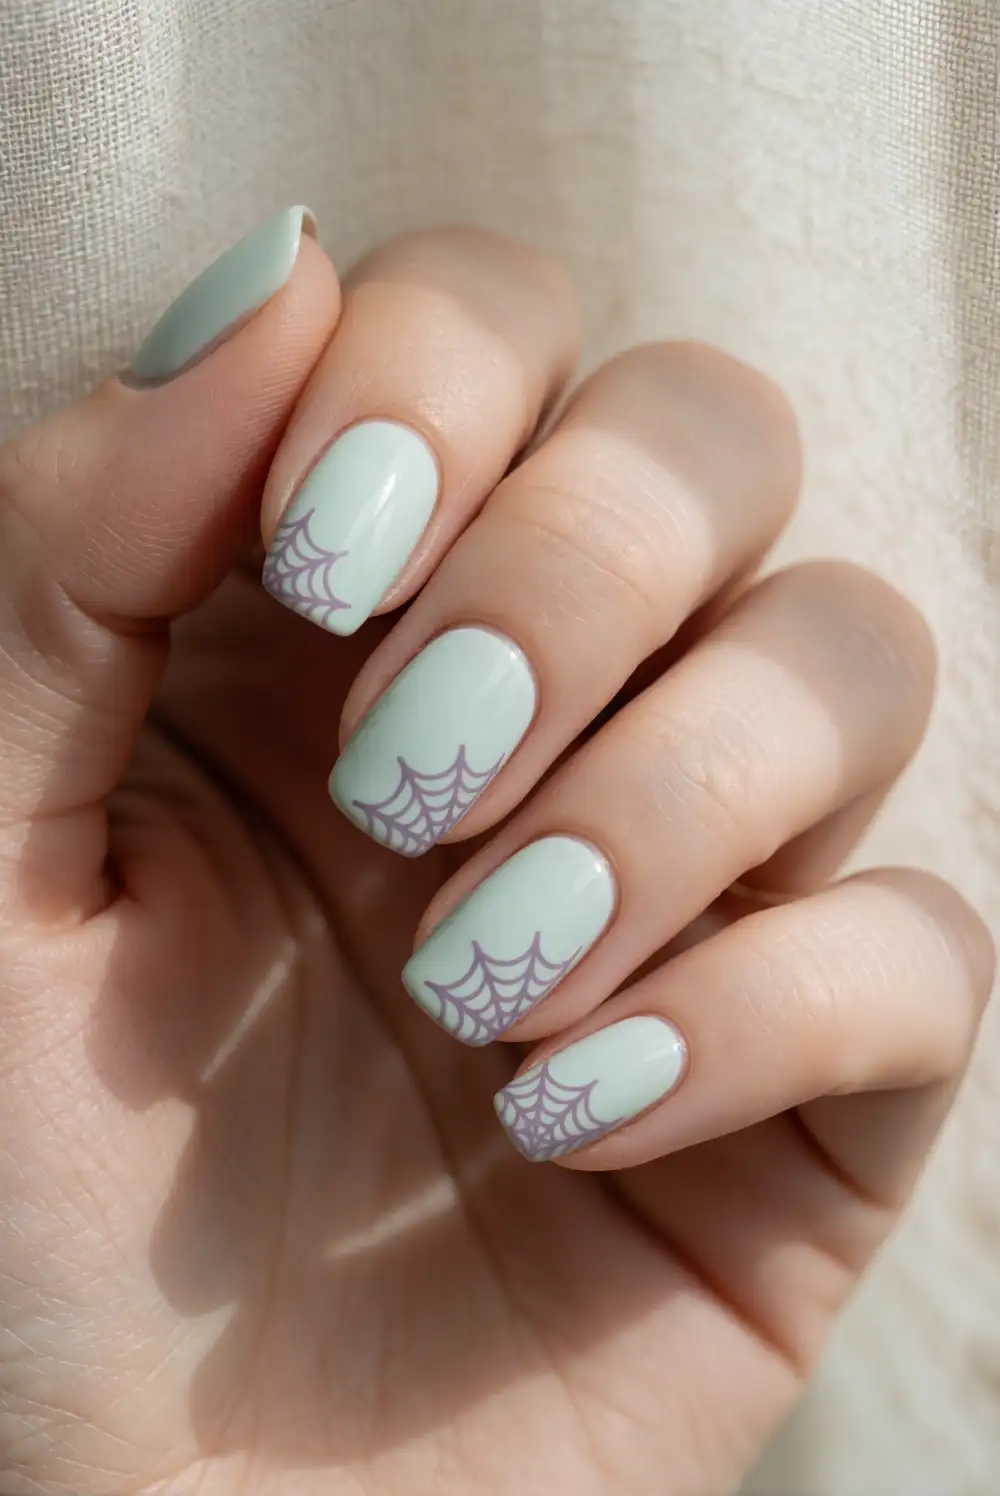
Start with a smooth coat of pale mint polish and let it dry completely. Choose one or two nails for the web, then draw three fine lines radiating from a corner using a thin brush and lavender or charcoal polish. Connect the lines with small curved strokes, working outward from the corner to form a delicate web. Keep the other nails solid mint or add a creamy neutral accent. Seal the finished manicure with clear top coat once the fine lines have set.
A corner web leaves plenty of open space, making this design feel light rather than crowded. For a softer contrast, choose dusty purple instead of black, or use white polish over a darker pastel accent nail. The web can be scaled down for short nails by drawing fewer spokes and keeping the lines very thin. Rest your painting hand on a stable table, and wipe the detail brush between strokes to avoid thick, uneven lines.
Pastel Candy Corn Ombre Nails
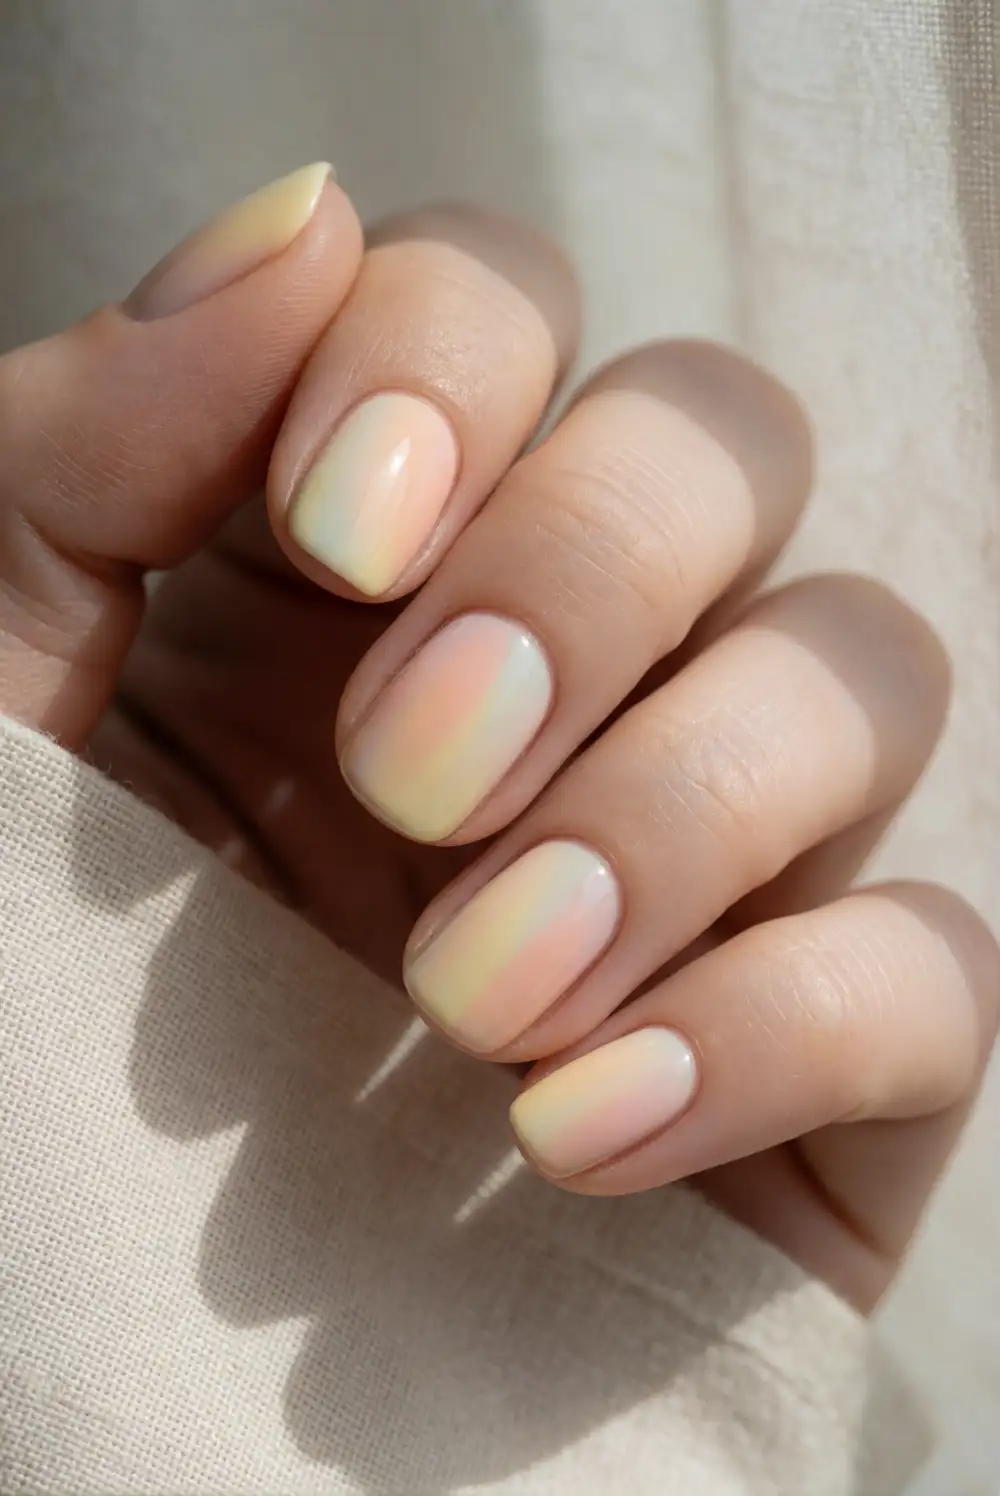
Make a softened candy-corn effect with pale butter yellow, peach, and creamy white polish. Paint the colors in horizontal bands on a makeup sponge, letting each stripe overlap slightly, then gently press the sponge onto a prepared nail. Repeat with fresh polish until the gradient looks even, and clean the skin around the nail with a small brush dipped in remover. Allow the color to dry before applying a glossy top coat to smooth the blended finish.
Use muted shades rather than bright orange and yellow for a pastel take that feels easy to wear beyond a costume party. The gradient looks especially pretty on longer nails, but a smaller sponge piece can create a neat version on shorter nails. Protect the surrounding skin with a thin layer of balm before sponging, then tidy the edges afterward. For a simpler manicure, use the gradient on one accent nail and paint the remaining nails pale peach.
Blush Pink Bat Silhouette Nails
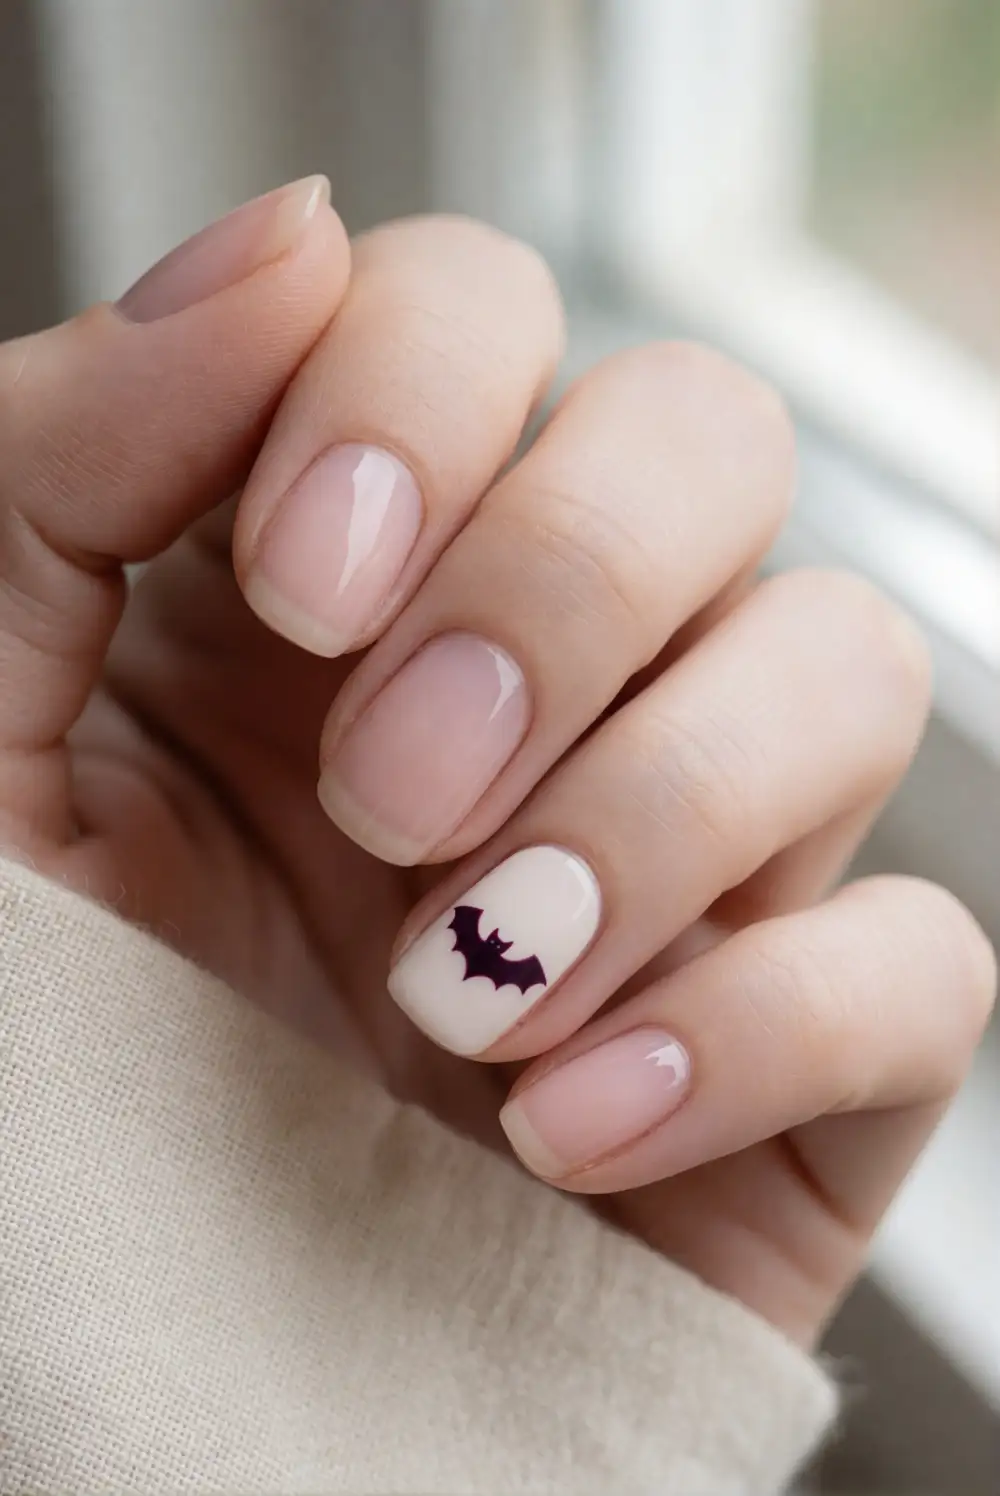
Paint the nails a sheer blush pink and choose a creamy white or pale lilac accent nail for the bat. With a fine nail-art brush, draw a small curved body, then add two simple wings using short angled strokes. Dark plum polish gives the silhouette definition while keeping the palette softer than black. Let the bat dry before applying a clear top coat, and keep the design centered or near the tip so it remains visible on the nail.
One small bat on a single accent nail makes a restrained seasonal detail, while a pair of tiny silhouettes creates a more decorative finish. On short nails, simplify the wings and use a fine-tipped brush to avoid filling the whole nail with dark polish. You can switch the background to pale peach or lilac while keeping the same plum artwork. A glossy neutral finish on the other nails helps the little bat stand out without competing with it.
Lavender Pastel Checkerboard Nails
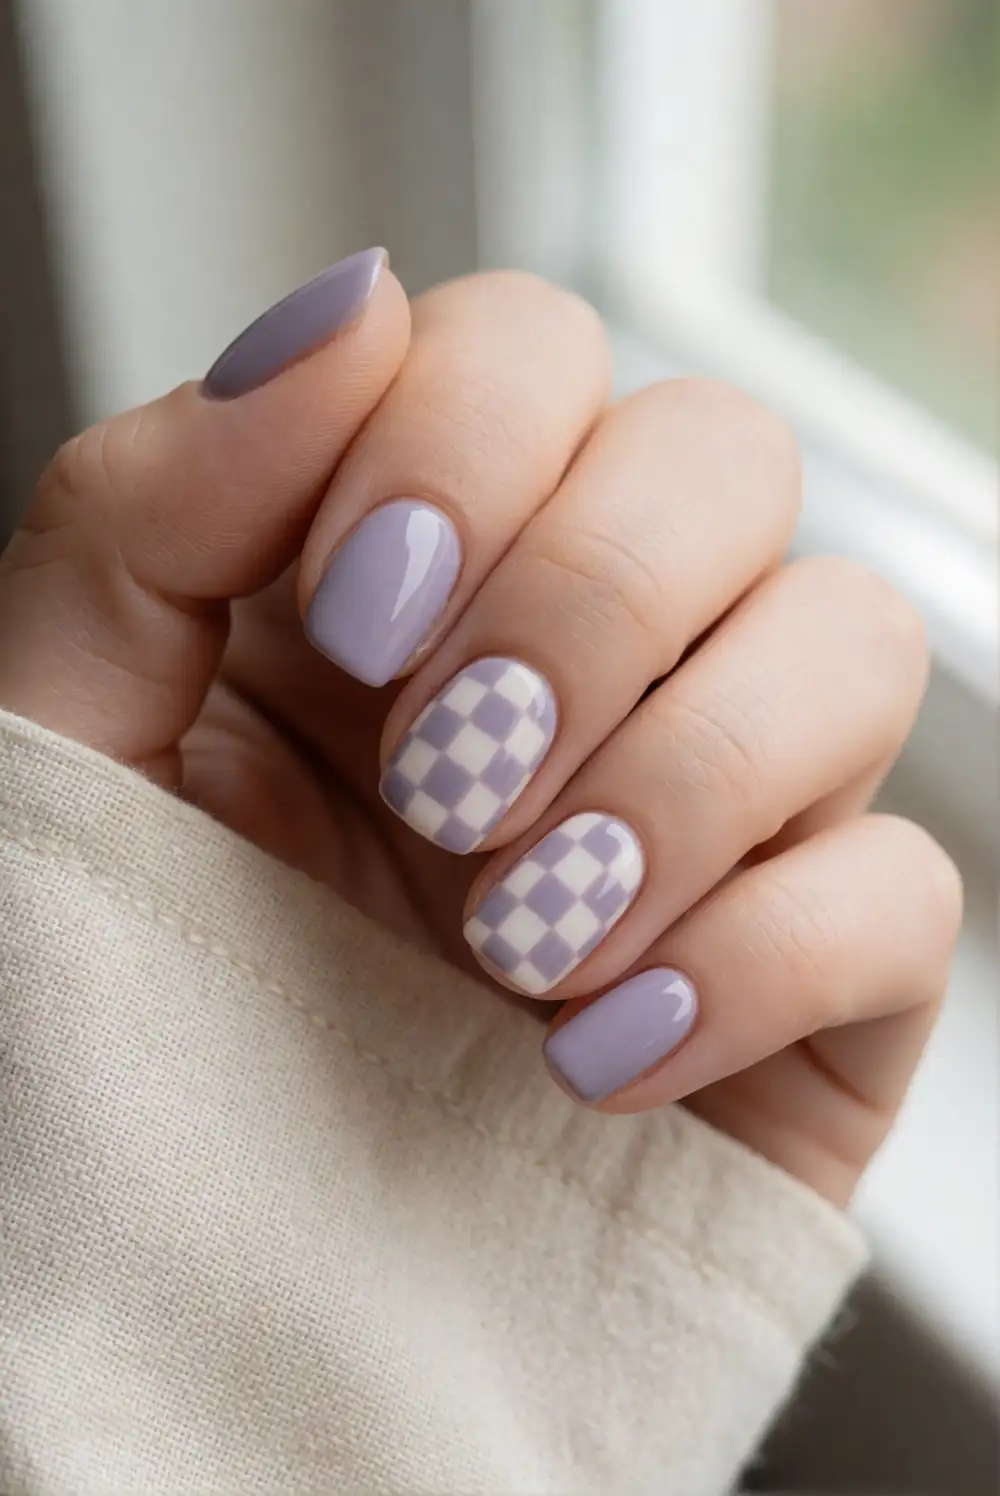
Choose two contrasting pastel polishes, such as lavender and creamy white, and apply a light base color to each nail. Once dry, use a thin brush to paint small squares in alternating positions, creating a checkerboard pattern across one or two accent nails. Keep the squares modest in size and use the natural nail edge as a guide for straight rows. Let the pattern dry thoroughly, then add a clear top coat to even out the surface and protect the design.
For a playful Halloween palette, try mint and pale peach, or pair lilac with a muted orange accent. Checkerboard looks bold across every nail, so placing it on just one or two fingers keeps the manicure balanced. If freehand squares feel difficult, paint a simple grid first and fill alternating spaces after it dries. Short nails look lovely with a partial checkerboard near the tip, while longer nails can carry a full, evenly spaced pattern.
Peach Moon and Star Accent Nails
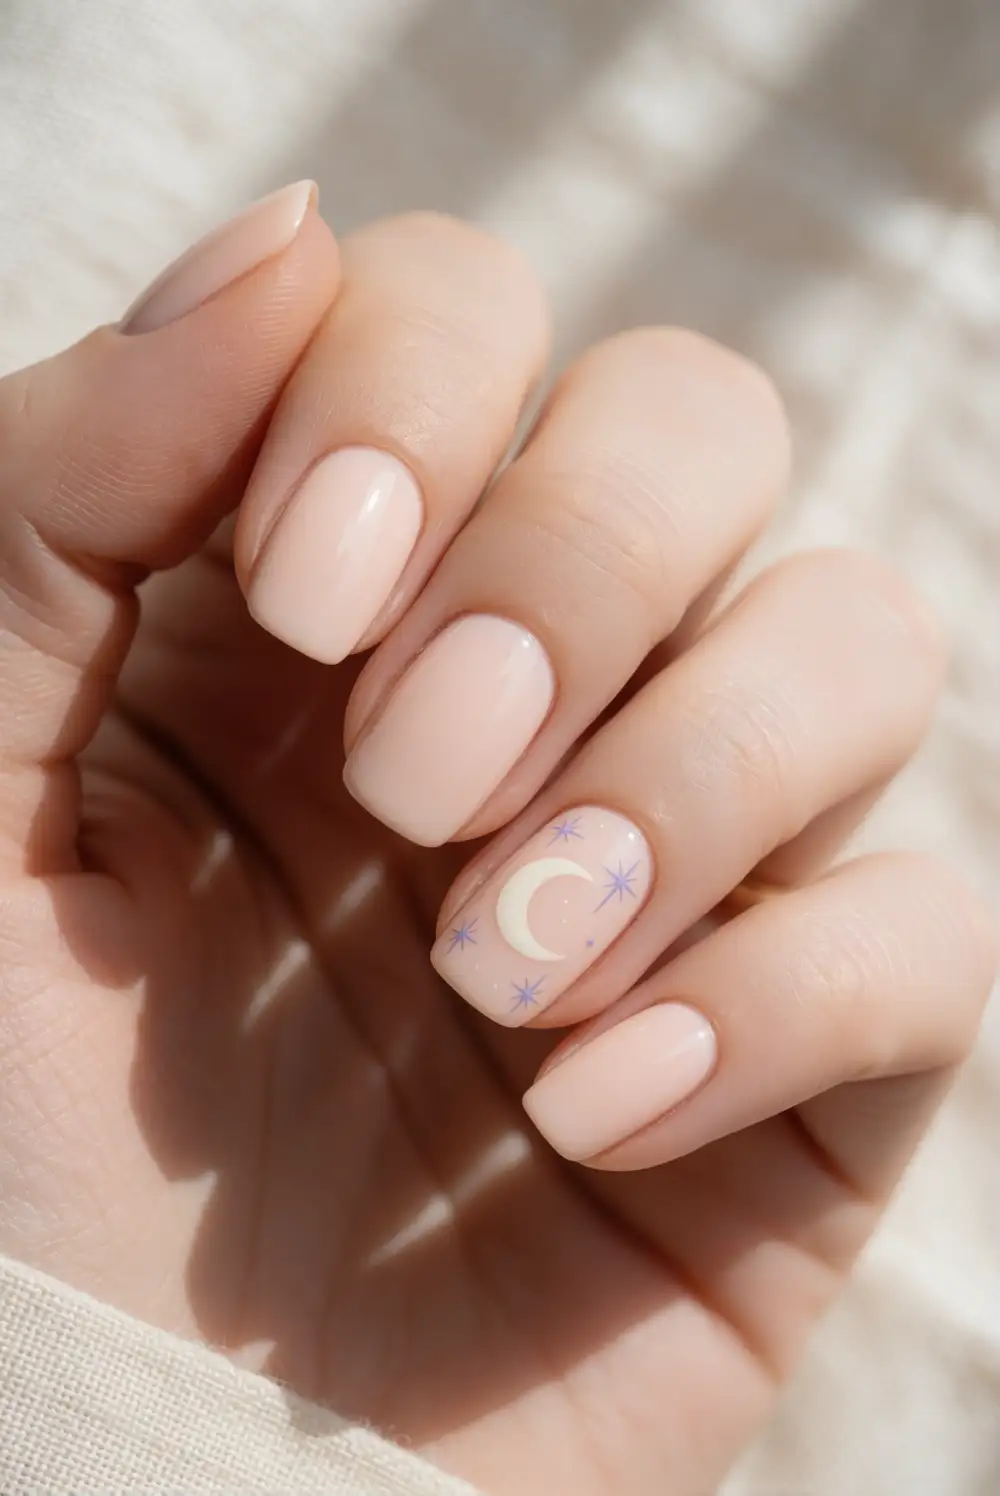
Apply a pale peach base to the nails and let it dry before painting a small crescent moon on one accent nail. Use a fine brush and creamy white, soft gold, or lavender polish to form the moon with two curved strokes. Add a few tiny starbursts nearby using short intersecting lines, keeping the details spaced apart. Finish with a clear top coat after the artwork has dried. The restrained celestial pattern feels seasonal while staying gentle and polished.
Place the moon near a nail corner for an airy composition, or center it for a more noticeable accent. A sheer pink base or creamy lilac background works just as well with the same moon and star details. Use a very small amount of polish on the brush so the lines stay fine, and let each mark dry before adding another. Pair the decorated nail with solid pastel shades to keep the manicure cohesive and comfortable for everyday wear.
Pastel Purple Drip Tip Nails
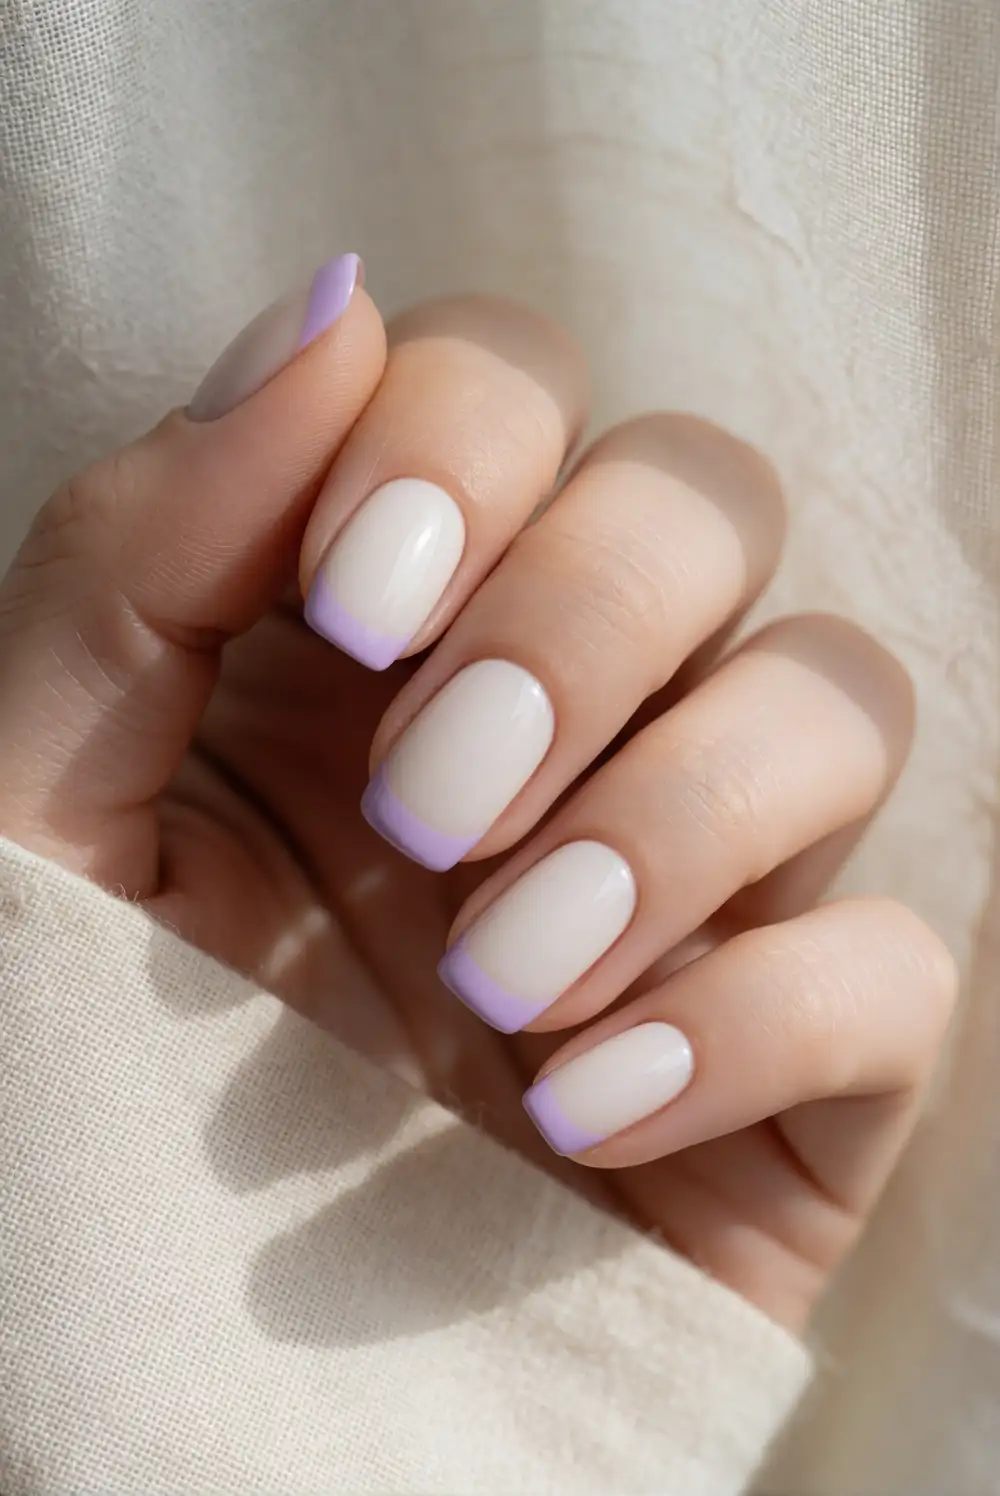
Begin with a creamy white or pale pink base coat, then paint a band of pastel purple across each nail tip. While the purple polish is still workable, pull a few rounded drips downward with a fine brush, varying their lengths slightly. Let the design dry before adding a clear top coat. The soft color and smooth curves give the manicure a candy-like Halloween feel without needing complicated tools or detailed artwork. Keep the drip shapes rounded for a tidy, finished appearance.
Use lavender for a delicate look or choose a slightly deeper grape shade if you want the tips to stand out more. A single drip accent nail is an easy option for a minimal manicure, while matching tips across every nail make a stronger seasonal statement. Keep the drips short on small nails so the base remains visible. A glossy finish emphasizes the rounded edges, and a thin clean-up brush can sharpen the polish line near the cuticle.
Soft Orange Jack-o’-Lantern Nails
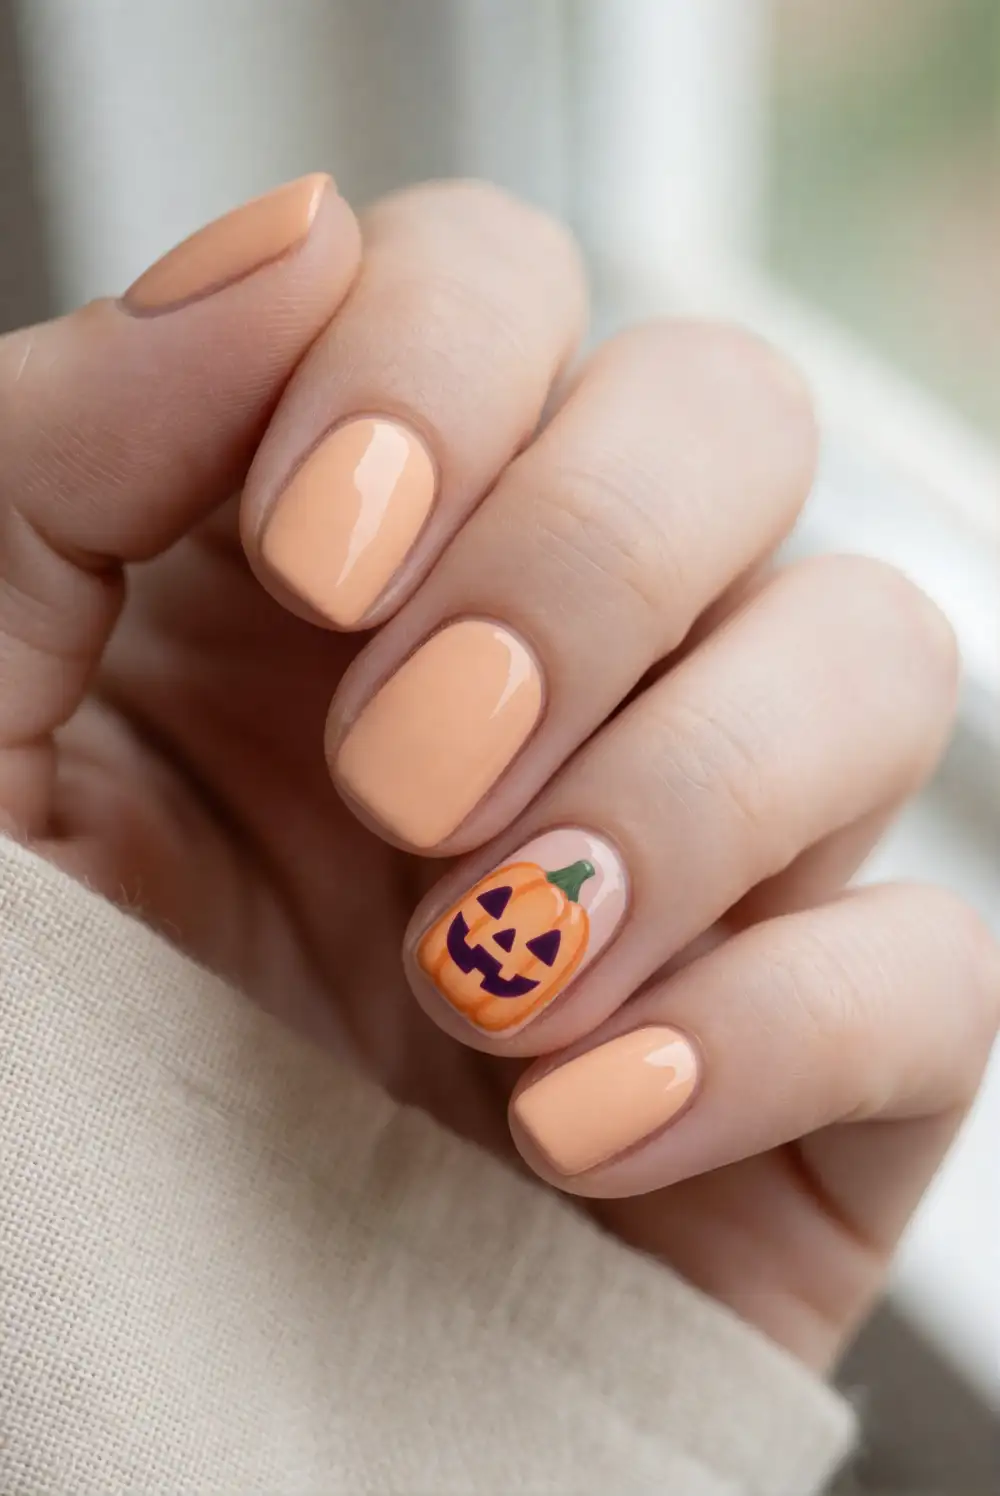
Paint one accent nail a soft pastel orange and use creamy white, peach, or pale pink on the rest. Once the orange base is dry, add a tiny curved smile and simple triangle eyes with a fine brush and dark plum polish. Keep the face small and friendly, then add a short green stem near the cuticle if there is room. Finish with clear top coat after the artwork dries, taking care not to drag the brush across the details.
A single pumpkin face makes a cute accent, while plain orange nails on either side help the design feel coordinated. For a gentler variation, use lavender or dusty rose as the pumpkin base and keep the features in soft brown. On short nails, simplify the face to two small eyes and a short smile. Make the expression with light brush strokes rather than thick marks, and use a glossy top coat to bring out the pastel color.
Pastel Halloween Mix-and-Match Nails
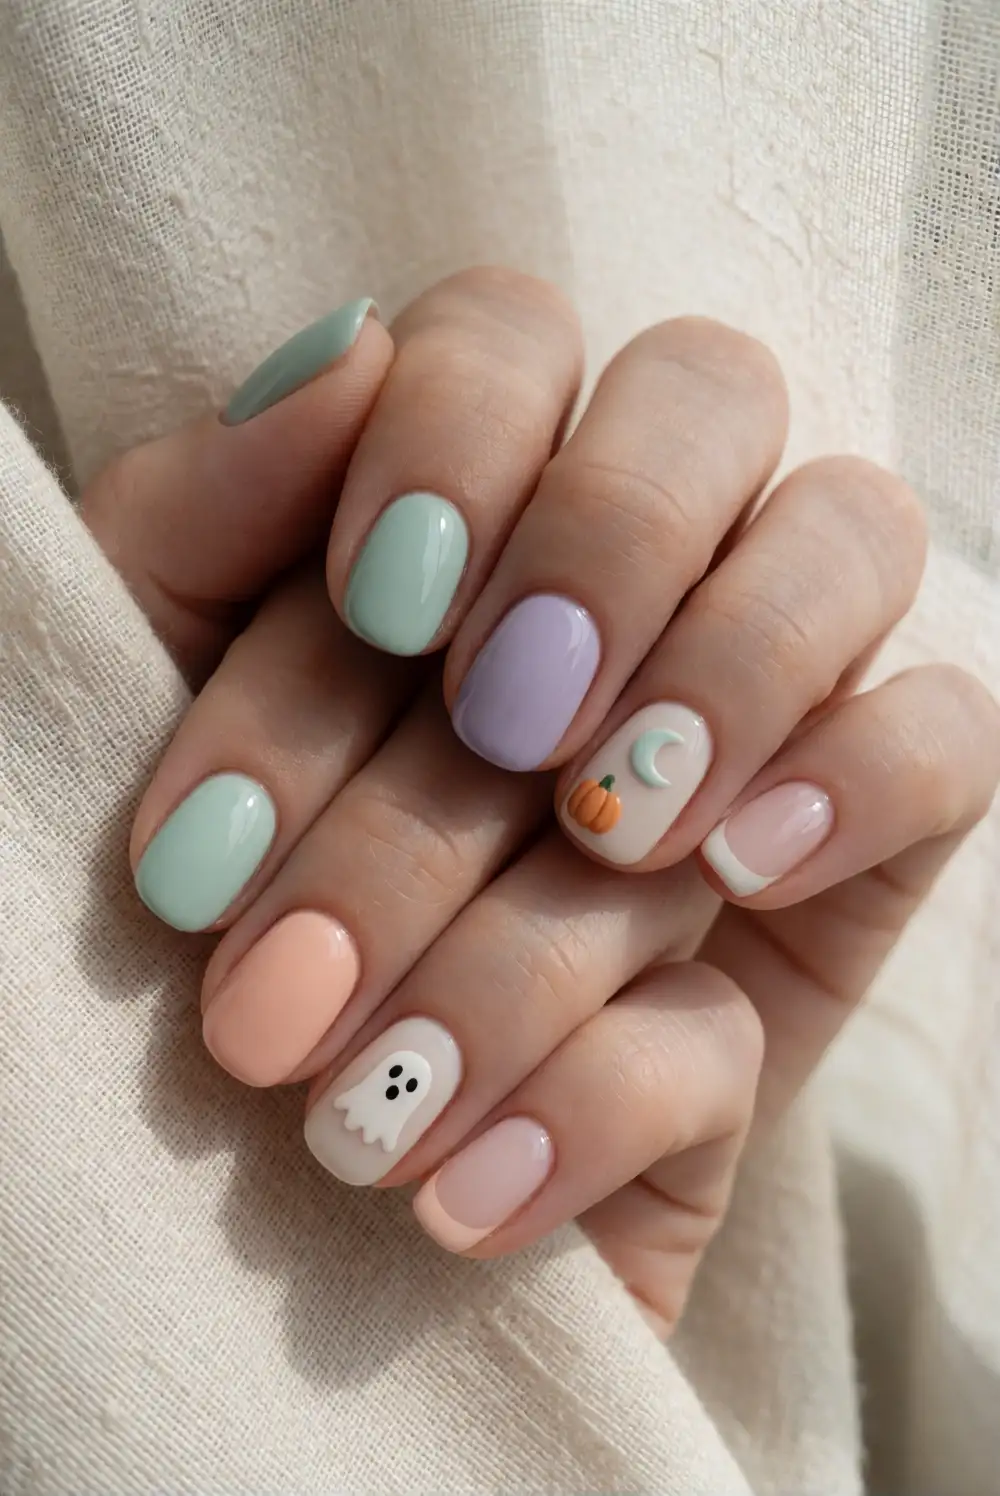
Choose a coordinated set of pastel polishes, such as mint, lavender, peach, and creamy white, and assign a different simple design to each nail. Paint one nail a solid shade, add a tiny moon to another, and use a small pumpkin or ghost on an accent nail. Keep the remaining patterns simple, such as dots or a narrow French tip. Work in thin coats and allow each design to dry before sealing the entire manicure with clear top coat.
To keep the mix-and-match look cohesive, repeat the same small palette across every nail and vary only the motifs. A solid accent between detailed nails gives the eye a place to rest, while a shared glossy finish ties the manicure together. Choose designs that suit your nail length rather than squeezing in tiny details. If you prefer a quieter style, decorate just two nails and paint the others in alternating pastel shades.
Pastel Halloween nails make seasonal details feel sweet, wearable, and easy to personalize. Pick a simple French tip, a tiny character accent, or a mix of soft colors, then adapt the design to your nail length and polish collection. With a steady brush, patient drying time, and a glossy top coat, you can create a cheerful manicure that suits your own version of Halloween style.








