
Give your manicure a playful seasonal refresh with cute Halloween nails featuring tiny pumpkins, friendly ghosts, and cheerful autumn colors. These wearable designs range from simple accent nails to detailed French tips, with practical ideas for adapting each look to your nail length and favorite polish shades.
Tiny Pumpkin Accent Nails
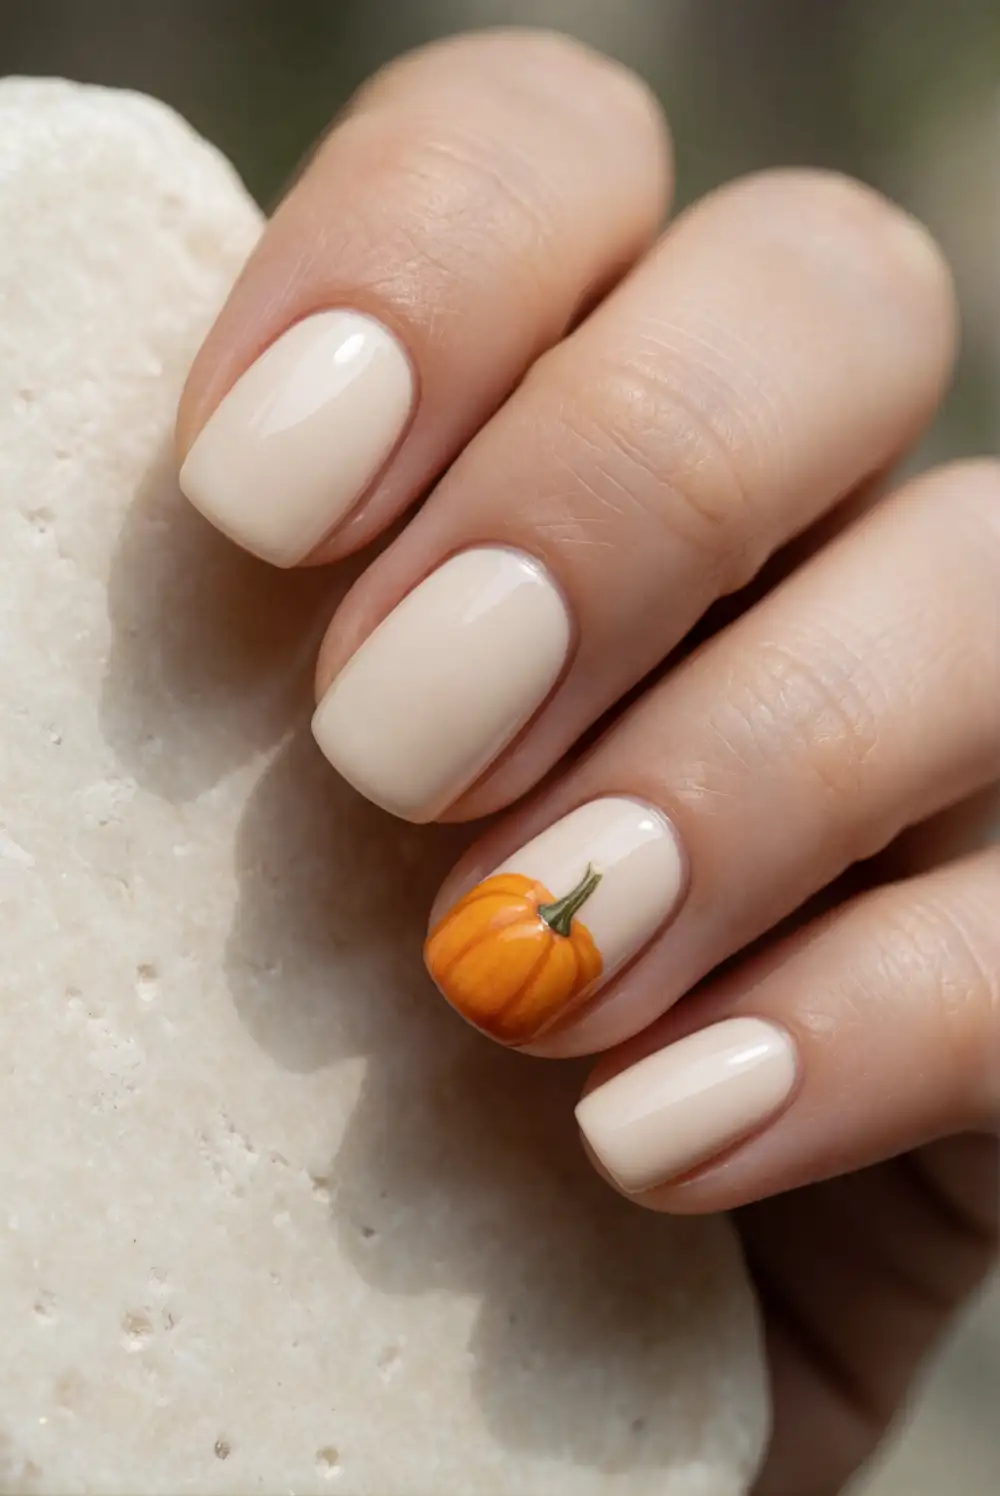
Paint most nails a warm cream or sheer nude, then make one pumpkin accent on each hand. Use a small nail art brush to add a rounded orange shape, a short green stem, and a curved line or two for gentle ridges. Let the base color dry fully before adding the pumpkin, and finish every nail with a glossy top coat. A fine detail brush gives the pumpkin its petite shape without crowding the nail.
Keep the remaining nails simple so the tiny artwork stays easy to notice. On short nails, place the pumpkin near the center rather than close to the tip; longer nails can fit a pair of miniature pumpkins. Try a muted terracotta polish for a softer autumn look, or use a pale peach base for extra contrast. This design works especially well on one or two accent nails alongside a neutral manicure.
Friendly Little Ghost Nails
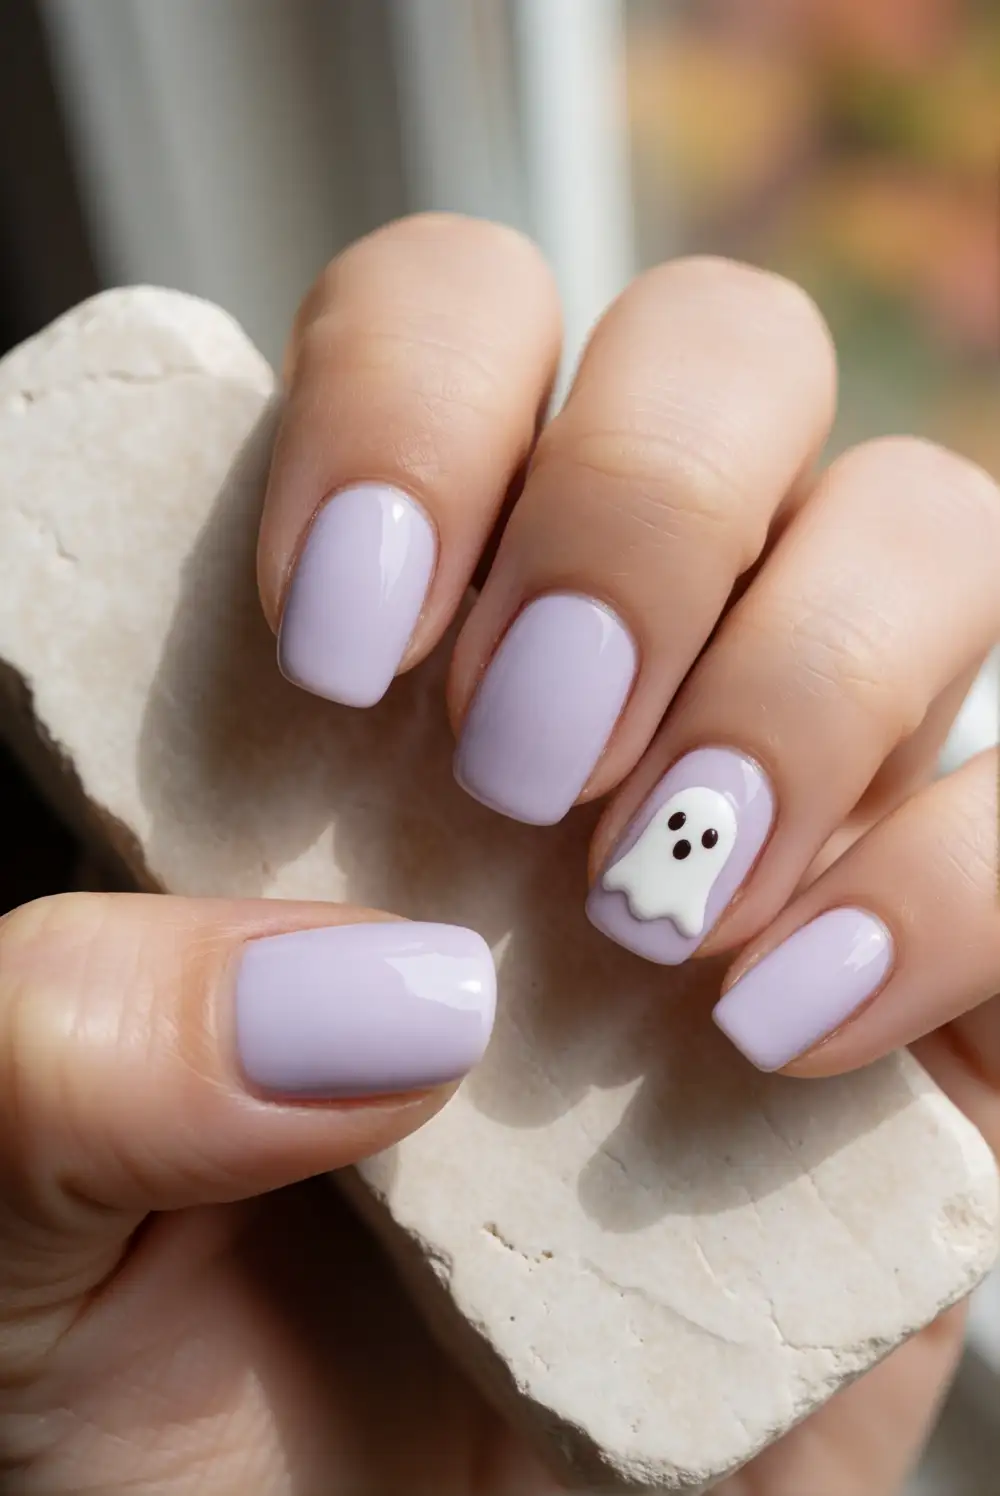
Start with a pale lavender, pink, or cream base, then paint a small white ghost on an accent nail using a fine brush. Make a soft, rounded body with a gently wavy lower edge, allowing the base shade to show around the silhouette. Once the white polish dries, add two tiny black eyes with a detail brush. Seal the finished design with a clear top coat, taking care not to drag the dark details.
Give each ghost a slightly different outline to make the manicure feel charming rather than overly uniform. A sheer nude background creates a delicate look, while a lilac base makes the white figure pop. Keep the other nails in a matching solid shade, or add a thin silver shimmer layer for a party-ready finish. If drawing directly on your nails feels tricky, practice the ghost shape on a nail art palette first.
Pumpkin and Ghost Alternating Manicure
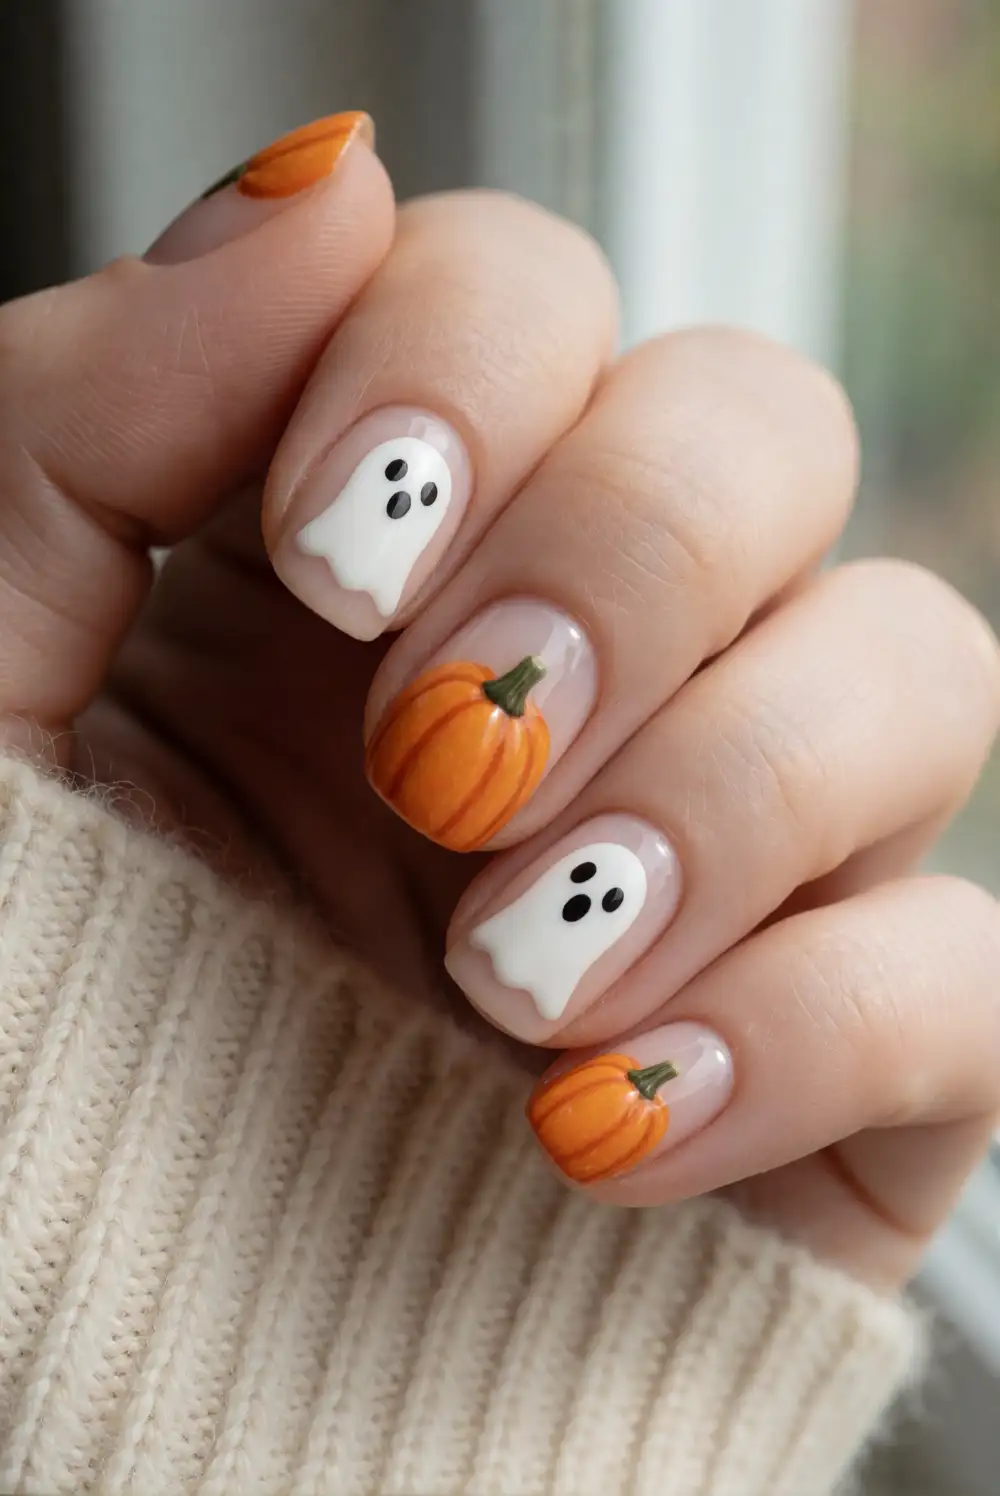
Alternate tiny pumpkins and friendly ghosts across a creamy manicure for a coordinated Halloween look. Paint each nail with a smooth ivory or sheer pink base, then add a small orange pumpkin to one nail and a white ghost to the next. Use a fine brush for the shapes, a little green polish for pumpkin stems, and tiny black dots for the ghost faces. Allow each design to dry before applying a glossy top coat.
For a balanced result, keep the illustrations near the center of each nail and leave plenty of open base color around them. If your nails are short, decorate only a few fingers and use solid orange or white polish on the rest. A matte top coat gives the artwork a soft finish, while glossy polish makes the colors look crisp. Repeat the same pattern on both hands or mix the placement for a relaxed feel.
Ghostly French Tip Nails
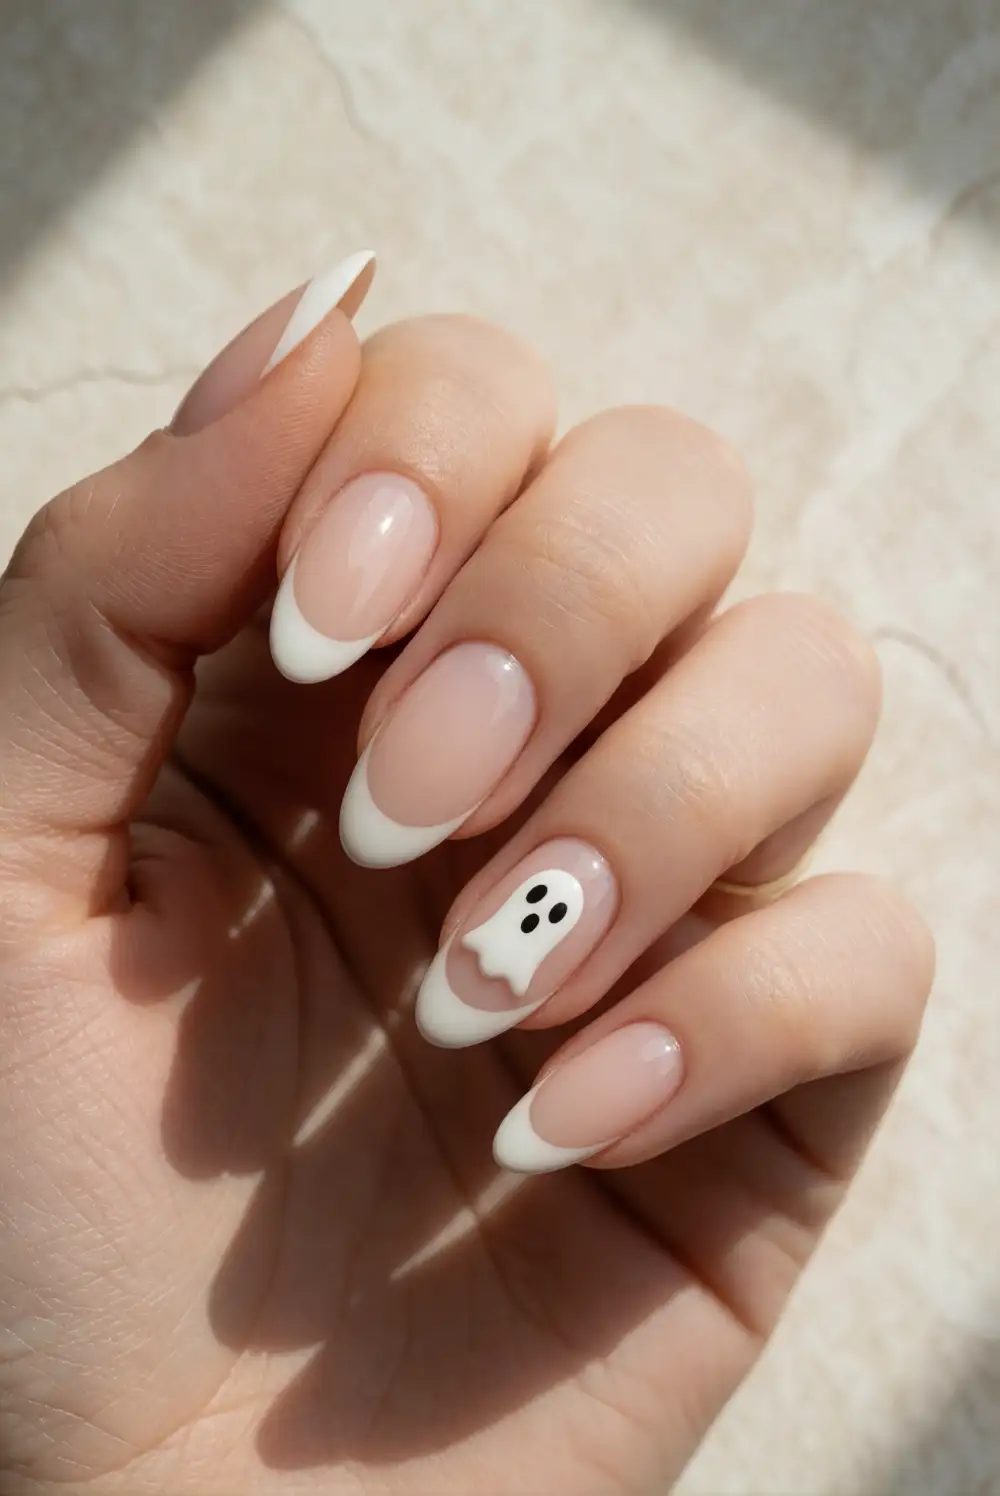
Refresh a classic French manicure with a soft, rounded white tip and a miniature ghost on an accent nail. Apply a sheer blush or nude base, then shape each white tip with a fine brush, following the natural curve of the nail. On one or two nails, paint a small ghost just above the tip and add tiny eyes after the white polish dries. Finish with a glossy clear coat to smooth the design.
Keep the French edges slim for a subtle everyday manicure, or make them wider for a more playful seasonal effect. A pale lavender base or creamy pink shade adds a gentle color twist without competing with the ghost. For shorter nails, use a narrow tip and place the ghost near one side, leaving room around the artwork. The design pairs nicely with simple rings and cozy autumn outfits.
Mini Pumpkin Patch Checkerboard Nails
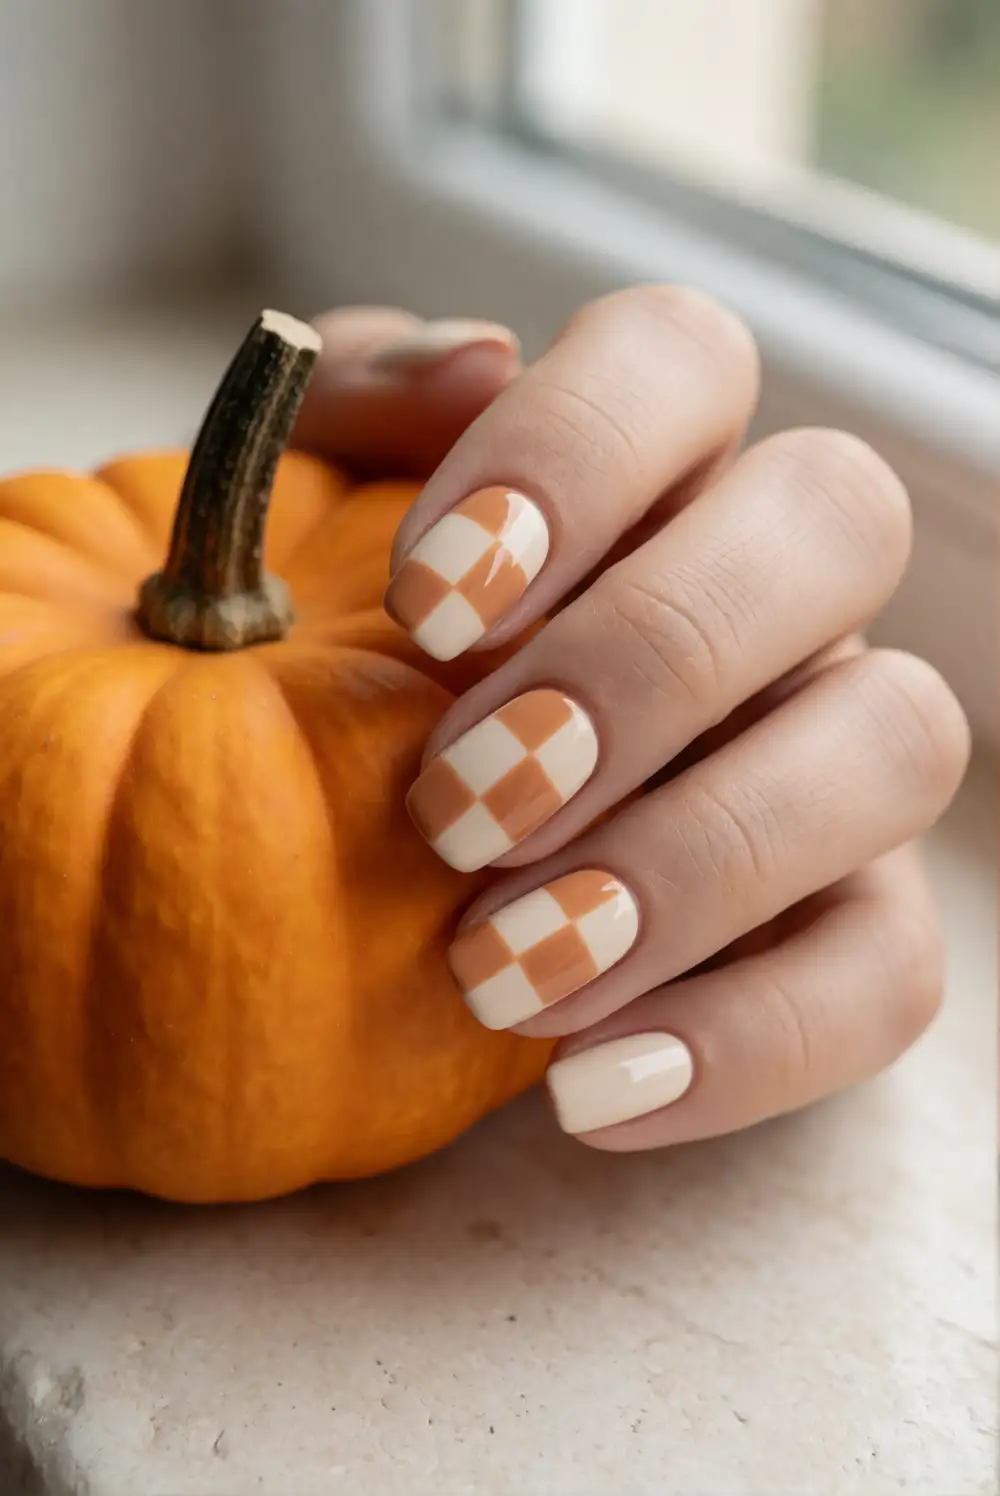
Combine tiny pumpkins with a simple checkerboard accent for a manicure inspired by a cheerful autumn patch. Paint most nails a light cream, then use a detail brush to create a small checkerboard on one accent nail with alternating cream and muted orange squares. Add a miniature pumpkin to a neighboring nail using orange polish and a little green stem. Let each section dry before sealing the design with a smooth top coat.
Choose soft terracotta and ivory for a subdued palette, or use brighter orange against crisp white for stronger contrast. Keep the checkerboard limited to one nail so the small squares do not overwhelm the pumpkin art. If hand-painting squares is difficult, use short brush strokes and work slowly from the center outward. This look is especially cute with rounded nail shapes and a glossy finish.
Negative-Space Pumpkin Nails
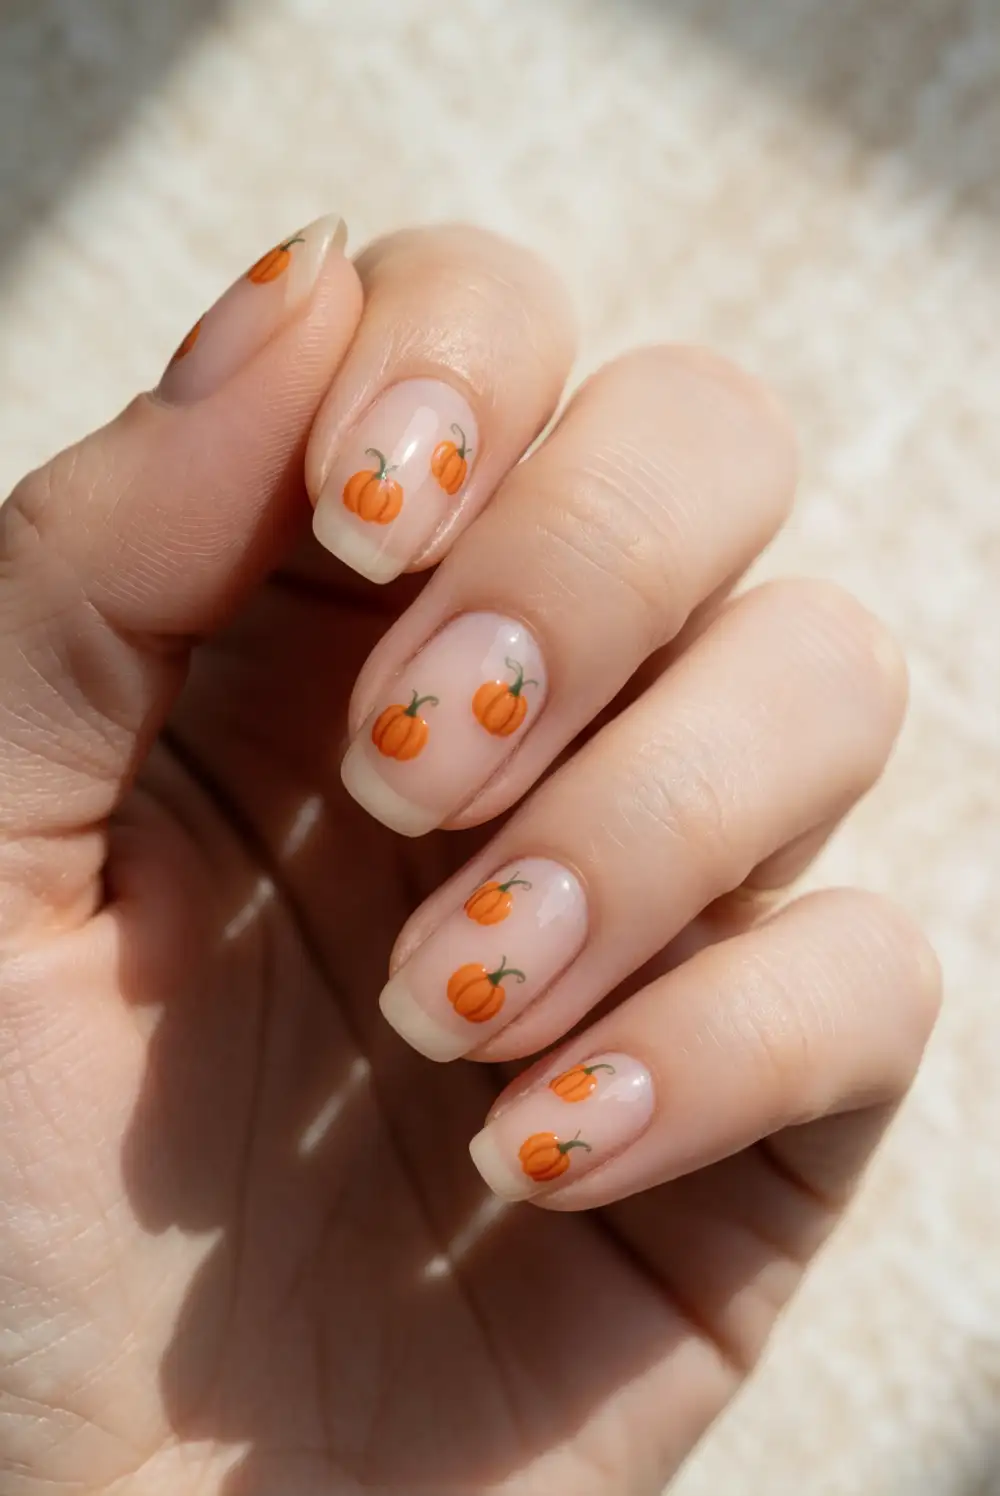
Let a natural-looking base become part of the design with tiny pumpkins painted over a sheer nude or clear polish. After applying the base coat, paint two or three small orange ovals on selected nails, leaving generous open space around each shape. Add short green stems and delicate curved lines with a fine brush. Once the artwork is dry, apply a clear top coat to protect the design while keeping the manicure light and airy.
Place the pumpkins near the cuticle, along one side, or just above the nail tip to vary the look without adding more colors. A milky pink base softens the contrast, while a transparent base gives the manicure a minimal feel. Keep the shapes small enough to preserve the negative space, especially on shorter nails. This design grows out gracefully because the natural-looking base blends easily with the nail.
Ghost Confetti Nail Art
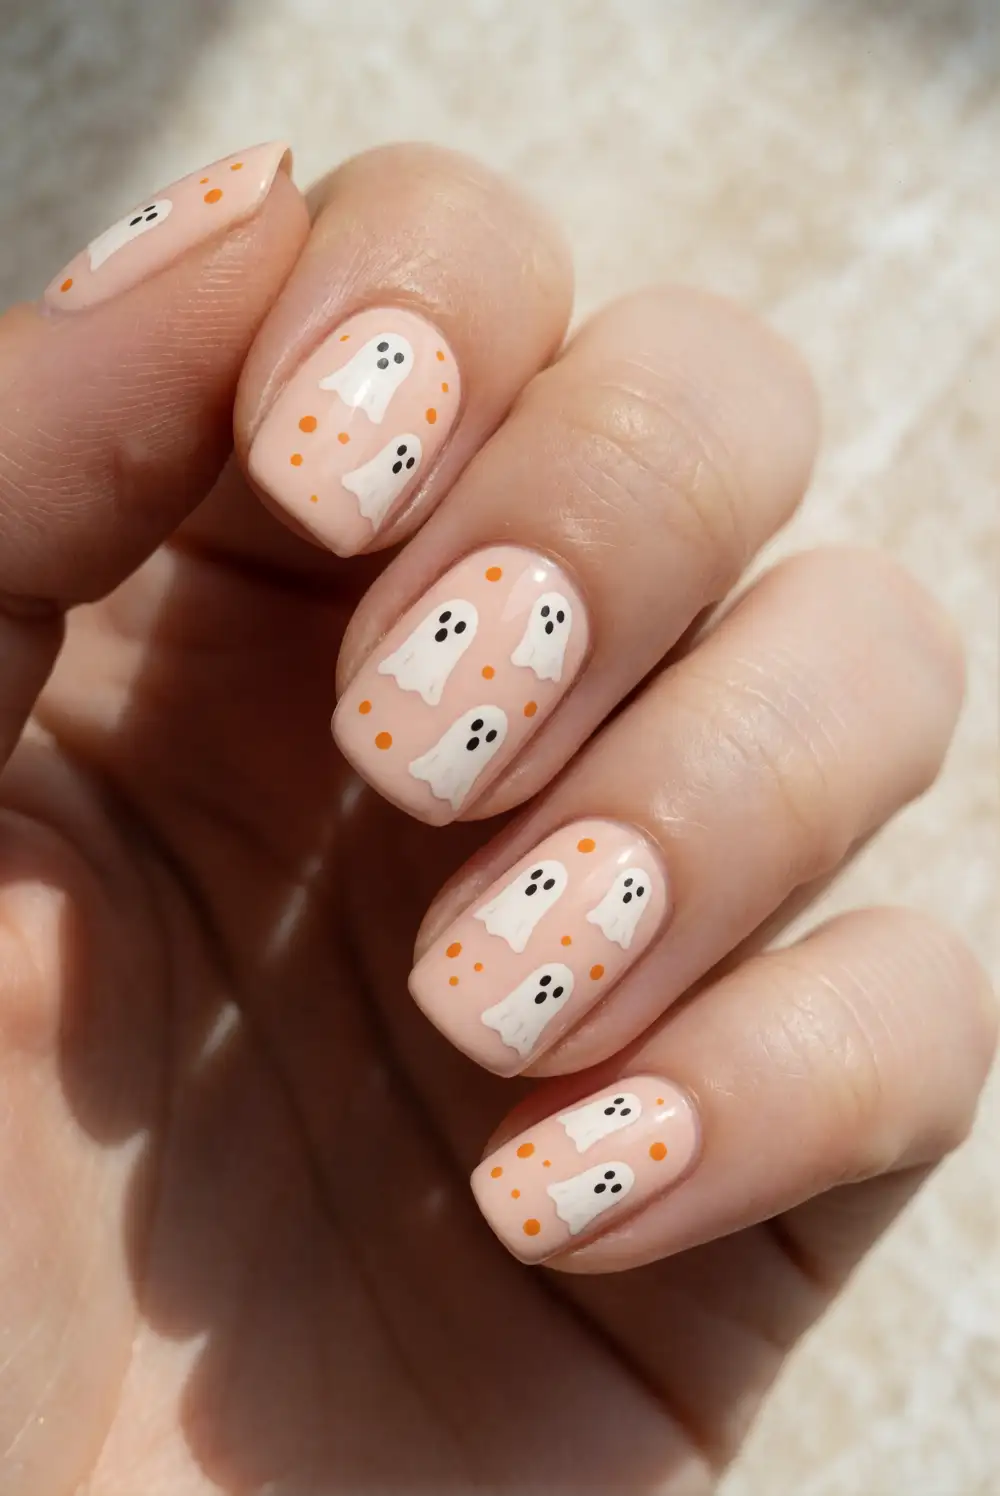
Create a scattered Halloween manicure with tiny ghosts and simple dots placed over a pale base. Paint the nails a soft peach, cream, or blush shade, then add small white ghost silhouettes to a few nails with a fine brush. Fill open spaces with tiny orange dots and delicate curved marks, keeping the artwork sparse. Add the ghost eyes with a detail brush only after the white polish has dried, then finish with a glossy top coat.
Vary the placement so the little figures look like they are drifting across the manicure rather than lined up in a row. A sheer base keeps the design delicate, while a solid pastel shade makes the white ghosts stand out. Use fewer details on short nails and reserve the scattered pattern for one or two accent nails if you prefer a more understated look. A quick-dry top coat helps protect the small details.
Muted Terracotta Pumpkin Nails
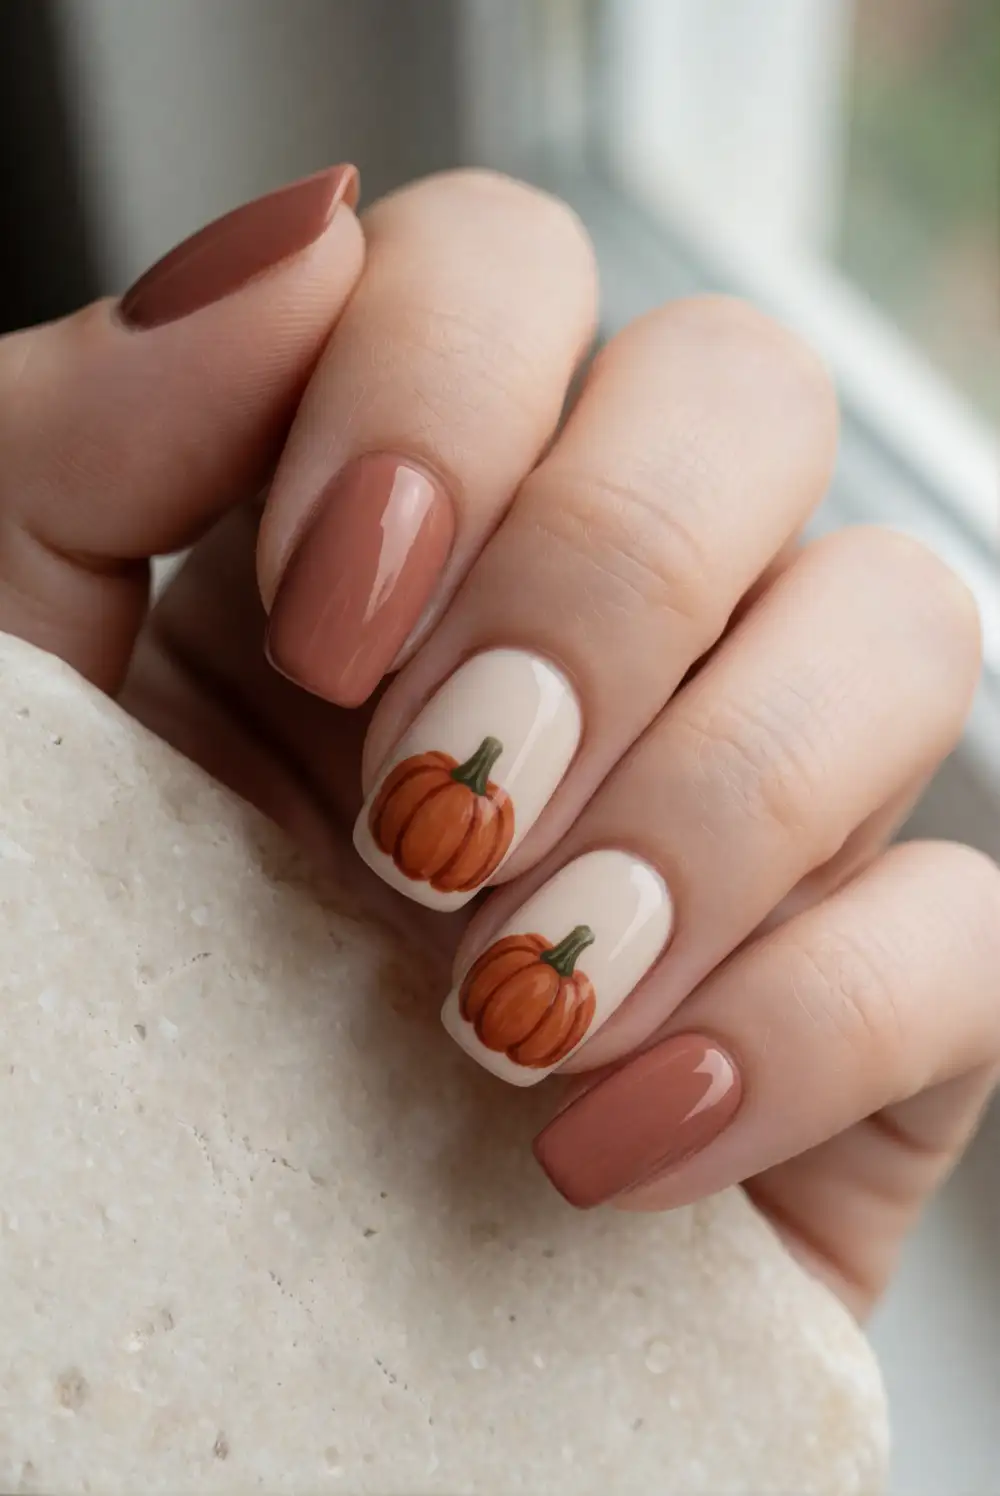
Choose a grown-up autumn palette by pairing muted terracotta polish with tiny cream pumpkins. Paint most nails in a soft terracotta shade, then use a creamy base on one or two accent nails. Add a small orange or rust-colored pumpkin to each pale accent, finishing it with a short green stem and subtle curved ridges. Let the artwork dry completely before applying a clear top coat for an even, polished finish.
For a softer contrast, use dusty rose or warm beige instead of a bright base color. A matte top coat can make the terracotta feel velvety, while a glossy finish brings out the pumpkin details. Keep the illustrations small and place them near the center of the accent nails. This color combination works well for a manicure that feels seasonal without relying on high-contrast Halloween shades.
Short Nail Pumpkin and Ghost Art
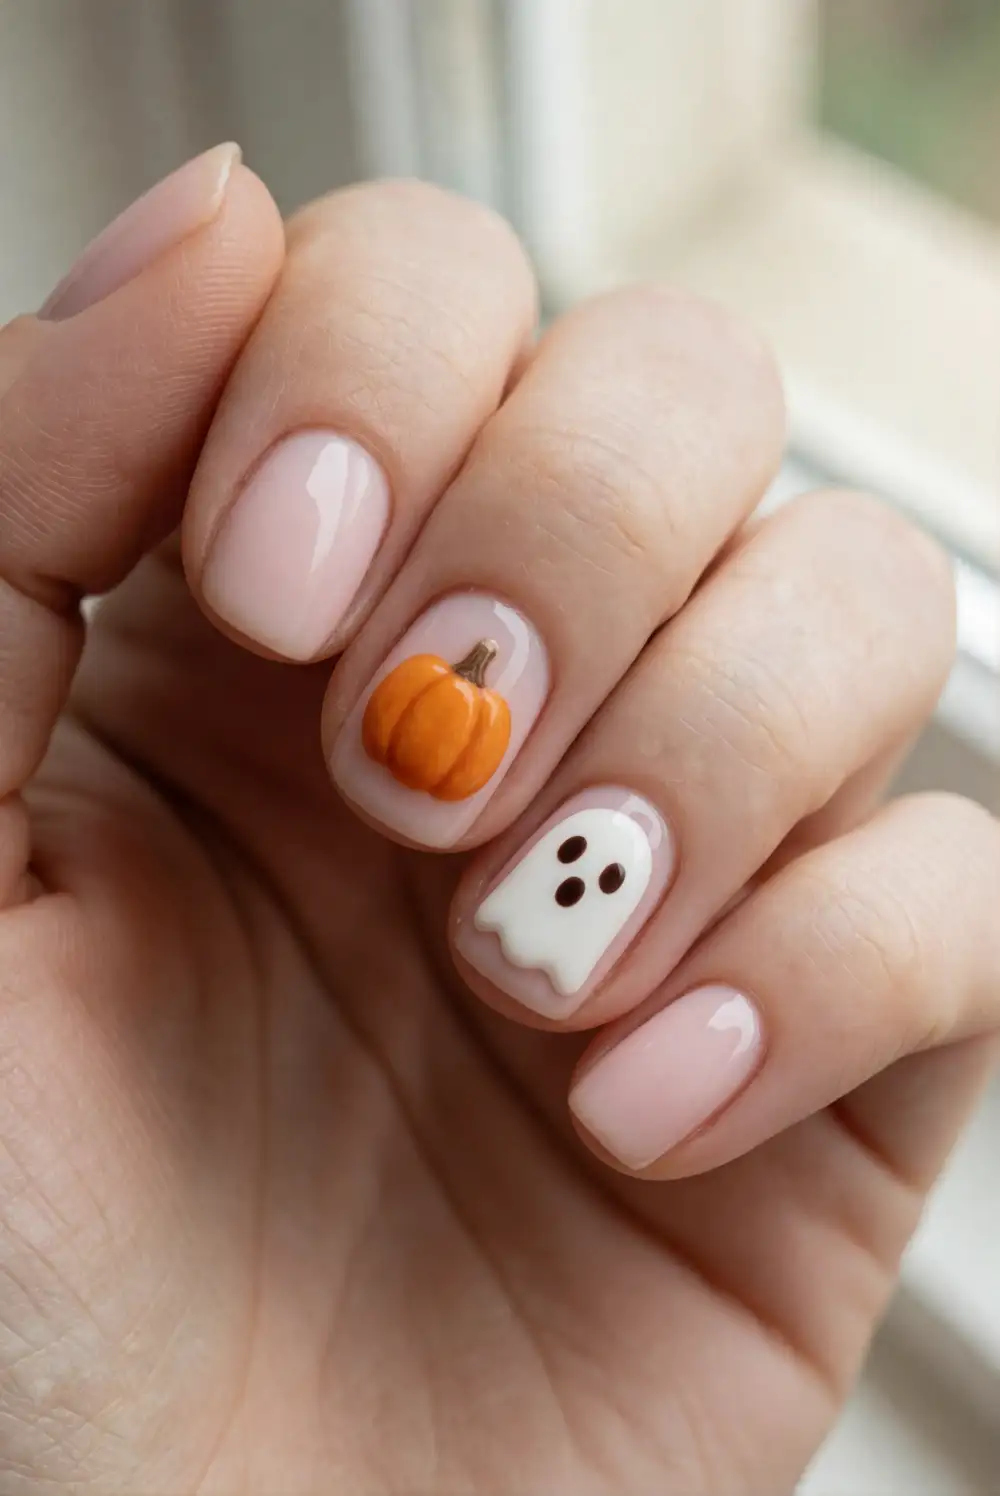
Make tiny pumpkins and friendly ghosts work on short nails by simplifying the shapes. Apply a smooth cream or pale pink base, then paint one miniature pumpkin or ghost on each selected accent nail. Use a small brush for the main silhouettes and a fine detail brush for green stems or tiny eyes. Leave the remaining nails in a matching solid shade, and apply a glossy top coat once all of the artwork has dried.
Small designs look clearest when they are placed in the center of the nail and surrounded by open space. Choose just one figure per accent nail rather than adding extra scenery or dense patterns. A sheer base helps the manicure feel light, while warm orange polish ties the design together. If your nails are very short, use a dotting tool or the tip of a fine brush to make the pumpkin shapes compact and tidy.
Glossy Pumpkin and Ghost Accent Nails
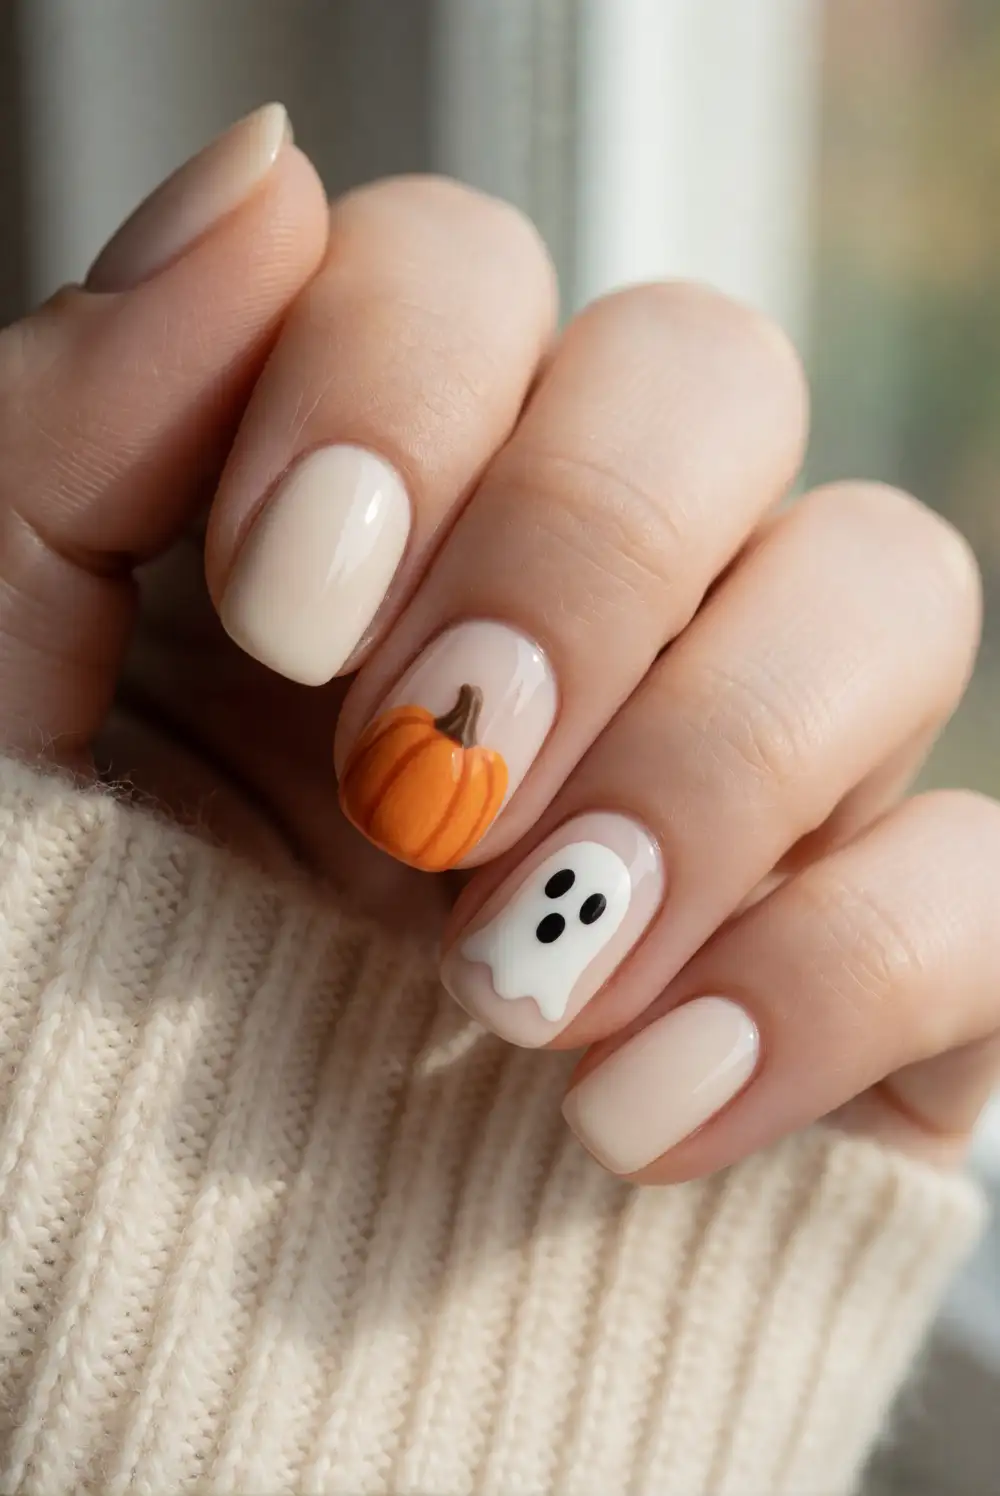
Bring pumpkins and ghosts together in a polished accent manicure with a glossy, coordinated finish. Paint the nails in a neutral cream or pale peach, then decorate one accent nail with a small orange pumpkin and another with a rounded white ghost. Add a tiny green stem and simple dark eyes with a fine brush. Once every design is dry, apply a generous clear top coat, brushing gently over the art to keep its edges smooth.
Use the same base color across both hands to make the different illustrations feel connected. For extra warmth, choose a sheer peach polish; for a crisp look, use opaque ivory. Keep the designs small and let the glossy finish provide the visual shine rather than adding dense embellishments. This balanced manicure suits seasonal gatherings and everyday wear, and the accent placement makes touch-ups simpler than refreshing detailed art on every nail.
Tiny pumpkins and friendly ghosts make Halloween nails feel festive while staying easy to personalize. Choose a simple accent design, a playful French tip, or a mixed manicure, then adjust the colors and detail to suit your nail length and style.








