
Give your Halloween manicure an eerie glow with nail art that shines after dark and looks polished in daylight. These wearable designs range from easy neon French tips to detailed spiderwebs, moons, and playful ghosts. Try them with glow-in-the-dark polish, a few simple tools, and colors that suit your personal style.
Acid Green Glow French Tips
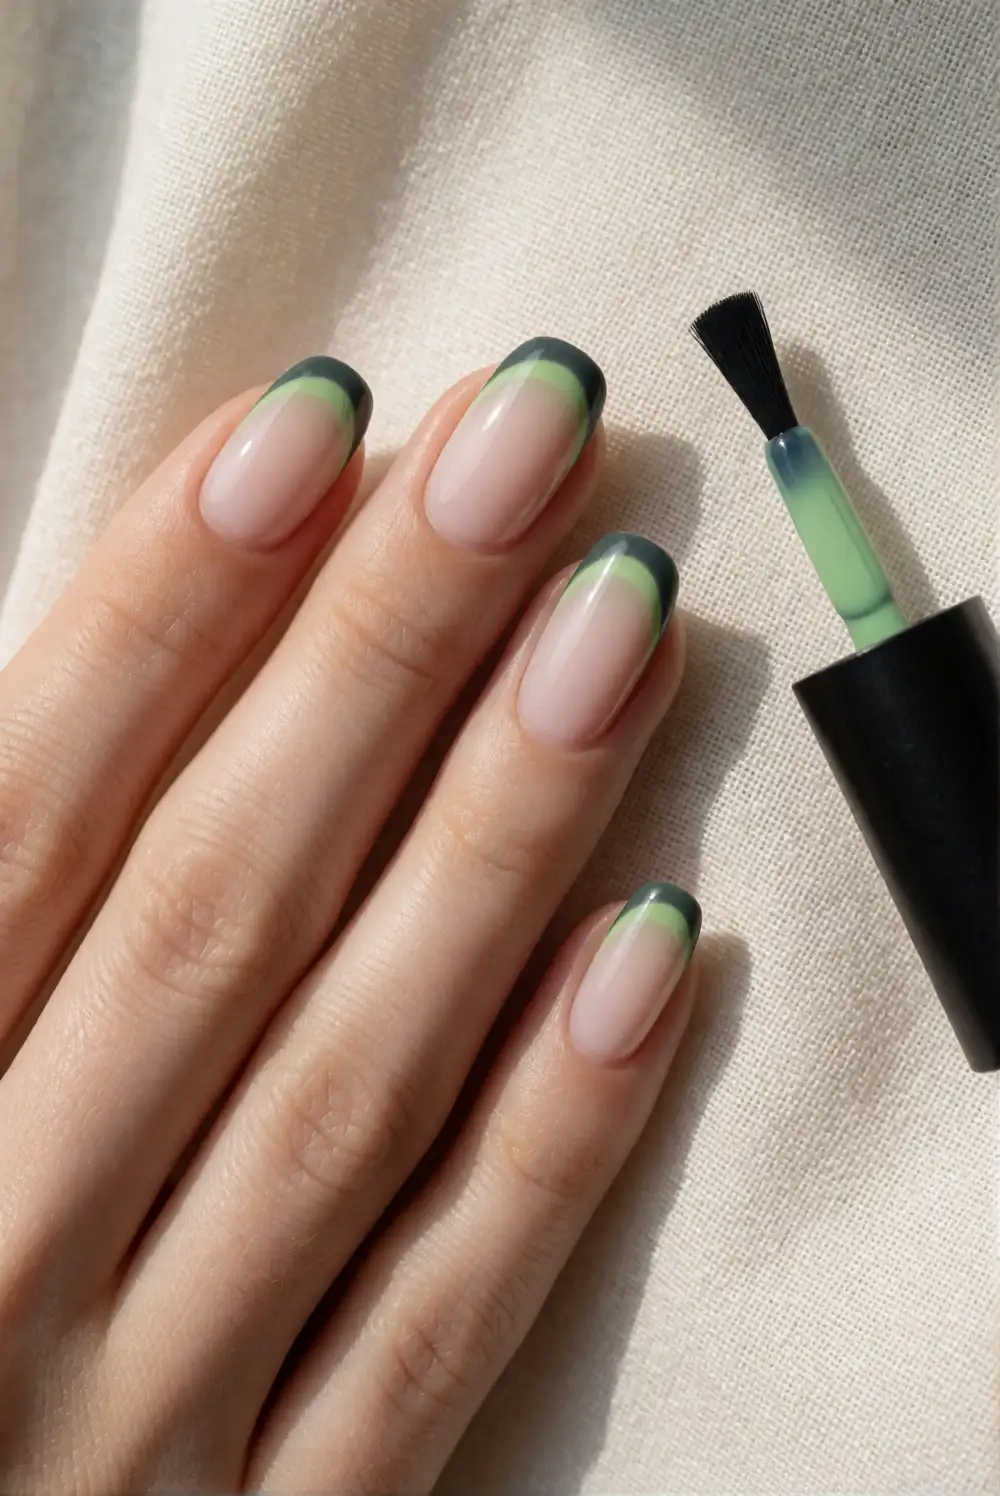
Paint each nail with a sheer milky base and let it dry completely. Use a fine nail-art brush to trace the tips with acid-green glow-in-the-dark polish, following the natural curve of each nail. For a crisp edge, place a French-tip guide over the dry base before applying the green. Finish with a clear top coat once the design is dry, keeping the green concentrated at the tips for a bright, clean finish.
Charge the glow polish under a bright lamp according to its product directions, then dim the lights to see the effect. A short, rounded nail shape makes this look especially wearable, while almond-shaped nails give the curved tips a more dramatic sweep. Try a charcoal base for extra contrast, or add a thin ivory outline between the base and green tip. Keep the rest of the manicure simple so the luminous edges stay the focal point.
Moonlit Skeleton Nail Accents
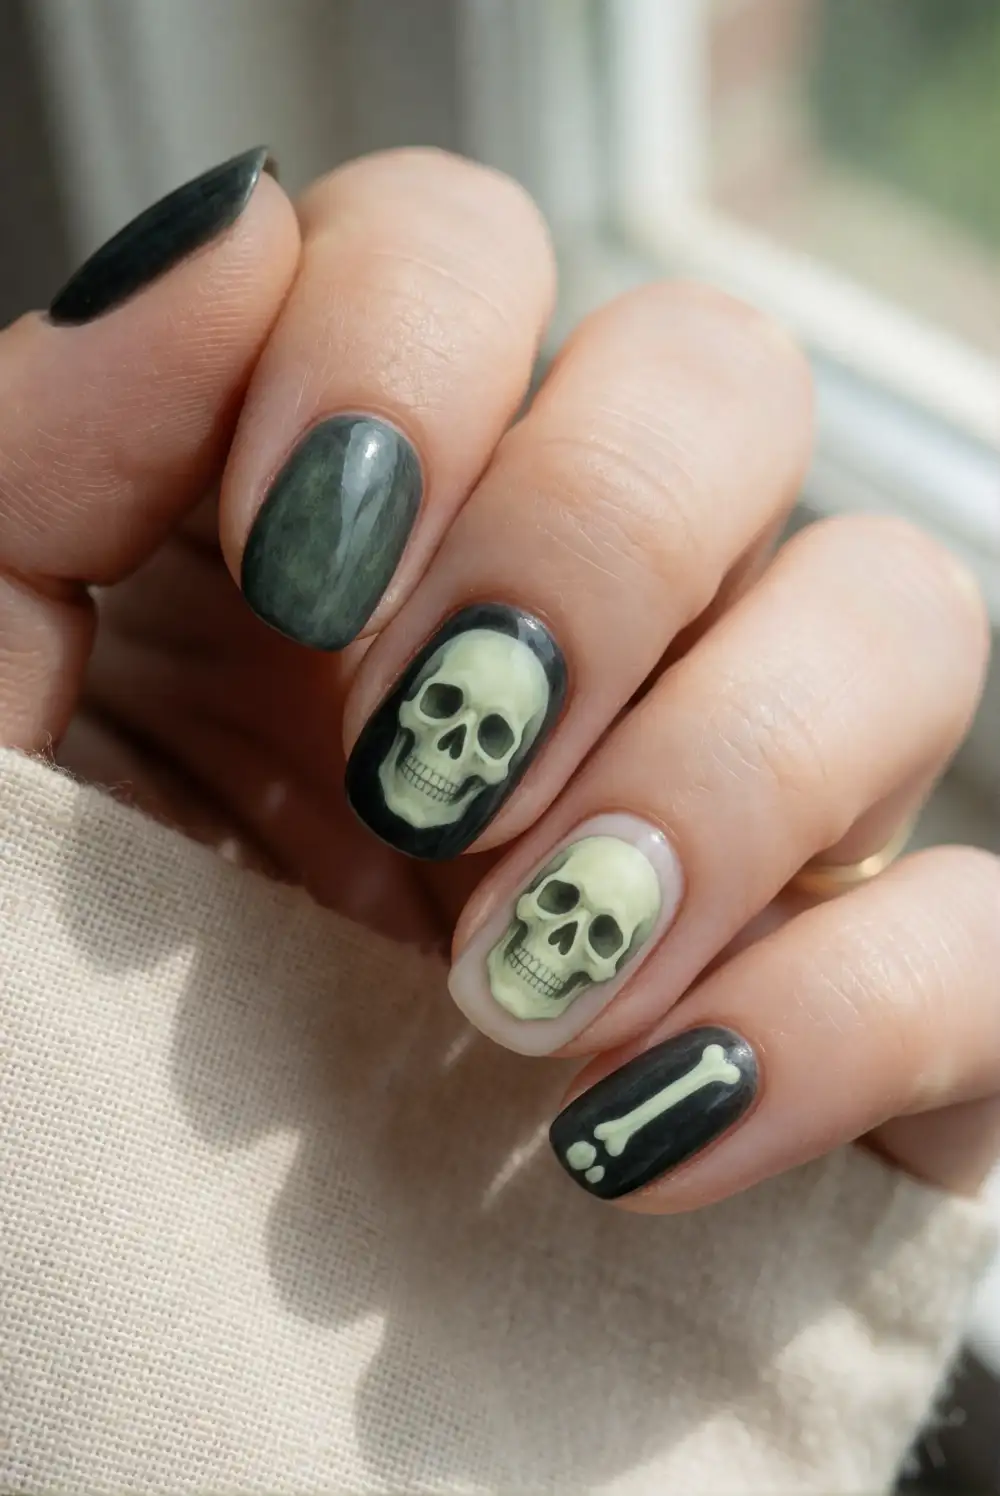
Apply a deep charcoal or midnight-black polish as the base and let it dry before adding a pale glow detail. On an accent nail, use a small nail-art brush to paint a simple skull shape near the tip, then add a narrow line down the nail with short bone-like strokes branching from it. Choose glow-in-the-dark ivory polish for the artwork and seal the finished design with clear top coat once every detail is dry.
Keep the skeleton graphic minimal so its shapes stay clear against the dark base. A skull accent on just one nail pairs easily with solid charcoal nails, while repeating small bone motifs creates a more coordinated look. If freehand painting feels tricky, use a fine detailing brush and build the artwork from simple dots and short strokes. Charge the glow polish before heading out, and use a glossy top coat to give the dark background extra depth.
Glow-in-the-Dark Drip Manicure
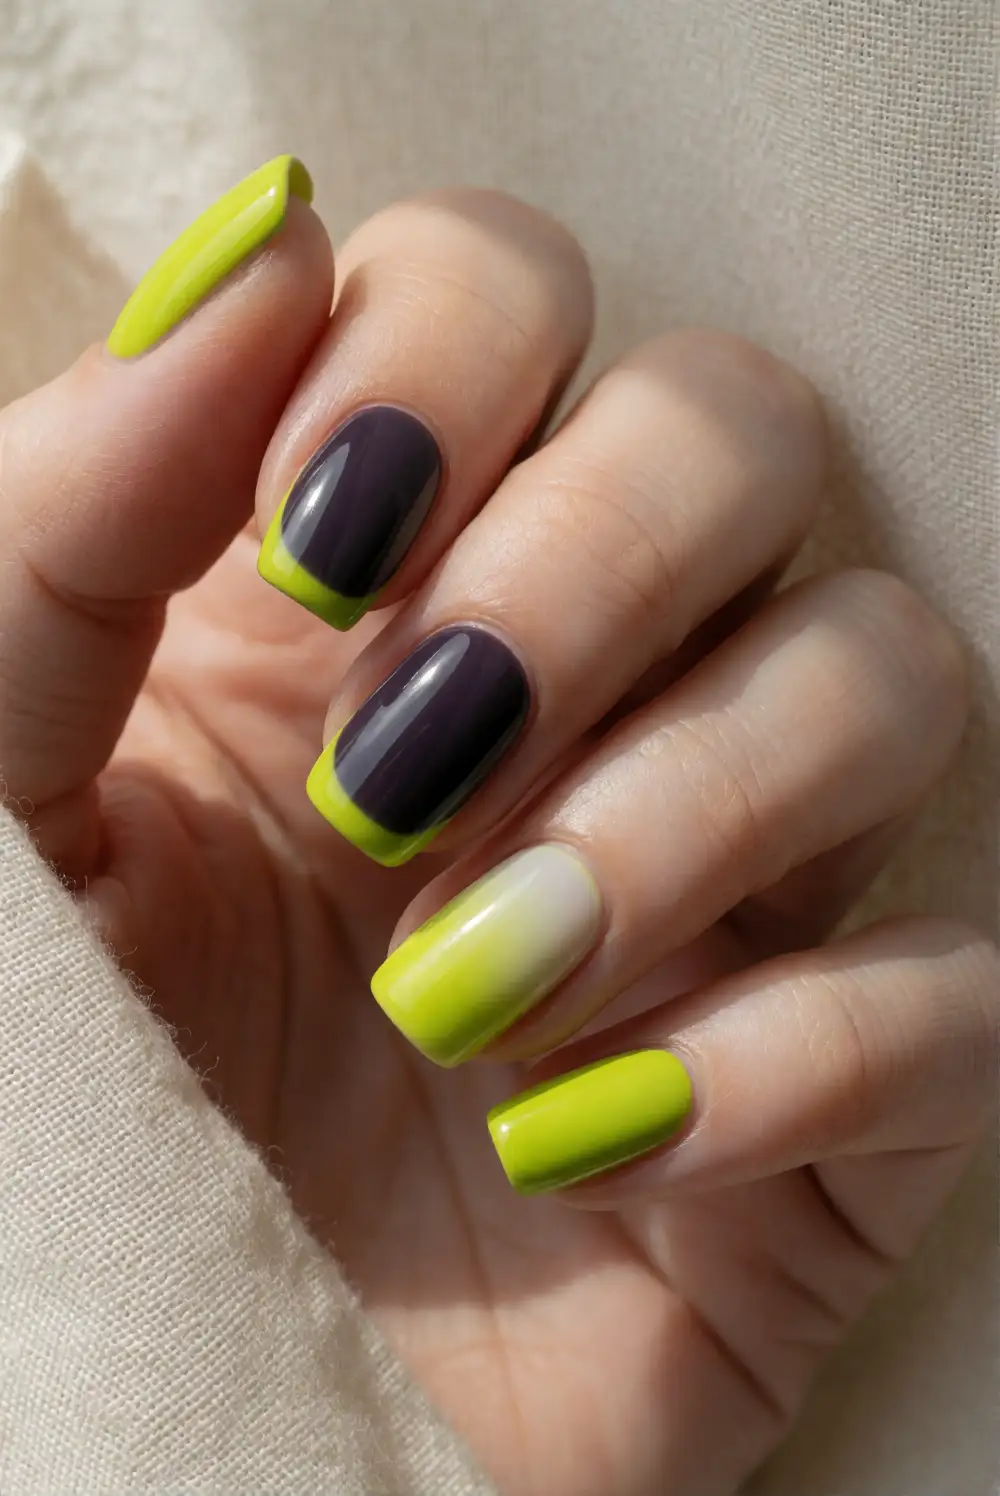
Start with a smooth black or deep plum base coat and allow it to dry thoroughly. Load a fine brush with bright glow-in-the-dark polish, then paint rounded drips from the nail tip toward the center, varying their lengths for a liquid, melting effect. Add a curved band of polish along the free edge to connect the drips, and finish with clear top coat after the design has dried. The contrast makes the luminous polish stand out in low light.
Keep the drips close to the tips for a neat manicure that leaves the rest of each nail dark and uncluttered. Acid green creates a classic Halloween contrast, while glowing orange or icy blue shifts the mood. Make the rounded ends with a dotting tool or the tip of a brush, then pull each drip upward with a light stroke. This design works well on short nails and looks especially striking when paired with simple dark rings or a black outfit.
Ghostly Negative Space Nails
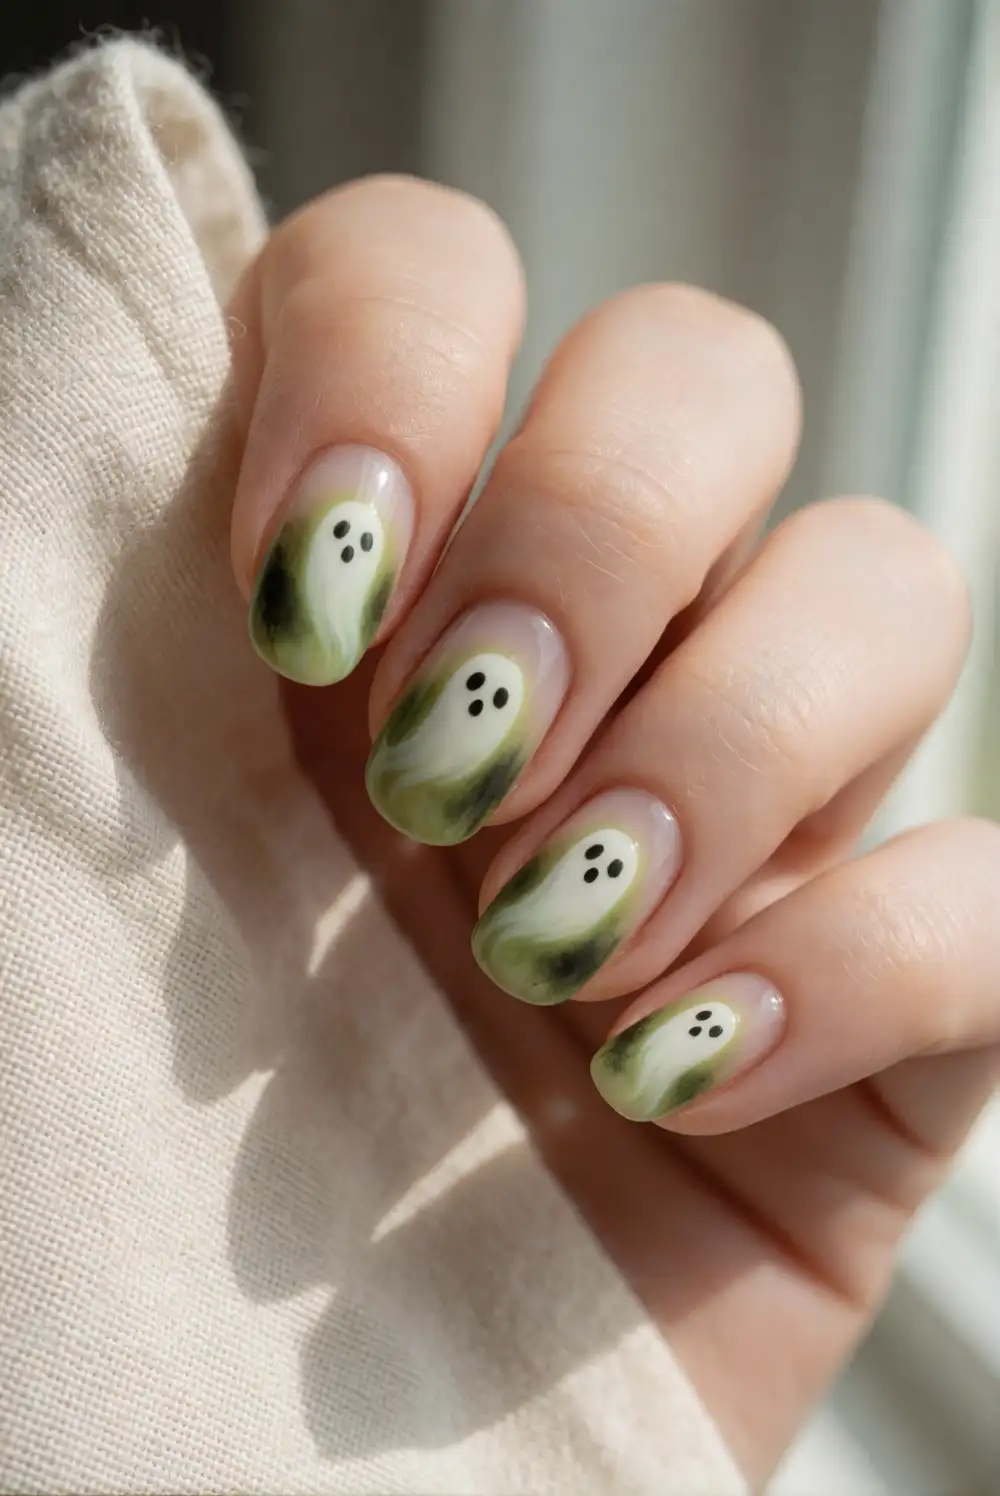
Apply a clear base coat and let it dry, leaving the natural nail visible around the artwork. With white glow-in-the-dark polish, paint a small rounded ghost on each accent nail by making a domed shape with a wavy lower edge. Add tiny dark eyes only after the white polish is completely dry, using a fine brush and charcoal polish. Leave the other nails clear or add a sheer milky coat, then seal the design with a glossy top coat.
Vary the ghost shapes slightly so the manicure feels playful rather than perfectly uniform, or place a single ghost on each ring finger for a quieter look. Keep the silhouettes bold and simple, since very fine details can disappear in the dark. A soft ivory glow gives the design a gentle vintage feel, while bright white reads crisp against bare nails. Charge the artwork before dimming the lights, and avoid covering the ghosts with opaque polish.
Neon Spiderweb Corner Nails
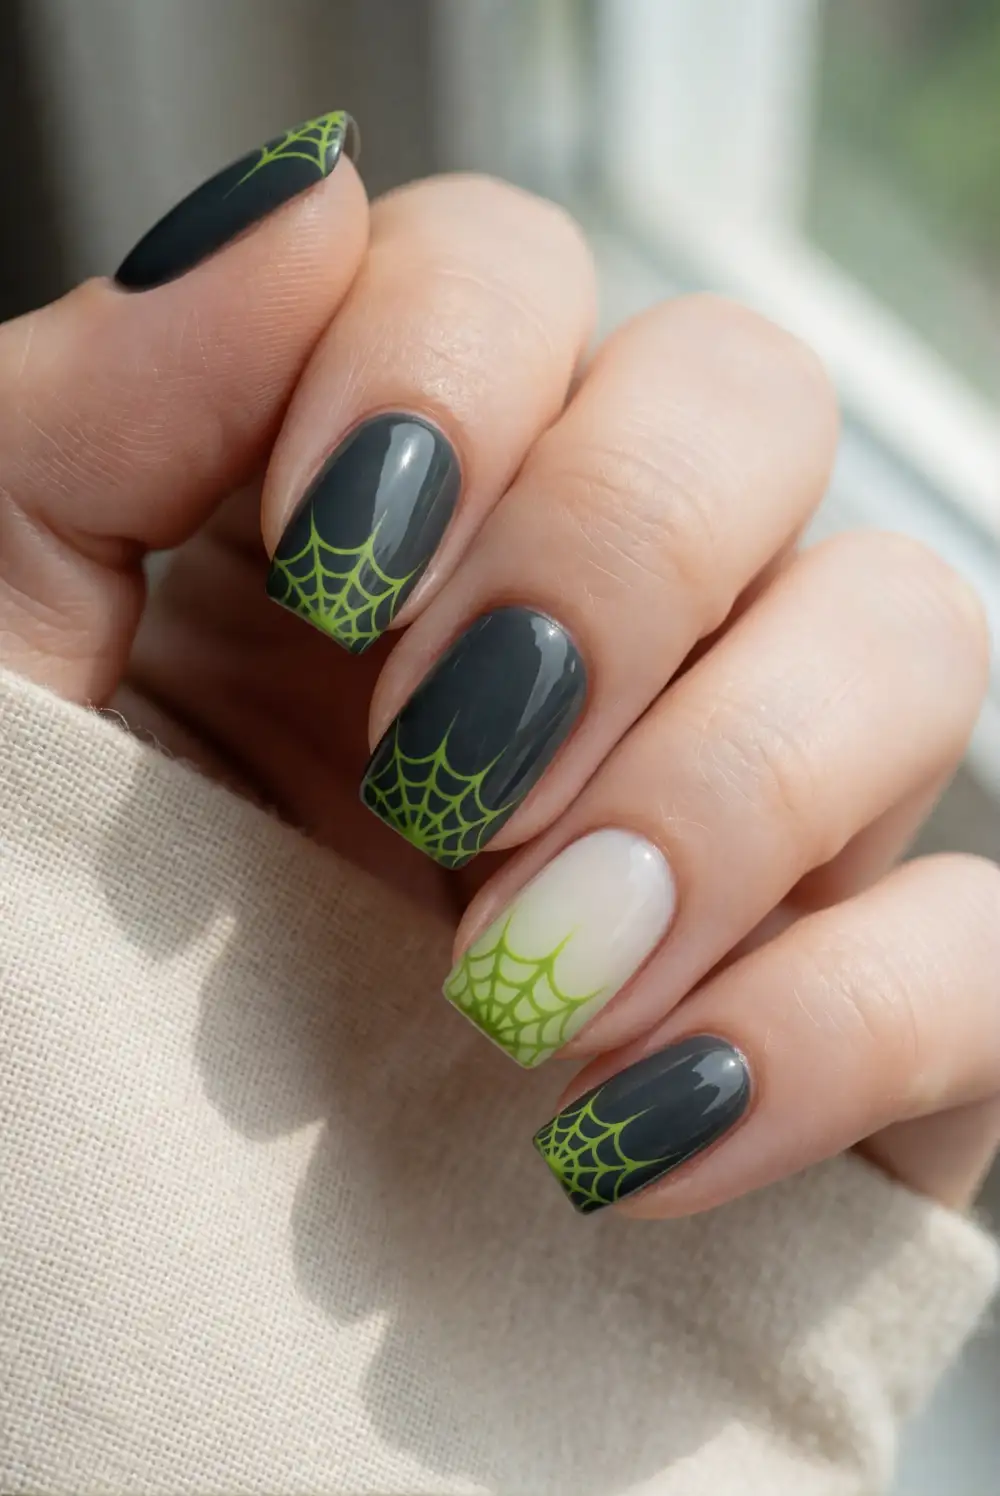
Coat the nails in a sheer nude or charcoal polish and let the base dry. Choose one corner of each accent nail and use a fine brush to draw three or four short lines radiating outward from it with glow-in-the-dark polish. Connect those lines with gently curved strokes to form a compact web. Keep the web near the edge rather than covering the whole nail, then add a clear top coat after the artwork is dry.
Acid green webs look vivid over black, while pale glow polish gives a softer effect on a natural base. Use the same corner placement across the manicure for a coordinated look, or reserve the webs for accent nails and leave the rest glossy and dark. A steady hand and a very fine brush help keep the lines delicate; if a stroke looks too heavy, refine its edge with base color once it dries. The design pairs well with a simple spider-free finish.
Haunted House Silhouette Nails
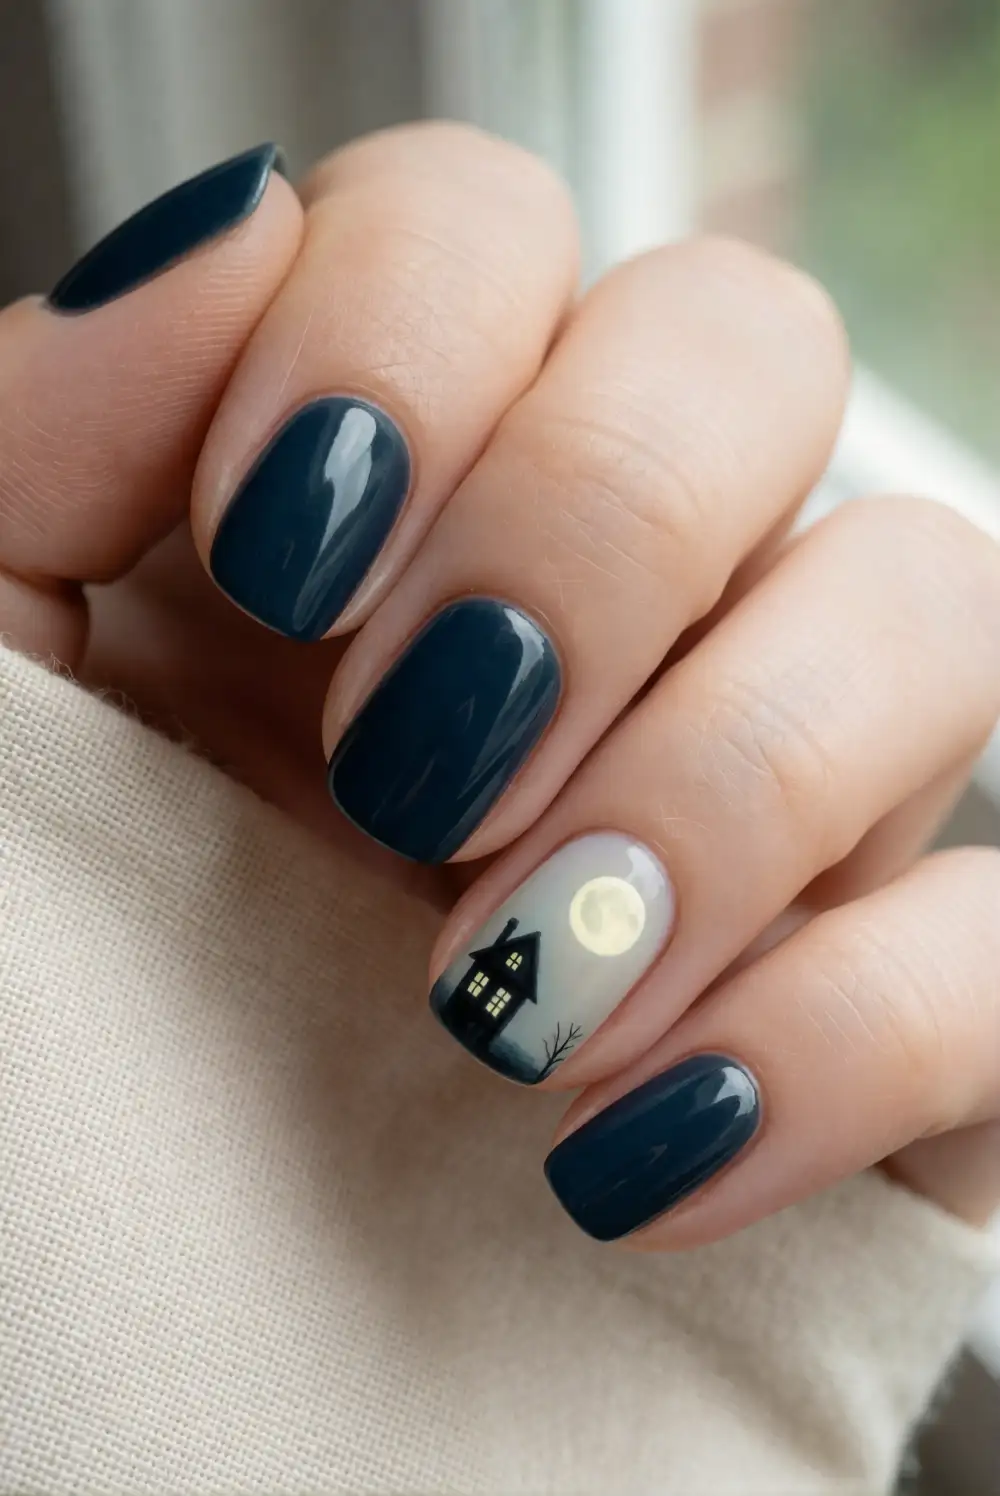
Paint a smoky violet or midnight-blue base and wait until it is fully dry. On an accent nail, use charcoal polish to create a small crooked house silhouette with a pointed roof, a narrow chimney, and a few simple windows. Add a thin band of glow-in-the-dark polish near the roofline or paint a luminous moon above it. Work with a fine nail-art brush, then seal the dry design with clear top coat for a smooth finish.
Keep the house graphic small enough to read clearly without crowding the nail. A glowing moon and a few tiny stars can suggest a night sky, while a plain dark background makes the silhouette feel graphic and modern. Use pale yellow glow polish for moonlight or acid green for a more dramatic accent. If detailed windows are difficult, leave them out and focus on the distinctive roof shape. The design looks balanced beside solid violet or charcoal nails.
Glowing Pumpkin Accent Nails
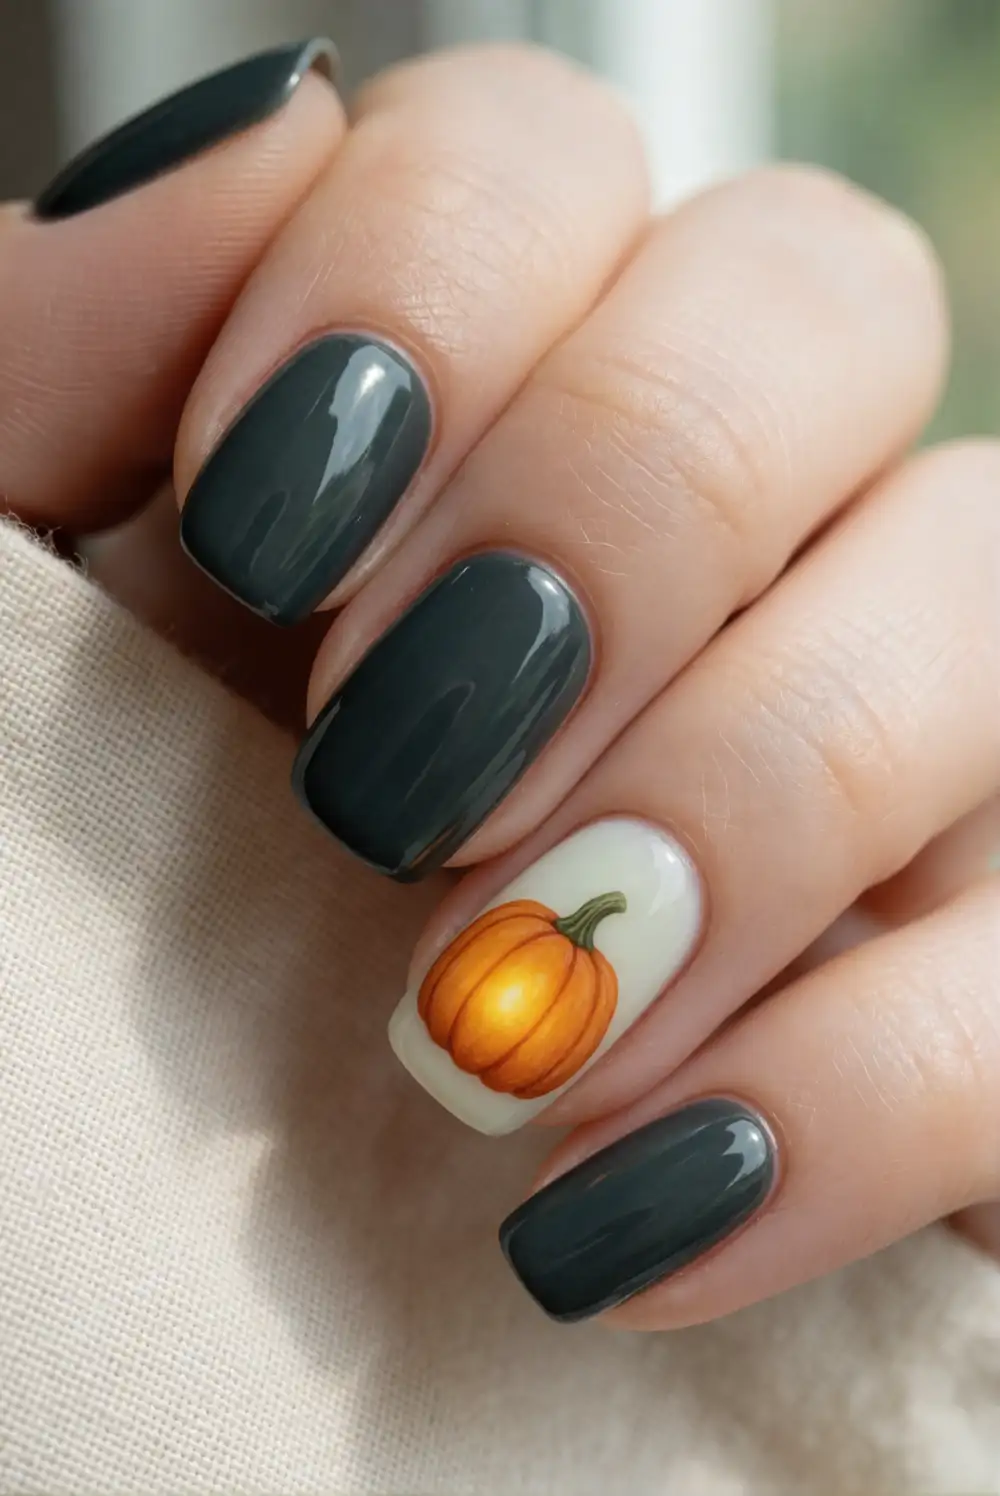
Begin with a dark plum or charcoal base and let it dry. On an accent nail, paint a small rounded pumpkin using orange glow-in-the-dark polish, then add curved vertical lines with a slightly darker orange once the first layer has set. Finish the pumpkin with a short green stem and allow every detail to dry before adding top coat. Keep the silhouette simple and centered so the orange glow remains bright against the darker polish.
For a more understated manicure, paint the pumpkin on just one nail and use a coordinating orange tip on another. A pale green stem adds contrast, while a charcoal outline can sharpen the shape if the design needs definition. Choose a sheer dark base when you want the natural nail to show through, or use opaque plum for a richer Halloween look. Charge the orange polish before evening plans and keep the remaining nails glossy to balance the accent artwork.
Glow-in-the-Dark Crescent Moon Nails
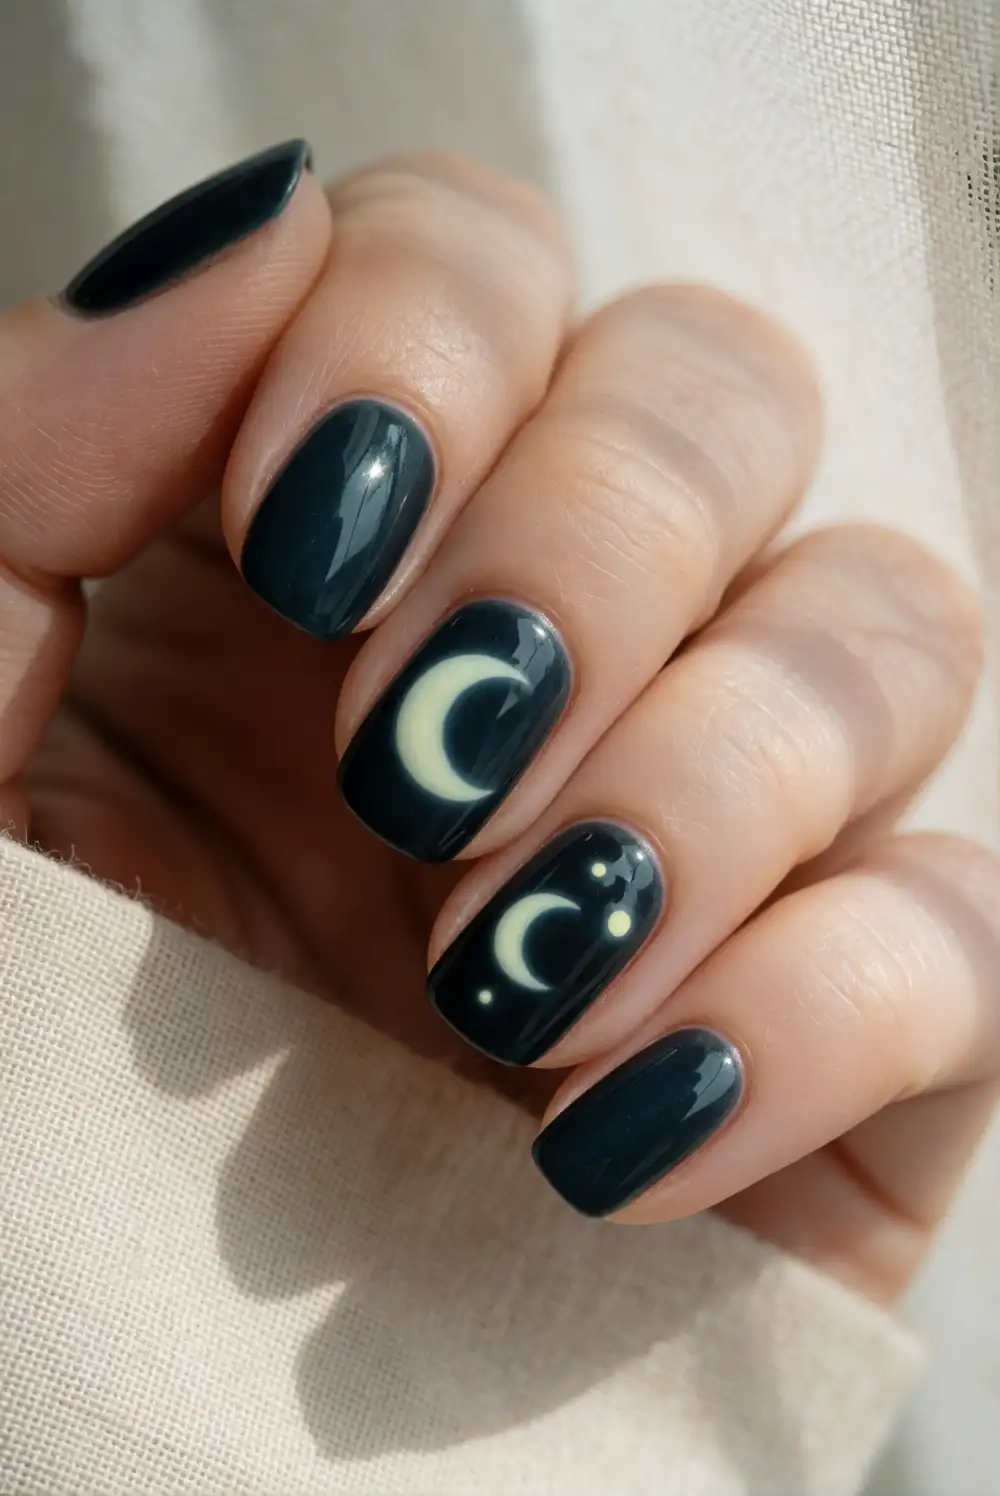
Apply a deep navy or black polish and let the surface dry completely. Use a small detail brush to paint a crescent moon near the cuticle or along one side of an accent nail with glow-in-the-dark ivory polish. To shape the curve, sketch a rounded crescent and refine its inner edge with the dark base color. Add a few tiny glow dots nearby if desired, then finish with a clear top coat once the artwork is dry.
Place the crescent in different positions across the nails for a celestial look, or repeat the same placement for a clean, coordinated manicure. A narrow moon keeps the design delicate; a wider crescent creates a bolder glow. Pale blue glow polish offers a cool-toned alternative to ivory, especially over navy. Keep added dots sparse so the moon remains the main feature, and give the polish a bright charge before viewing it in a dim room.
Neon Green Ombre Glow Nails
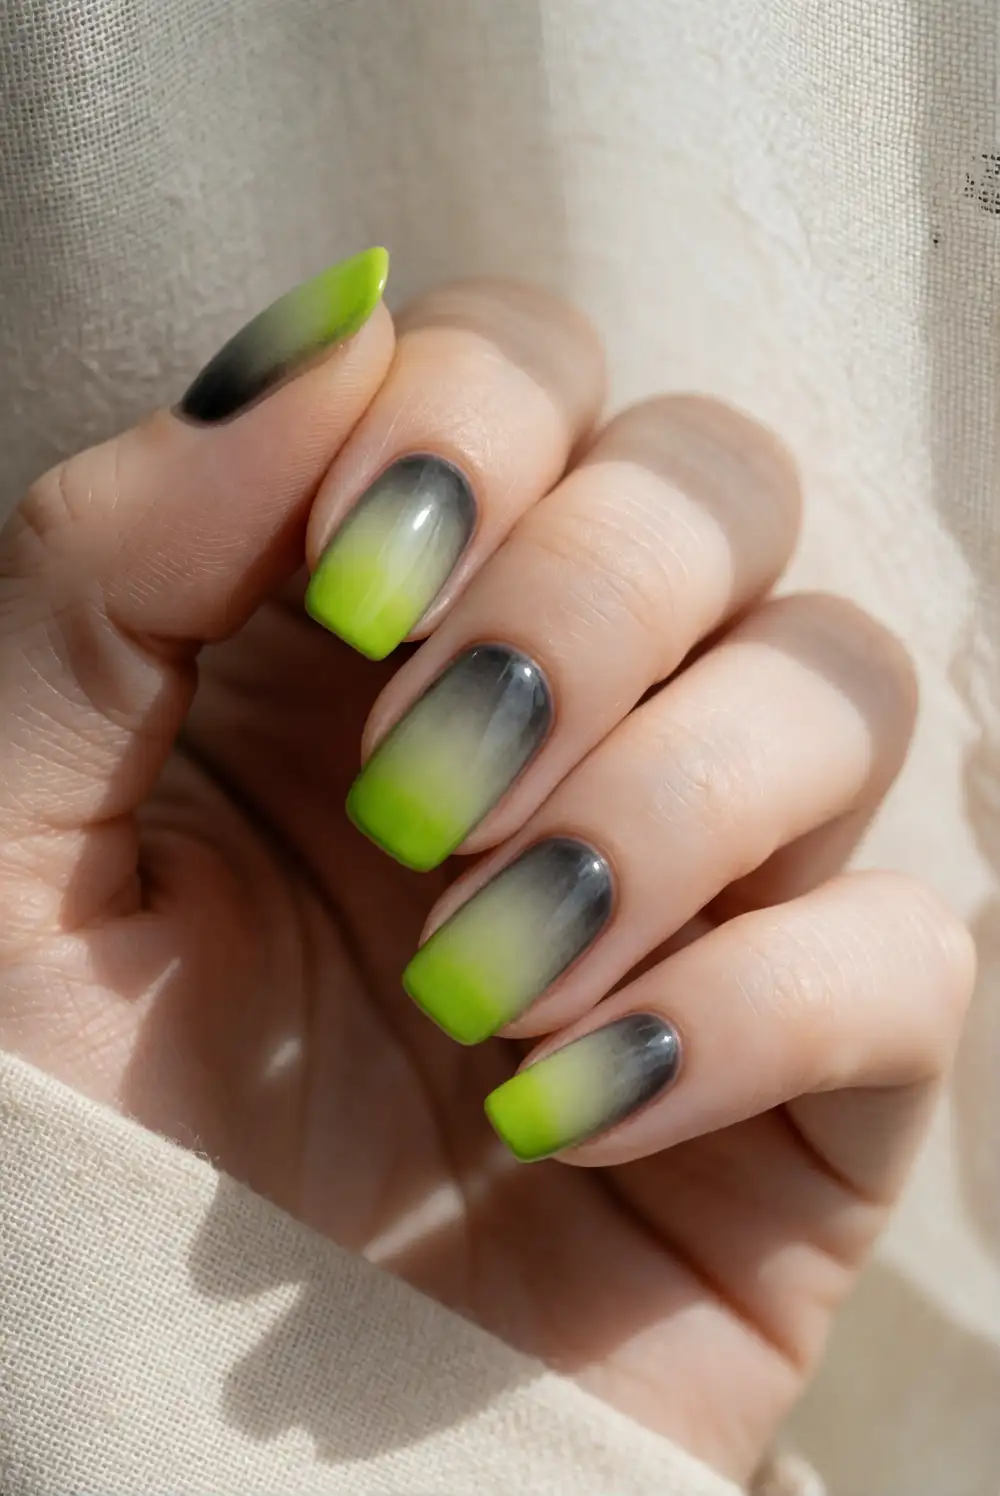
Paint the nails with a black or charcoal base coat and let it dry. Apply glow-in-the-dark green polish to a makeup sponge, then dab it lightly over the tips, blending toward the middle of each nail to create a soft fade. Repeat with thin layers, allowing each pass to dry so the gradient builds without becoming lumpy. Clean the skin around the nails with a small brush and remover, then seal the finished ombre with a glossy top coat.
Keep the green concentrated at the tips for a subtle fade, or carry it farther down the nails for a bolder neon effect. A sheer black base makes the transition softer, while opaque charcoal gives the green a sharper edge. Use a fresh section of sponge when the surface gets saturated, and dab gently rather than dragging to preserve the gradient. This manicure looks especially cohesive with a single solid green accent nail and a dark, minimal outfit.
Glowing Starry Night Nail Art
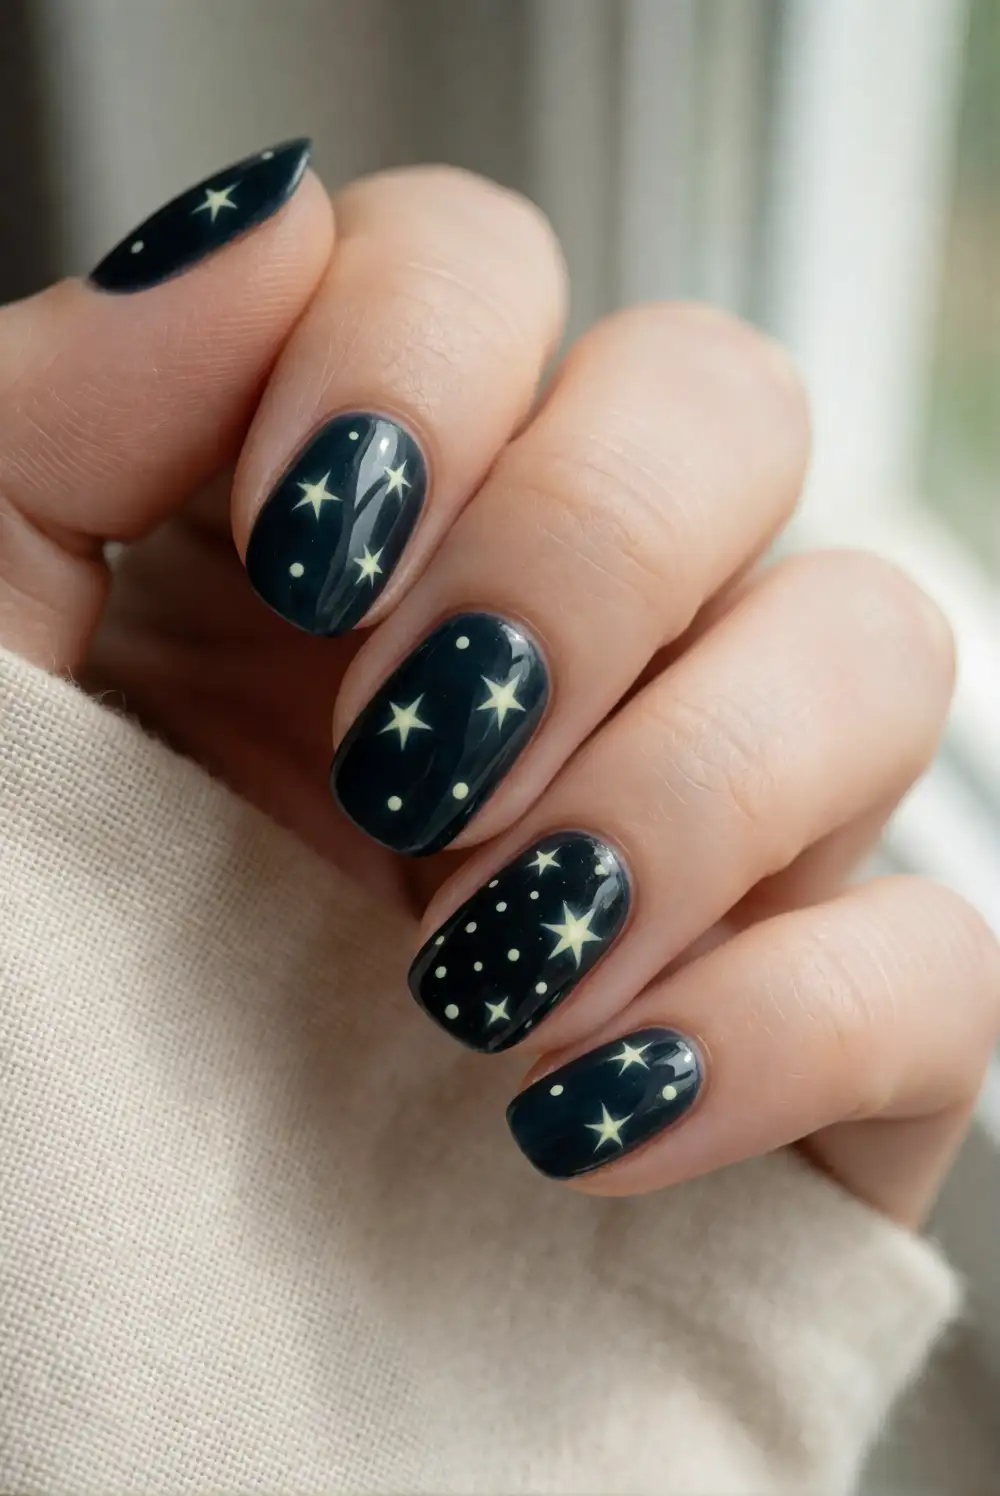
Start with a smooth midnight-blue base and wait for it to dry. Use a fine brush or the rounded end of a nail-art tool to place small stars and dots across an accent nail with glow-in-the-dark polish. Make a few stars with short crossing strokes, then add scattered dots of varying sizes to suggest a night sky. Let the design dry thoroughly before applying clear top coat, taking care not to drag the brush through the luminous details.
Leave some dark space between the stars so the design feels airy and each glowing mark remains distinct. A pale ivory glow gives the sky a classic look, while icy blue creates a cooler, more modern palette. Keep the pattern on one or two nails for an easy accent manicure, or spread a sparse constellation across every nail. Charge the polish before viewing the finished look in dim light, and pair it with solid navy nails for a polished overall effect.
With glow polish, a dark base, and a few simple nail-art tools, Halloween nails can feel playful, polished, and personal. Choose a design that suits your skill level, let each layer dry fully, and give the finished manicure a bright charge to bring its luminous details to life after dark.








