
Give your manicure a playful monochrome finish with ghost face nails in crisp black and white. These designs range from simple accent nails to graphic patterns, with practical ideas for creating each look and making the contrast stand out.
Classic Ghost Face Accent Nails
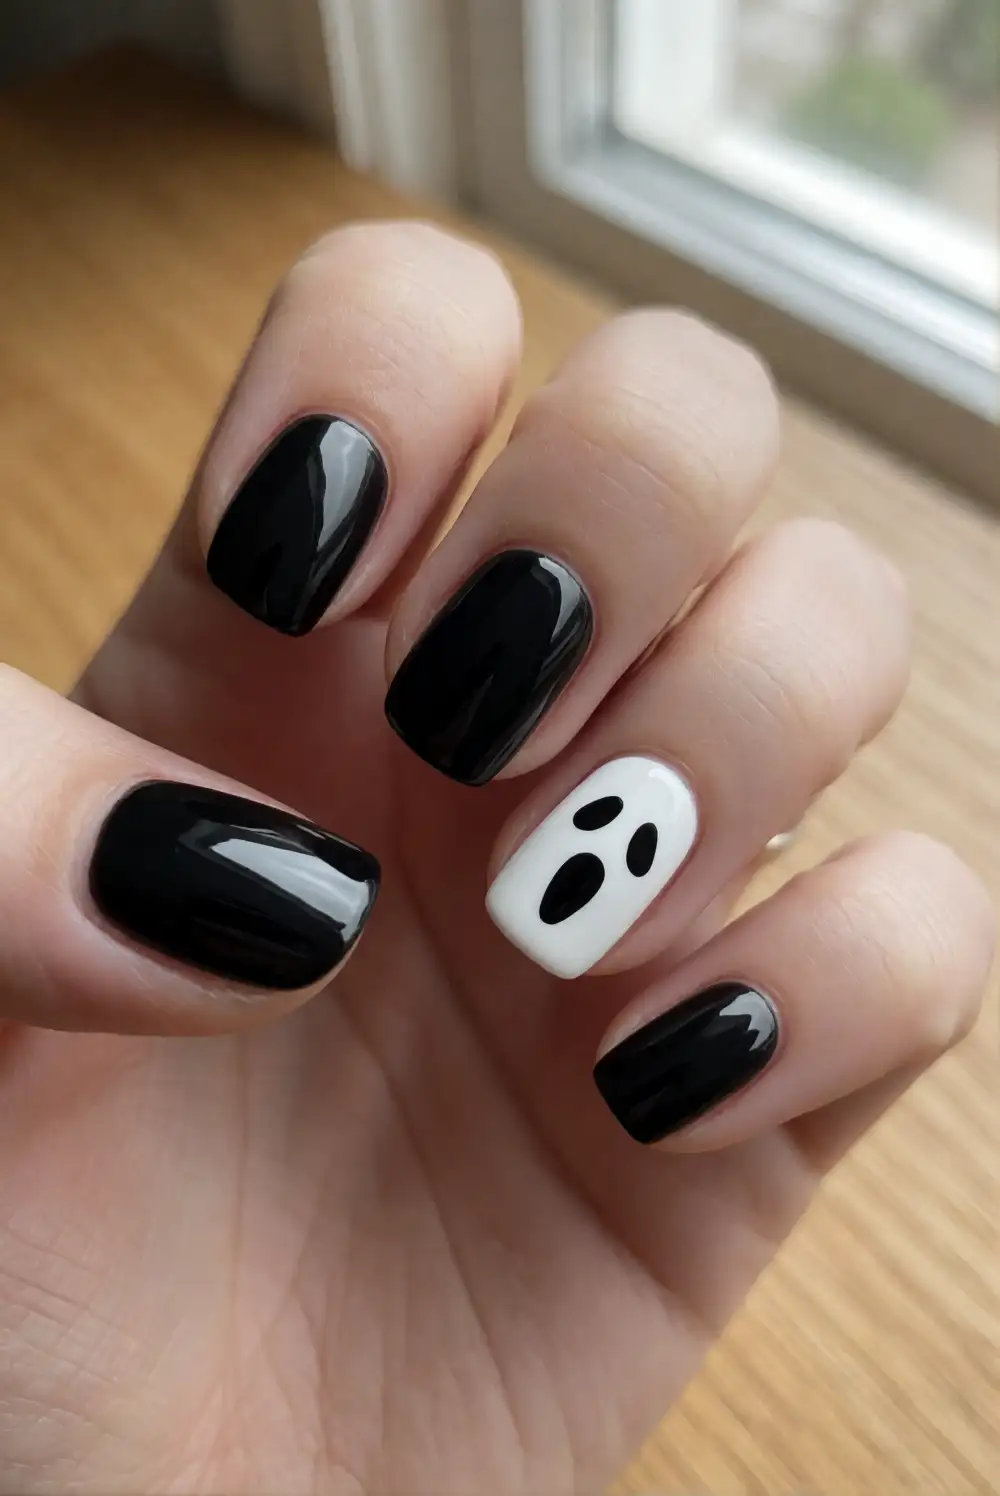
Paint most nails glossy black or white, then reserve an accent nail for a simple ghost face. Start with a white base on the accent nail and let it dry completely. Use a fine nail art brush and black polish to add two oval eyes and a small open mouth. Finish every nail with a clear top coat, taking care to cap the free edge so the manicure wears evenly.
Keep the ghost face centered and leave plenty of white space around it for a clean, graphic look. For a softer contrast, use a sheer milky base instead of opaque white. Place the accent on a ring finger or alternate it between hands, balancing the remaining nails in solid black and white. A glossy finish makes the design feel polished, while a matte top coat gives it a modern, velvety appearance.
Ghost Face French Tips
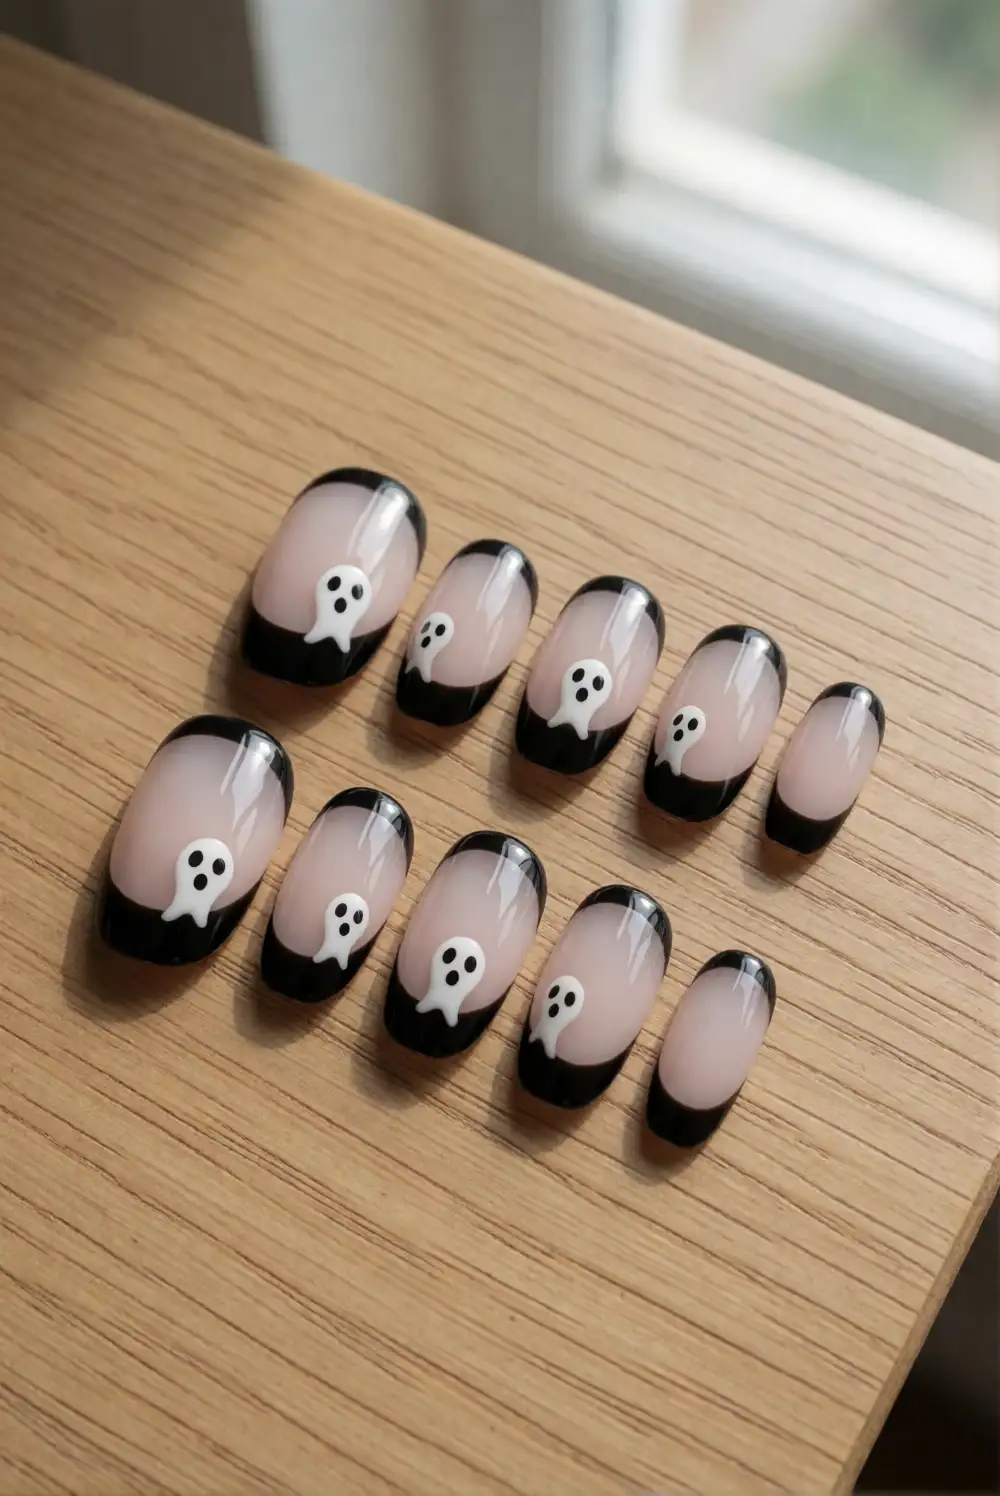
Turn a classic French manicure into a monochrome ghost design by painting each tip black over a sheer nude or pale pink base. Once the tips are dry, add tiny white ghost faces near the smile line using a dotting tool or fine brush. Keep the eyes and mouths small enough to fit neatly within the dark tip. Seal the finished nails with a clear top coat for a smooth, unified surface.
Short nails work especially well because the compact tip gives the faces a tidy frame. On longer nails, vary the face placement slightly so the design feels relaxed rather than overly uniform. If freehand French tips are tricky, use nail guides and remove them while the polish is still slightly tacky. Keep the base understated so the high-contrast tips remain the focus, or add a single plain black nail for a balanced accent.
Reverse French Ghost Faces
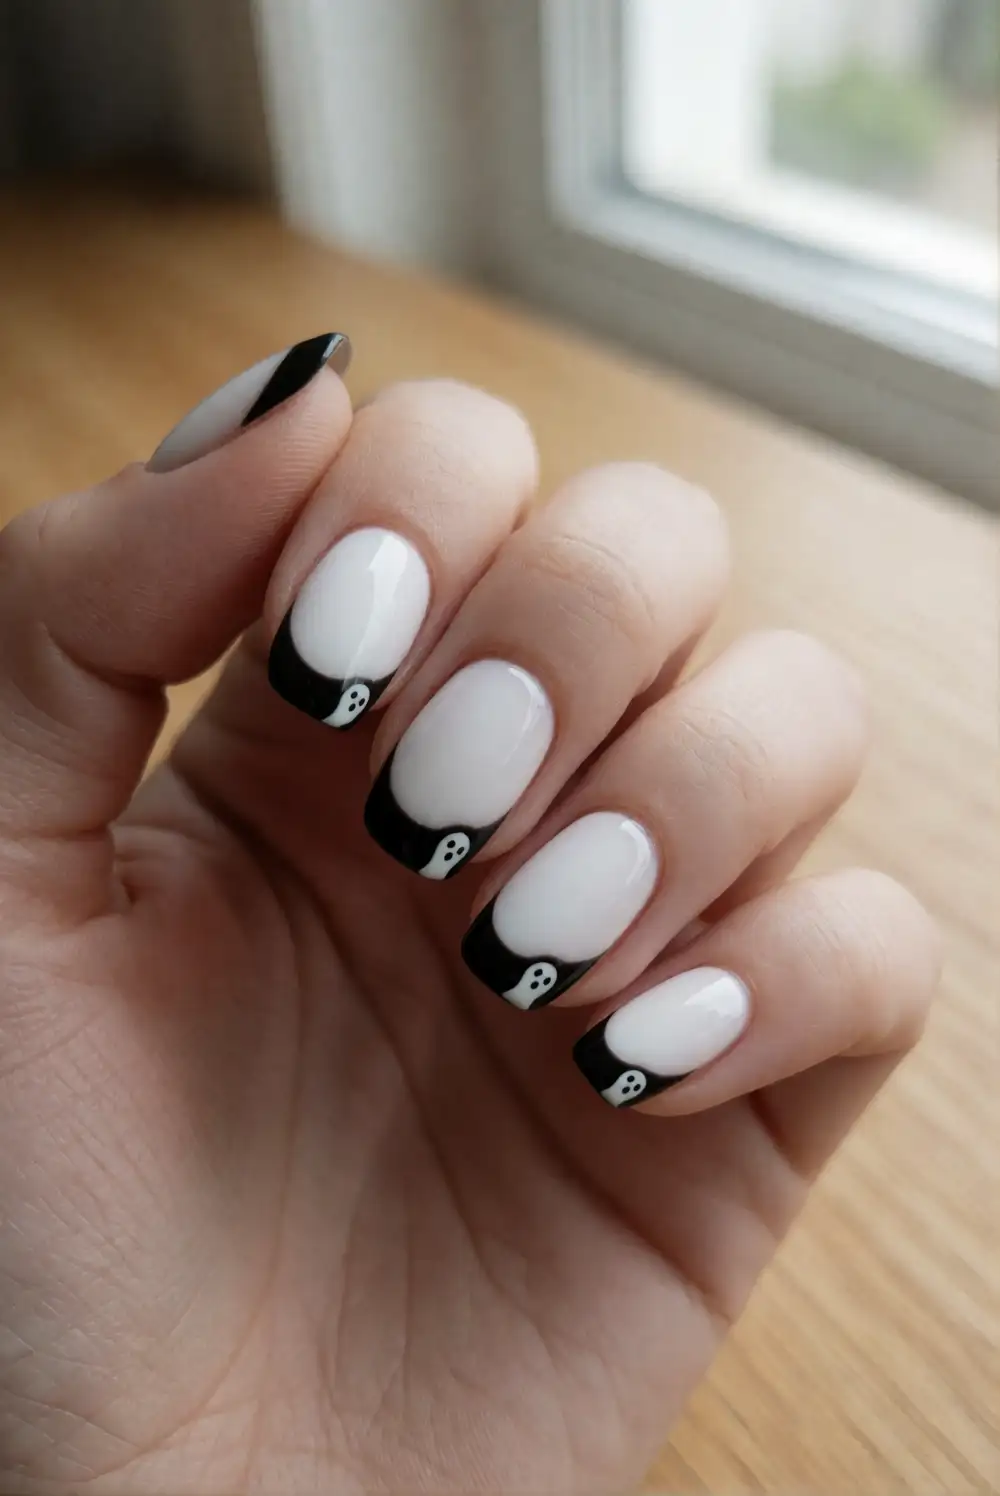
For a reverse French look, paint each nail a glossy white and add a curved black crescent along the cuticle rather than the tip. Let the crescent dry before painting a tiny white ghost face inside it, using a fine brush for the eyes and mouth. Work in thin layers and allow each one to set before adding the next. Finish with top coat, keeping the curved cuticle area smooth and defined.
This design looks striking on oval or almond-shaped nails, where the cuticle curve echoes the nail shape. For an easier variation, place the reverse crescent on just one or two accent nails and keep the rest solid black. A narrow crescent leaves more white visible and makes the face feel delicate; a wider one creates a bolder graphic effect. Leave a small gap from the cuticle to keep the polish neat as nails grow.
Negative Space Ghost Faces
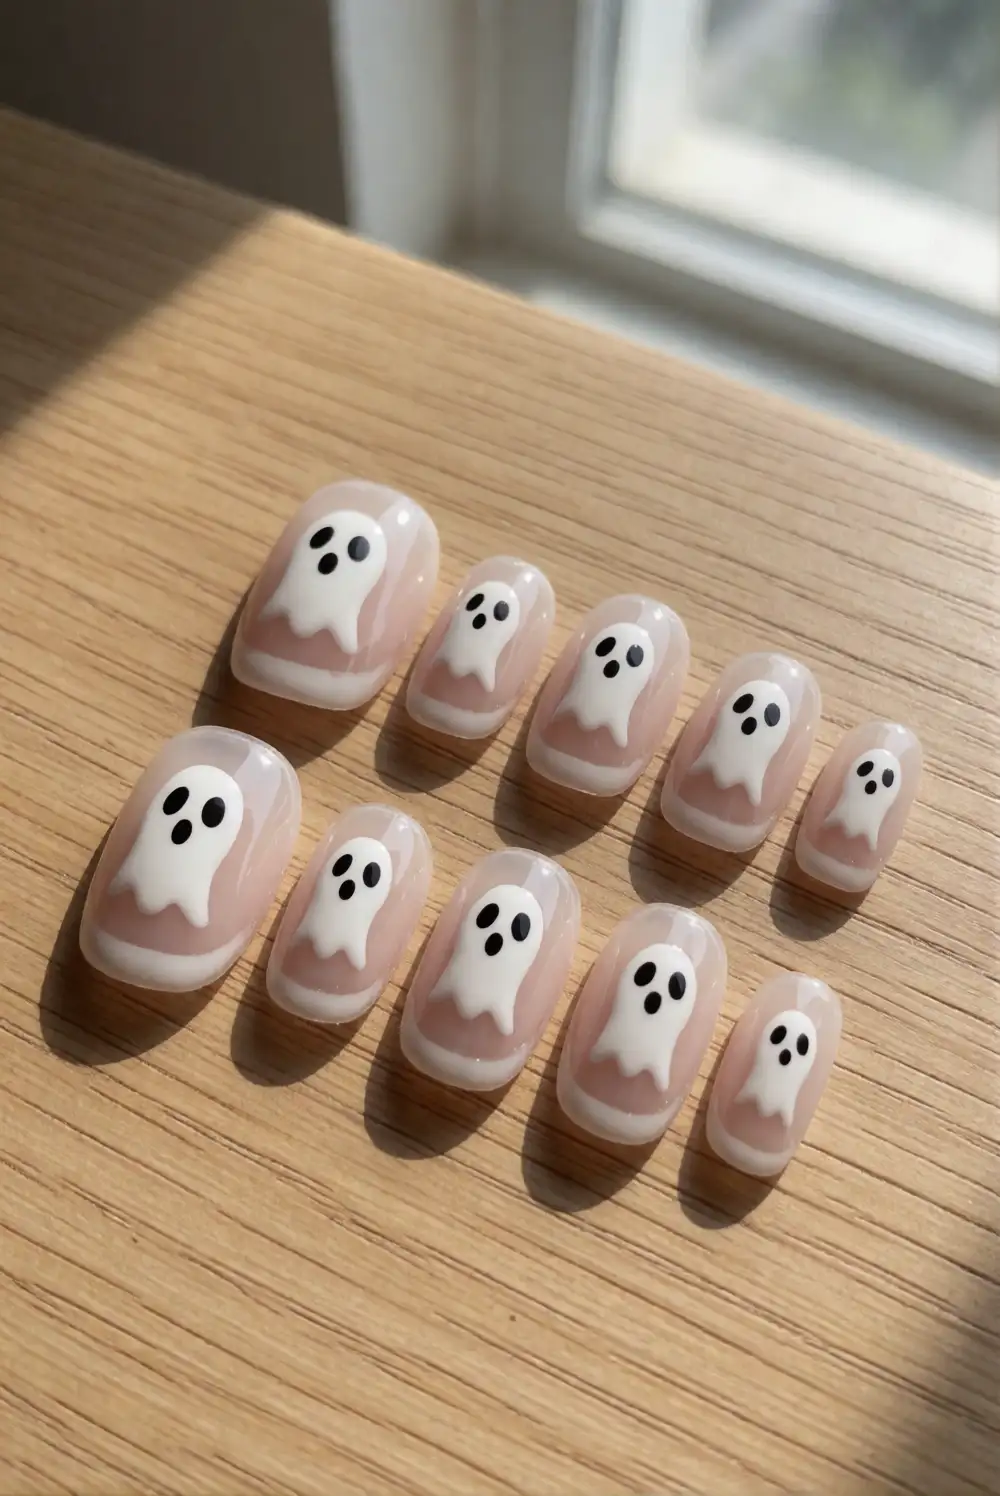
Use a sheer or clear base to create ghost faces that appear to float against bare-looking nails. Paint a small white oval or softly rounded shape on each nail, leaving a generous clear border around it. After the white polish dries, add two black eyes and a tiny mouth with a detail brush. Apply a clear top coat over the whole nail to protect the design and bring the negative space together with a glossy finish.
Make each face slightly different by changing the mouth from a dot to a small oval or gentle curve. The design is easiest to read when the ghost shapes stay simple and the surrounding nail remains uncluttered. If you prefer a more defined base, choose a sheer milky polish that softens the natural nail without hiding it. This airy style pairs well with solid black nails on the other hand or a single monochrome accent.
Black and White Ghost Checkerboard
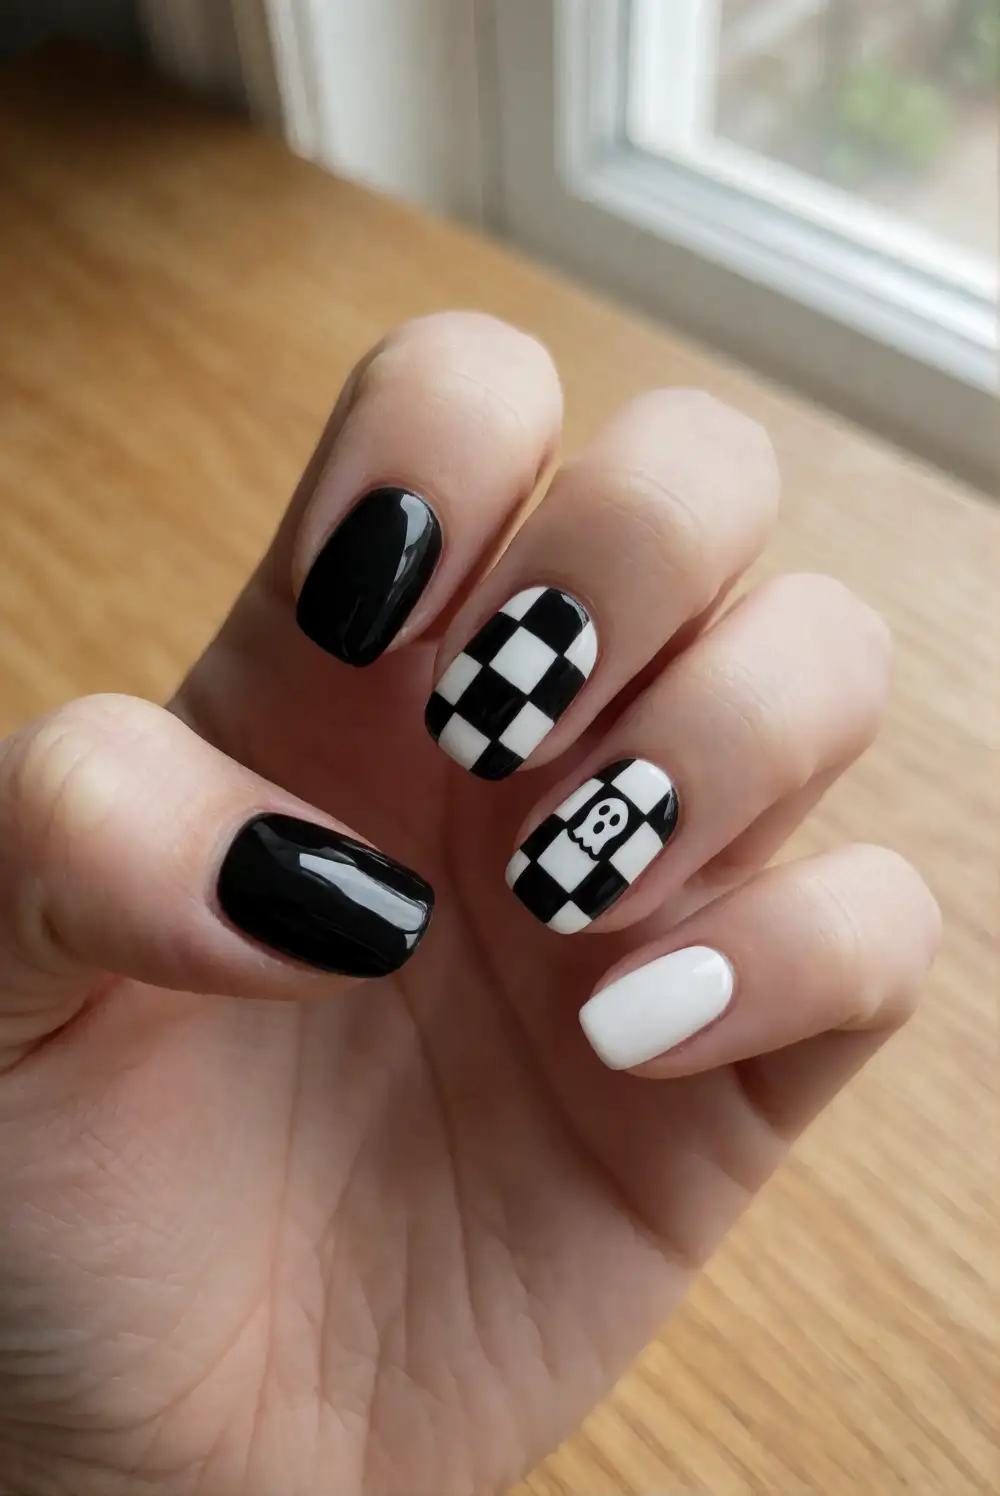
Create a checkerboard accent nail with alternating black and white squares, then add a small ghost face over one light square. Begin with a white base and let it dry fully. Use thin striping tape or a fine brush to block in black squares, spacing the grid evenly from side to side. Once the pattern is dry, paint the ghost face in a clear white square and seal everything with top coat.
Keep the checkerboard to one or two nails so the detailed pattern has room to stand out. A slightly irregular hand-painted grid can feel playful, while carefully measured squares give the manicure a crisp, graphic finish. If the face gets lost in the pattern, make it a little larger and leave its square mostly open. Pair the accent nails with alternating solid black and white polish for a cohesive look without crowding every nail.
Ghost Faces on Polka Dot Nails
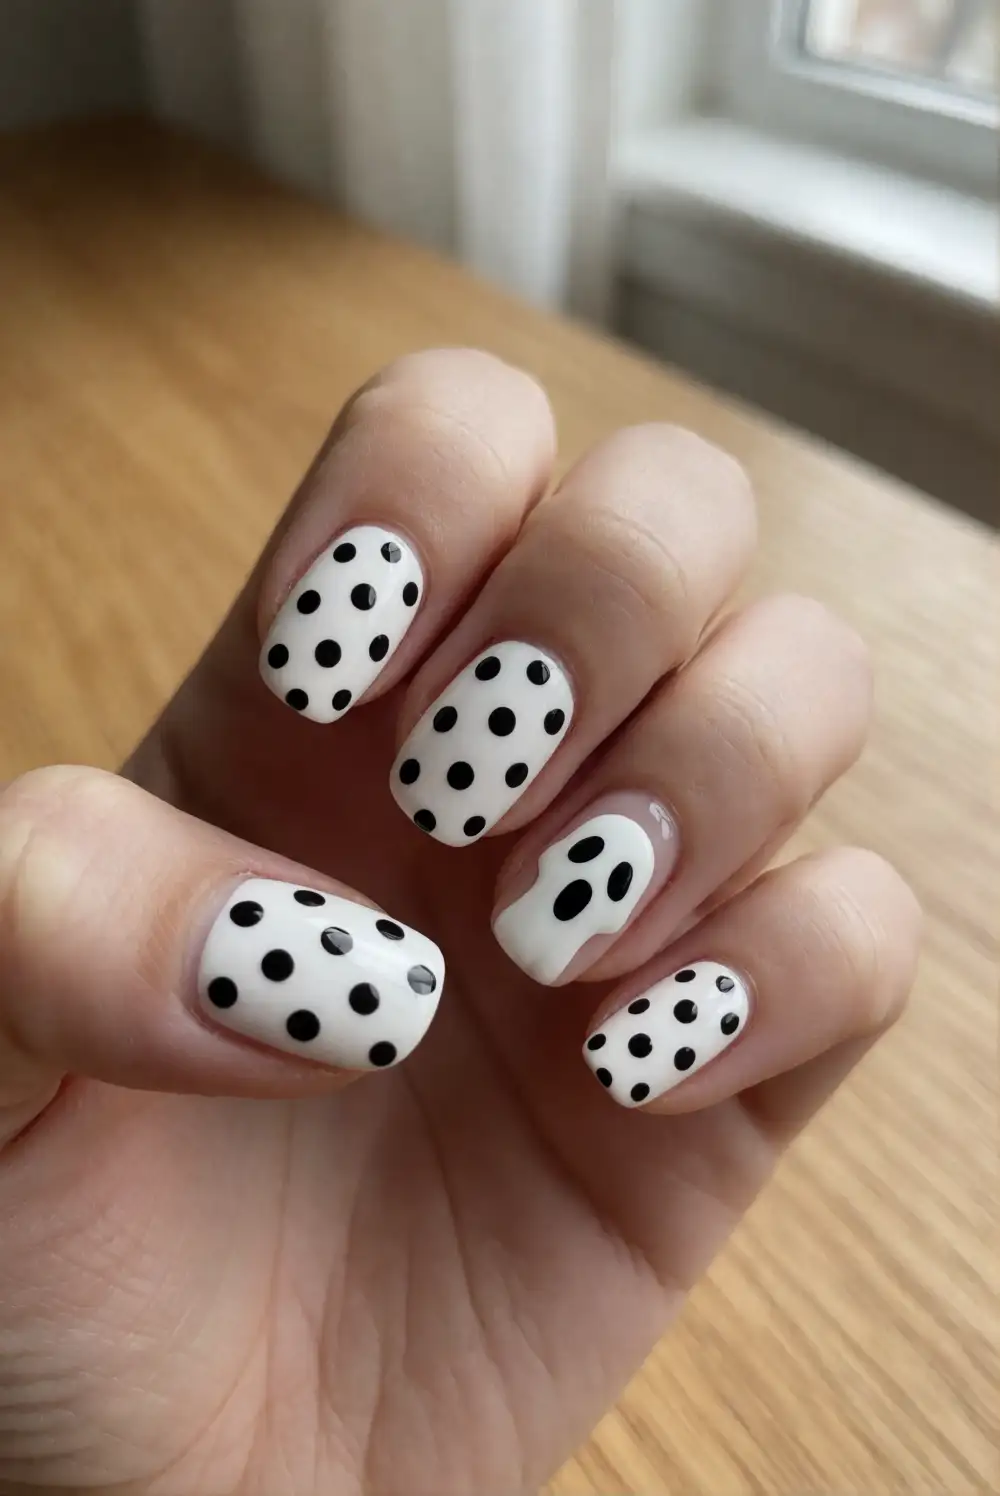
Combine small monochrome dots with a larger ghost face for a playful pattern that is easy to customize. Paint the nails white, then use a dotting tool to place black dots in loose rows, leaving one open area for the face. Add two black eyes and a small mouth in that space, or paint the face on a separate accent nail. Let the polish dry before sealing the design with a clear top coat.
Vary the dot sizes to give the pattern movement, but avoid placing them too close together around the ghost. For a reverse palette, use a black base, white dots, and a white ghost face. The contrast is strongest when the dots remain crisp and the face stays uncomplicated. This design works on short nails as well as longer ones; simply make the dots smaller on a compact nail bed and keep the accent face centered.
Matte Ghost Face Accent Nails
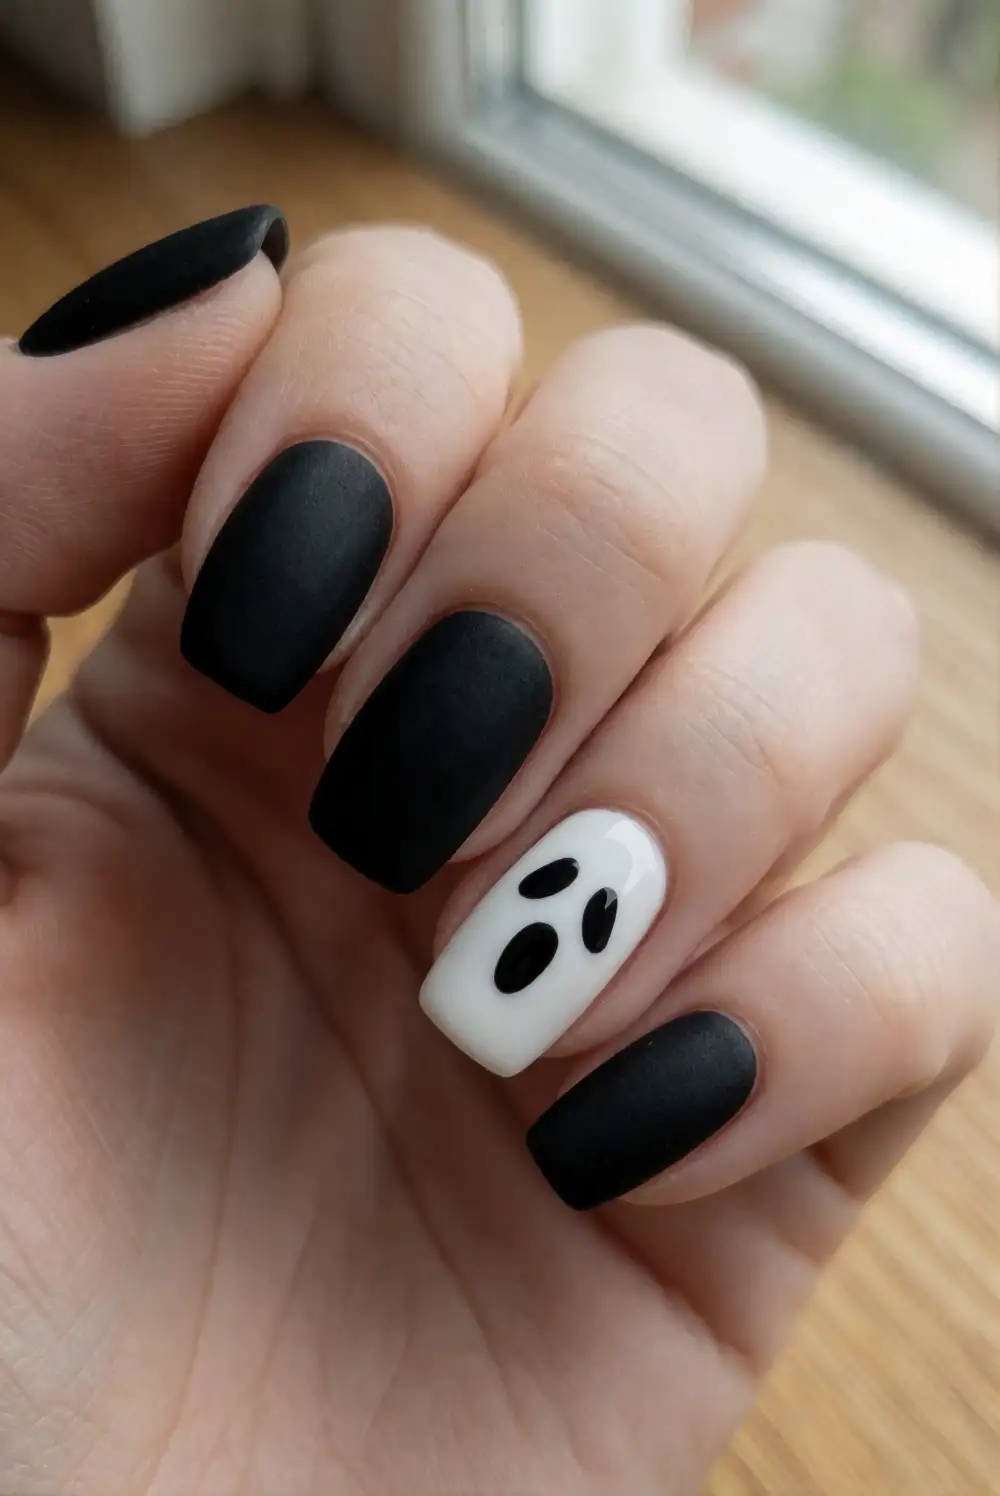
Give simple ghost faces a modern finish by pairing matte black nails with one glossy white accent. Paint the accent nail white and add two small black eyes and a neat oval mouth after the base has dried. Apply a matte top coat to the black nails, then use a glossy top coat only over the white accent. Keep each layer thin and let it dry fully to preserve the contrast in textures.
The difference between matte and shine makes a minimal design feel intentional without adding extra decoration. For a subtler variation, reverse the finishes: use glossy black polish on most nails and a matte top coat over the ghost accent. A fine brush gives the face sharper edges, while a dotting tool makes the eyes easy to match. Keep the remaining nails plain so the finish contrast and small expression stay clearly visible.
Ghost Faces With Dripping Tips
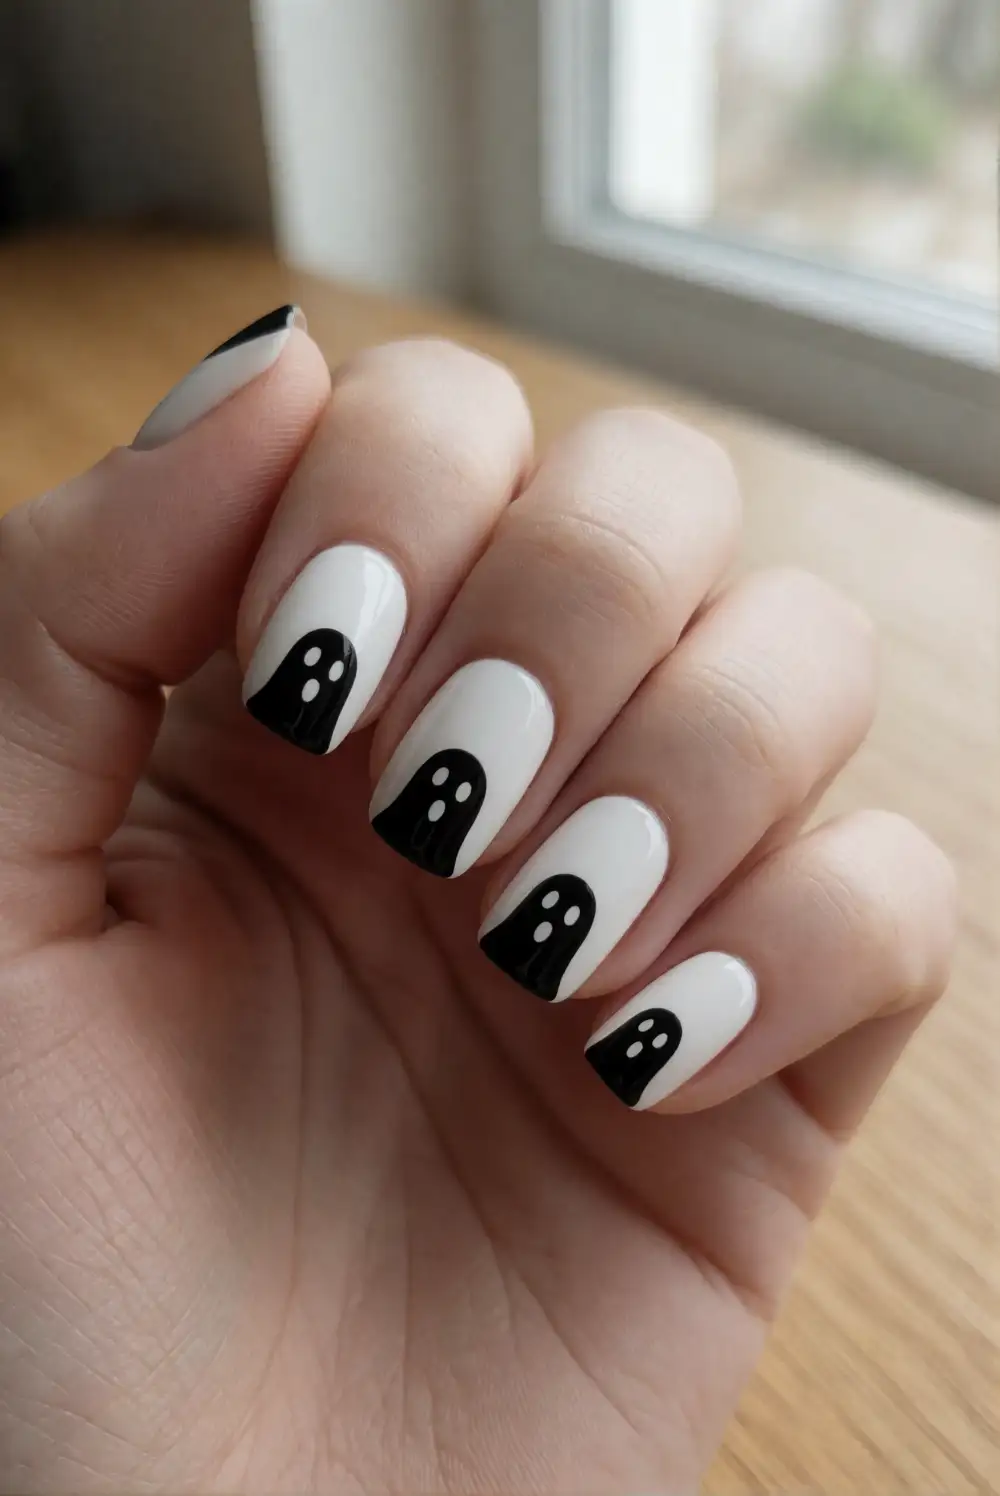
Paint a white base and add black drips descending from each nail tip, leaving room for a small ghost face near the center. Use a fine brush to draw a thin dark line across the free edge, then pull a few rounded trails downward at different lengths. Once dry, add the face with black polish and a detail brush. Finish with a clear top coat, smoothing over the raised-looking lines without flooding the edges.
Keep the drips rounded at their ends for a softer, more polished effect, and vary their lengths so the tips look lively rather than uniform. On shorter nails, use just one or two drips to protect space for the face. A black base with white drips and a white ghost reverses the palette for extra contrast. This design pairs well with a plain accent nail if you want the dripping pattern to remain the manicure’s main feature.
Outlined Ghost Face Nails
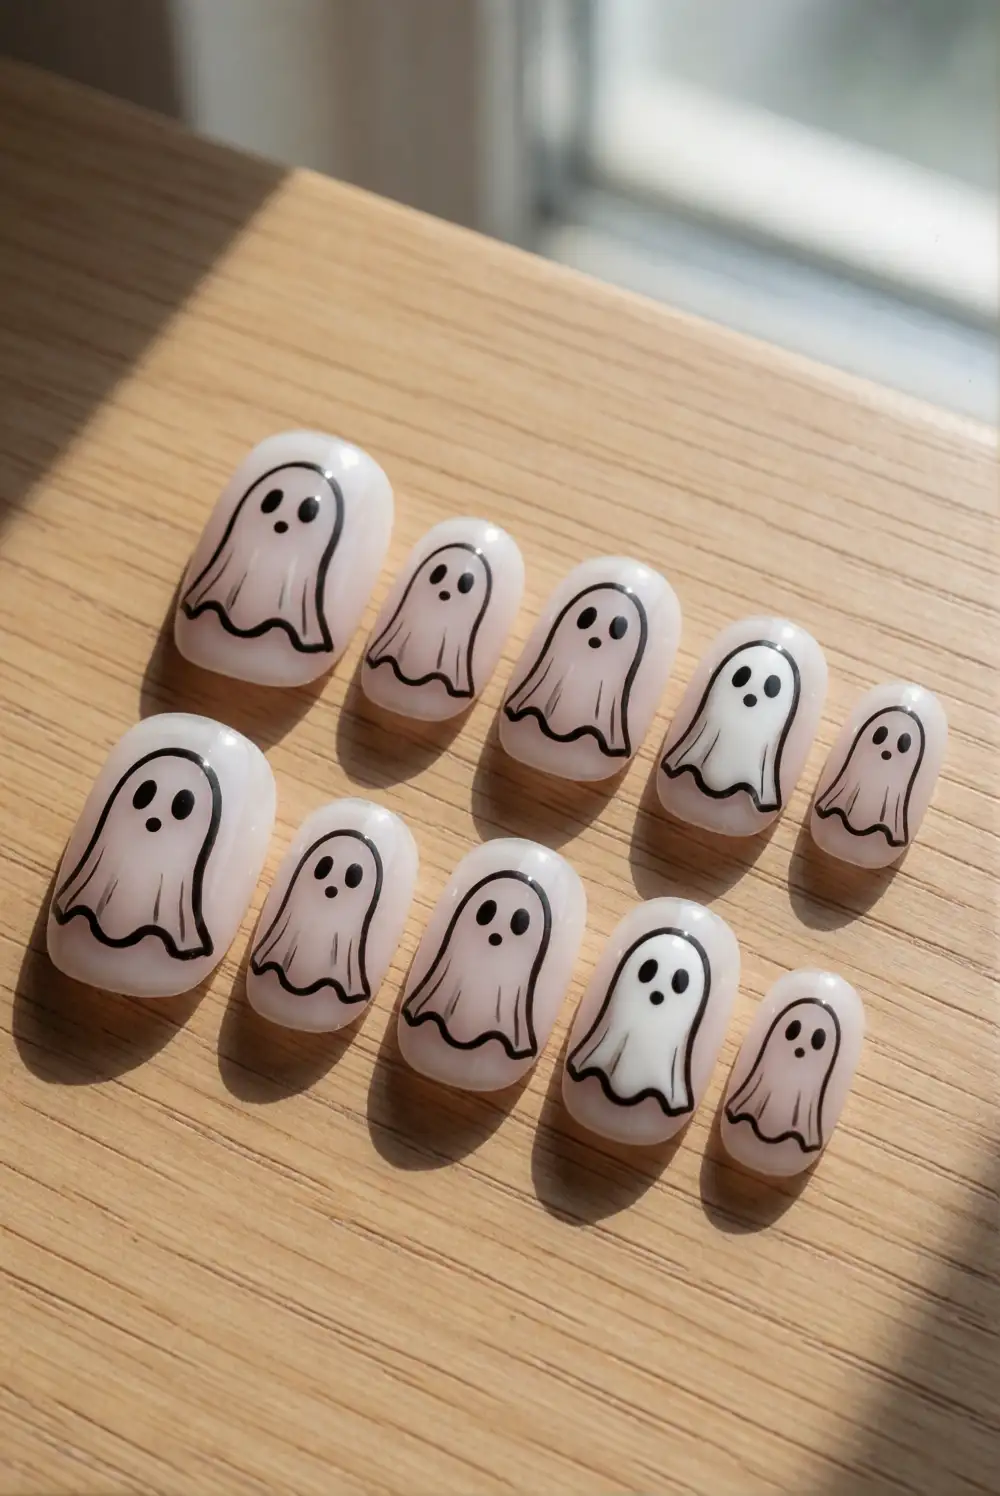
Make a crisp line-art manicure by painting each nail a sheer pale base and drawing a simple ghost outline in black. Use a fine nail art brush to form a rounded top, curved sides, and a gently wavy base. Fill the shape with white polish if the base is too sheer, then add two tiny black eyes and a small mouth. Allow the outline to dry before applying a clear top coat.
Keep the outline weight consistent, but vary the ghost sizes slightly to suit each nail. A single filled white ghost on an accent nail can anchor the lighter line-art pattern. If fine brushwork feels difficult, practice the rounded shape on a palette first and use short strokes rather than one long line. The open, uncluttered design looks especially neat on a translucent base, while a solid black nail or two adds a stronger monochrome frame.
Crescent Moon Ghost Face Nails
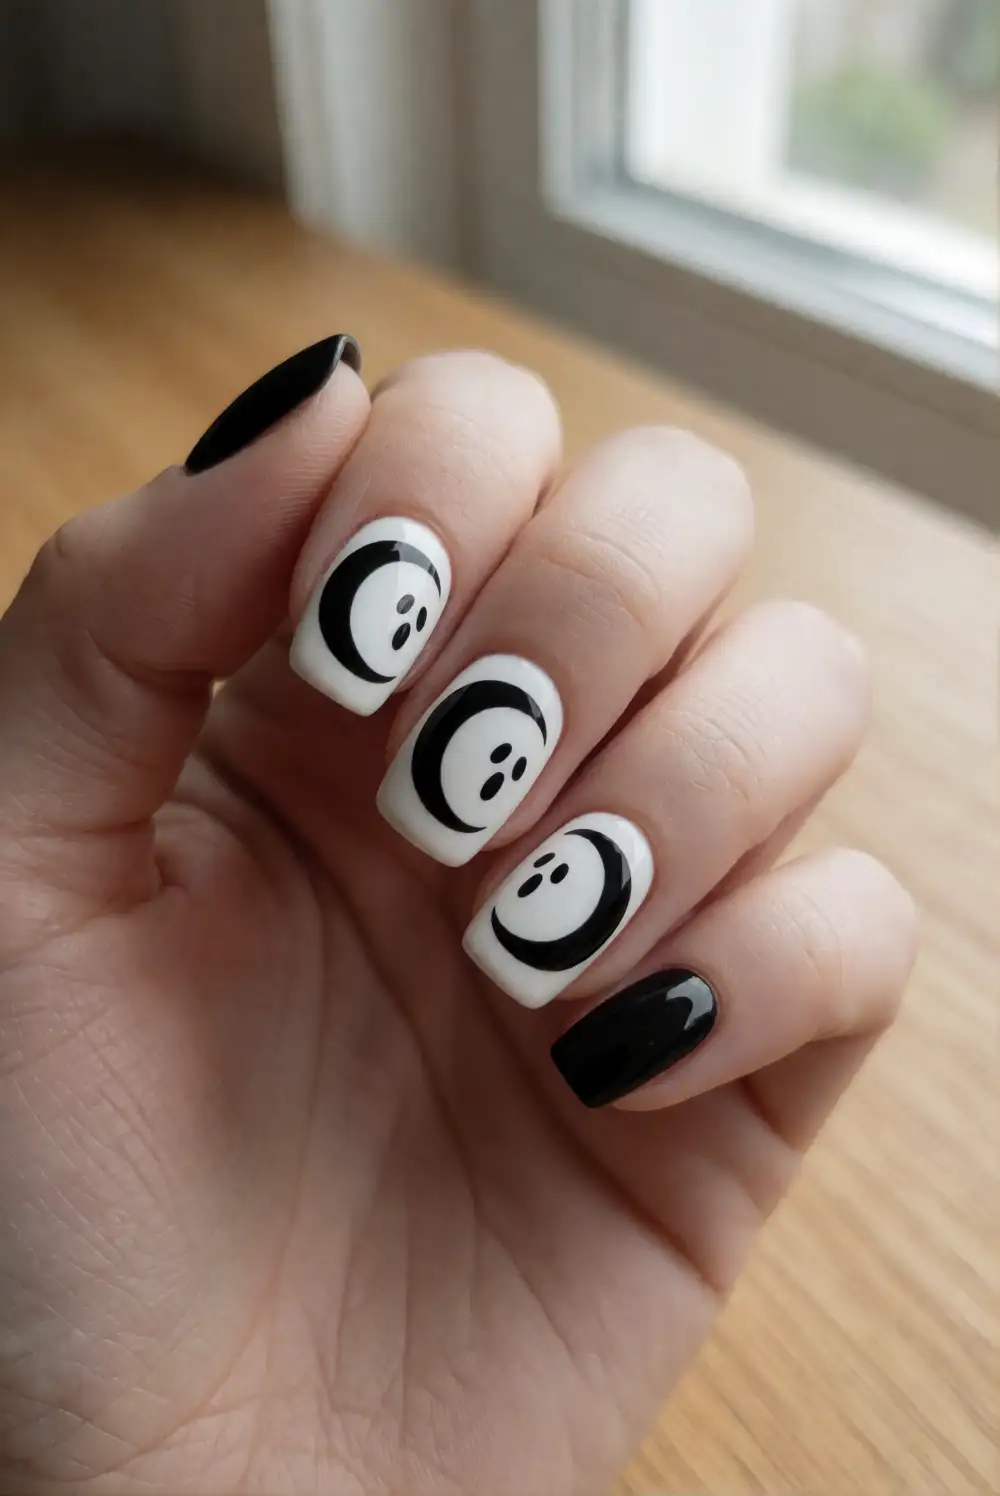
Pair a small ghost face with a bold black crescent for a simple night-sky manicure in monochrome. Apply a white base and let it dry, then paint a curved black crescent near the side of each nail using a detail brush. Add a tiny ghost face in the open white area beside the crescent. Keep the shapes separate and clean, then finish with clear top coat to protect the design and unify the surface.
Place the crescent on different sides of the nails for a flowing arrangement across both hands. A single crescent-and-ghost accent looks elegant against solid black nails, while repeating the motif creates a more illustrative set. Use a narrow crescent for a delicate effect or widen it for stronger contrast. Skip extra stars or dots if you want the manicure to stay minimal; the two simple shapes already give the nails a clear, balanced focal point.
From crisp accent faces to graphic checkerboards and crescent details, black and white ghost nails can suit a range of manicure styles. Choose a design that fits your nail length and comfort with fine brushwork, then keep the palette focused so each playful face remains easy to see.








