
Give your manicure a playful Halloween update with cute nail designs featuring tiny ghosts. From sheer pink ghost art to starry night-sky details, these ideas offer approachable ways to create a festive look at home. Choose a design that suits your favorite polish colors and nail-art tools, then add little ghostly details for a sweet seasonal finish.
Sheer Pink Ghost Nail Art
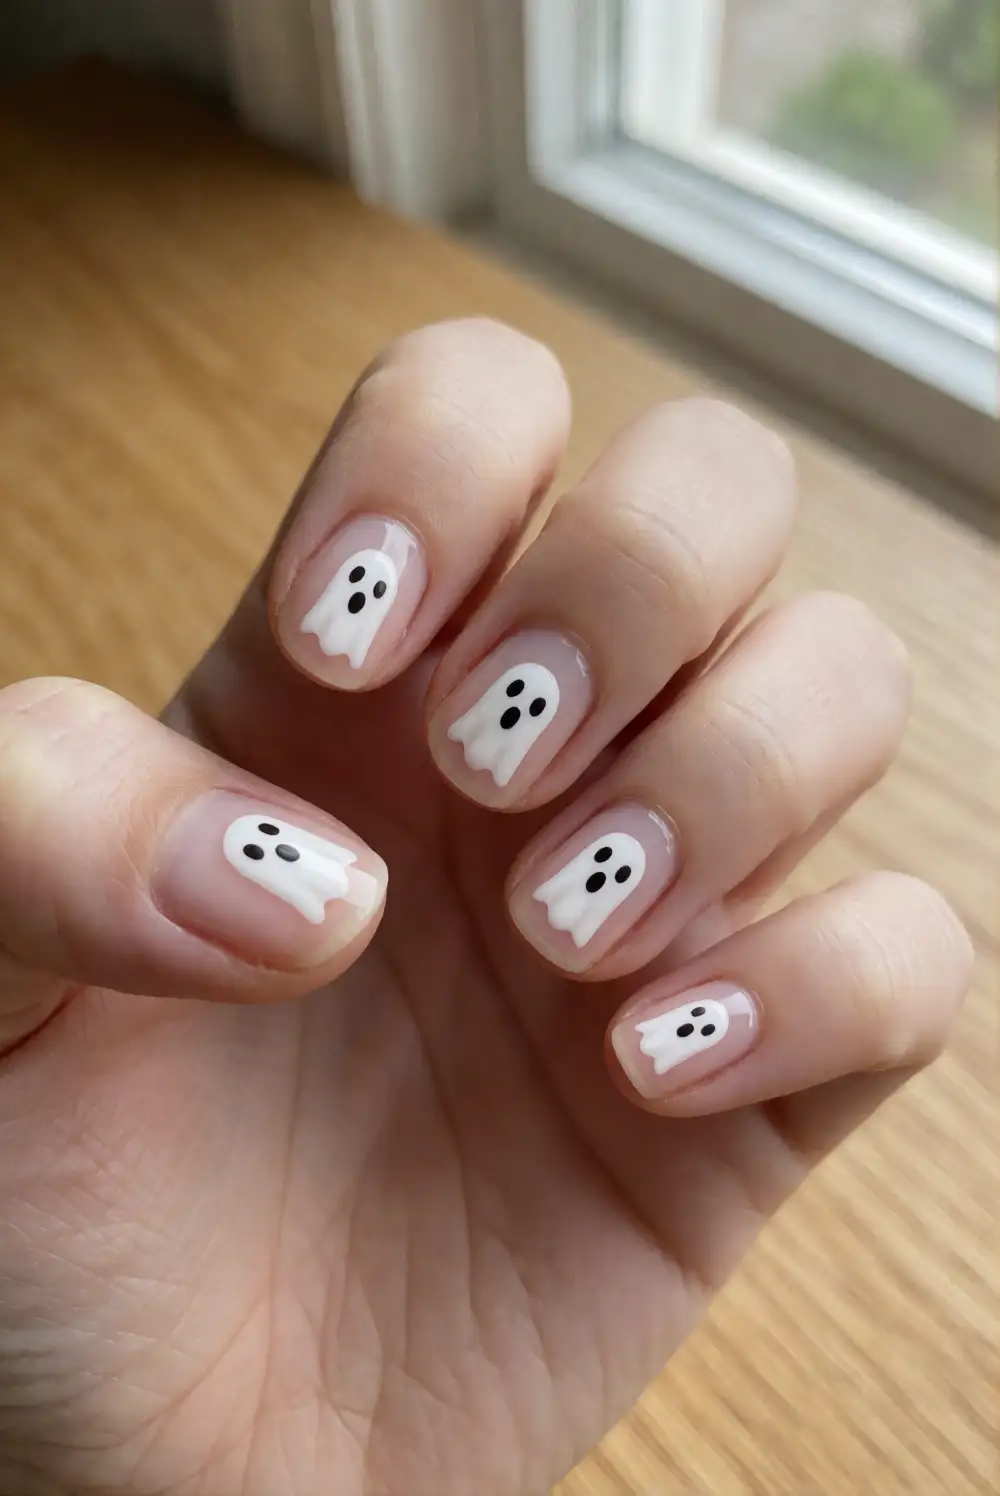
For a soft, everyday Halloween manicure, start with a sheer blush-pink base coat and let it dry completely. Use a fine nail-art brush and opaque white polish to paint a small rounded ghost near the tip or center of each nail. Add tiny charcoal eyes with a dotting tool, then finish with a clear top coat. Keep the ghost silhouettes simple, with gently wavy lower edges, so the design looks cute rather than intricate.
Choose a translucent pink that lets your natural nail show through, or use a milky nude for a more polished appearance. Vary the ghost shapes slightly so the finished manicure feels hand-painted and lively. A fine brush makes it easier to keep the details petite; let each layer dry before adding the next. This design pairs nicely with a glossy finish and looks especially charming against cozy sweaters and simple silver rings.
Tiny Ghost French Tip Nails
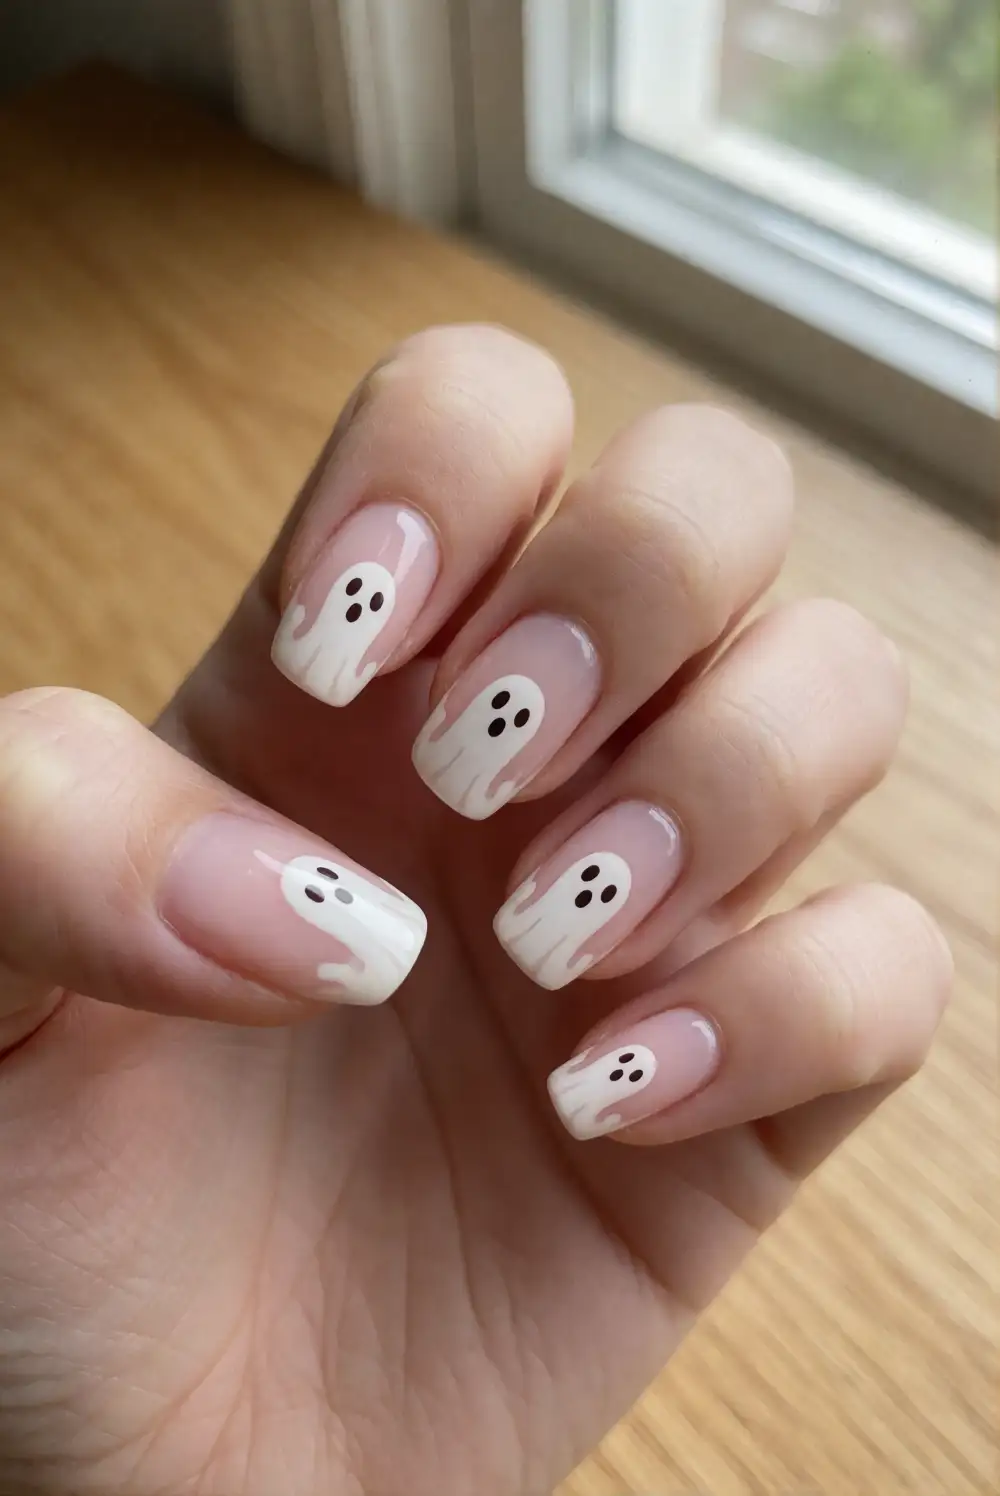
Give a classic French manicure a Halloween twist by painting small ghosts along the tips. Apply a sheer nude or pale pink base, then use a detail brush to create curved white tips. While the white polish is still workable, shape a few rounded ghost heads rising above the tip line. After the design dries, add miniature dark eyes with a dotting tool and seal everything with clear top coat.
Keep the tip line delicate for a subtle manicure, or make it wider if you want more room for the ghost shapes. Place the ghosts on different parts of the nail edge to create an easy, varied look. A silicone nail-art tool or the end of a fine brush can help form rounded heads without bulky paint. Finish with a glossy top coat to smooth the design and give the white details a clean shine.
Black Cat And Ghost Nail Art
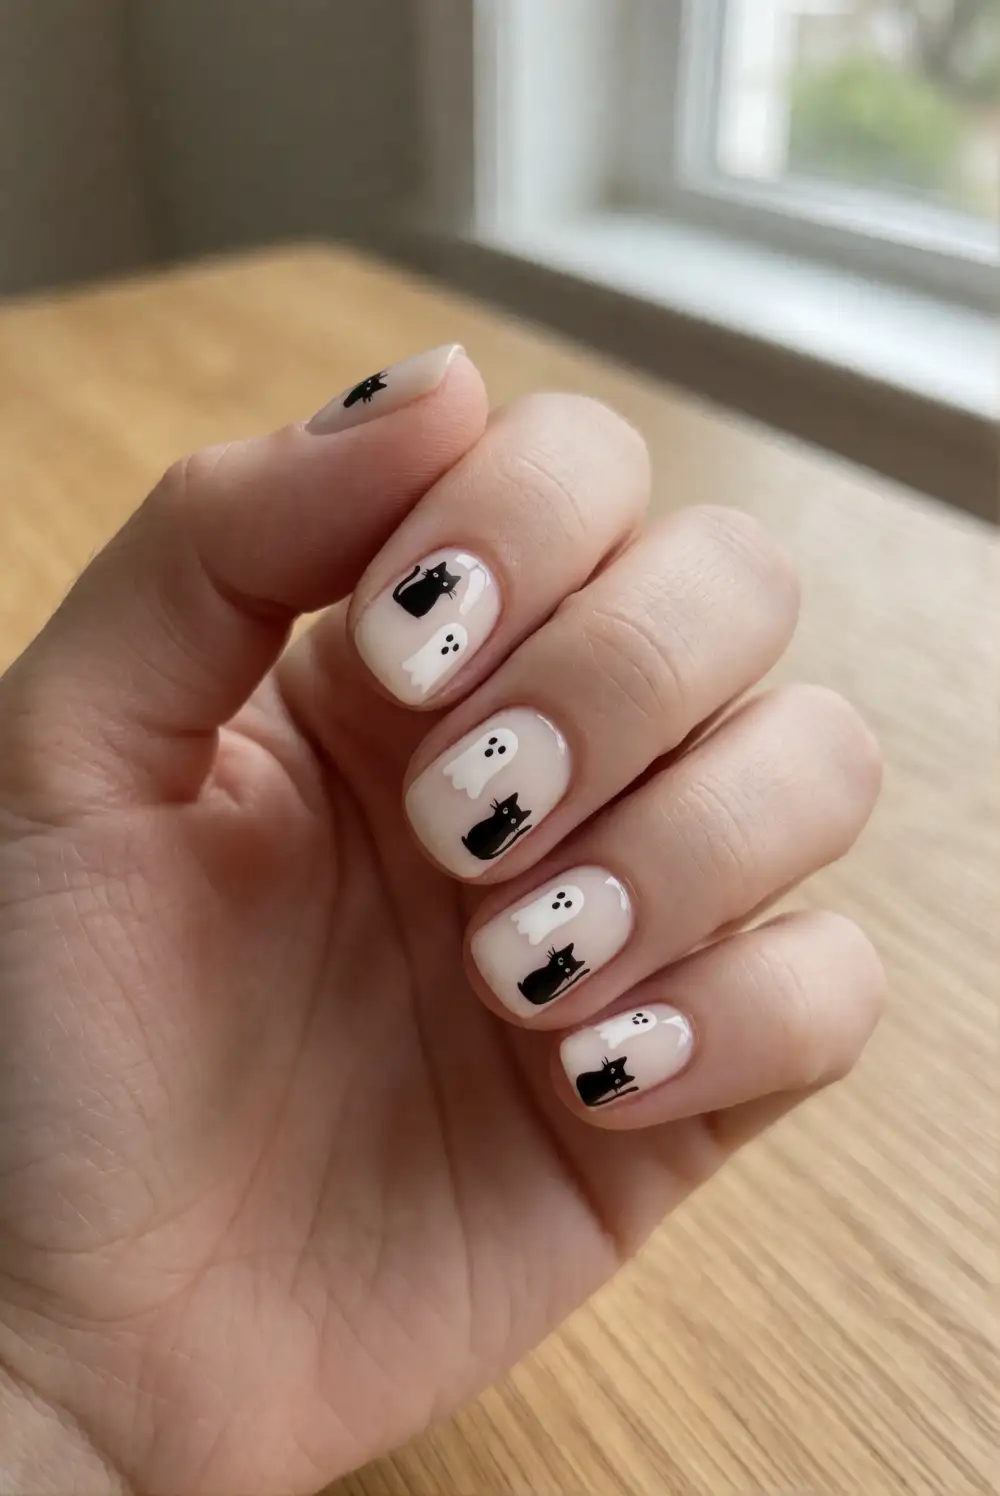
Pair tiny ghosts with a simple black cat silhouette for a sweet Halloween manicure. Paint the nails with a creamy ivory or pale pink base and allow it to dry. On selected nails, use black polish and a fine brush to draw a small cat head with pointed ears; on others, add a rounded white ghost with a softly scalloped bottom. Dot on minimal eyes, then protect the artwork with a clear top coat.
Keep the cat shapes bold and uncomplicated so they remain recognizable at a small scale. The remaining nails can stay in the base color or feature a tiny star for balance. If freehand painting feels tricky, practice the silhouettes on a piece of paper before working on your nails. A glossy finish brings out the contrast between the black, white, and soft background, while a matte top coat creates a more modern look.
Ghosts On Lavender Nails
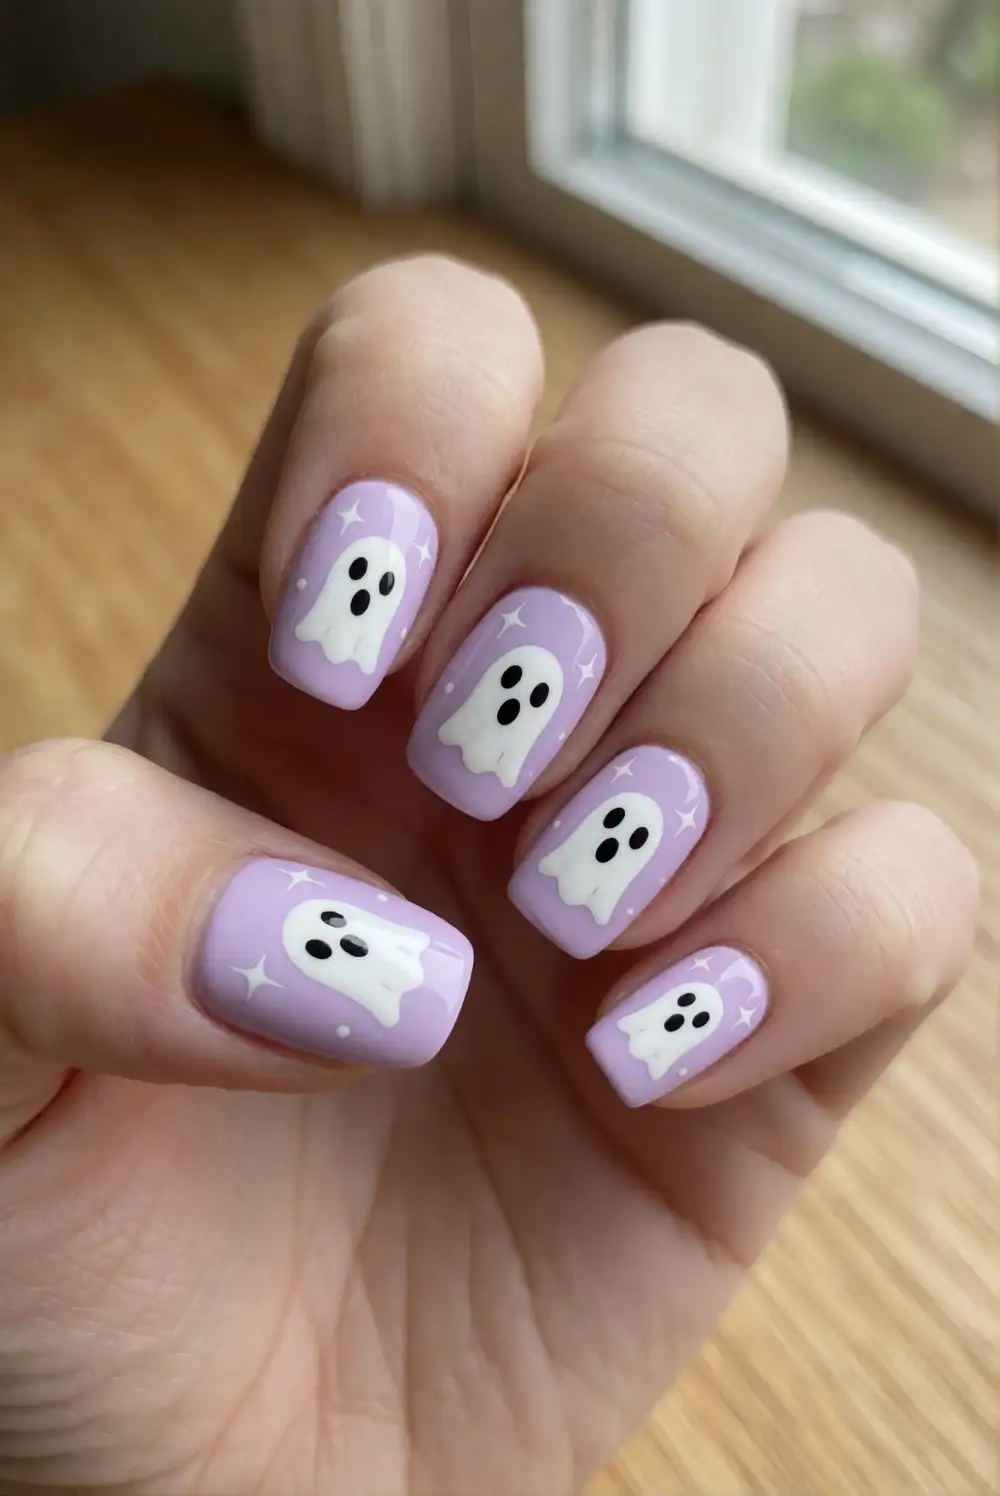
Lavender polish gives tiny ghost art a dreamy, colorful background. Apply a smooth coat of pastel lavender and wait until it is fully dry. With a slim nail-art brush, paint a little white ghost on each chosen nail, forming a rounded top and gentle curves at the base. Add tiny black eyes with a dotting tool, then apply clear top coat once all details have dried. The pale purple and white combination feels festive without relying on dark colors.
For extra dimension, use a lighter lilac on the remaining nails or add a few small white stars around the ghosts. Keep the accents sparse so the tiny figures remain easy to see. A slightly sheer lavender creates a delicate finish, while an opaque cream-lilac shade makes the ghosts stand out more. This design works well on short nails and can be refreshed with a glossy top coat when you want the colors to look bright again.
Floating Ghost Accent Nails
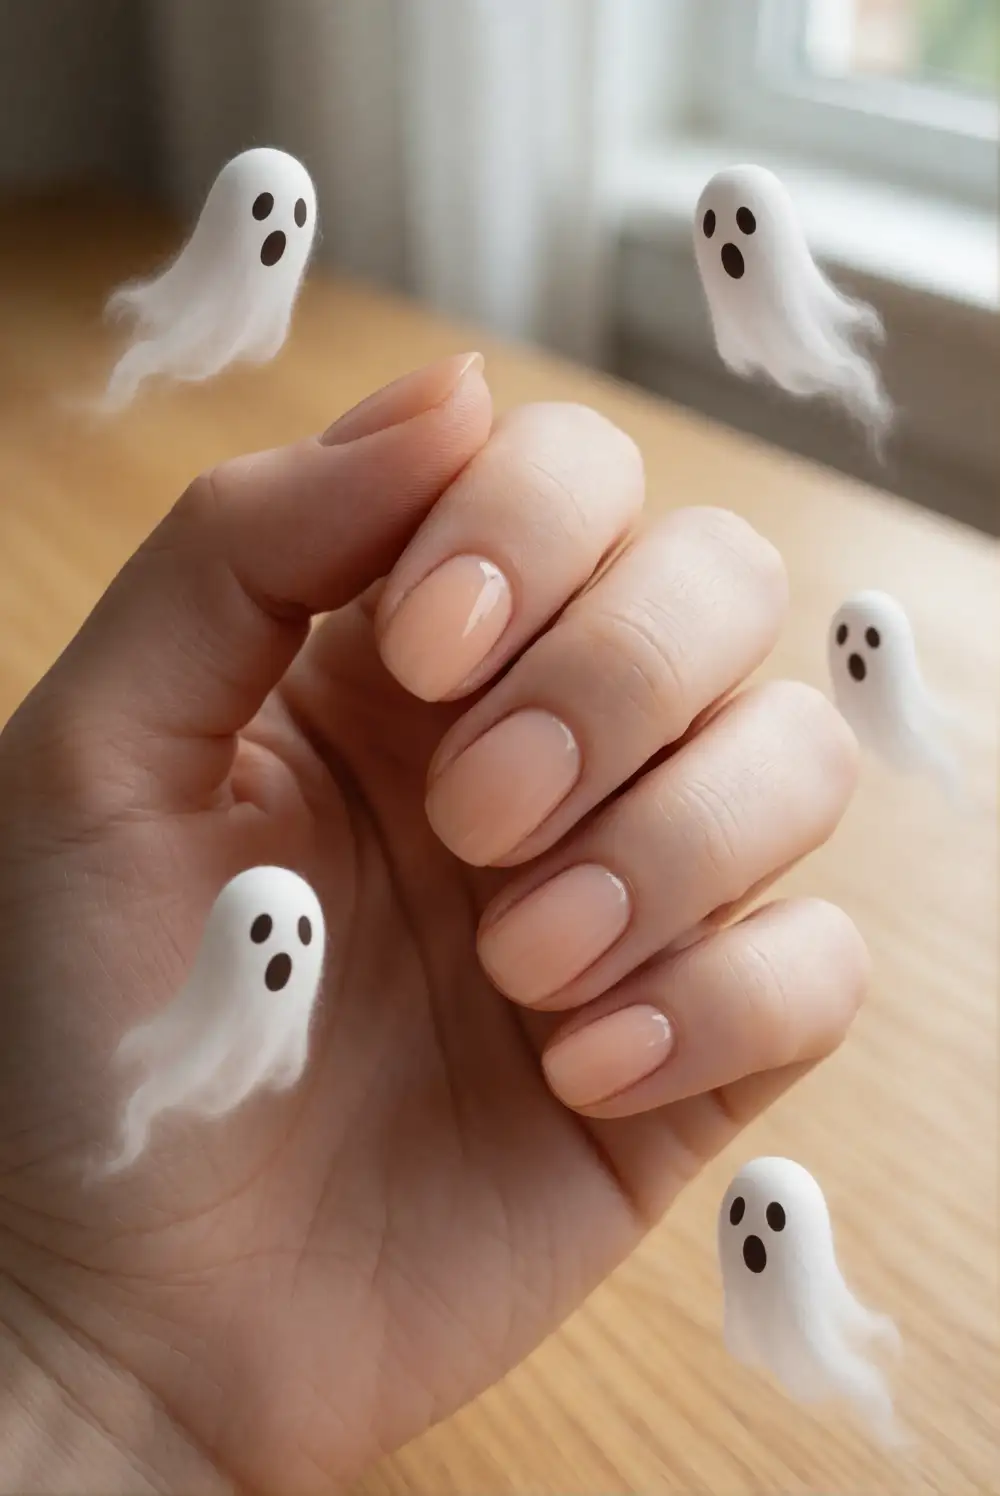
Create the look of little ghosts drifting across your manicure with a neutral base and carefully spaced figures. Paint the nails a warm nude, pale peach, or creamy beige, then let the polish dry. Use a fine brush to add small white ghost shapes at different heights on selected nails. Give each figure a rounded head and softly curved base, then add tiny black eyes after the white polish sets. Finish with a clear protective coat.
Leave open space around each ghost to make the floating effect clear and keep the design from feeling crowded. You can place a tiny white dot or star nearby for a gentle sense of movement, or keep the rest of the nail bare for a minimalist result. A neutral background makes this look versatile beyond Halloween, while a pearly nude adds a soft glow. Use thin layers of polish to help the details dry smoothly.
Pumpkin And Ghost Nail Art
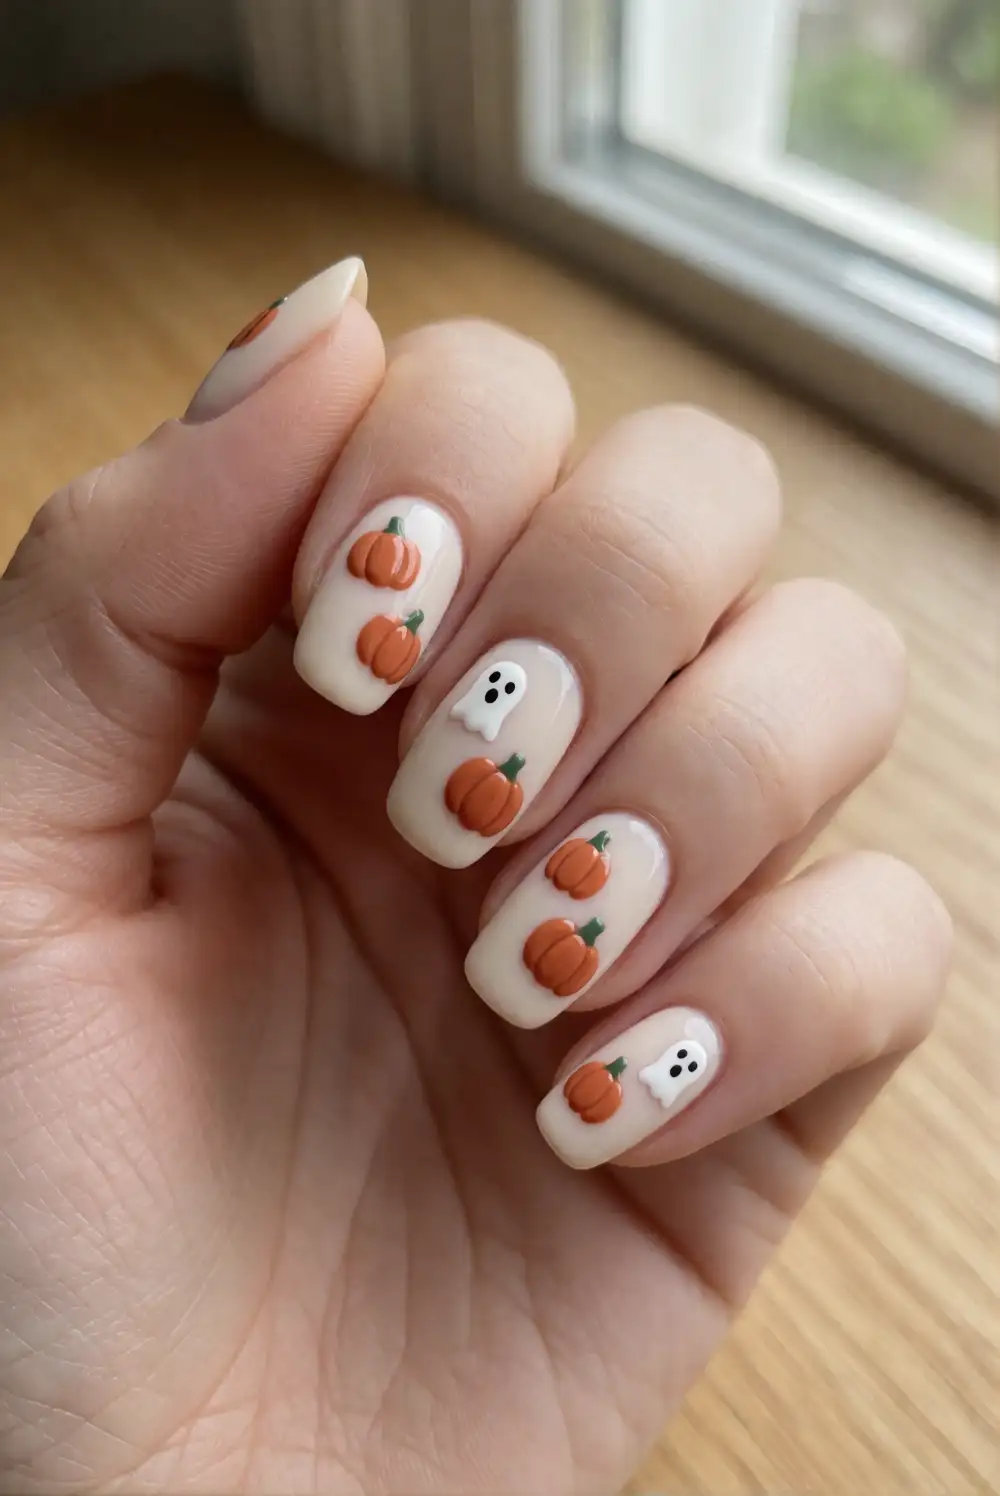
Combine cheerful pumpkins and tiny ghosts for a classic Halloween manicure. Start with a creamy white, pale peach, or soft orange base. Paint a small pumpkin using orange polish and a fine brush, then add a short green stem once the shape dries. On nearby nails, create little white ghosts with rounded tops and gently curved hems. Add minimal dark eyes to the ghosts and fine curved lines to suggest pumpkin ridges, then finish with top coat.
Use the pumpkin and ghost details as accents against solid coordinating colors, such as warm ivory or muted orange. This keeps the artwork readable on short nails and makes the manicure easier to maintain. A dotting tool can help place small eyes neatly, while a liner brush is useful for stems and pumpkin grooves. For a softer palette, swap bright orange for dusty terracotta and choose a sheer cream base to complement the tiny white ghosts.
Glow-In-The-Dark Ghost Nails
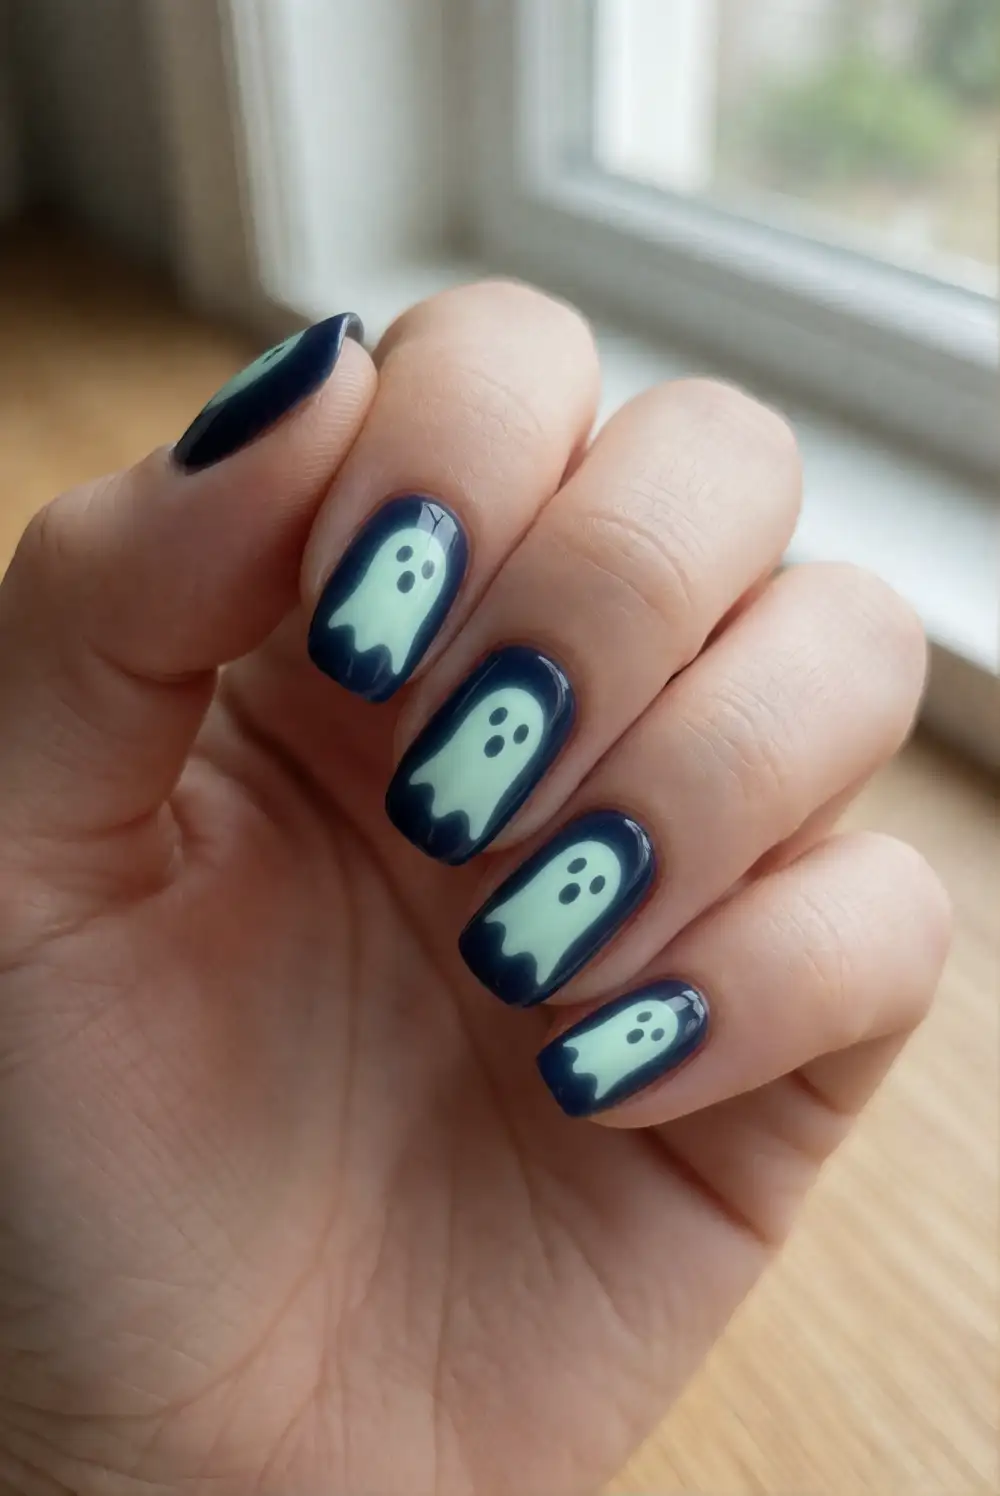
Make tiny ghosts the focus of a playful manicure with glow-in-the-dark polish. Apply a dark navy or muted plum base and let it dry. Paint small ghost shapes with glow polish, following the product directions for layering and drying. Once the ghost details are set, add small dark eyes with a fine brush or dotting tool. Seal the design with a top coat that is compatible with your polish, keeping the ghost edges crisp and the surface smooth.
Use the glow polish on ghost shapes rather than across the entire nail to make the figures easy to spot in normal light as well. A deep blue background gives the manicure a night-sky feel, while a charcoal shade creates a more graphic contrast. Check that the glow product is intended for cosmetic nail use and follow its label directions. Keep the rest of the nail art simple so the luminous details stay the star of the design.
Ghost Nails With Starry Skies
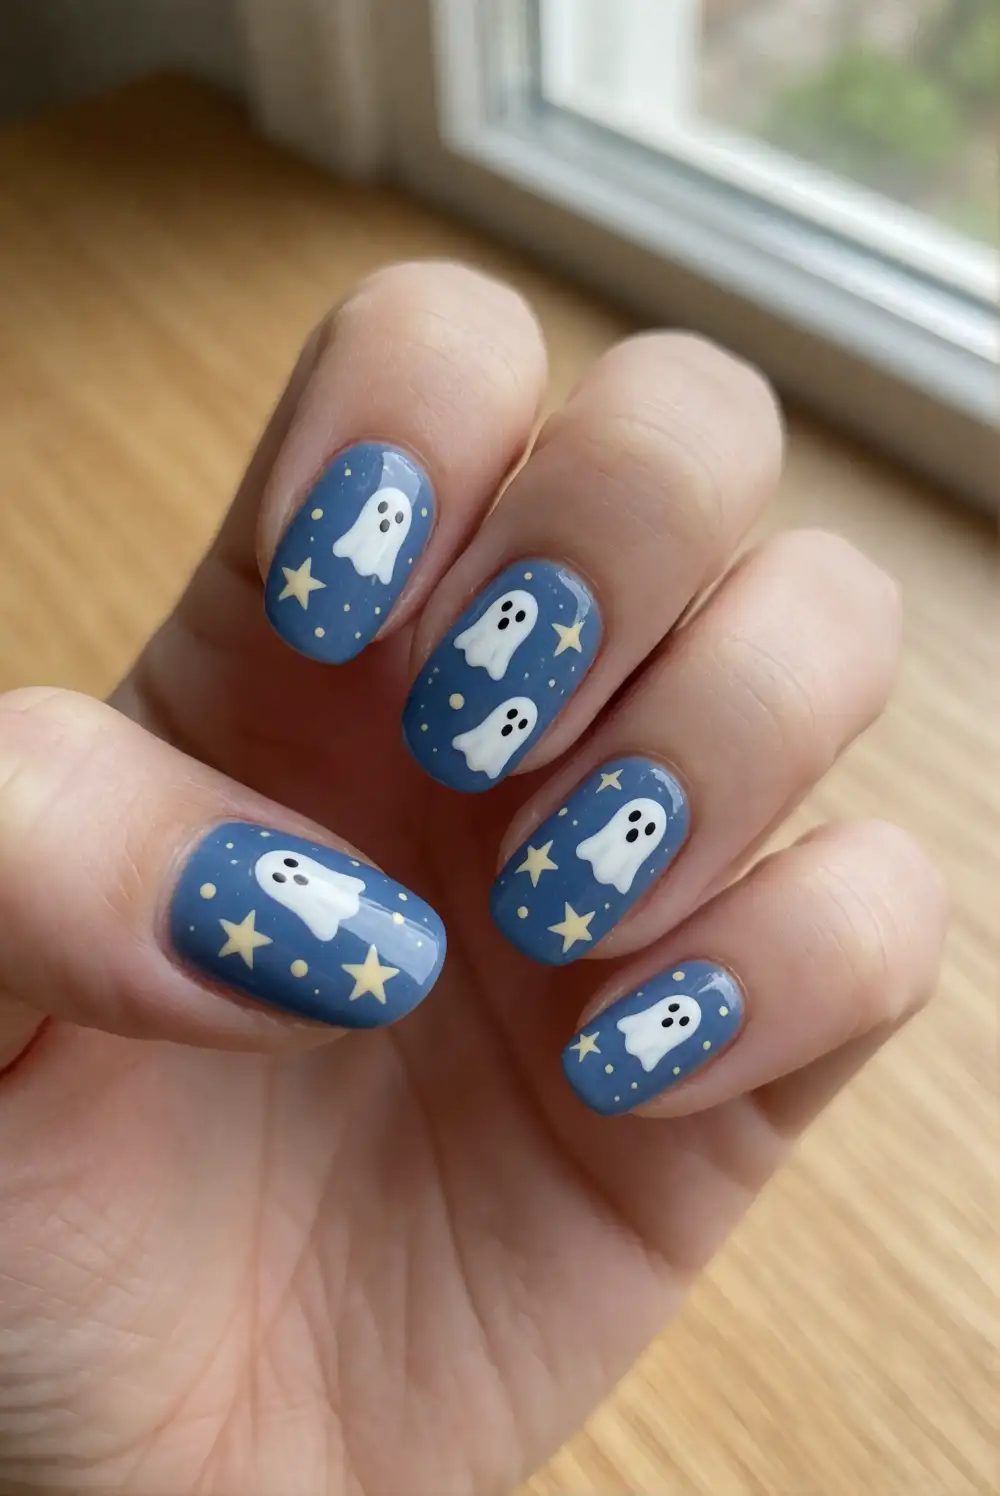
Set tiny white ghosts against a painted night sky for a detailed but approachable Halloween manicure. Choose a deep blue or muted charcoal polish as the base and let it dry thoroughly. Use a fine brush to paint small white ghosts, then add tiny star shapes and dots with white or pale yellow polish. Add the ghosts’ dark eyes after the white shapes have dried, and finish with a clear top coat to bring the dark background to a glossy shine.
Keep the stars small and scattered so the design feels airy rather than crowded. A navy base creates a classic night-sky look, while dusty blue gives the manicure a softer, more pastel mood. Place the ghosts at different positions to add movement without making any nail too busy. If painting stars feels difficult, use tiny dots instead; they still suggest a sparkling sky and are easy to create with a fine dotting tool.
Minimal White Ghost Nail Stickers
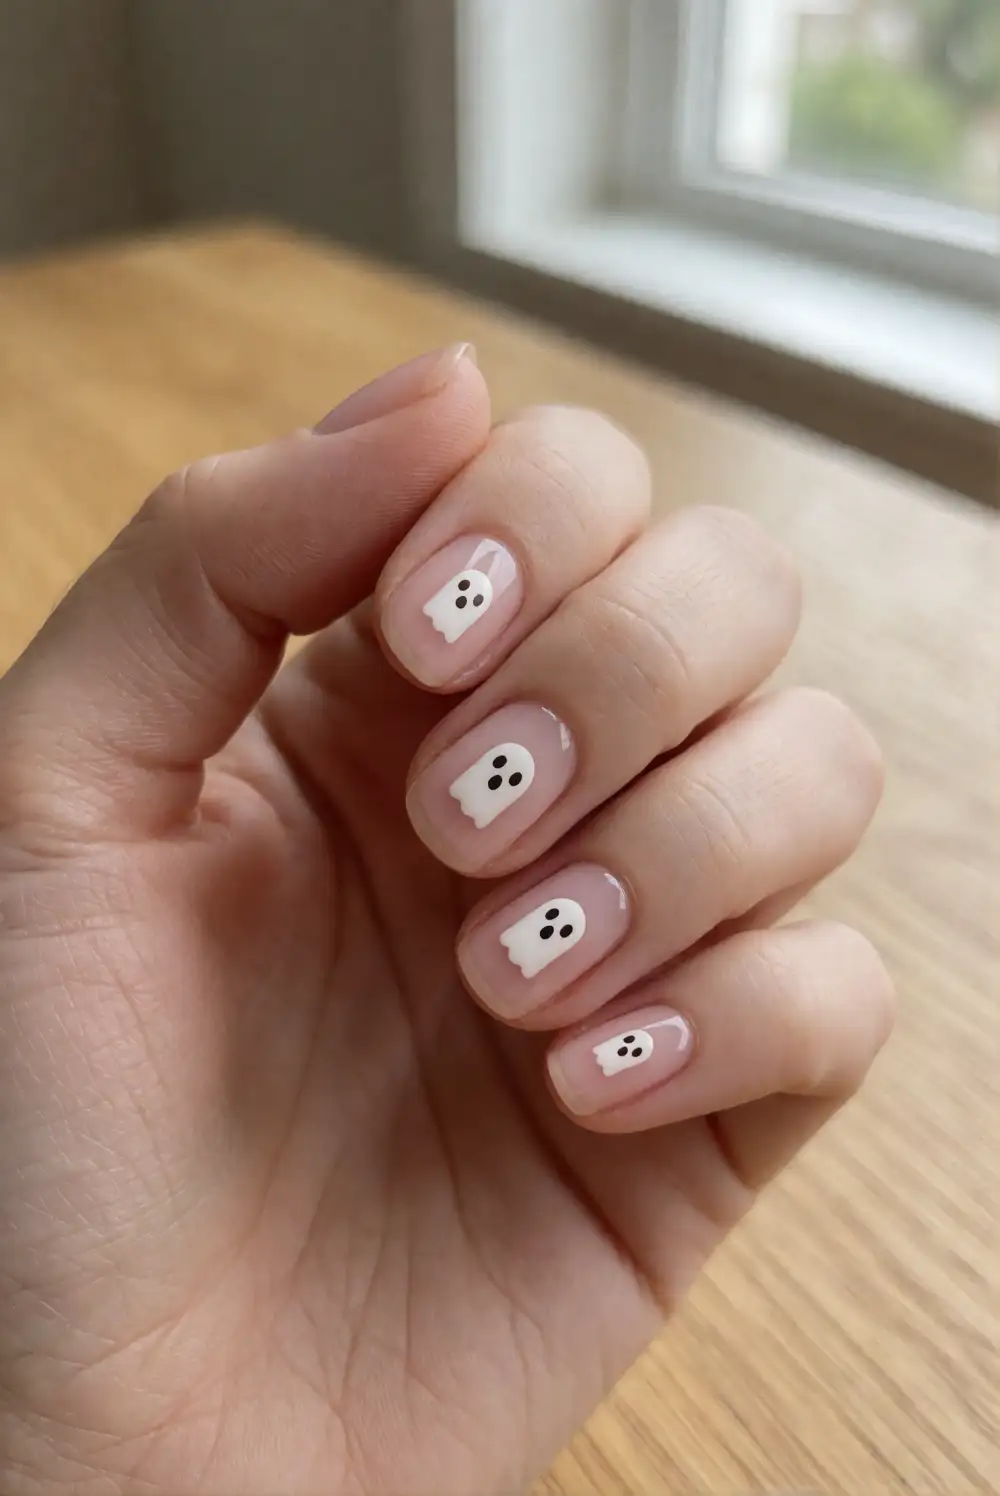
Use cosmetic nail stickers to create a neat ghost manicure without painting every detail by hand. Choose tiny white ghost decals designed for nails, then apply a base coat in a soft nude, pink, or pale gray. Follow the sticker package directions to position each decal on a fully dry nail. Press it down gently with a silicone tool, smooth out any edges, and apply a clear top coat to help protect the design.
Look for simple ghost shapes with minimal features so the finished manicure stays clean and delicate. Place the decals on a few nails and leave the others in a coordinating solid color for a balanced look. Make sure each sticker lies flat before sealing it, especially near the edges, to help prevent lifting. A pearly base adds a subtle glow, while a sheer blush shade keeps the overall effect soft and wearable.
Matte Ghost Nail Art With Glossy Details
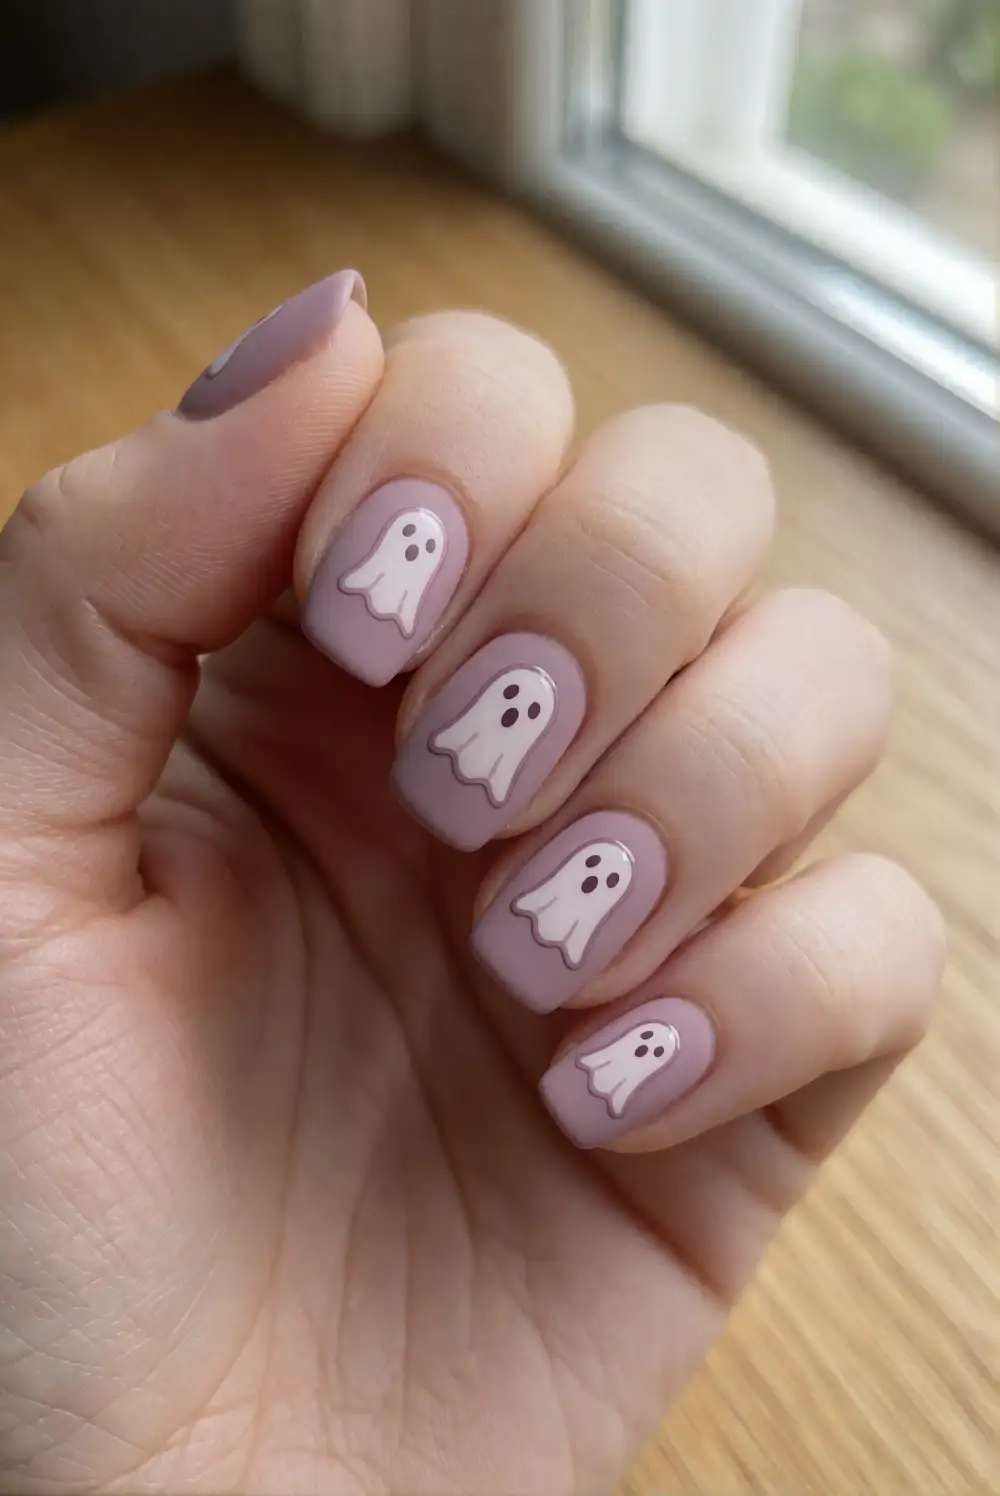
Mix matte and glossy finishes for a modern take on tiny ghost nail art. Apply a muted mauve, charcoal, or soft beige base and allow it to dry. Paint small ghosts with a fine brush using a coordinating polish, then add their eyes after the shapes set. Apply a matte top coat over the whole nail. When it is dry, use a thin brush to trace a clear glossy outline or add a small glossy detail to each ghost.
The finish contrast is easiest to see when the base color is medium or deep, but it also looks subtle and pretty over pale polish. Keep the glossy accents fine so they catch the light without obscuring the ghost silhouettes. Work on completely dry polish to prevent the matte layer from smudging. You can also leave the ghosts matte and add a glossy curved line beneath them for a simple floating effect that feels polished and understated.
Tiny ghost nail art is an easy way to give your Halloween manicure a cute seasonal touch. Choose a design that suits your polish collection, keep the details simple, and finish with a top coat for a smooth, lasting look.








