
Give short square nails a Halloween makeover with wearable designs that balance glossy dark polish, playful seasonal colors, and spooky little details. These manicure ideas range from elegant French tips to charming ghosts and spiderweb accents, with practical steps for recreating each look at home. Choose a favorite design or mix coordinating details across your nails for a polished seasonal set.
Glossy Black French Tips on Short Square Nails
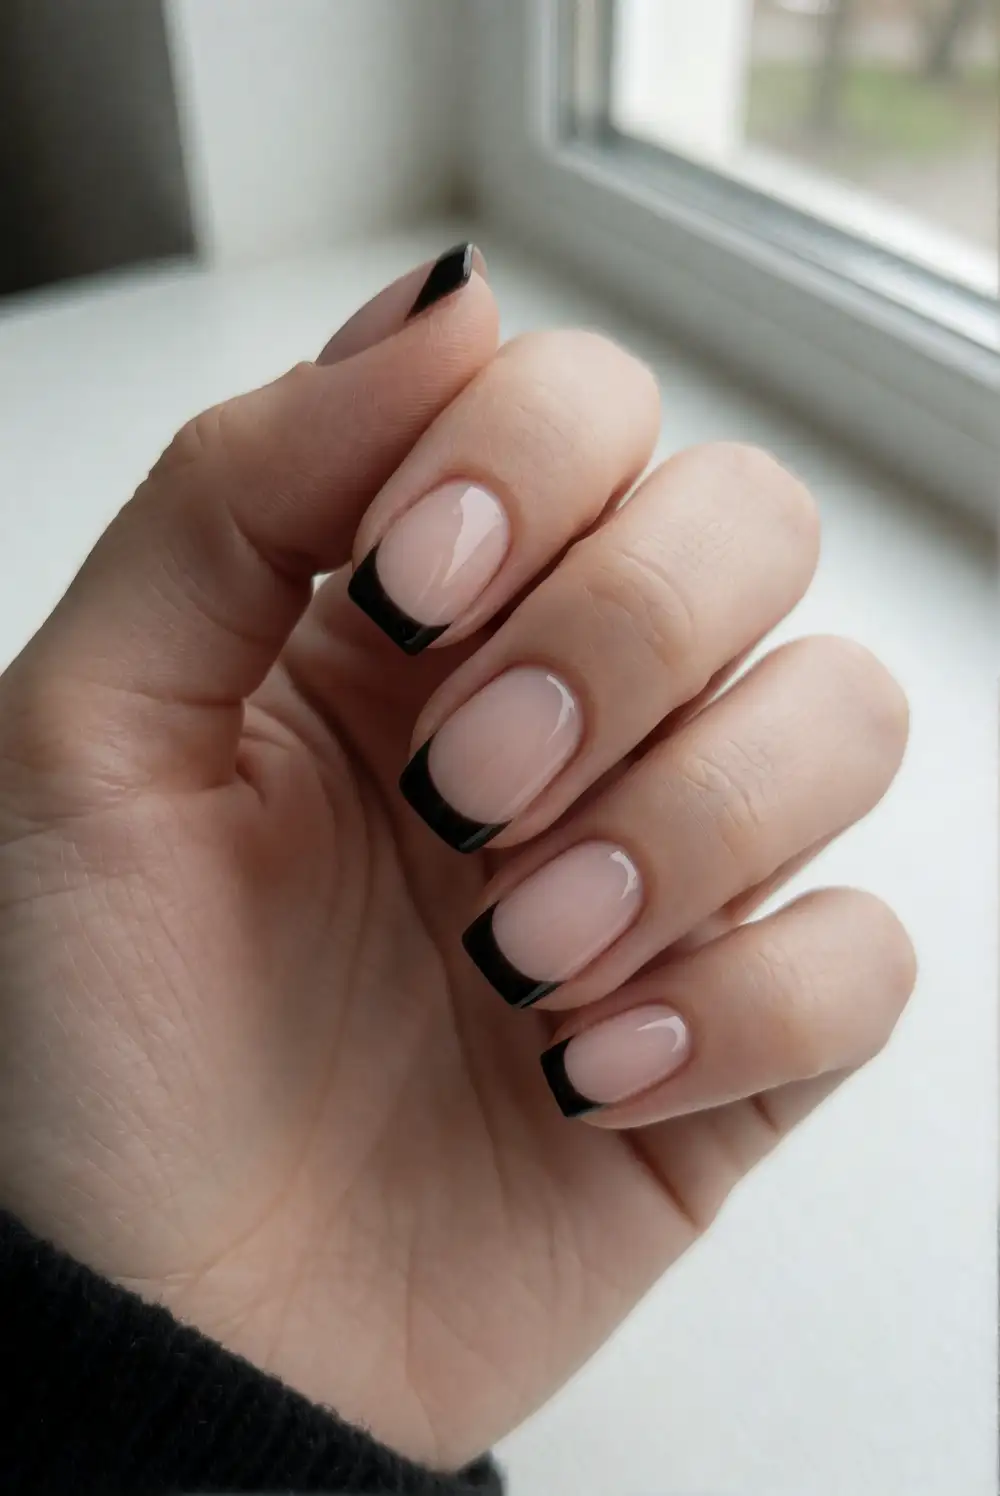
For a sleek Halloween manicure, paint each short square nail with a sheer nude or pale pink base and let it dry completely. Use a fine nail-art brush to trace a curved black tip along the free edge, following the squared shape rather than making a deep smile line. Build the polish in thin coats for an even, opaque finish, then seal the design with a glossy top coat that smooths the edges.
Keep the black tips narrow to make short nails look crisp and balanced, or vary their depth slightly for a relaxed, hand-painted finish. A single accent nail with a tiny silver star or a fine black line adds interest without crowding the manicure. Pair the look with a dark outfit or wear it as a polished alternative to a full black set throughout the Halloween season.
Black Cat Silhouettes with Crescent Moons
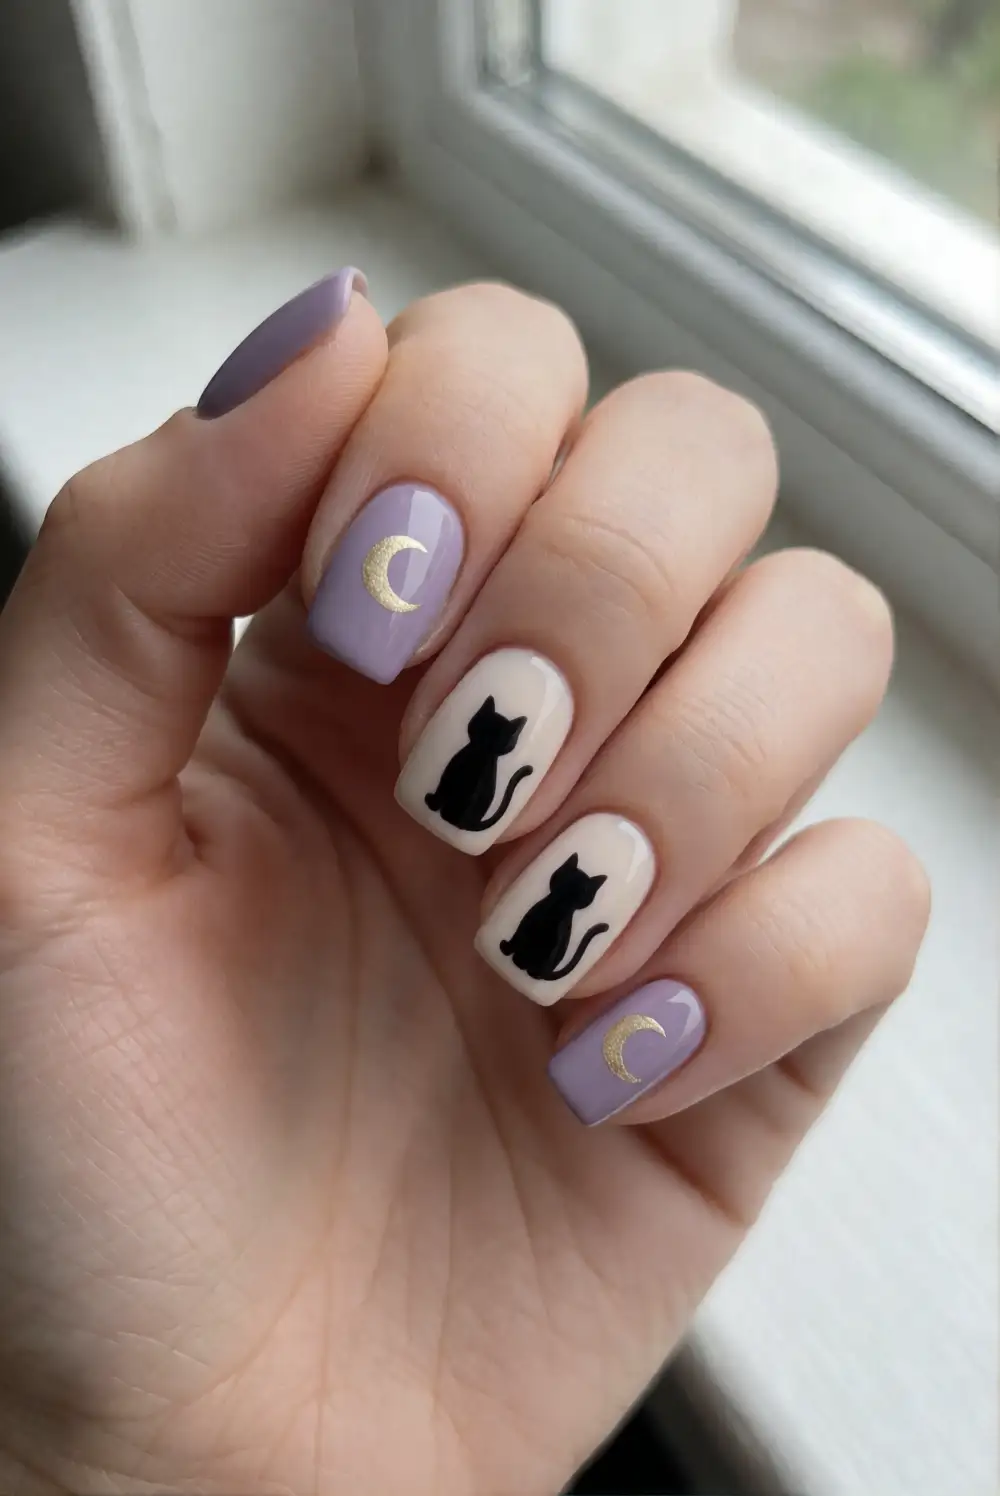
Paint the nails a soft cream, dusty lavender, or muted orange, then choose one or two accent nails for a simple black cat silhouette. With a small nail-art brush, make a rounded oval for the body, add a curved tail, and paint two pointed ears above a small head. Place a slim crescent moon beside the cat using pale gold or cream polish, then finish the remaining nails with a coordinating solid color.
Keep the cat shapes bold and uncomplicated so they remain clear on a short nail; tiny facial details are optional. A glossy top coat brings out the contrast, while a matte finish gives the design a softer, illustrated feel. Try one cat on each ring finger for a balanced pair, or place a single silhouette on a thumb as a playful detail.
Blood-Red Drip Tips with Glossy Finish
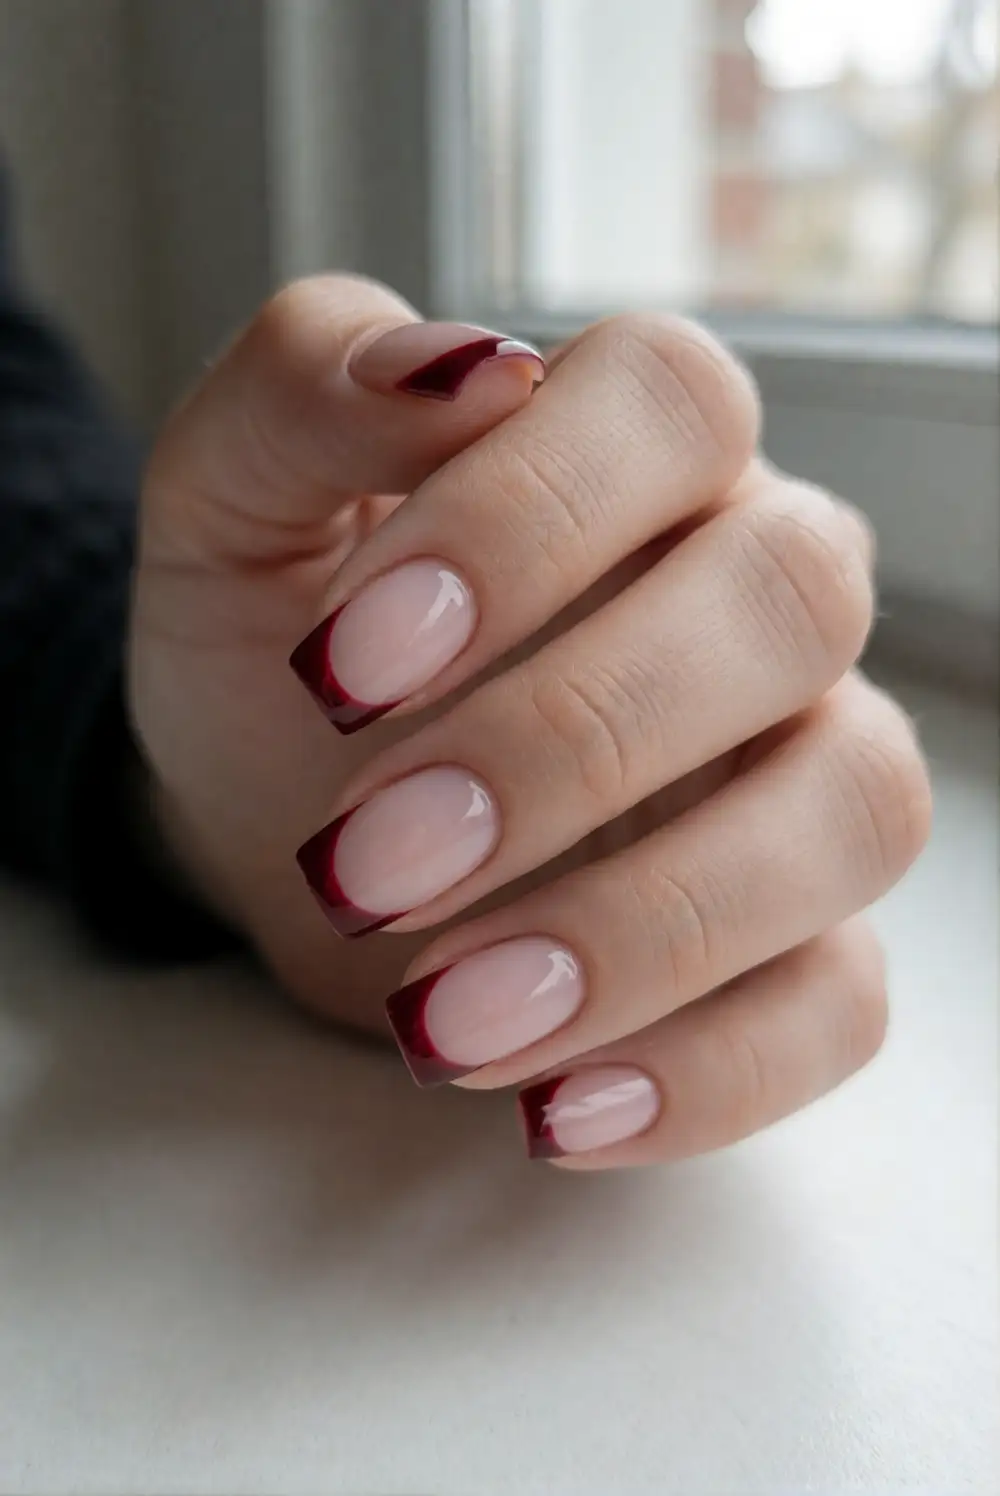
Start with a sheer blush or milky nude base on short square nails and let it dry before adding the red detail. Paint a deep red band across each nail tip, then use a fine brush to pull a few rounded drips down toward the center of the nail. Vary the drip lengths while leaving plenty of base visible. Once the red polish is set, apply a clear glossy top coat to give the manicure a smooth, glassy finish.
For a more wearable effect, keep the drips on just two accent nails and use plain red French tips on the rest. A dark cherry shade looks refined, while a brighter red makes the seasonal detail stand out. Work with small amounts of polish so the drip shapes stay rounded rather than spreading, and allow each layer to dry before adding the next.
Ghost Accent Nails in Milky White
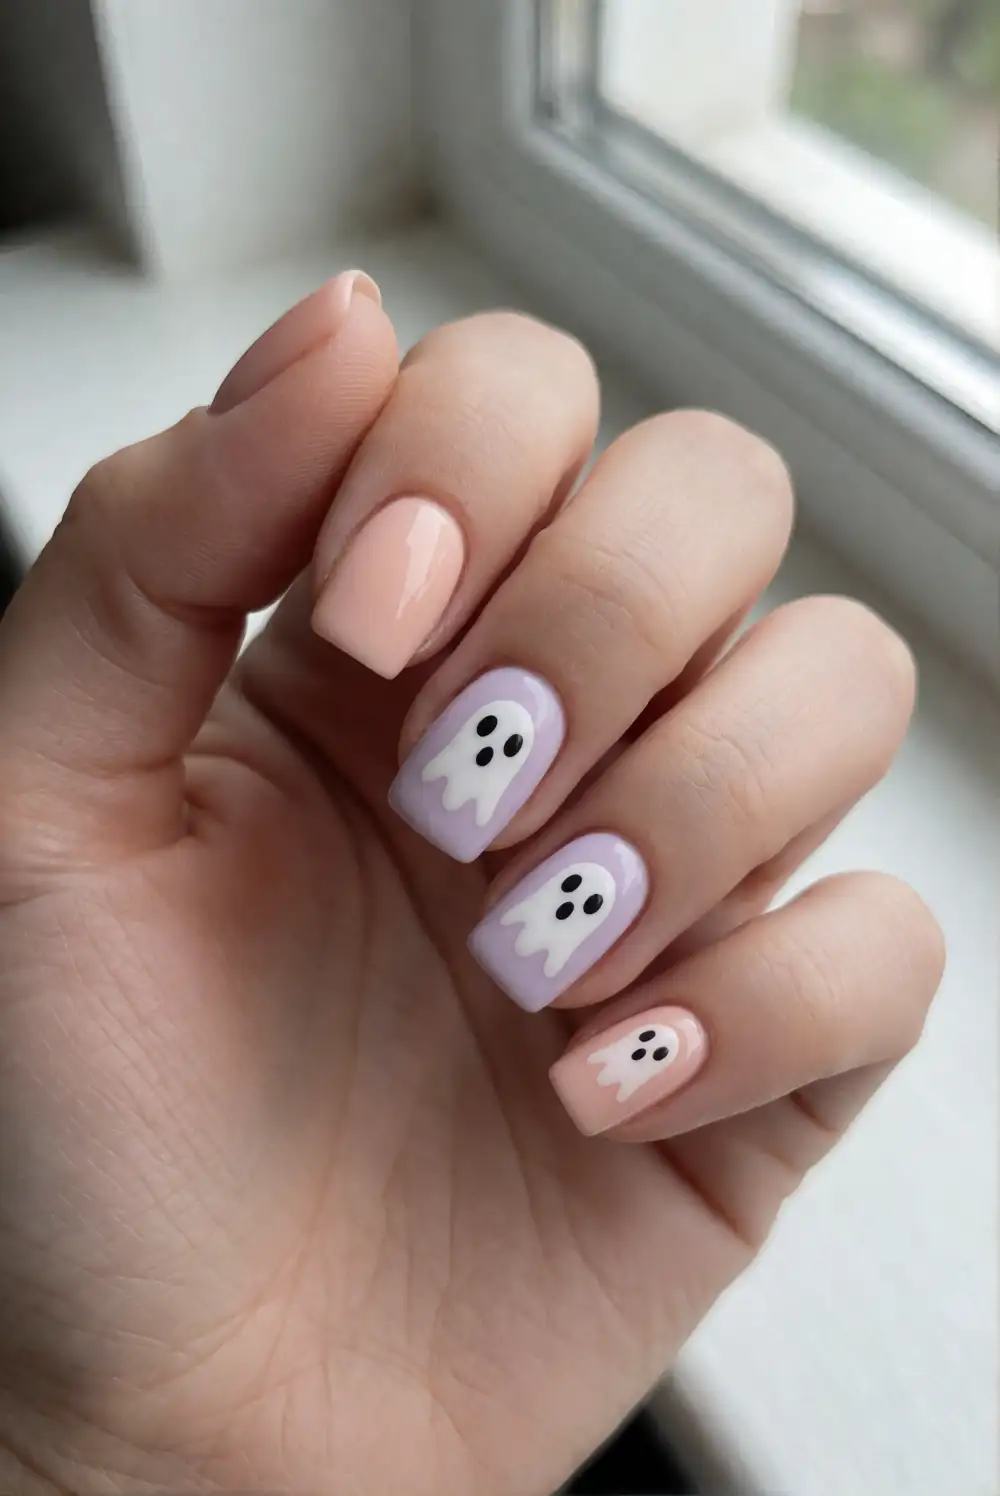
Apply a muted gray, soft peach, or pale lilac base to the nails, leaving one or two accent nails for cheerful ghost shapes. Use milky white polish to paint a rounded dome with a softly scalloped bottom edge, then let it dry. Add two tiny black eyes with a fine brush or dotting tool, keeping the expression simple. Finish with a glossy top coat once all the details have set.
Ghosts look especially sweet when they are small enough to leave some colored background around them. Place one on each ring finger, or make a single ghost the focus of the manicure and keep the other nails in a matching solid shade. For a subtle variation, add a pale silver star beside the ghost or use a sheer shimmer base instead of a flat color.
Tiny Spiderweb Corners on Charcoal Polish
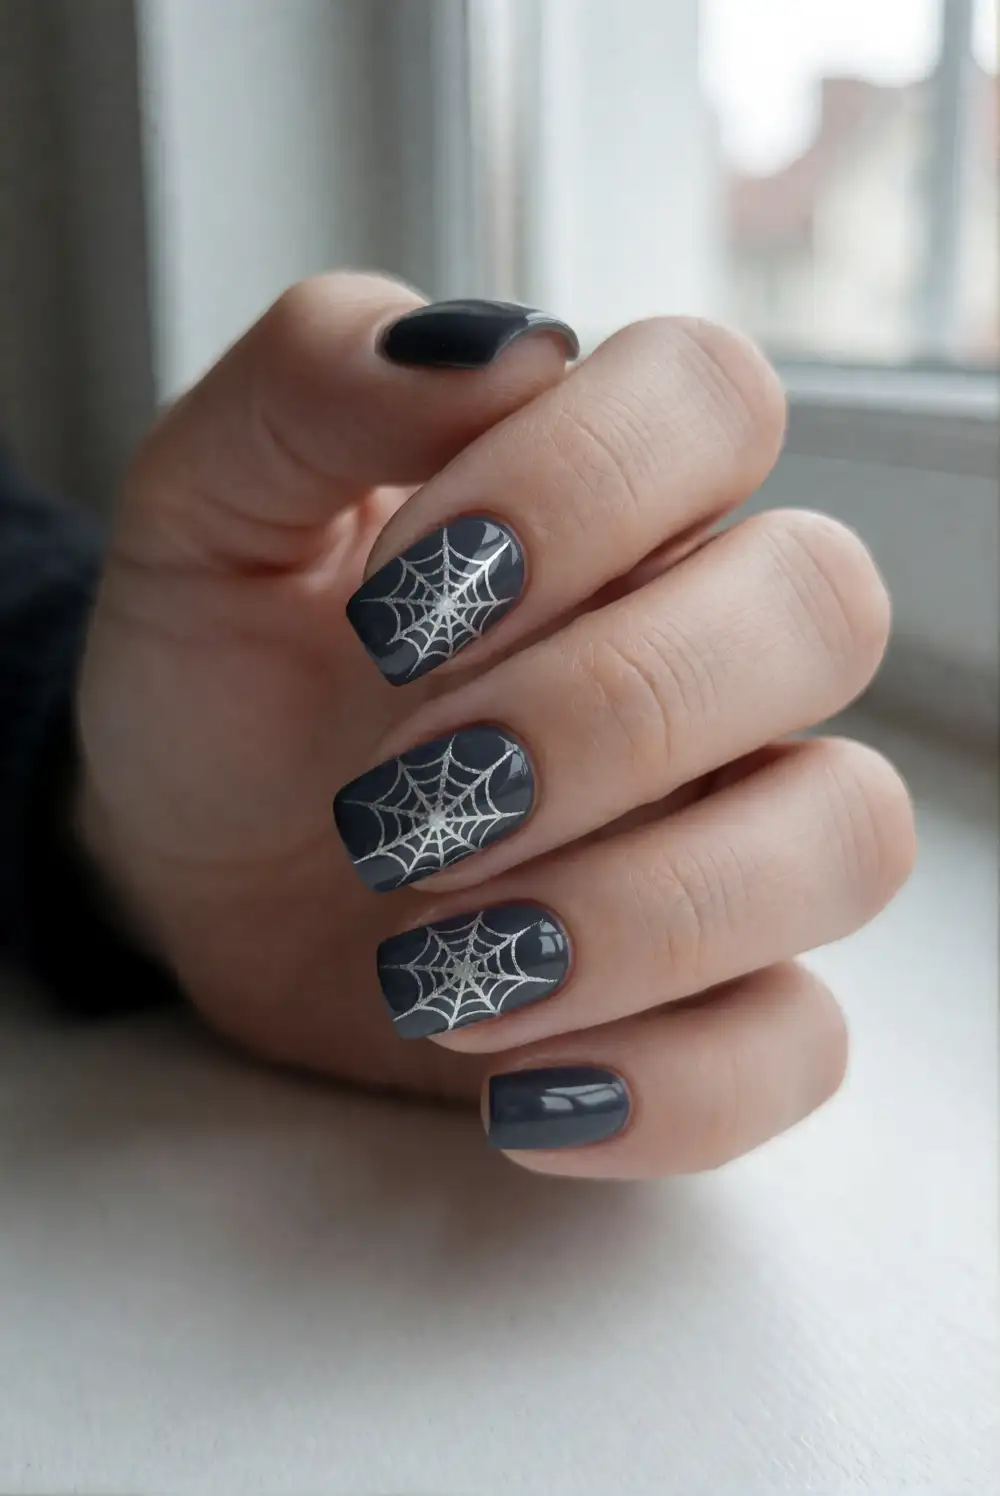
Cover short square nails with charcoal polish and allow the base to dry fully. On an accent nail, use a fine liner brush and pale gray or silver polish to draw several thin lines from one corner, spreading them outward like a small fan. Connect the lines with gently curved strokes to form a web tucked into the corner. Repeat on another nail if desired, then protect the delicate lines with a clear top coat.
A single corner web gives the design breathing room and keeps the manicure from looking crowded. For a softer contrast, choose a smoky gray base and use cream polish for the web; for extra shine, add a fine silver accent line. Keep the web near the cuticle corner or outer tip, and use the same placement across accent nails for a considered, cohesive look.
Pumpkin Orange Side-Swept French Tips
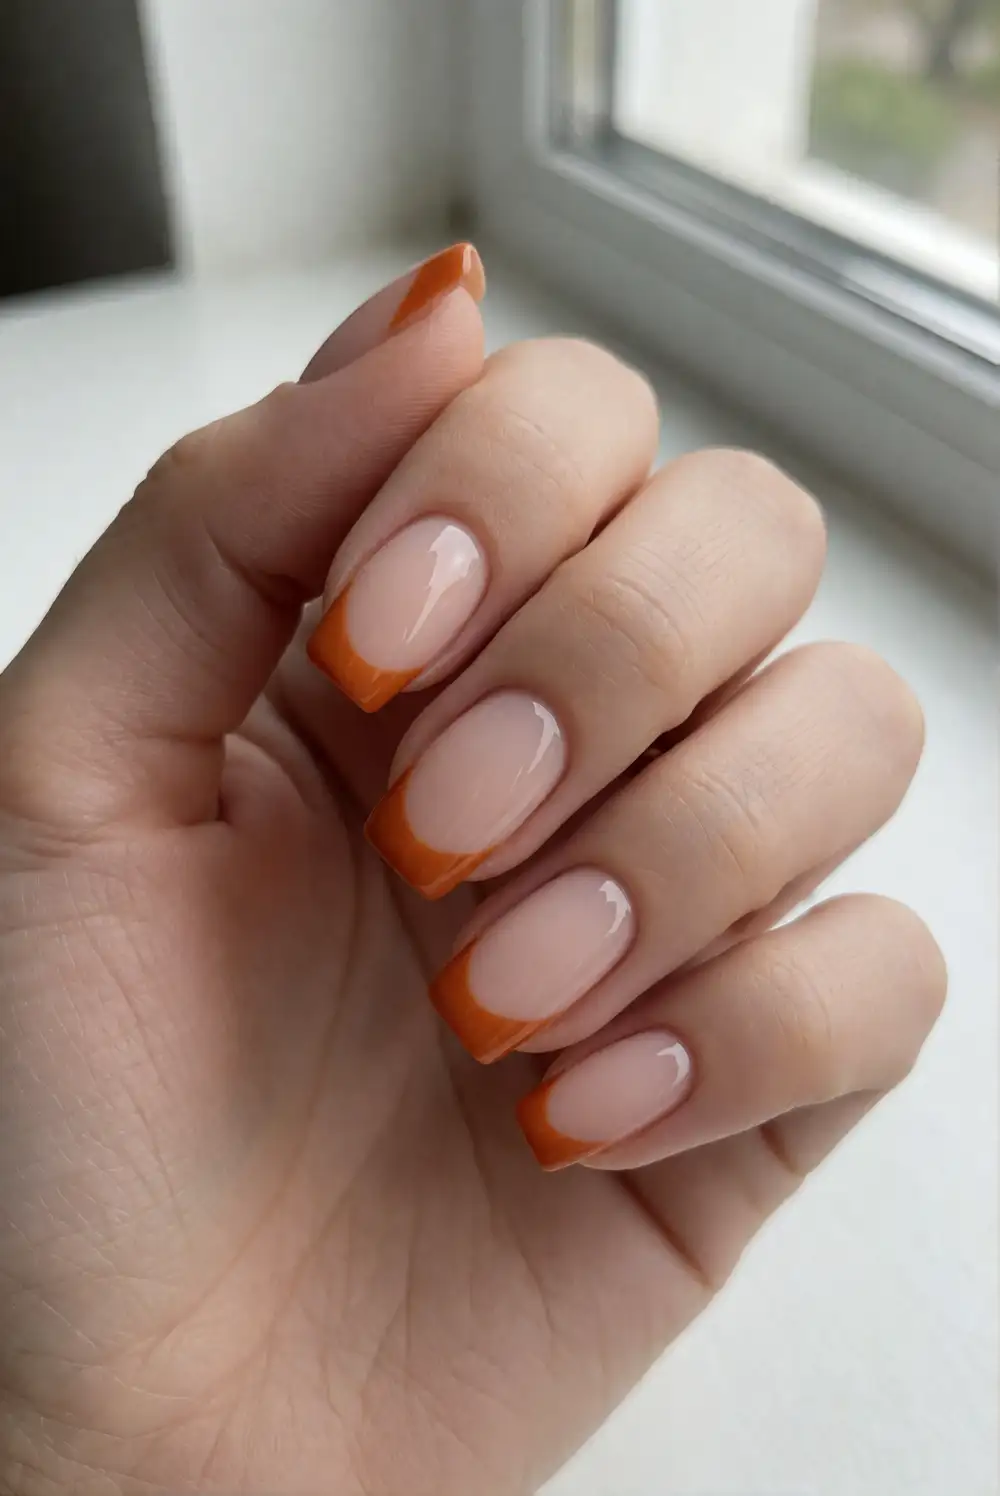
Begin with a sheer beige or pale peach base, then add a pumpkin-orange tip that sweeps diagonally across one corner of each short square nail. Use a fine brush to shape a clean curved edge, keeping the orange band slim near the side and slightly wider toward the center. Let the polish dry before applying a glossy top coat. The angled placement adds a lively seasonal accent without covering the whole nail.
Choose a creamy orange for a soft, classic look or a deeper burnt-orange shade for more contrast. A thin gold line along the edge can add a dressed-up finish, while one tiny green leaf on an accent nail hints at a pumpkin shape. Keep the rest of the manicure simple so the diagonal tips stay prominent, and match the shade to a cozy sweater or autumn accessory.
Chrome Bats over Midnight Purple
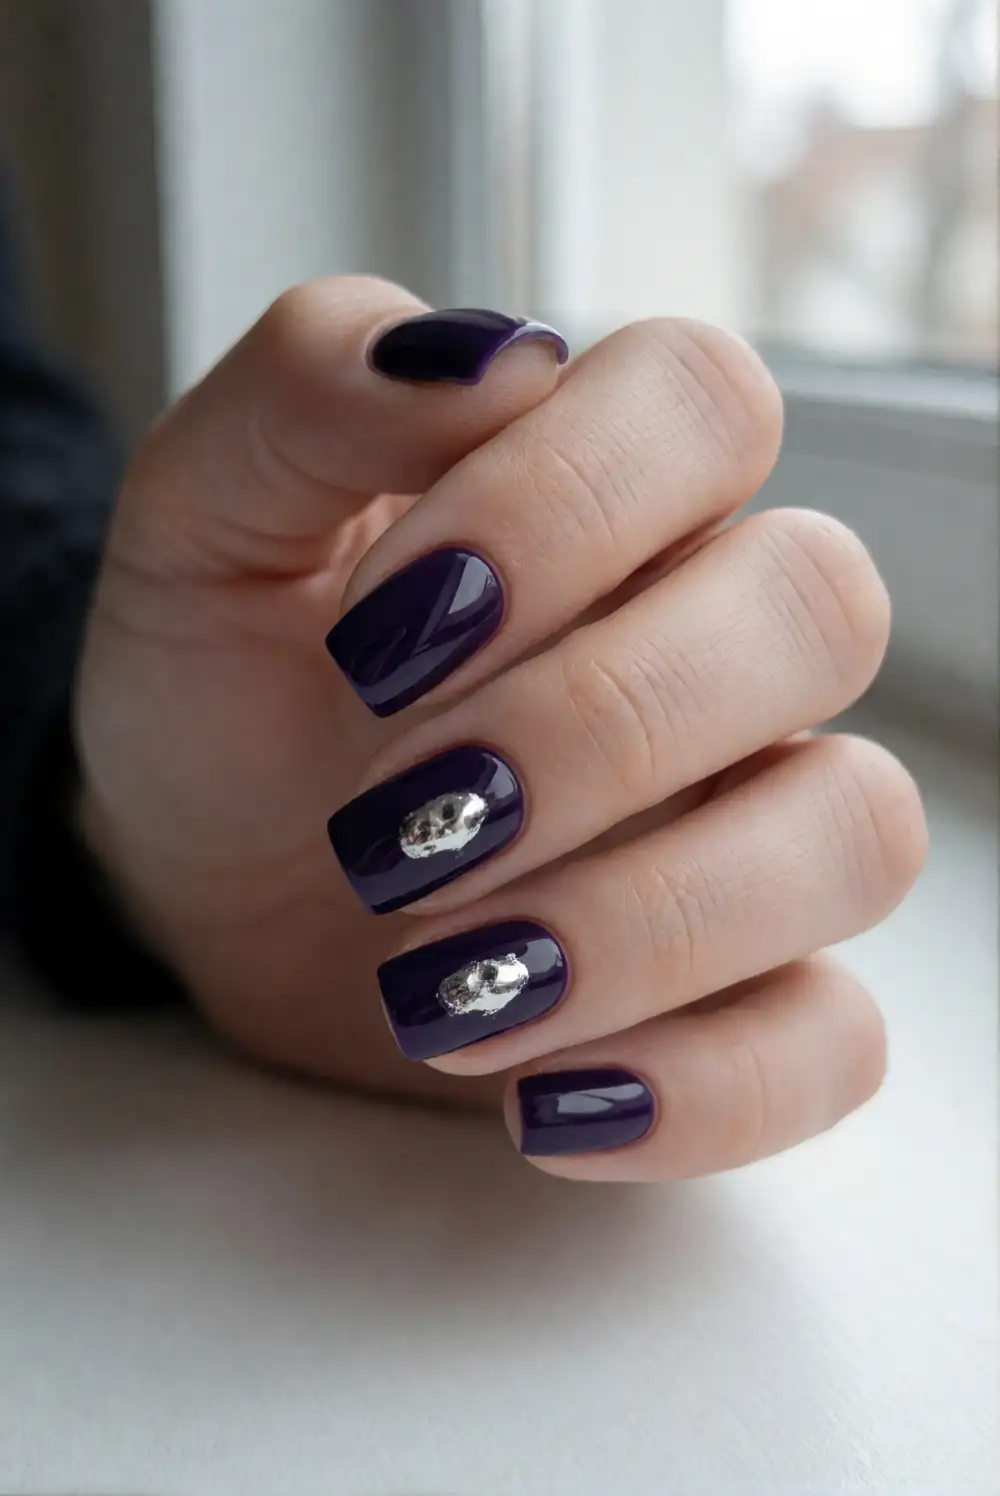
Paint the nails a deep midnight purple and let the color dry before adding a few bat accents. With a fine brush, create each bat using a small central body and two angular wings, then apply a chrome or silvery polish for a reflective finish. Keep the shapes simple and place them on one or two accent nails. Seal the completed design with a clear top coat to protect the metallic detail.
Silver bats stand out sharply against a nearly black purple base, while a muted lavender background creates a softer contrast. Vary the bat sizes slightly to suggest movement, but leave generous open space around each shape on short nails. For a coordinated set, paint the remaining nails in solid purple and add a discreet silver accent line to one nail rather than repeating the bat motif everywhere.
Mismatched Candy-Corn Color Blocking
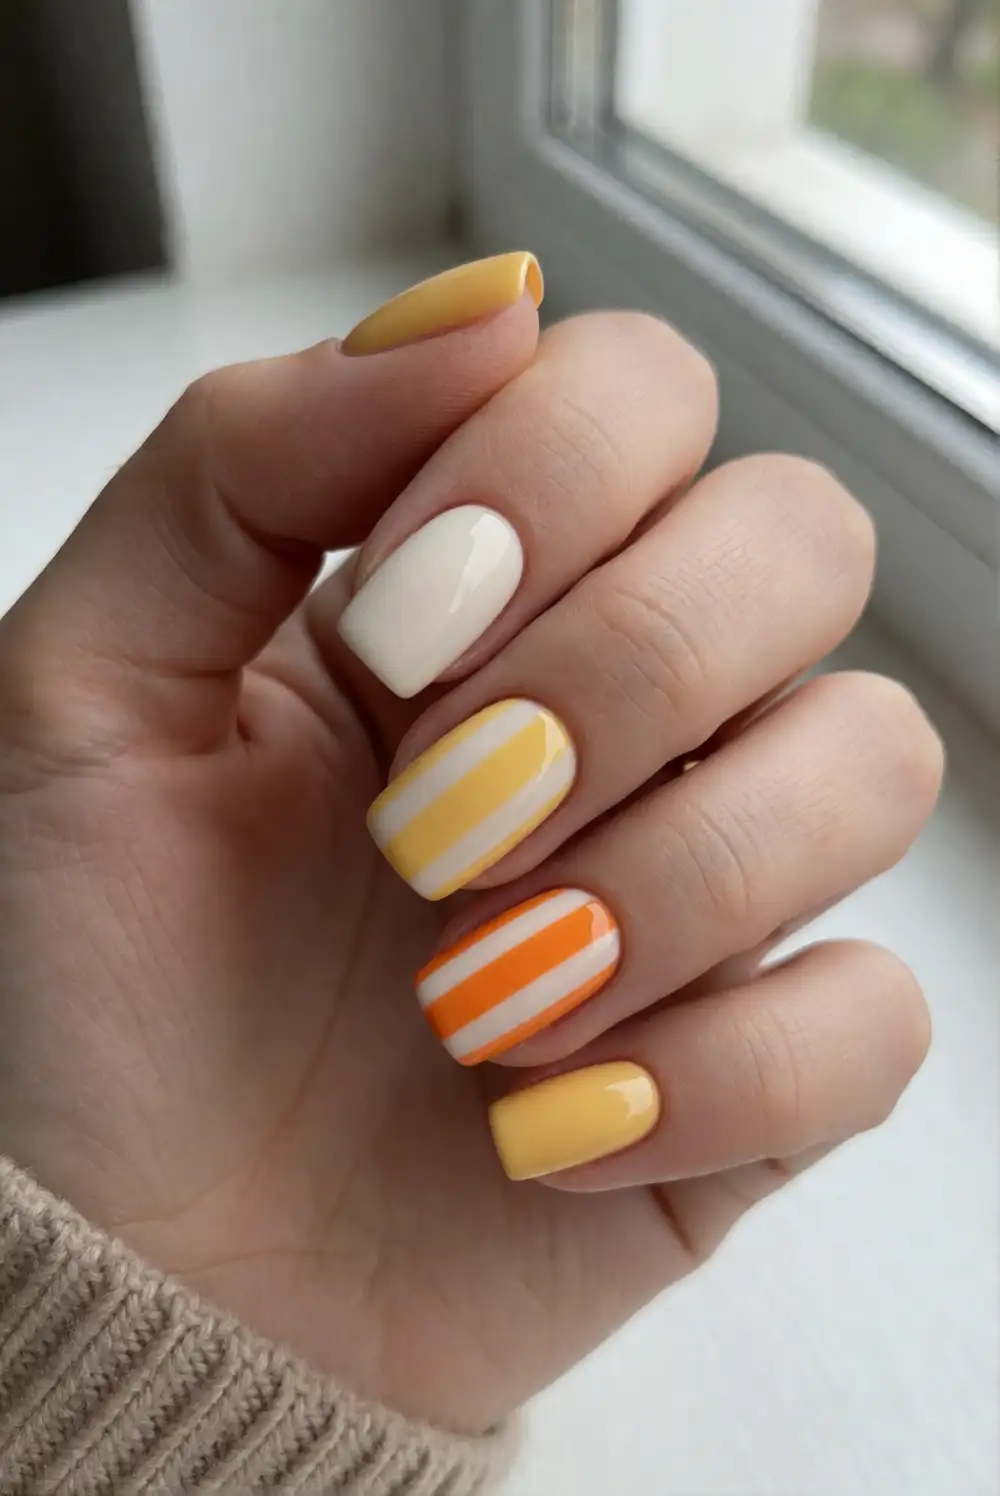
Use creamy white, sunny yellow, and orange polish to make a playful color-blocked manicure inspired by candy corn. Paint some nails in solid shades, and divide an accent nail into broad diagonal or horizontal bands with a fine brush. Allow each color to dry before adding the next so the edges stay distinct. A glossy top coat helps the bright blocks look smooth and gives the finished set a neat, cheerful shine.
On short square nails, two broad color sections can look cleaner than trying to fit many narrow stripes. Try a white base with a small orange corner and a yellow band, or alternate solid yellow and orange nails with one striped accent. If freehand lines feel tricky, use polish carefully along the natural edge of a small piece of nail tape and remove it after the polish is touch-dry.
Smoky Marble in Plum and Black
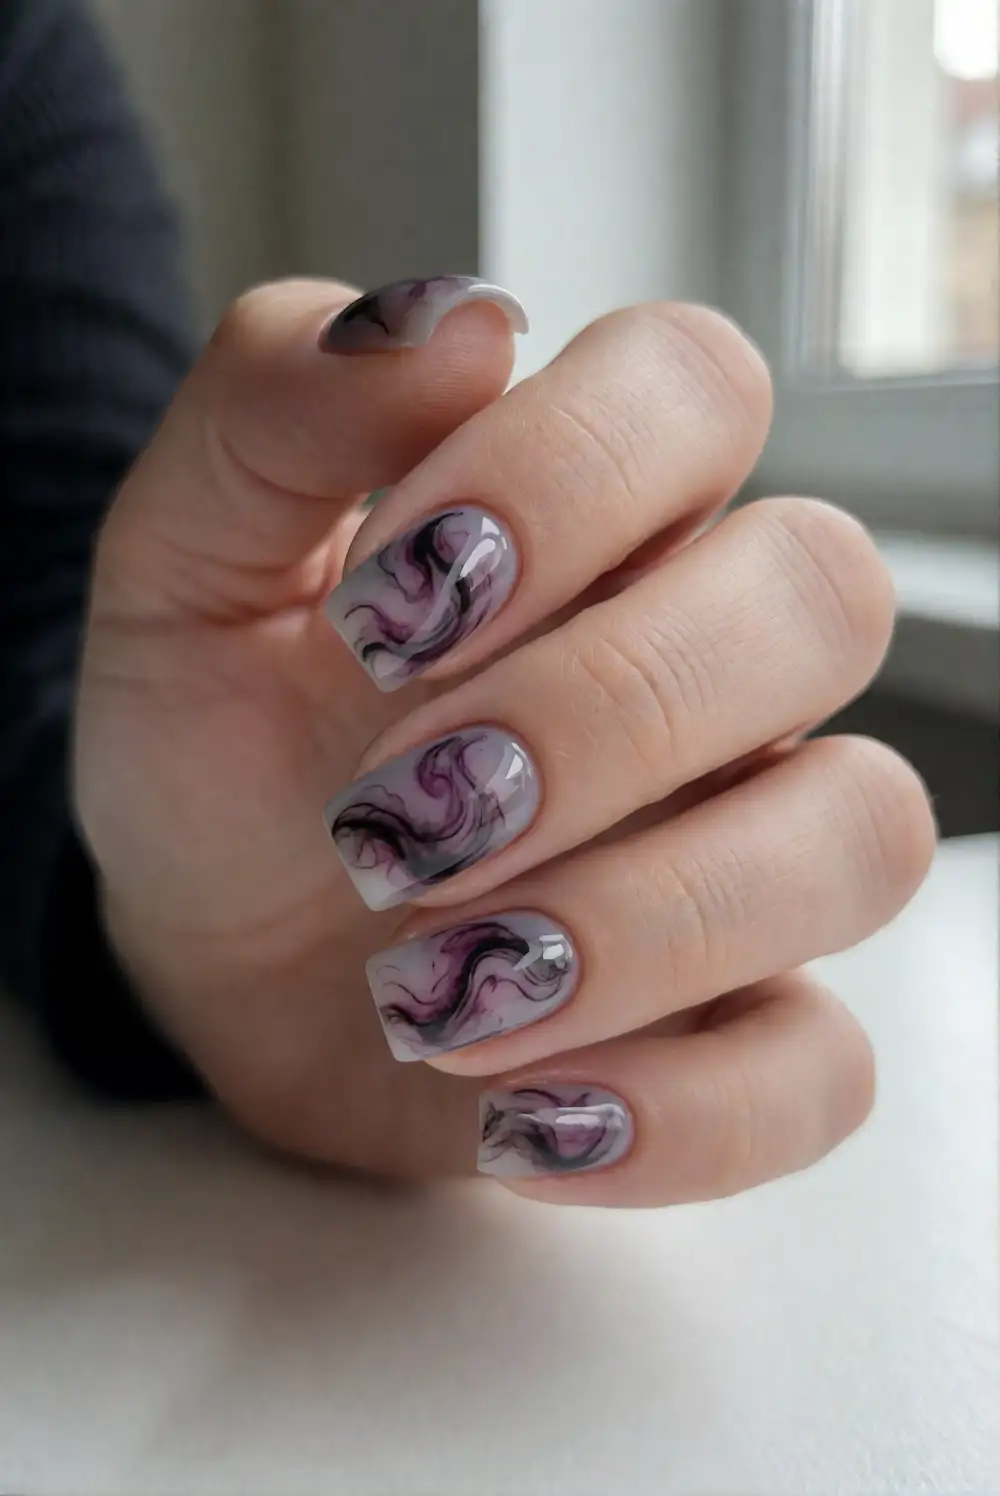
Apply a pale mauve or sheer gray base and let it dry before layering a little plum and black polish onto an accent nail. While the colors are still workable, use a fine brush to gently swirl their edges together, creating soft smoky ribbons rather than blending them into one flat shade. Repeat on one or two nails, then finish the set with a glossy top coat to enhance the marbled depth.
Use a light touch and just a few strokes so the pattern stays airy on a short nail. A small amount of metallic silver can catch the light between the darker swirls, while a matte top coat gives the design a velvety appearance. Keep the other nails in solid plum or mauve to make the marbled accents feel intentional and easy to wear.
Negative-Space Eyes on Matte Black Nails
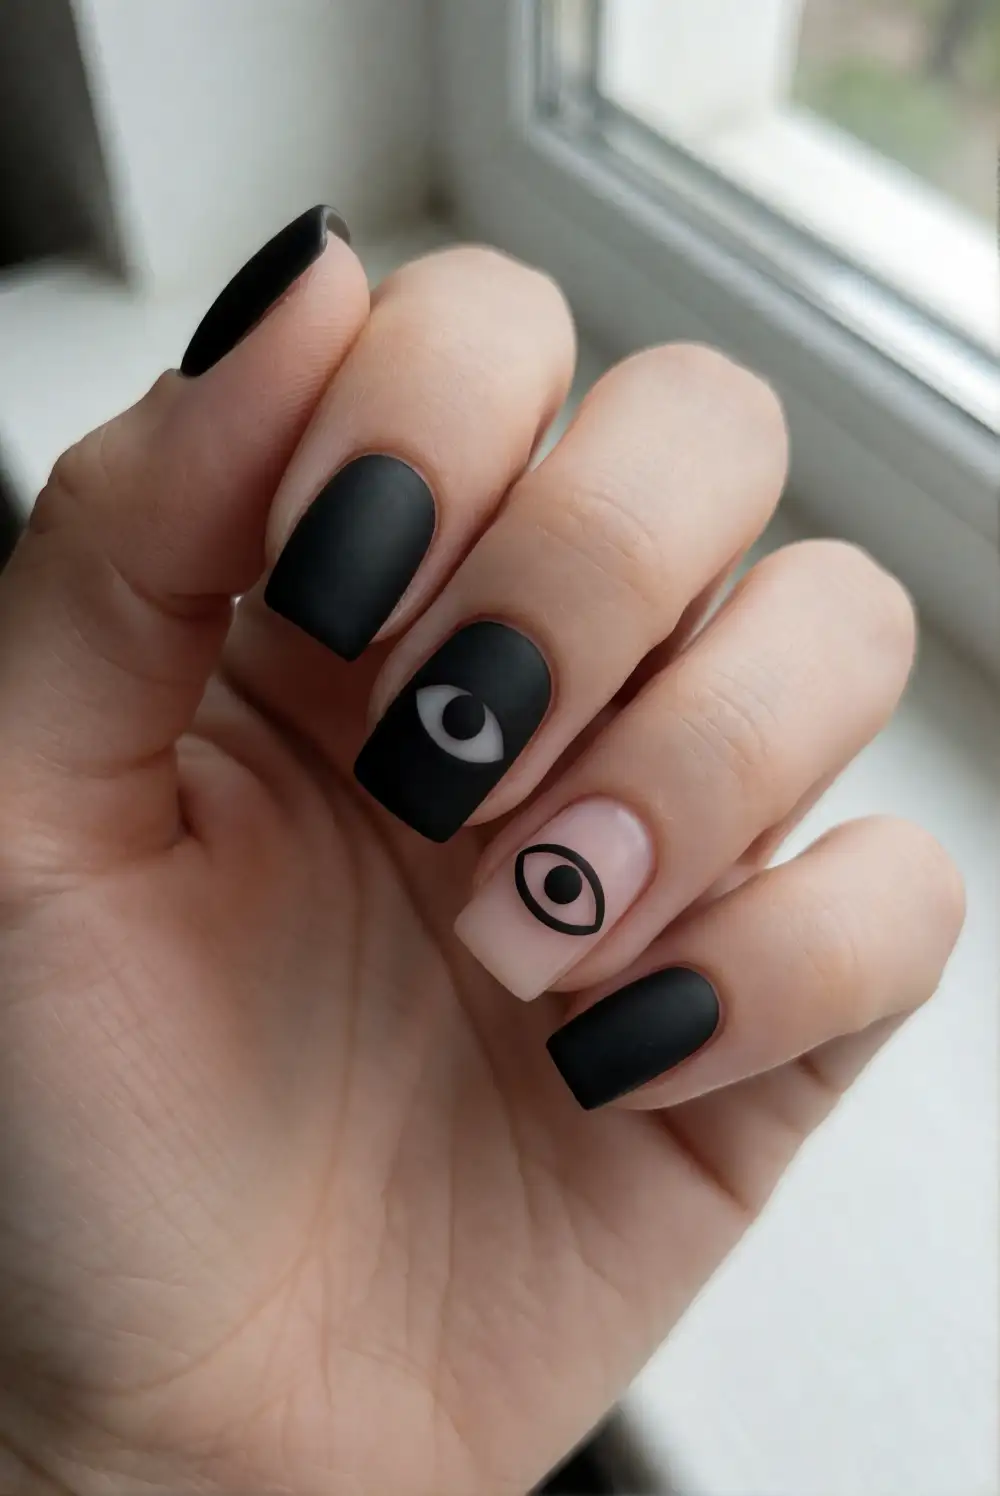
Paint short square nails with matte black polish, leaving one or two accents for simple eye shapes. On a bare or sheer base, draw two curved black outlines with a fine nail-art brush and add small pale centers after the outlines dry. Alternatively, paint a black nail and use a pale polish for the eye shapes. Keep the design graphic and minimal, then apply the appropriate top coat to maintain either a matte or glossy finish.
Place the eyes near the center of an accent nail, leaving a little open space around them so the motif reads clearly. A sheer nude base feels subtle, while a cream accent creates stronger contrast against a dark manicure. To tie the look together, keep the remaining nails matte black and add just one eye detail on each hand for a quirky finish that still feels polished.
Whether you prefer glossy black tips, bright pumpkin accents, or tiny seasonal motifs, short square nails offer plenty of room for a Halloween manicure that feels polished and personal. Choose one design for a coordinated set or combine a few related details for a playful mix of spooky color and clean, wearable shapes.








