
Give your Halloween manicure a crisp, classic look with easy black-and-white nail art. These wearable ideas range from simple polka dots and French tips to playful ghosts, cats, and spiderwebs, with approachable steps for creating each design at home.
Glossy Black Nails with a White Accent
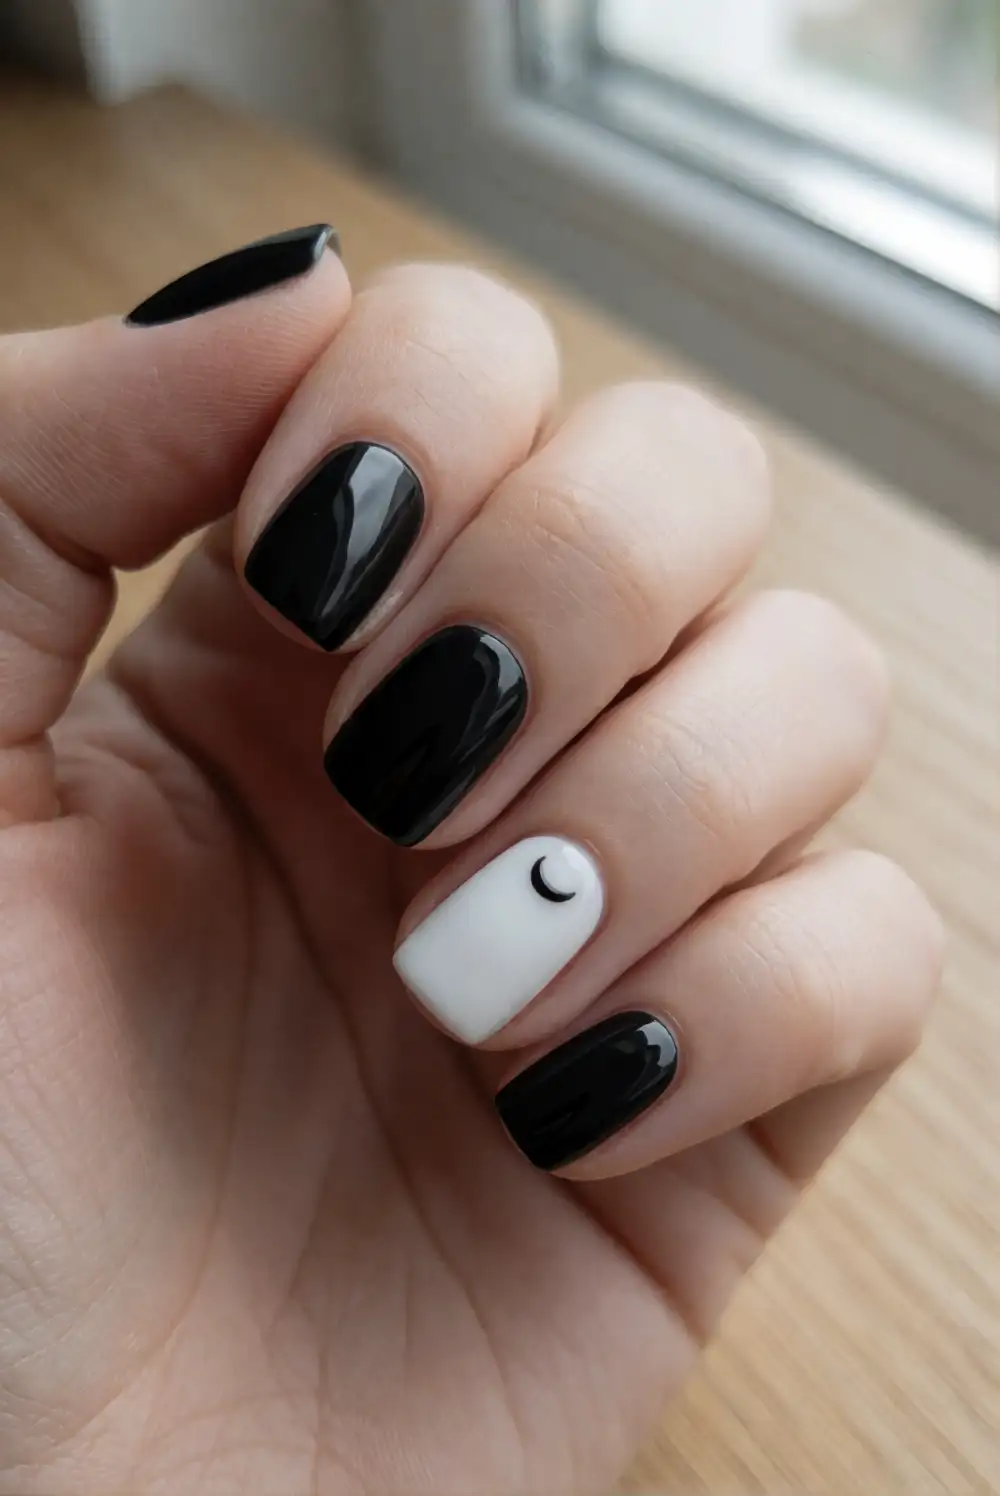
Paint most nails with glossy black polish and reserve one accent nail on each hand for an opaque white base. Once the polish is fully dry, use a fine nail-art brush to add a tiny black crescent or a few neat dots to the white nails. Finish every nail with a clear top coat. This simple contrast makes a polished Halloween manicure without requiring elaborate drawing or a large collection of supplies.
Keep the accent detail small so the manicure stays clean and easy to wear beyond a costume party. A black polish with a subtle shimmer can add dimension while preserving the monochrome palette. If freehand details feel tricky, use a dotting tool or the rounded end of a bobby pin. Pair the finished nails with silver rings or a black outfit, or leave the accessories minimal so the crisp color contrast stands out.
White French Tips on a Black Base
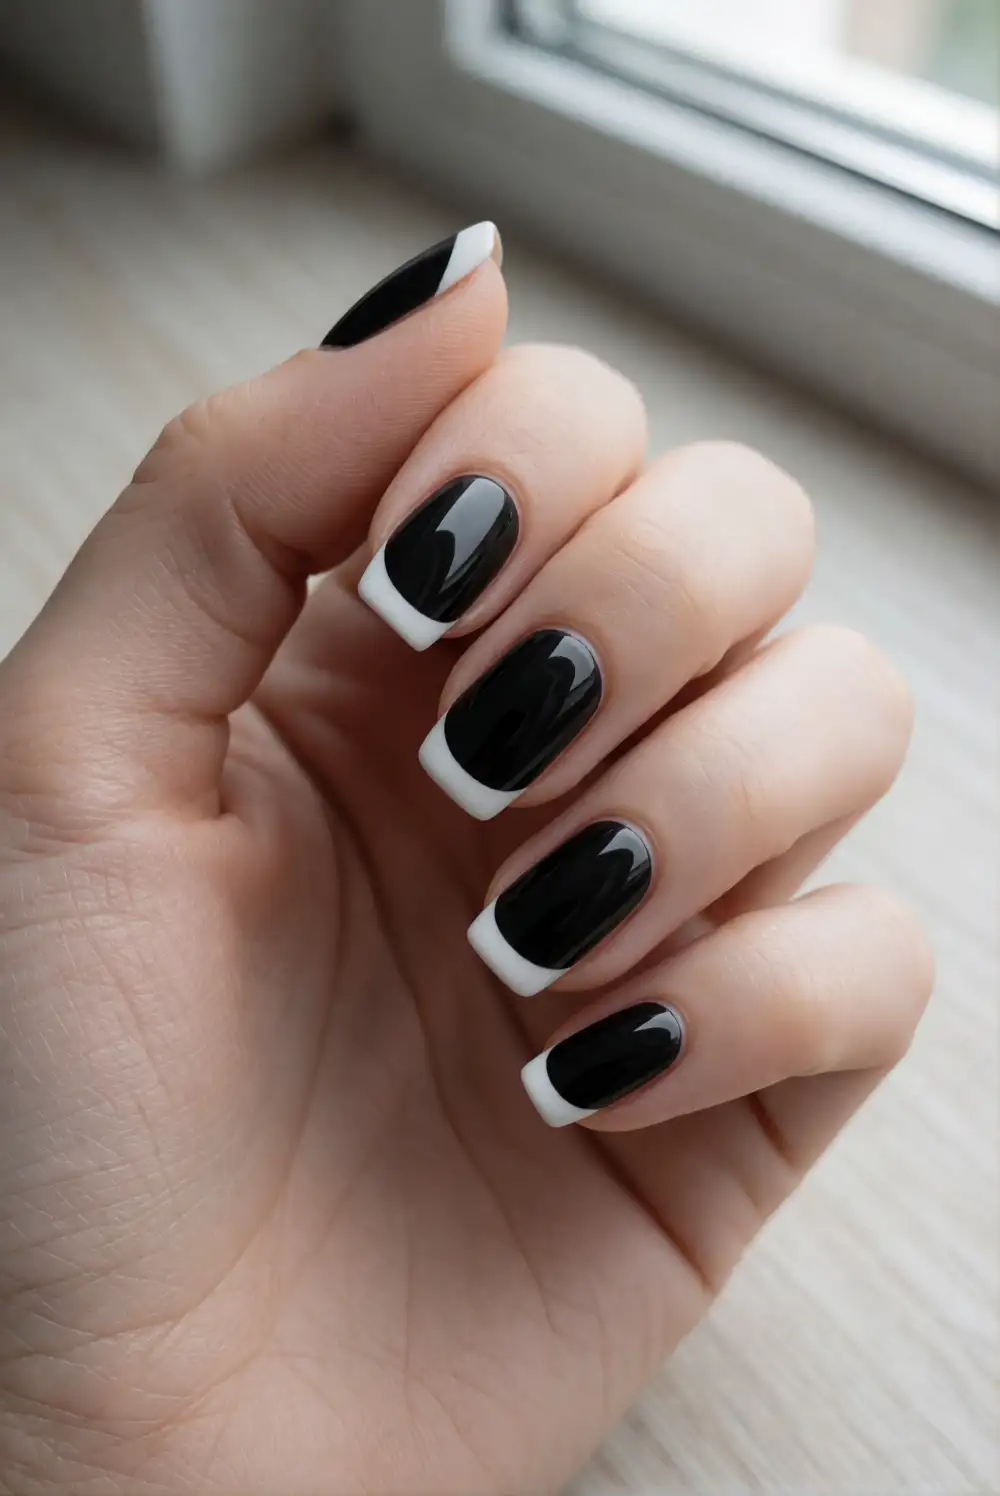
Apply black polish across each nail and allow it to dry completely. Use a fine brush and white polish to draw a curved tip along the free edge, following the natural shape of the nail. For more control, place small dots to map the curve, then connect them with a smooth stroke. Seal the design with a glossy top coat, taking care to brush across the nail edge to help prevent early chipping.
Short, softly rounded nails make this reverse-color French manicure especially practical, while longer almond shapes give the white tips more room to curve. Keep the tip narrow for a subtle finish or make it wider for stronger contrast. If a line needs tidying, a small brush dipped in polish remover can sharpen the edge before top coat. This design works well with everyday clothes and adds a Halloween touch without relying on themed illustrations.
Minimal White Ghost Accent Nails
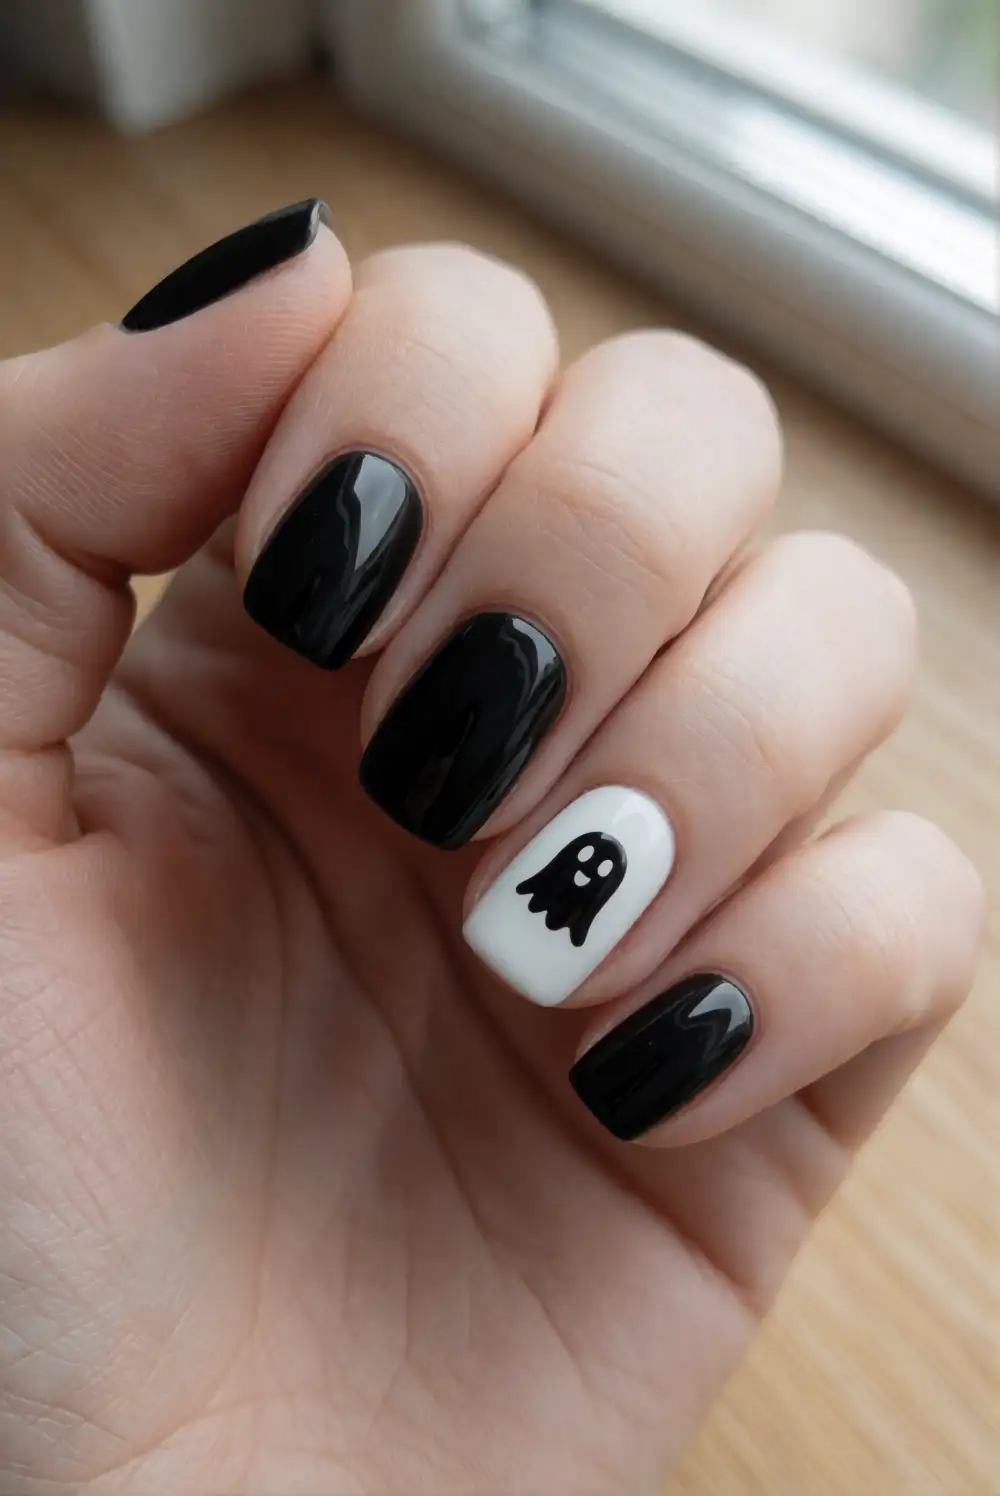
Start with a glossy black manicure, leaving one or two nails for a ghost design. On each accent nail, paint a small white oval with a fine brush, then gently extend its lower edge into a soft, wavy shape. Let the white polish dry before adding two tiny black eyes with a dotting tool. Finish with a clear top coat. The simple silhouette and restrained facial details keep the design recognizable while remaining tidy and approachable.
Place the ghost near the center of the nail, or angle it slightly so the wavy edge follows the nail’s shape. For an even simpler version, skip the face and use a plain white ghost silhouette against black polish. A milky white shade can soften the contrast, while bright white creates a graphic look. Keep the other nails solid black to give the accent art room to show, and use thin layers to help the design dry evenly.
Fine Spiderweb Corner Nail Art
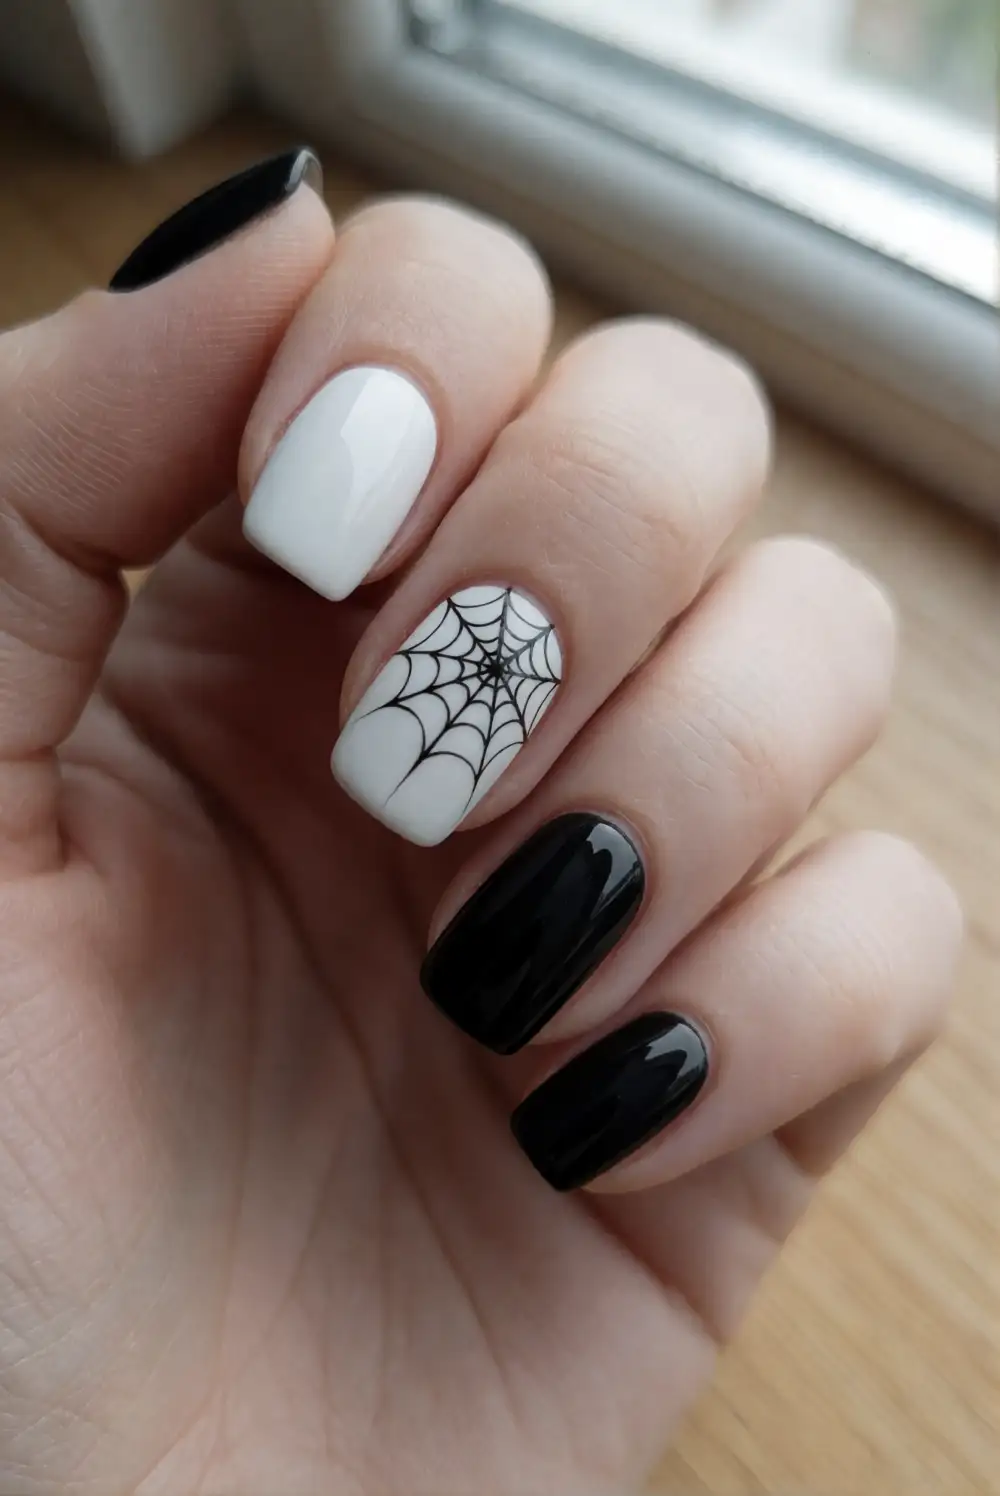
Paint nails with an opaque white base and let it dry thoroughly. On an accent nail, use a thin black nail-art brush to draw three or four fine lines radiating from one corner. Connect the lines with gently curved strokes to form a small web, keeping the pattern confined to the corner rather than covering the entire nail. Add a glossy top coat once the design is dry. The remaining nails can stay plain white or alternate with solid black.
A corner web is easier to draw than a full web because the short lines meet at one point and need only a few curved connectors. Rest your painting hand on a table for steadier strokes, and wipe excess polish from the brush before starting. Try the design on a thumb or ring finger where there is more space to work. For a softer finish, use a sheer ivory background and a charcoal line instead of stark black.
Black and White Checkerboard Nails
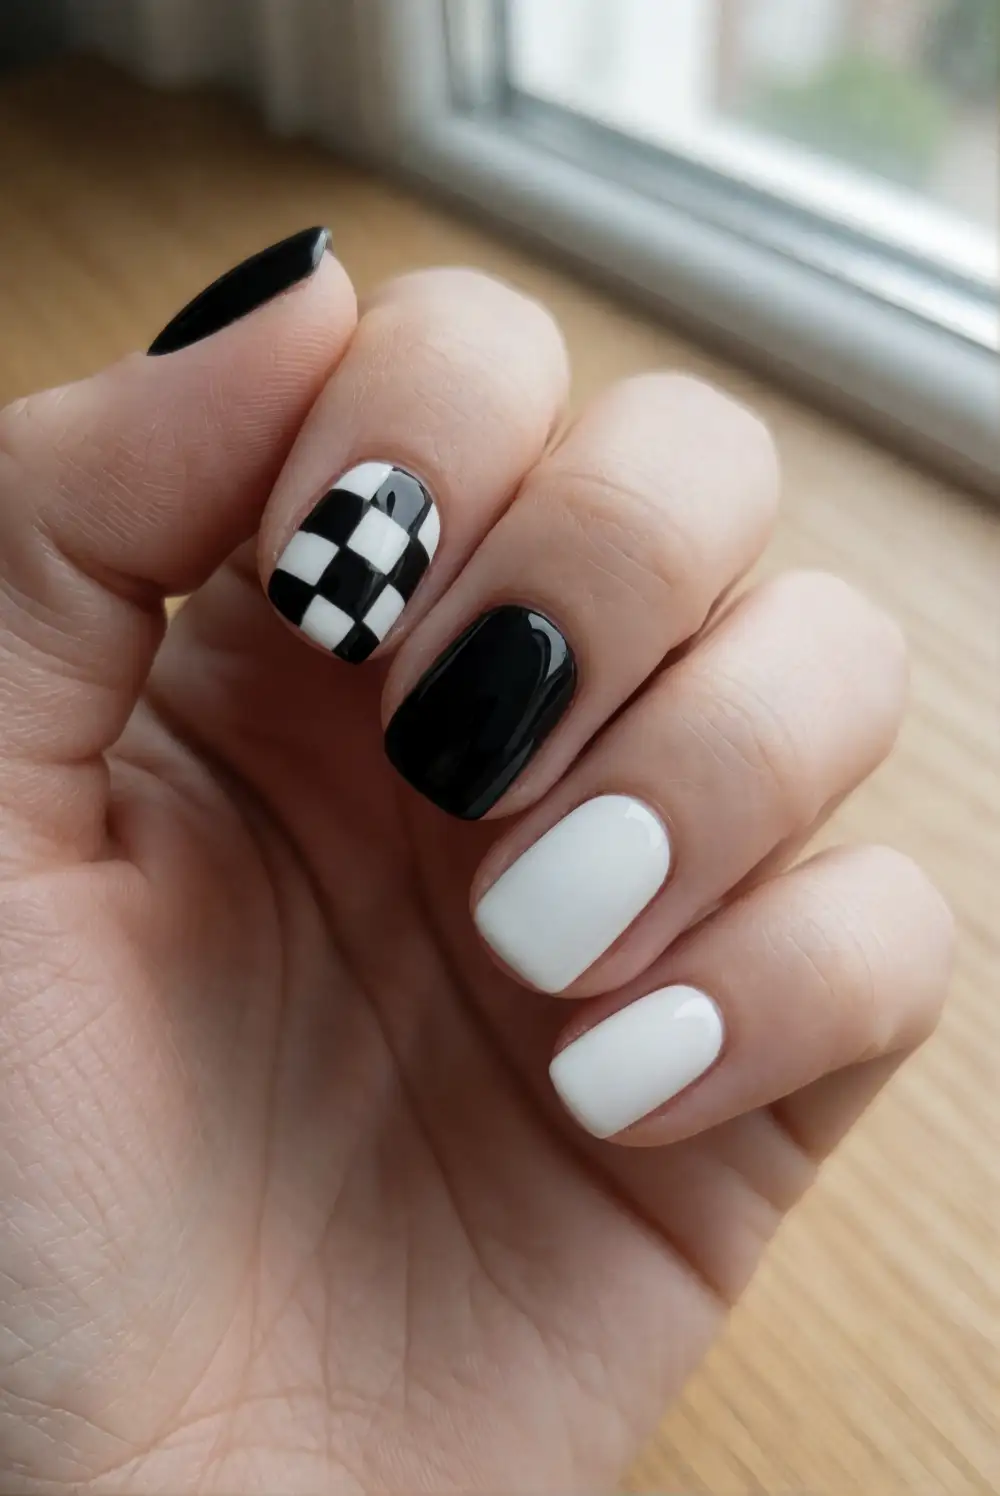
Apply a white base coat to an accent nail and let it dry completely. With a fine brush, paint a vertical and a horizontal black line to create a small grid, then fill alternating squares with black polish. Keep the other nails solid black or white so the checkerboard remains the focal point. If drawing a grid freehand feels difficult, use thin nail-art striping tape to guide the lines, removing it carefully once the polish is touch-dry.
Choose a single checkerboard accent for a subtle look, or repeat the pattern on several nails for a bolder manicure. Small squares suit shorter nails, while larger blocks read clearly on longer nail shapes. A matte top coat gives the graphic design a modern finish; a glossy coat makes the contrast feel crisp and classic. Keep the grid slightly irregular if desired, since a hand-drawn checkerboard can look charming without perfectly measured squares.
Black Cat Silhouettes on White Nails
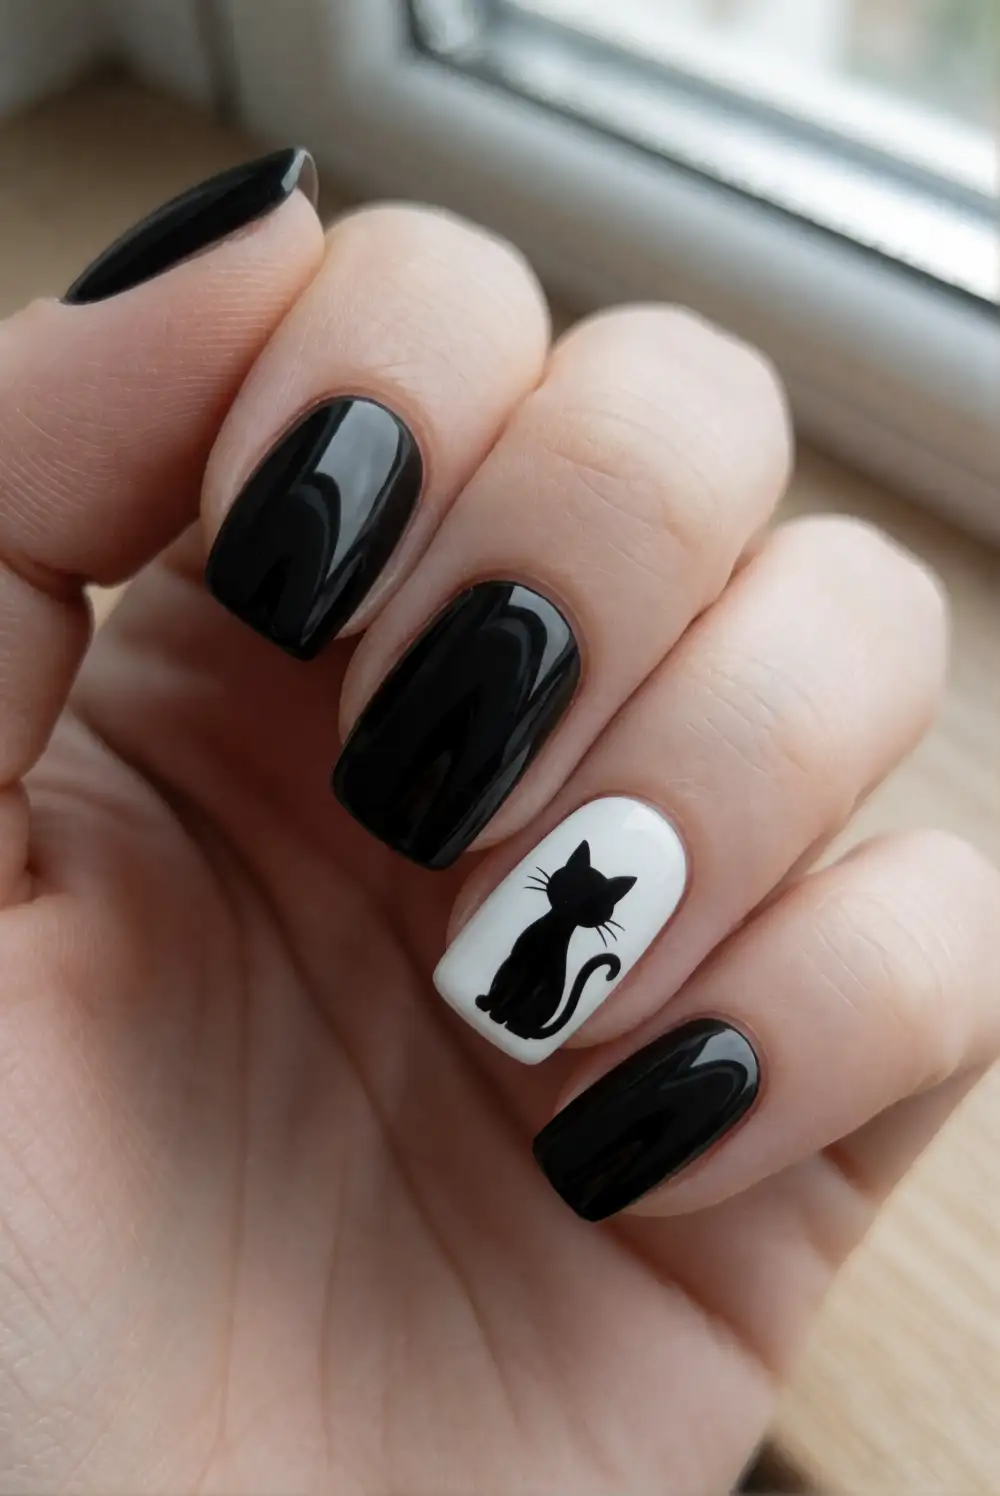
Paint one or two accent nails with opaque white polish and let them dry. Use a fine brush to create a small black cat silhouette: make a rounded body, add a small head, and draw two pointed ears with careful strokes. A curved line can suggest a tail, while the other nails stay glossy black. Add a clear top coat after the illustration has dried. The design uses a simple silhouette rather than detailed features, making it easier to paint.
Keep the cat small and centered to leave a clean border of white around the shape. If you prefer not to draw a full figure, paint only a cat head with pointed ears for a compact alternative. A detail brush helps form the ears and tail, while a dotting tool can smooth the body into a rounded shape. Pair the accent with a monochrome outfit, or mix it with plain white nails for a lighter overall manicure.
Black Crescent Moons on Milky Nails
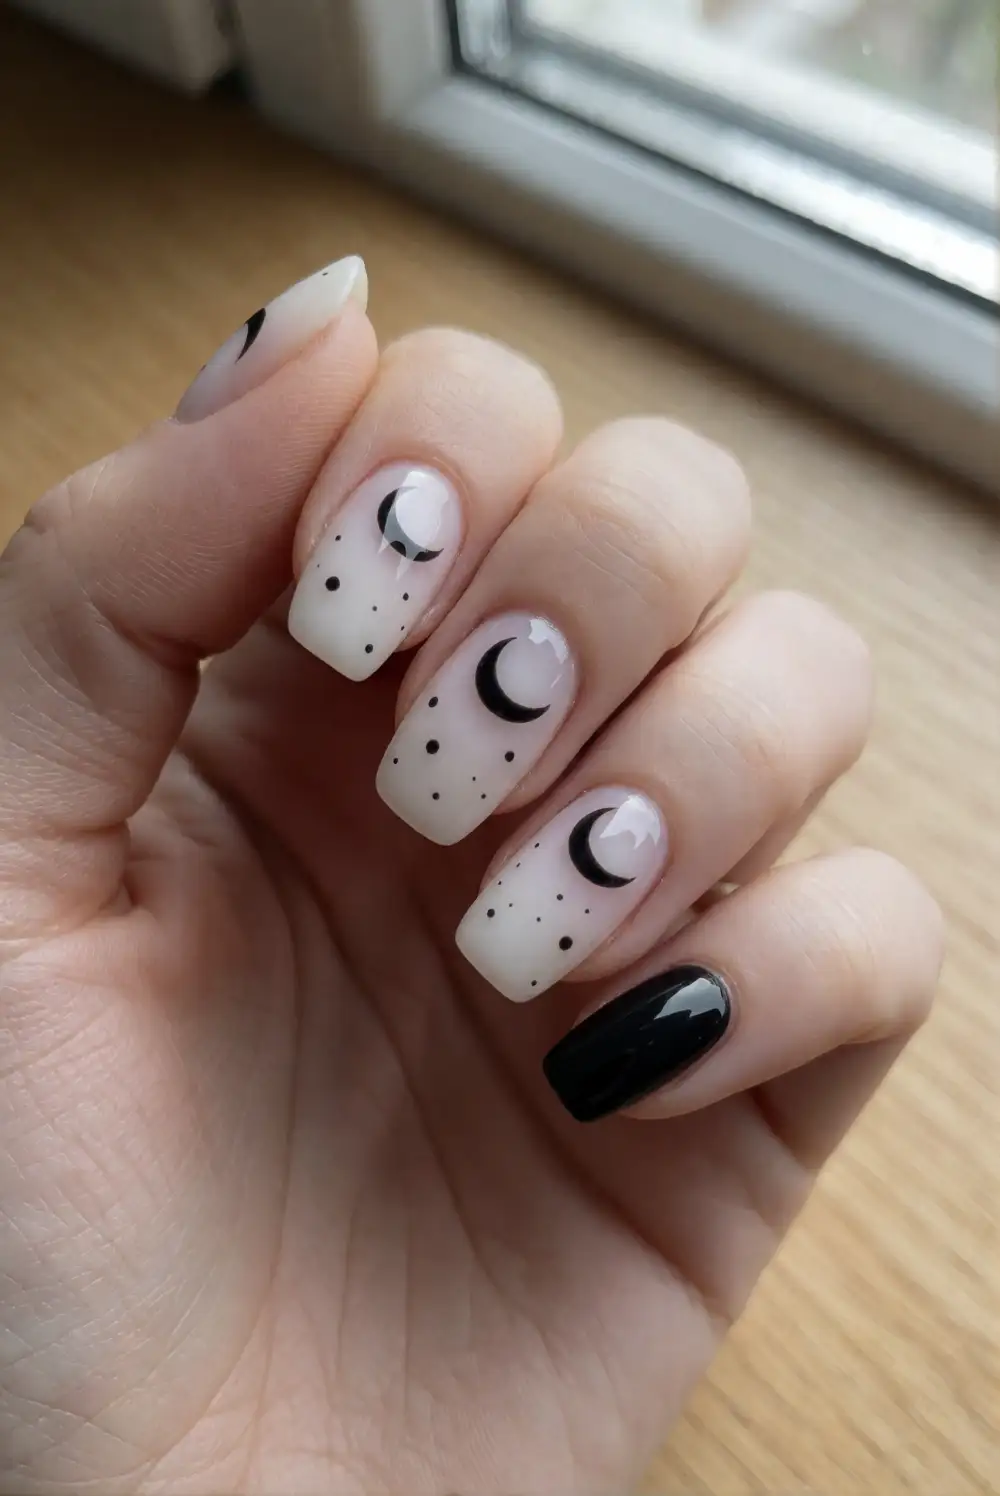
Begin with a sheer milky-white polish on each nail and wait until the base is dry. Use a fine brush to paint a small black crescent near the cuticle or along one side of an accent nail. Add a few tiny black dots nearby if you want a starry effect, spacing them loosely so the design does not look crowded. Seal the manicure with clear top coat. The pale base and dark moon create a delicate Halloween look with just a few strokes.
Vary the crescent’s direction from nail to nail for a scattered celestial pattern, or keep it on a single accent nail beside plain black polish. A thin brush makes a tapered moon easier to shape; correct uneven edges with a small clean-up brush before the design dries. Sheer ivory gives the manicure a softer vintage feel, while opaque white makes it more graphic. This design is a lovely option for anyone who prefers subtle seasonal details.
Black Drip Tips on a White Base
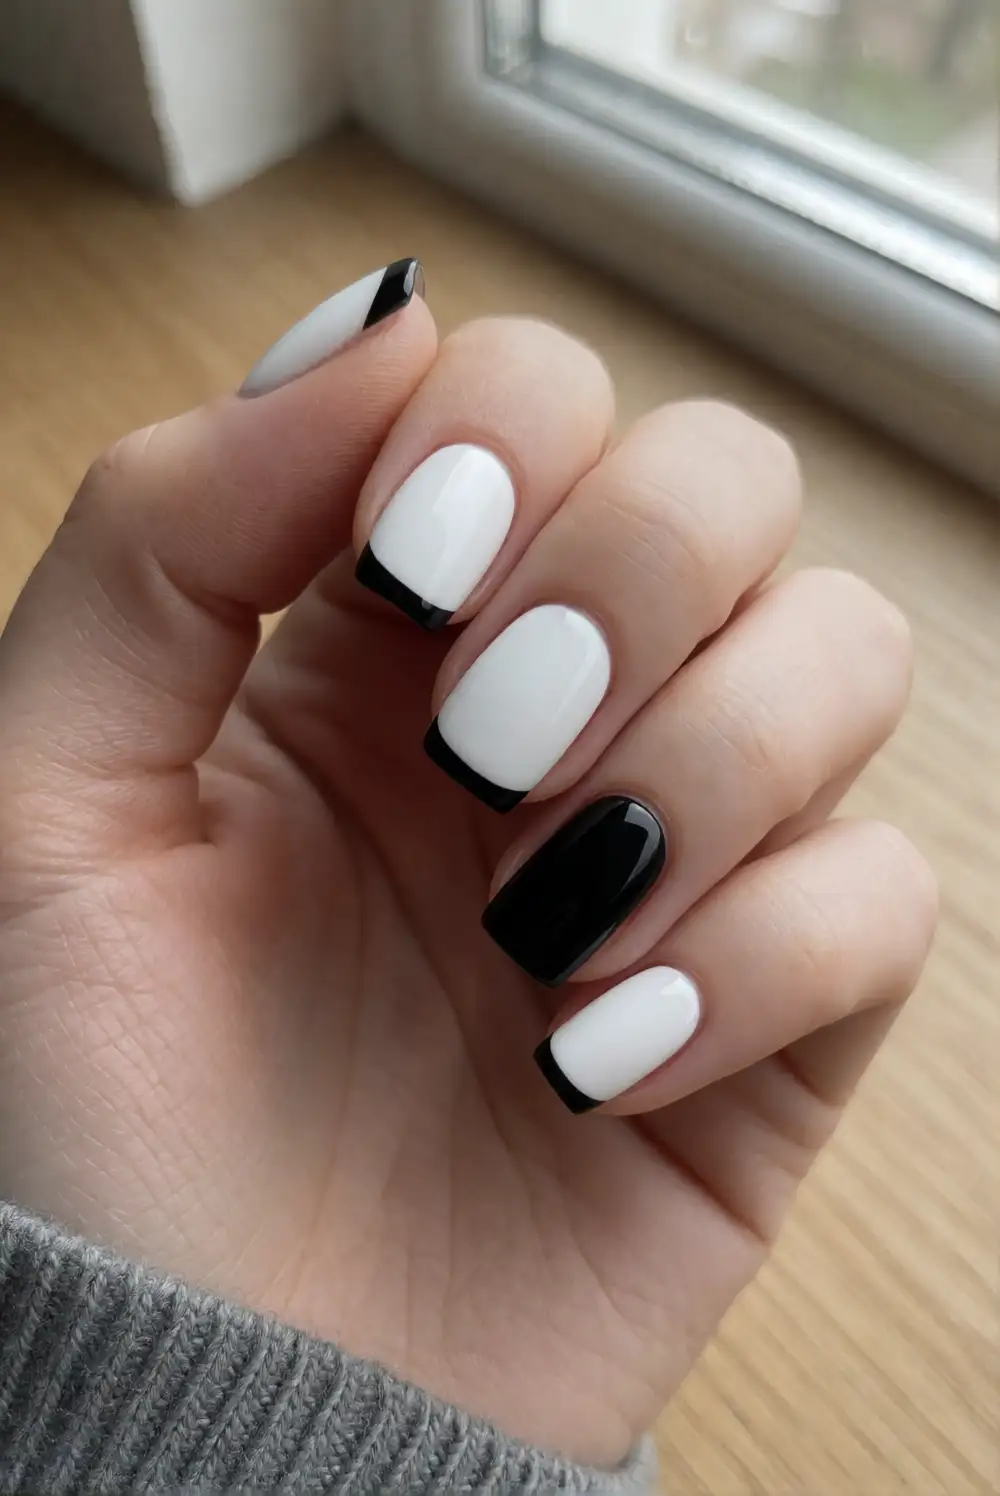
Coat each nail with white polish and let it dry fully. Along the tip of an accent nail, paint a black band, then pull a few short rounded drips downward with a fine brush. Vary the lengths slightly and keep the lower ends rounded for a neat finish. Leave the other nails plain white or paint them black. Once the black polish is dry, apply a clear top coat using a light touch so the brush does not drag through the design.
Use just one or two drips per nail for a clean graphic effect, or add a cluster along the tip of a longer nail. The pattern is forgiving because the drips do not need to match perfectly. If the polish feels too thick to pull into smooth lines, wipe a little excess from the brush before painting. A matte finish makes the design look softly modern, while a glossy finish gives the black-and-white contrast a polished, classic appearance.
Playful Ghost French Tips
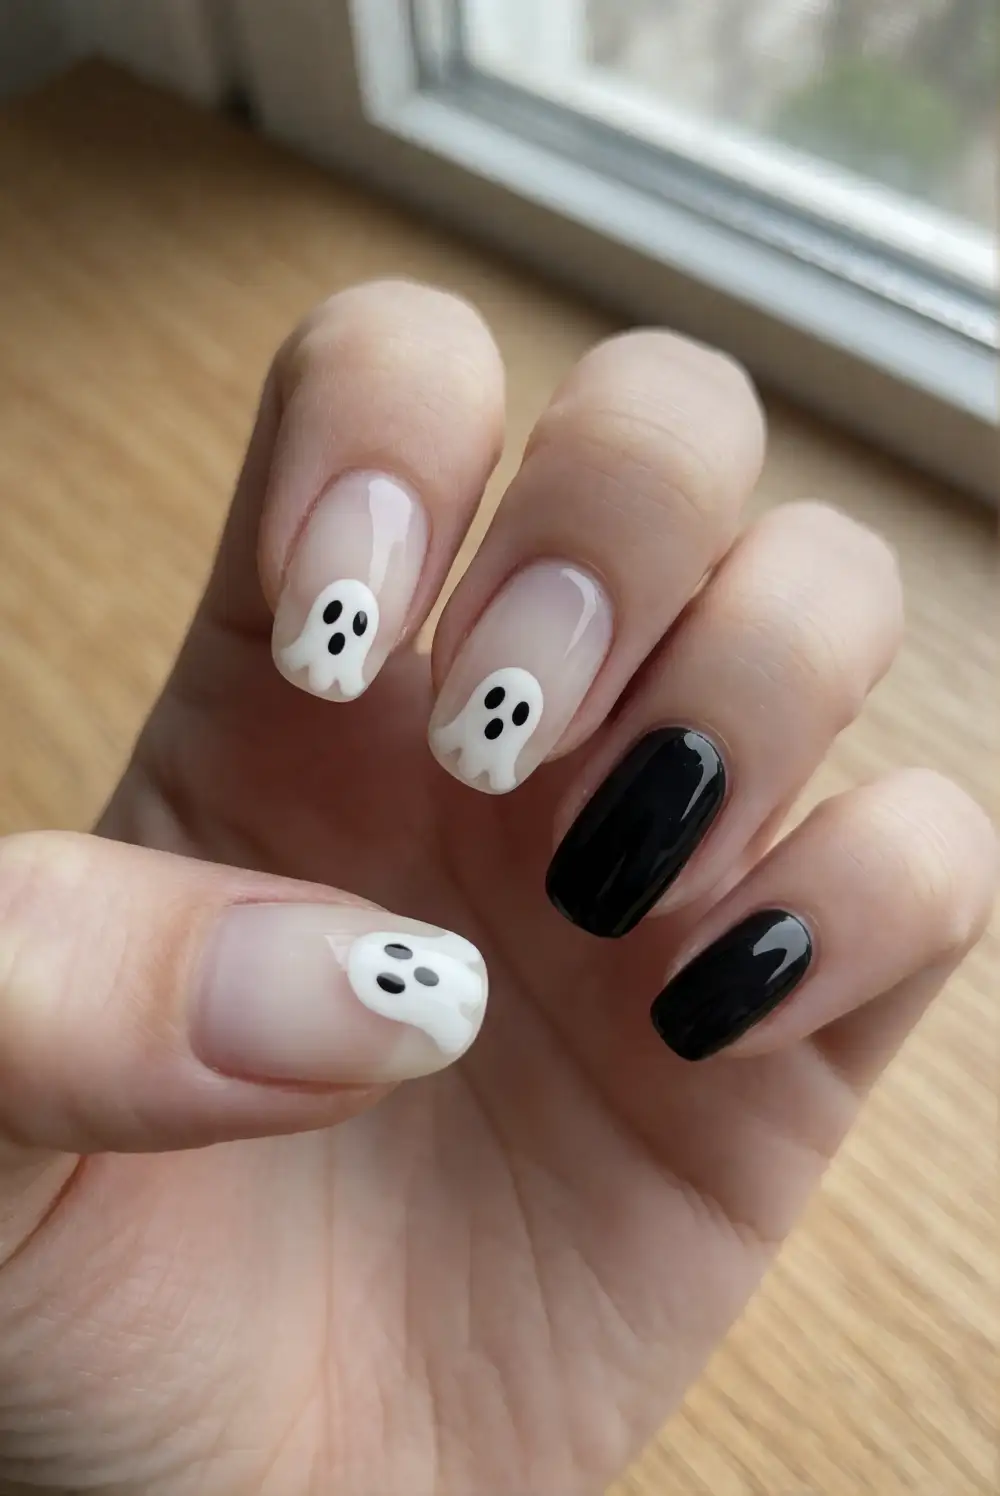
Apply a clear or sheer ivory base and allow it to dry. At the tip of each accent nail, use white polish to paint a rounded ghost shape that curves slightly over the free edge. Add a pair of tiny black eyes only after the white polish is completely dry, using a dotting tool or the end of a fine brush. Leave the other nails plain black or give them simple white French tips, then finish everything with clear top coat.
Keep the ghosts small so the design remains comfortable to wear and the base still shows through. On short nails, place one ghost on a single accent nail rather than trying to fit a figure on every tip. A softly wavy lower edge makes each silhouette feel lively without adding extra detail. If you want a more understated version, use a sheer pinkish-white base and limit the ghosts to the ring fingers.
Scattered Black Polka Dots on White
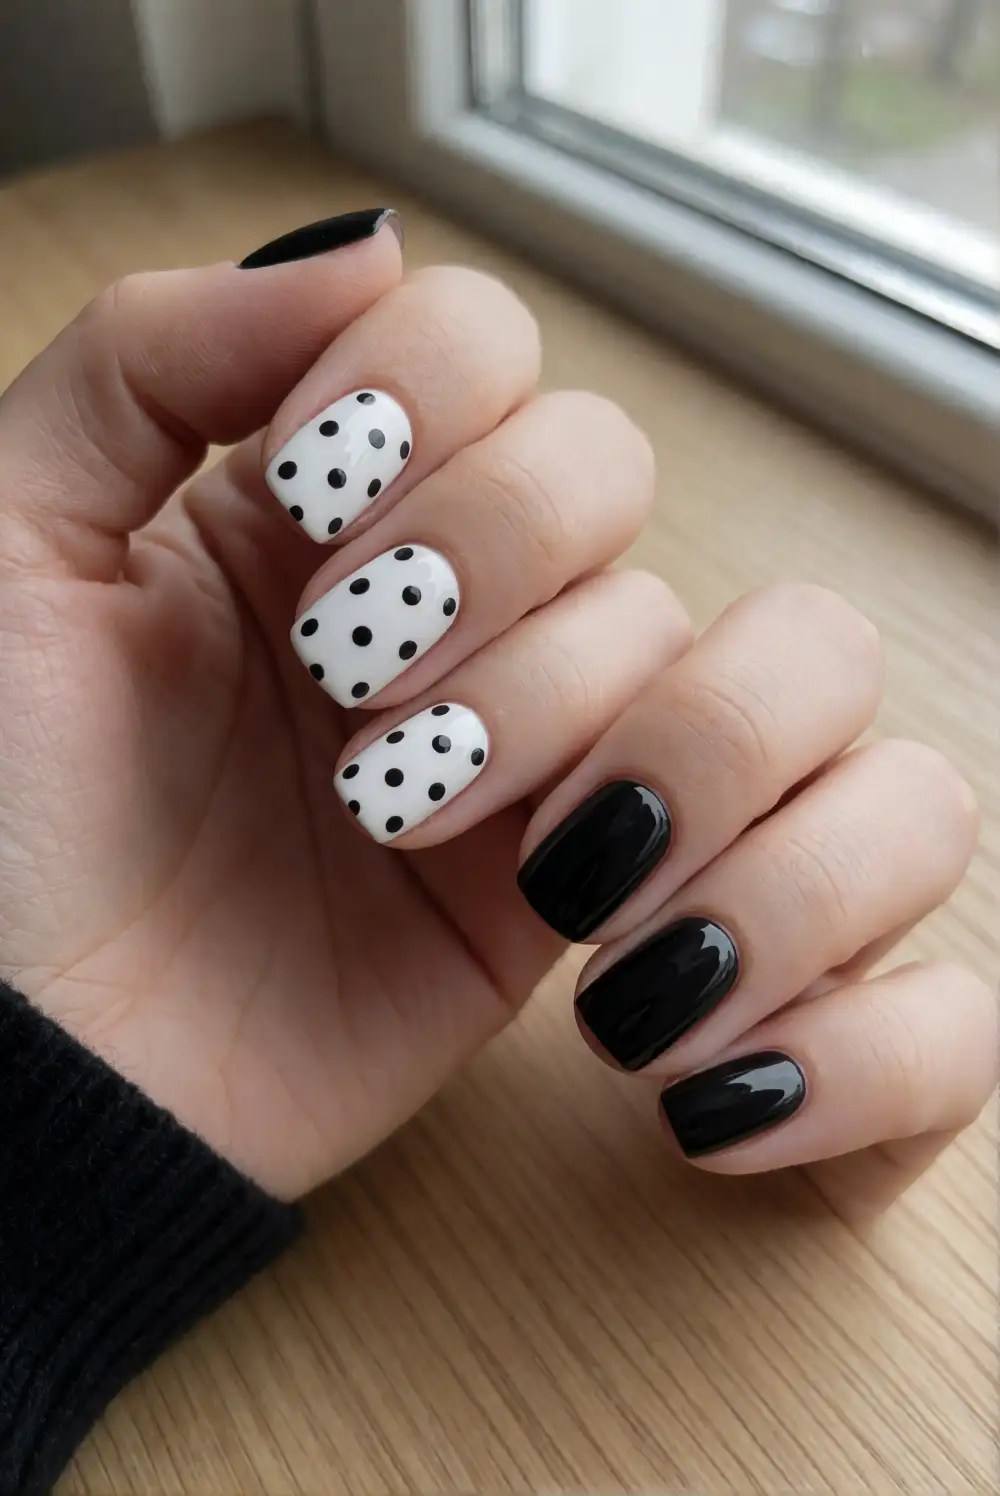
Paint the nails with opaque white polish and wait until the surface is dry. Dip a dotting tool into black polish and place dots across an accent nail, varying their spacing while keeping each mark distinct. A bobby pin’s rounded end can work as a simple dotting tool. Leave some nails entirely black for contrast, or use the dot pattern on just one hand. Finish with a clear top coat after the dots have dried so the design stays smooth.
For an orderly look, place dots in loose rows; for a playful finish, scatter them at different angles and distances. Make larger dots near the center and smaller ones along the edges to create a balanced pattern. Wipe the tool between dots to keep their size consistent and avoid smudges. This design pairs easily with the ghost or crescent-moon accents elsewhere in the manicure, making it a useful option when you want a coordinated set without repeating one motif.
Thin Black Stripes on White Nails
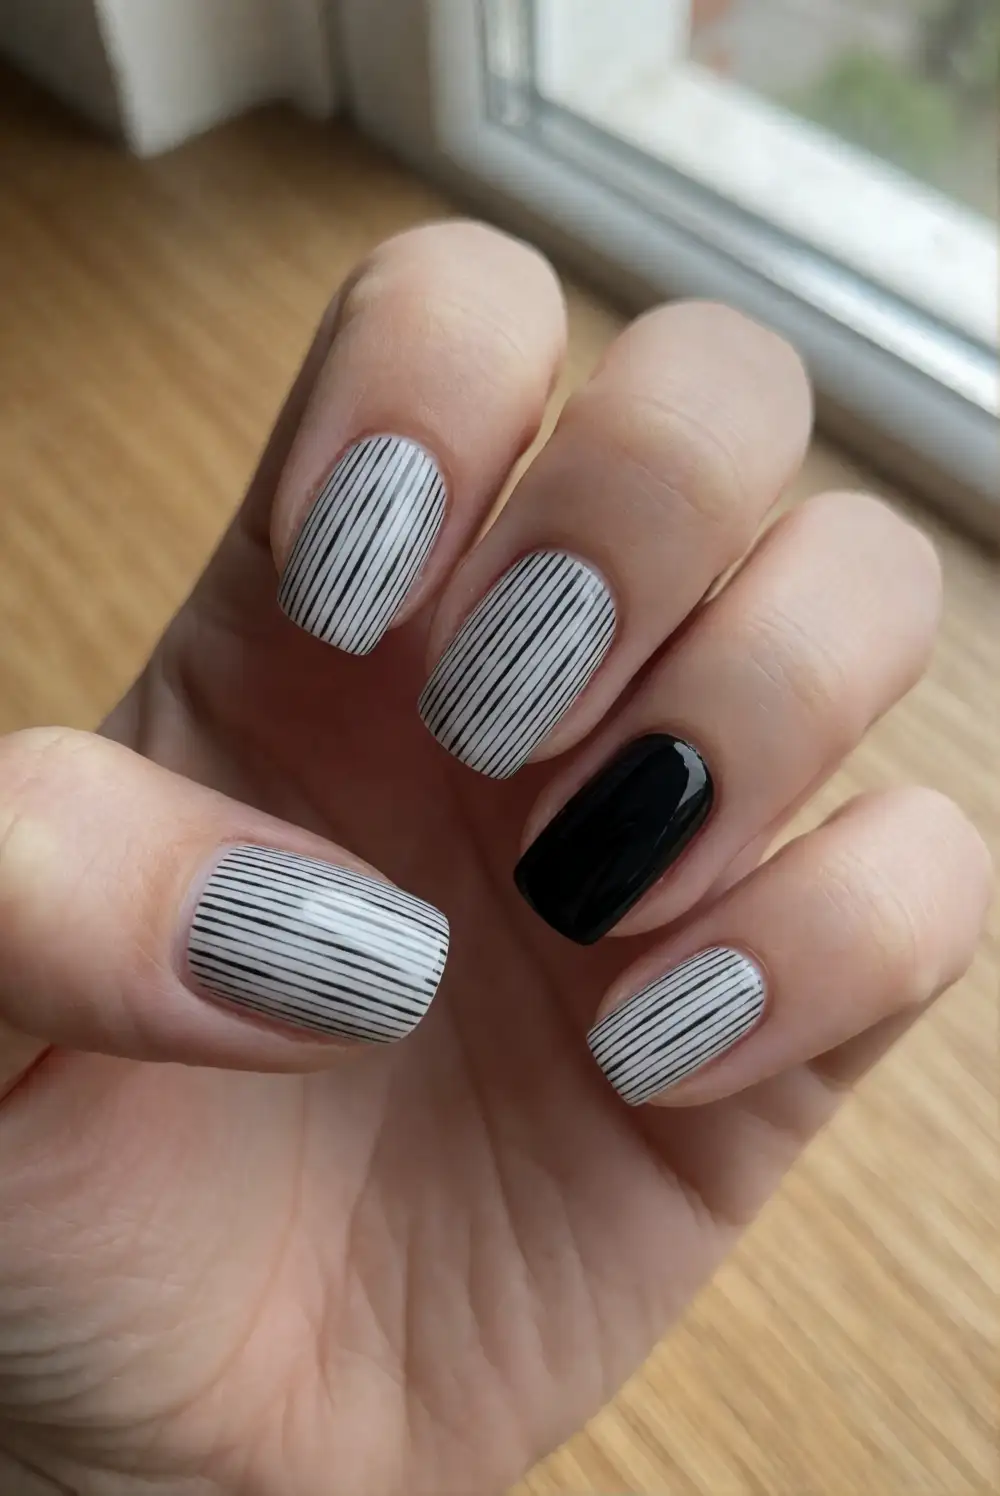
Apply two thin coats of white polish and let the base dry completely. With a striping brush, draw a few narrow black lines from the cuticle toward the tip, varying their lengths to create a clean, graphic pattern. You can also use striping tape as a guide, pressing it gently onto the dry base and painting over it with black polish. Remove the tape while the polish is still slightly wet, then seal the design with a glossy top coat.
Leave generous white space between the stripes so the lines stay crisp and do not blend together. A single vertical line on each accent nail feels minimal, while several uneven lines give the set a more playful look. If using tape, make sure the base layer is fully dry before placing it to avoid lifting the polish. Combine striped accents with solid black nails for a balanced manicure that feels seasonal without looking overly elaborate.
Matte Black Nails with Glossy Details
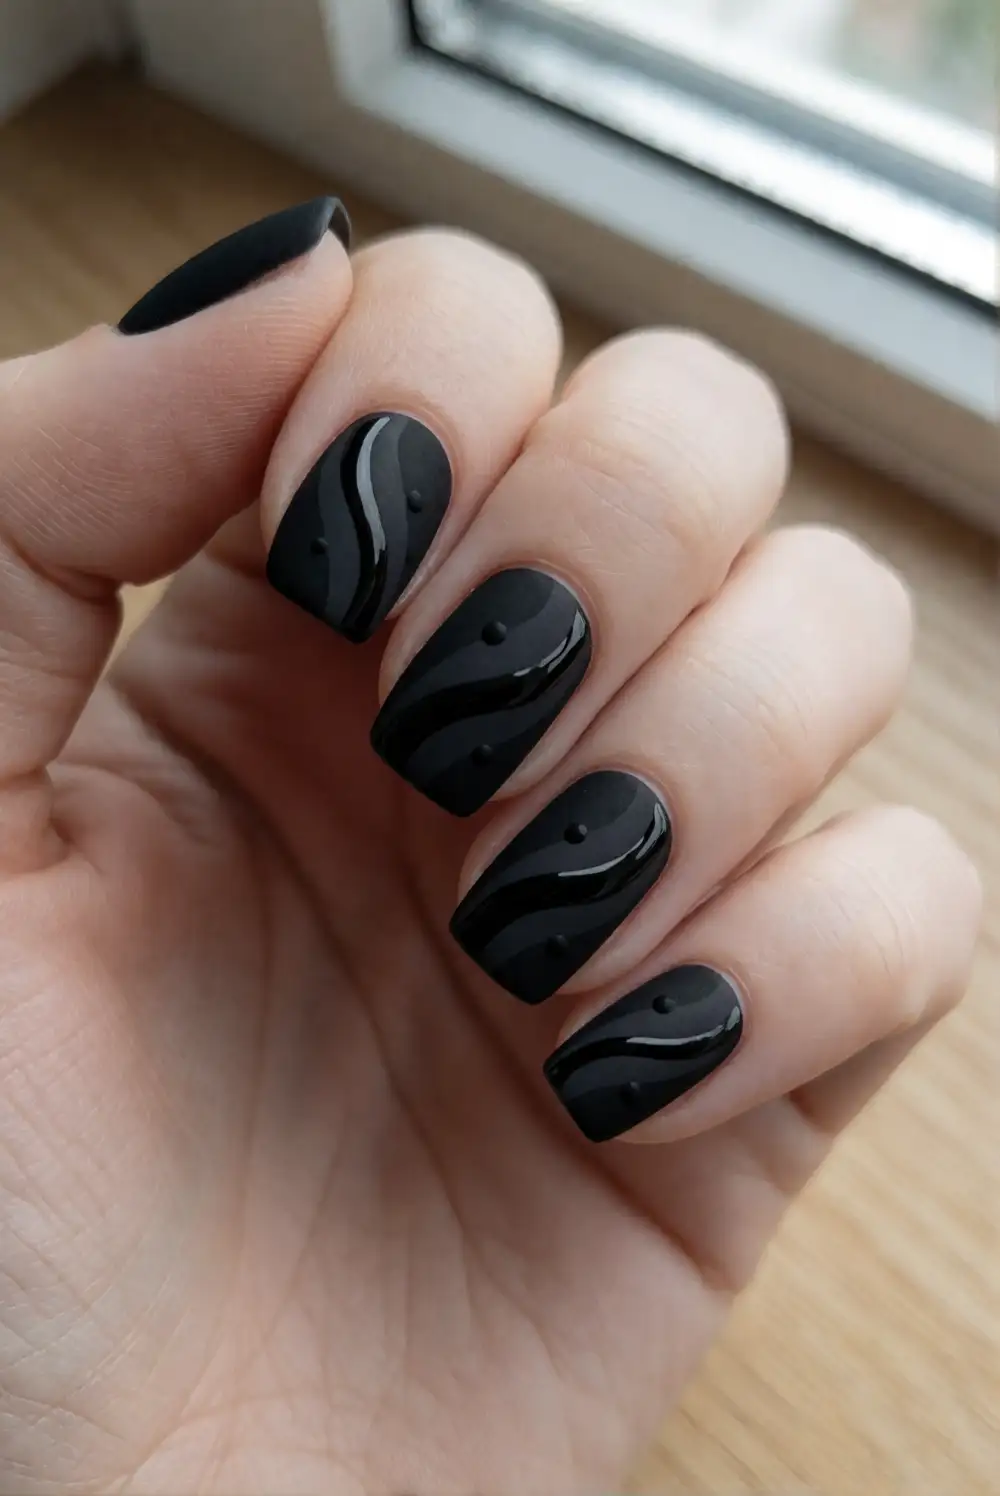
Paint each nail with black polish and allow it to dry. Apply a matte top coat over the full manicure, then use a fine brush and glossy clear polish to add simple details such as a narrow curve, tiny dots, or a crescent on one accent nail. The clear design appears through its difference in sheen rather than color. Work slowly and let the glossy details dry before adding anything else, so the velvety matte base remains undisturbed.
Try a glossy French tip for a subtle tonal effect, or add a small shiny moon near the cuticle for a Halloween-inspired accent. The look is most visible in gentle light, where the two finishes catch reflections differently. Use a separate clean brush for the glossy top coat to avoid carrying matte polish across the nail. If you prefer a stronger contrast, keep one accent nail white and decorate it with a simple black detail instead.
Black-and-white polish makes Halloween nail art easy to personalize, whether you choose a minimal French tip, a tiny ghost, or a graphic checkerboard accent. Start with the design that suits your comfort level, let each layer dry before adding details, and finish with a top coat for a smooth, lasting manicure.








