
Give your manicure a seasonal touch with easy Halloween nail designs that keep spooky symbols small and stylish. These simple ideas pair understated colors with tiny ghosts, bats, pumpkins, and other festive details, making them easy to adapt at home or bring to your nail appointment.
Sheer Black Tip Manicure
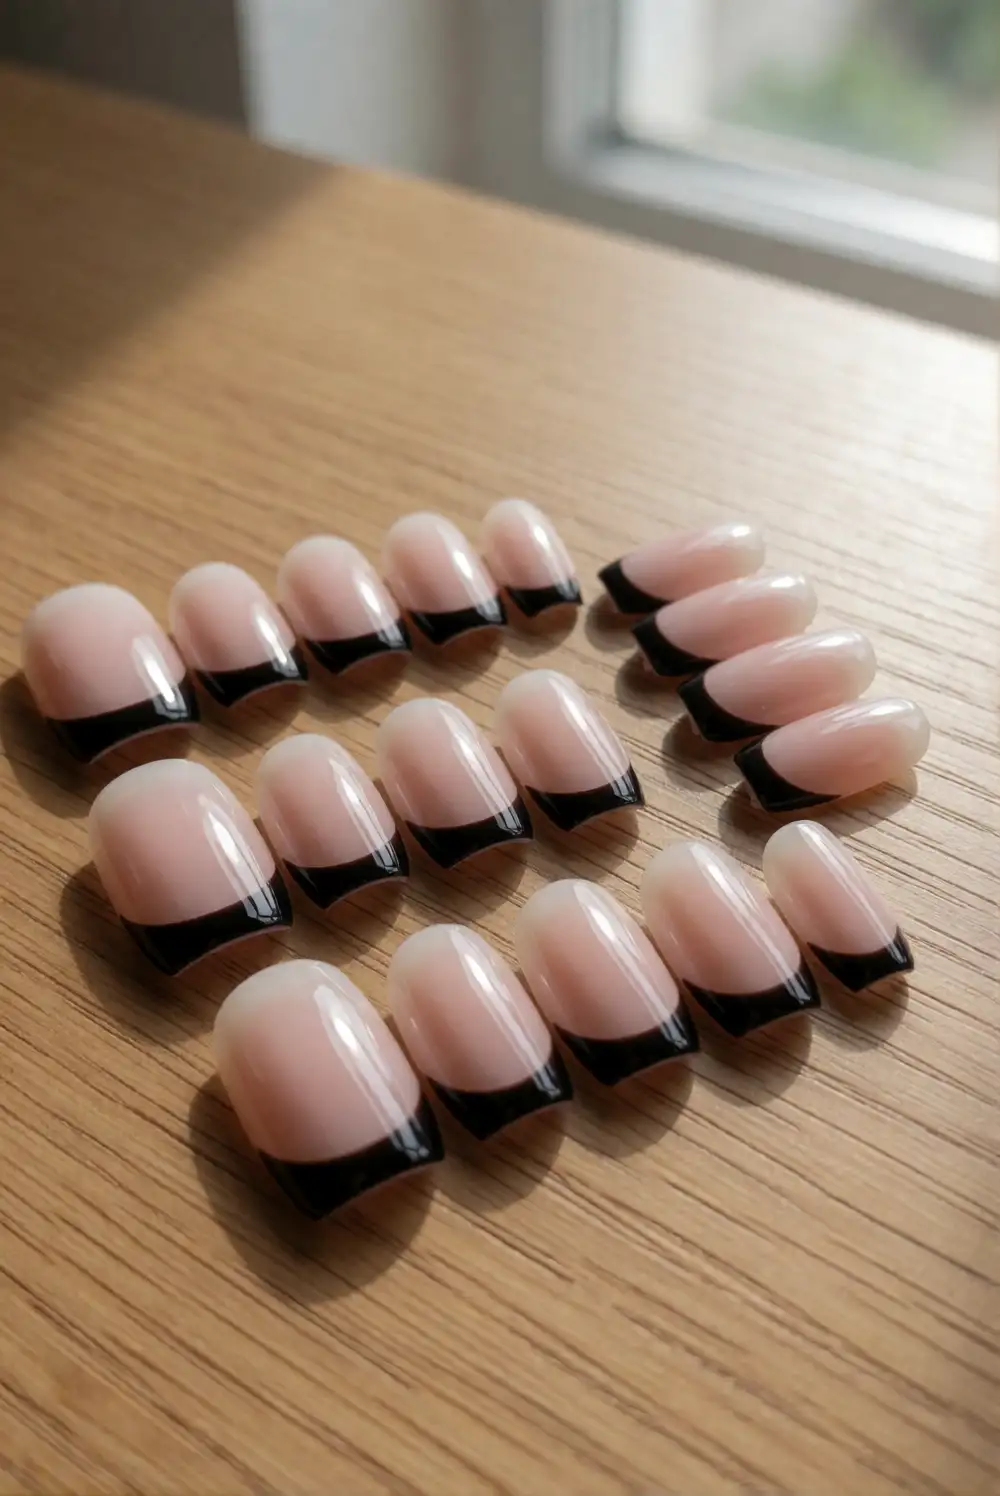
For a subtle Halloween manicure, paint a sheer nude or milky beige base and add a narrow black tip to each nail. Apply a base coat, then use a fine nail-art brush or a French manicure guide to create slim, even arcs across the tips. Let the black polish dry before sealing the design with a clear top coat. The familiar French shape keeps the dark color looking polished rather than heavy.
Keep the tips especially thin on shorter nails, or make them softly angled for a more graphic finish. A single accent nail with a tiny black star can add a seasonal hint without changing the understated look. Choose a glossy top coat for a classic finish or a matte one for a velvety effect. This design pairs easily with everyday outfits and is simple to refresh when the tips begin to wear.
Tiny Ghost Accent Nails
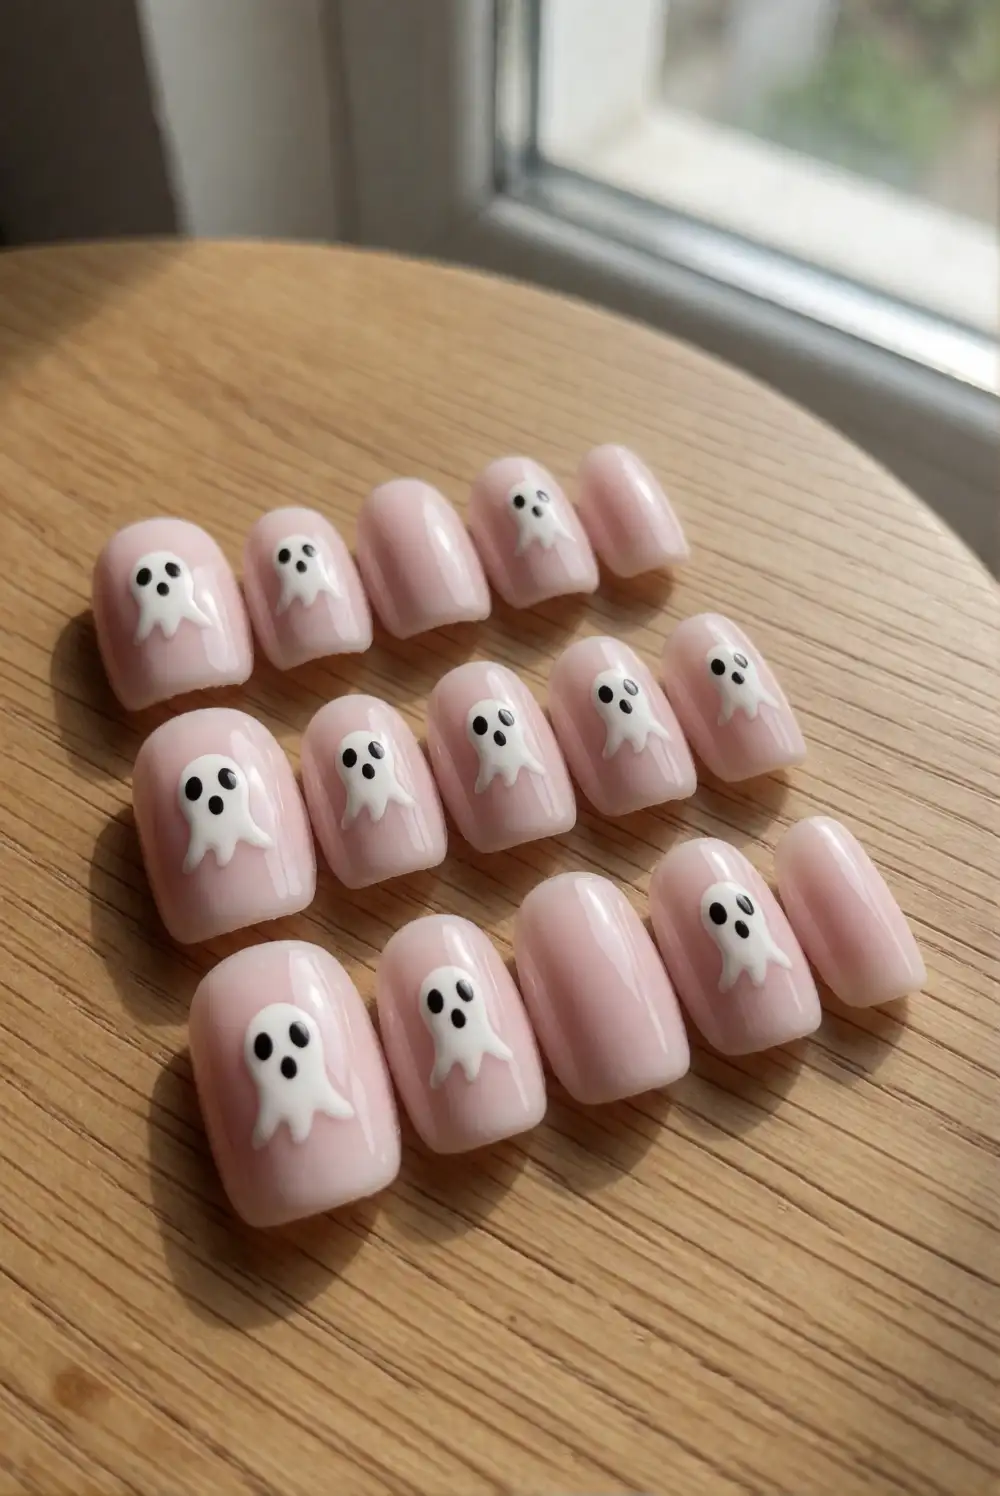
Paint the nails a soft, sheer pink or warm cream, then add a small white ghost to one or two accent nails. Use a dotting tool or the rounded end of a clean brush to place a white oval, gently pulling the lower edge into a wavy shape with a fine brush. Once the polish is dry, add two tiny black eyes with a fine nail-art tool. Finish with a clear top coat to smooth the design.
Place each ghost near the tip or just off-center so the other nails stay clean and minimal. On very short nails, simplify the shape to a small white silhouette and keep the eyes delicate. A pale gray base gives the white figure a little extra contrast, while a sheer base keeps the manicure airy. If drawing freehand feels tricky, practice the shape on a piece of paper before painting your nails.
Single Cobweb Corner Nails
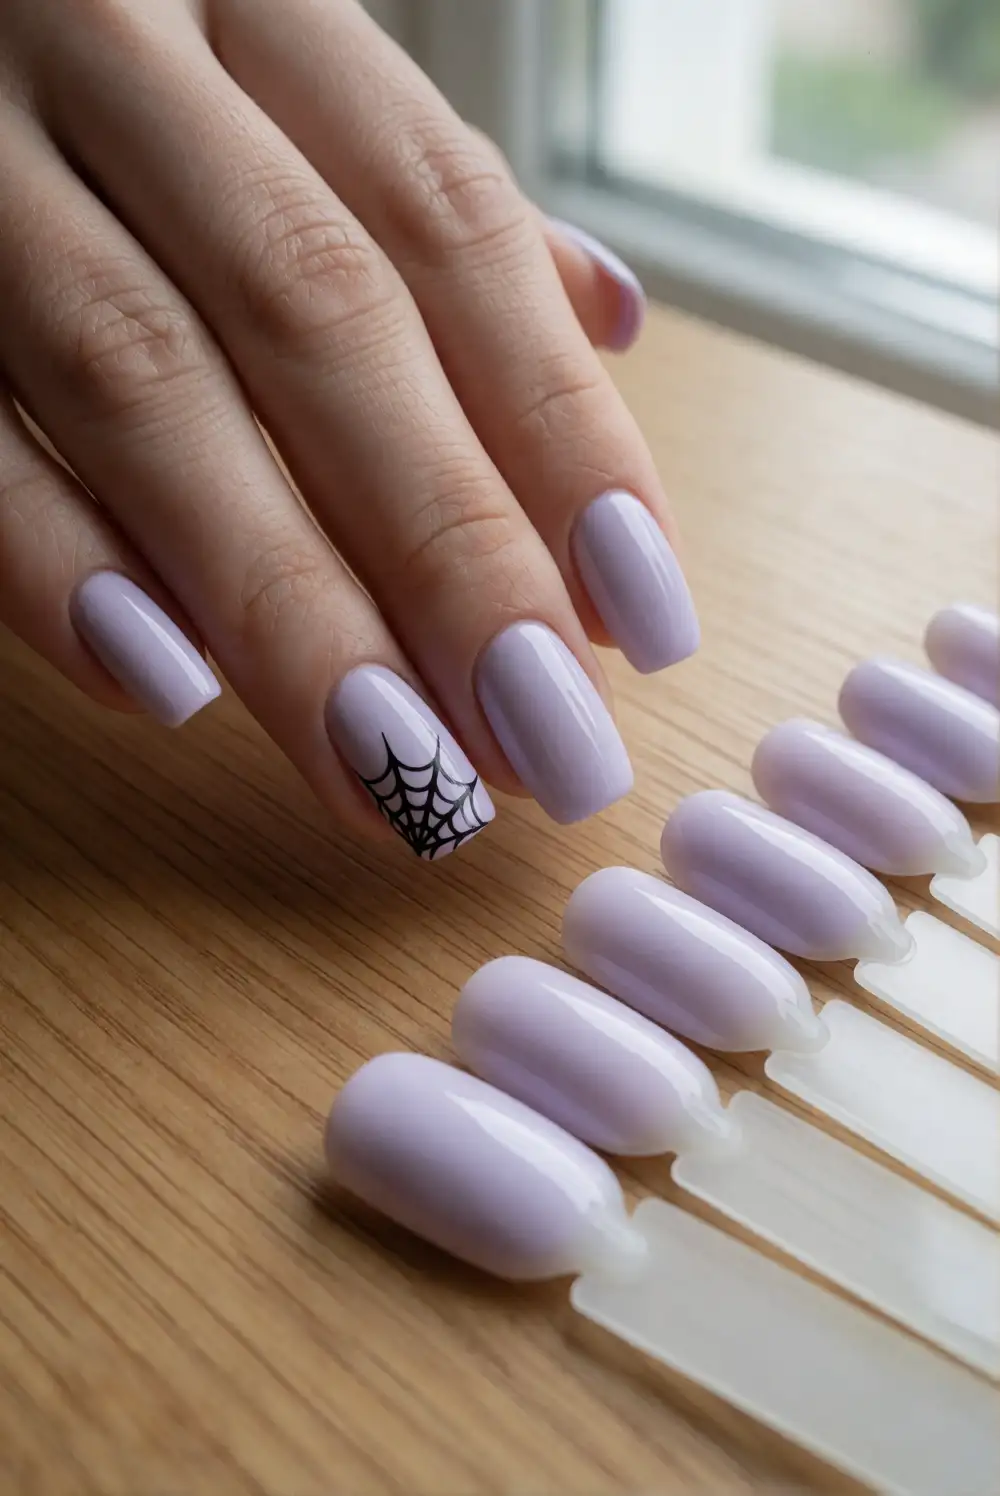
Start with a clear, nude, or pale lavender base and draw a small cobweb in one corner of an accent nail. With a fine black nail-art brush, paint three short lines radiating from the corner, then connect them with a few curved lines. Keep the web compact and leave the rest of the nail bare. Allow the design to dry fully before applying a thin layer of clear top coat to protect the delicate lines.
Choose just one accent nail for the web if you prefer a particularly quiet look, or repeat the motif on both ring fingers for a balanced pair. A charcoal-gray line can soften the contrast against a light base, while a black base makes a pale web stand out. Work with a small amount of polish on the brush and pause between strokes to maintain crisp lines. The finished design looks especially neat on oval or almond-shaped nails.
Miniature Pumpkin Accent Nails
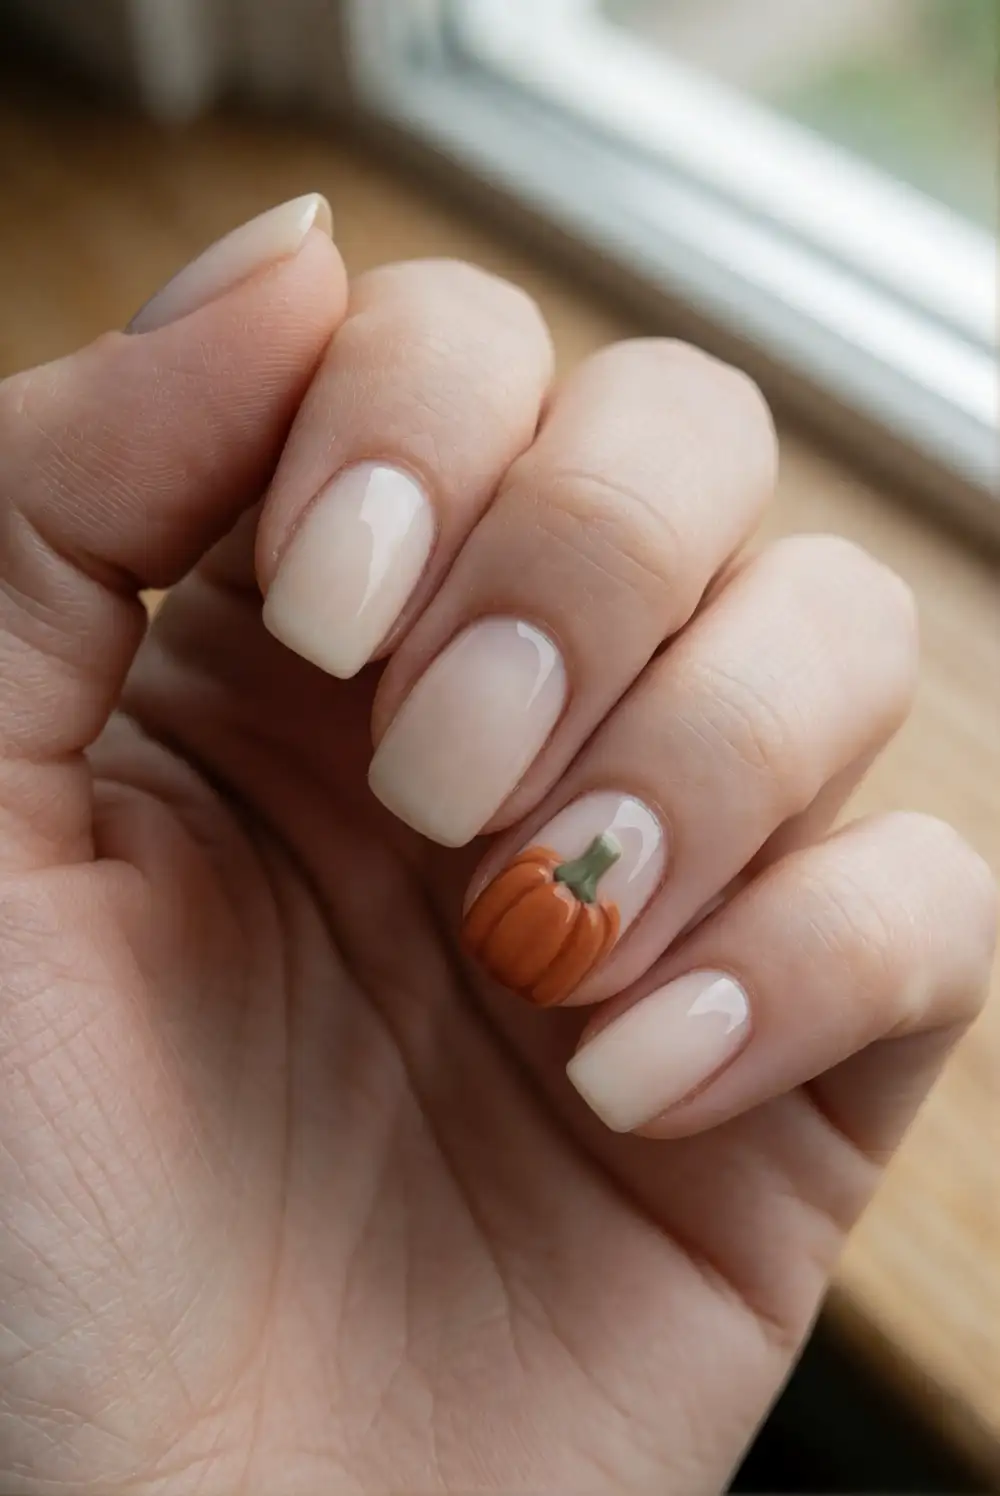
Paint a warm cream, pale pink, or muted orange base, then create one tiny pumpkin on an accent nail. Use a small brush to form a rounded orange shape and add a few curved lines in a deeper orange once it dries. Finish the motif with a short green stem. Keep the pumpkin simple and small, leaving plenty of open space around it. Add a clear top coat after the design is completely dry.
A single pumpkin on the ring finger gives the manicure a seasonal detail without covering every nail in art. For a softer palette, choose dusty terracotta and a muted sage stem; for more contrast, use a cream base with brighter orange polish. The rounded design works on short nails when kept near the center, and can sit closer to the tip on longer nails. Pair it with plain coordinating nails to keep the overall look tidy.
Crescent Moon Black Nails
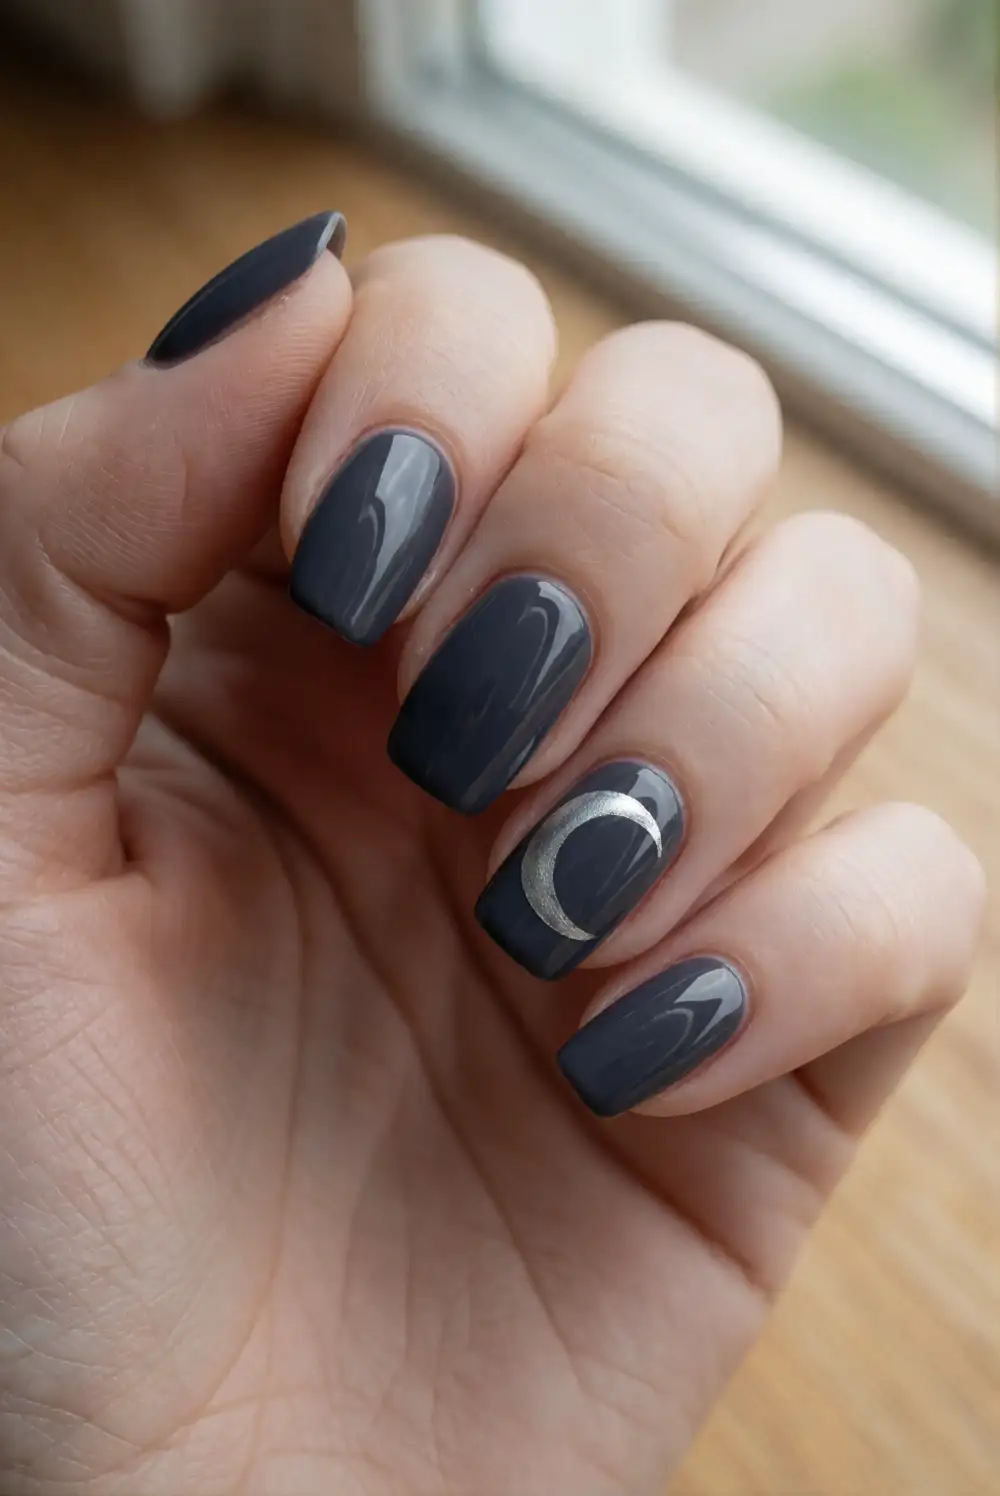
Apply a deep charcoal or black polish to each nail, then add a small crescent moon to one or two accent nails. Use a fine brush and a muted cream or metallic silver polish to paint a curved outline, filling only enough space to create a slim crescent. Let each layer dry before adding top coat. For a particularly minimal design, leave the remaining nails solid and glossy, with no additional symbols.
Place the moons near the cuticle for a delicate detail, or set them off to one side for a less symmetrical look. A matte black base makes a silver crescent stand out, while a glossy charcoal base feels softer and easier to wear every day. You can use a small stencil to guide the curve or build the shape with two overlapping curved strokes. Keep the accent polish thin so the moon stays crisp.
Floating Bat Silhouette Nails
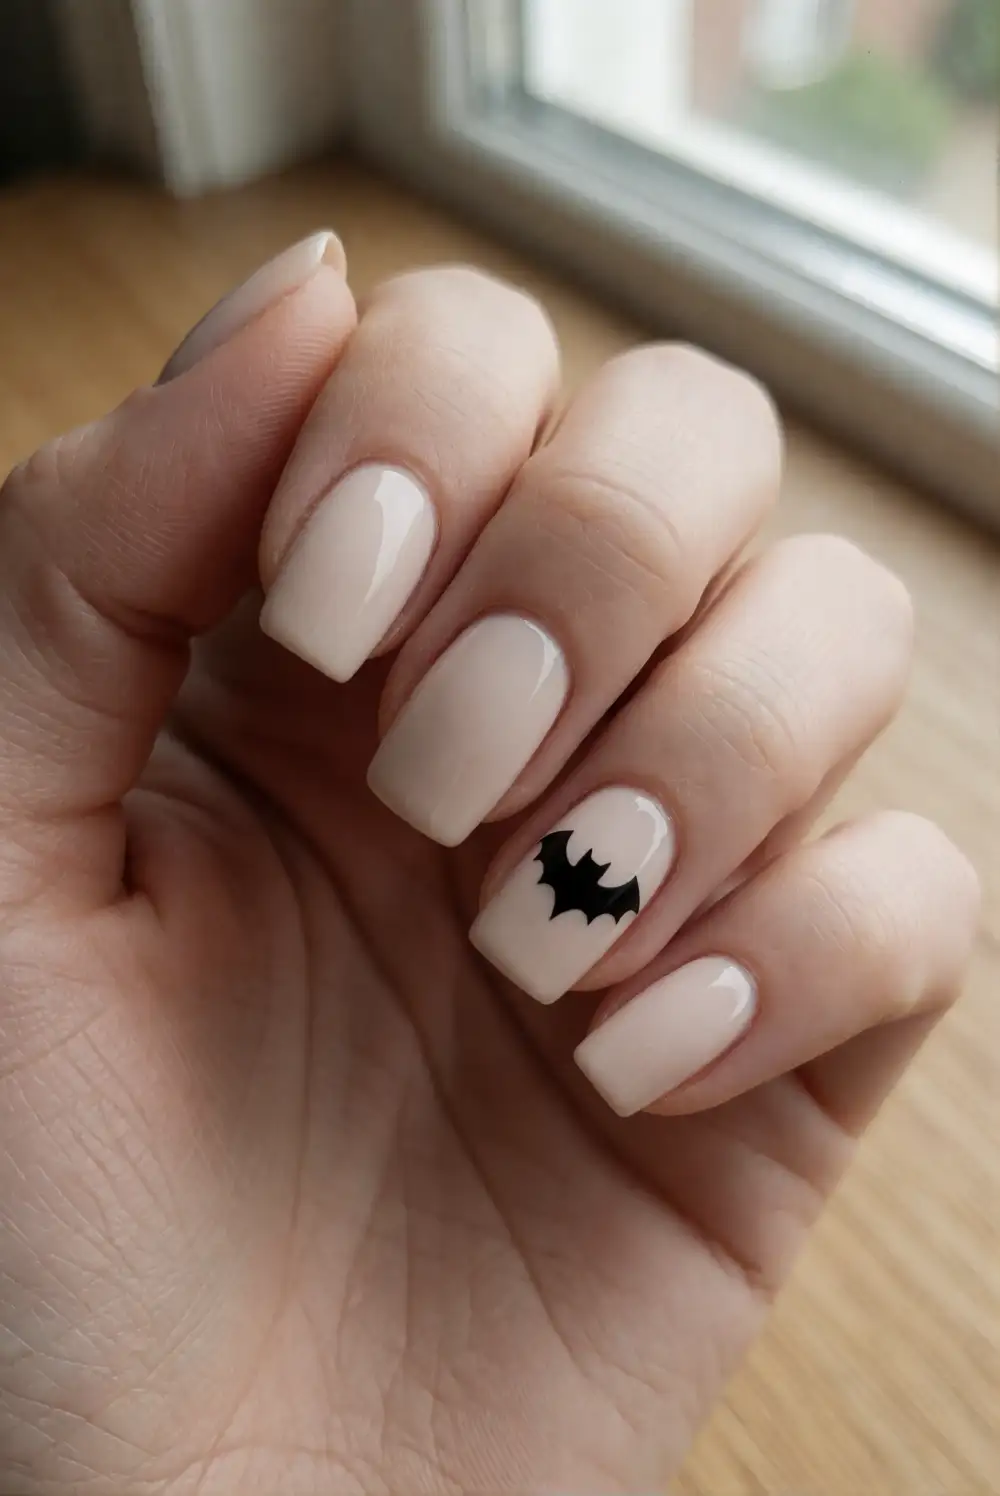
Choose a pale beige, muted lilac, or soft gray base, then paint one small black bat silhouette on an accent nail. Start with a tiny central body and add two short, angular wings using a fine nail-art brush. Keep the shape simple, with no extra facial details needed. Once the motif dries, seal the nail with a clear top coat. The light background and limited artwork help the little silhouette remain the manicure’s only bold Halloween element.
Try placing the bat near one side of the nail so it appears to be flying across the surface, or center it for a neat graphic look. On short nails, use a compact shape with broad, simple wings rather than fine details. A charcoal bat creates gentler contrast than pure black, while a glossy black silhouette feels more defined. Leave the surrounding nails in the base color to preserve the uncluttered effect.
Candy Corn Color Block Nails
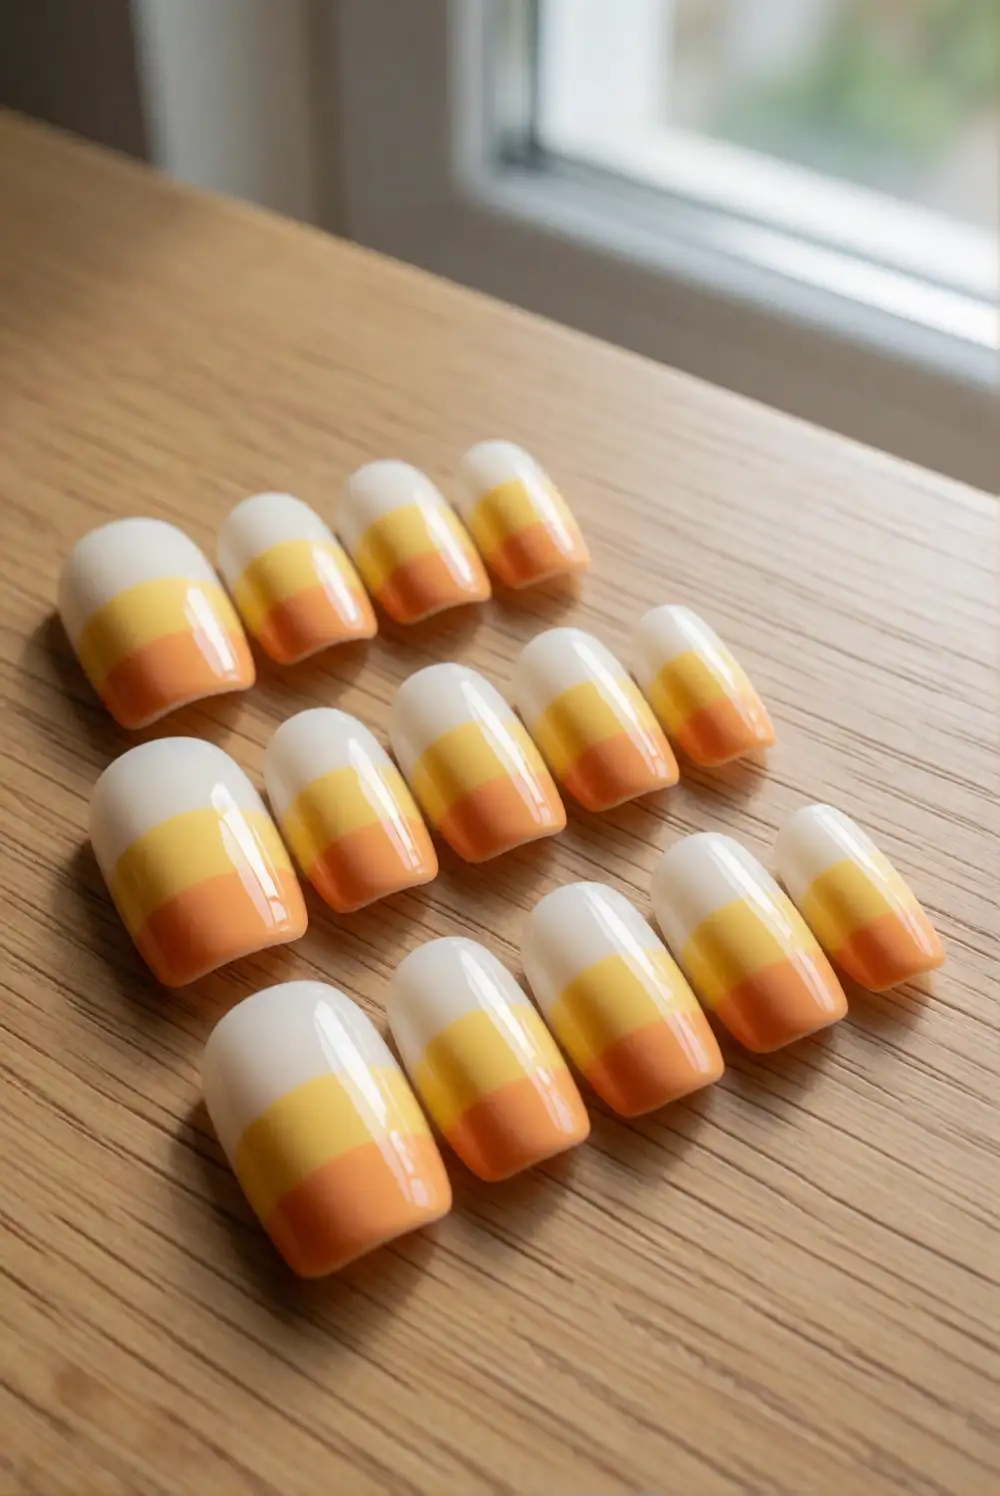
Create a candy-corn-inspired manicure with slim bands of creamy white, sunny yellow, and soft orange. Apply a base coat, then paint the nail in three horizontal sections, allowing each color to dry before adding the next. Nail striping tape can help keep the borders crisp, or a fine brush can define the bands by hand. Use a glossy top coat to smooth the joins and bring the warm colors together.
For a restrained version, use the three shades on only one accent nail and paint the rest cream or pale nude. Vertical color blocks can suit longer nails, while horizontal bands are easy to adapt to shorter shapes. Try muted peach and butter yellow if bright orange feels too bold. Keep the color sections broad enough to read clearly, and remove any guide tape while the polish is slightly tacky for cleaner edges.
Blood-Red Dot Accent Nails
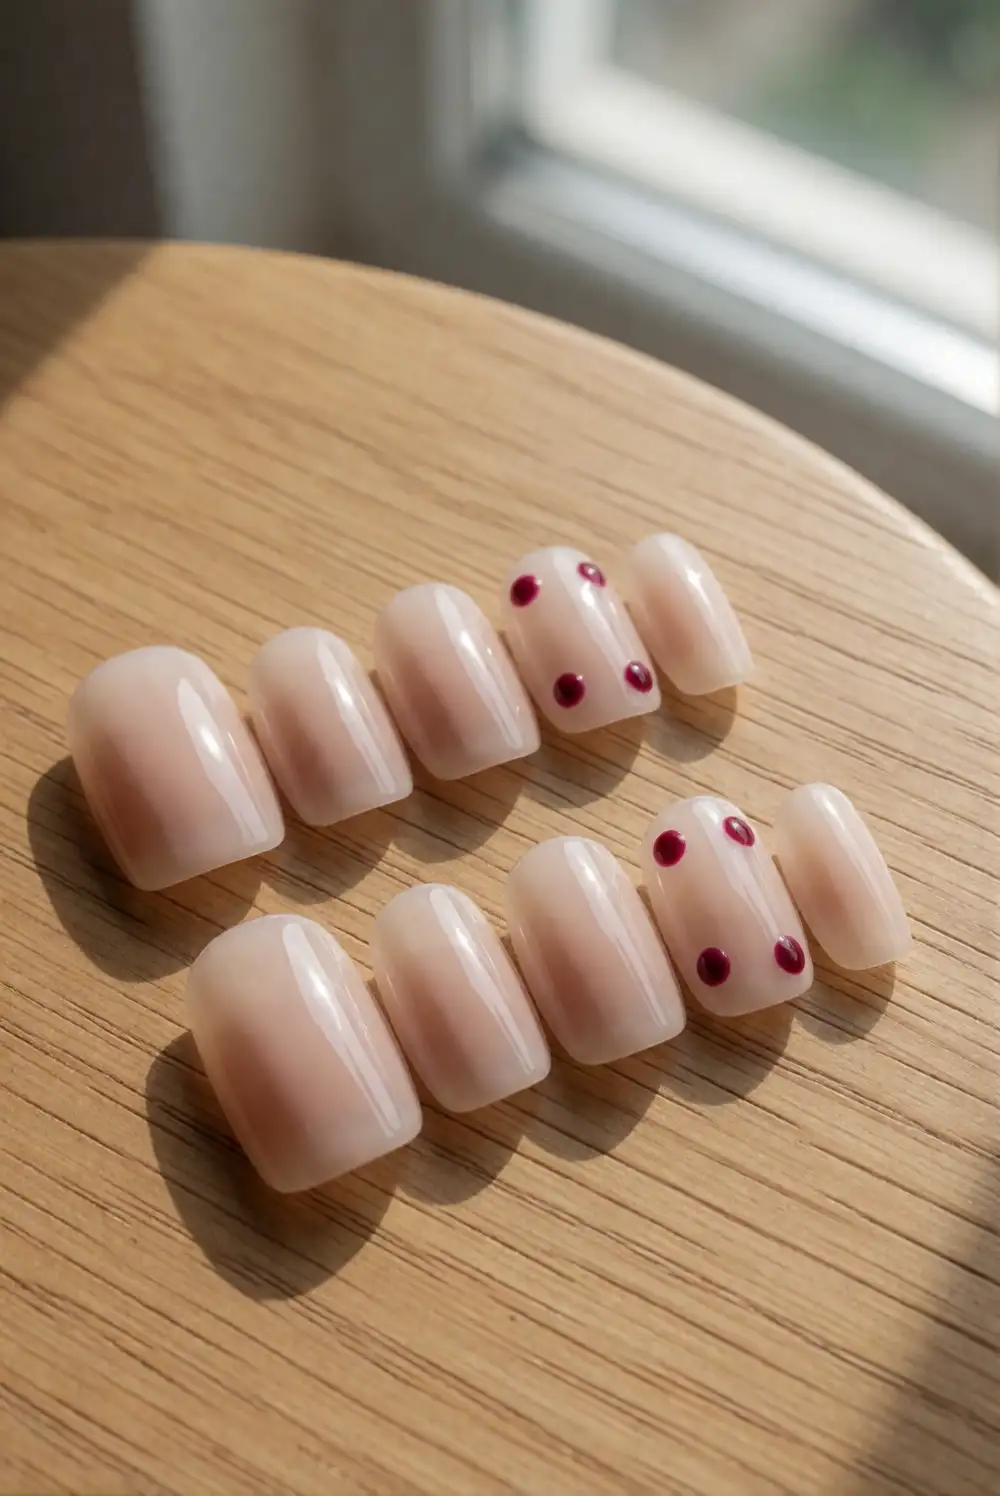
Paint the nails a sheer pink, milky white, or soft beige, then add a few small deep-red dots to one accent nail. Use a dotting tool or the tip of a fine brush to place the marks in a loose, spaced arrangement. Let the dots dry before applying a clear top coat. Keeping the design to simple dots gives the manicure a moody seasonal color accent without requiring detailed painting or a full set of dark nails.
Use just three or four dots for an understated look, or make a short, curved trail near one edge of the nail. A berry shade feels softer than a very dark red, while a wine color adds more contrast against a pale base. Match the remaining nails to the base color so the accent stays central. If your dots spread, use less polish on the tool and allow each one to dry before sealing.
Negative-Space Spiderweb Nails
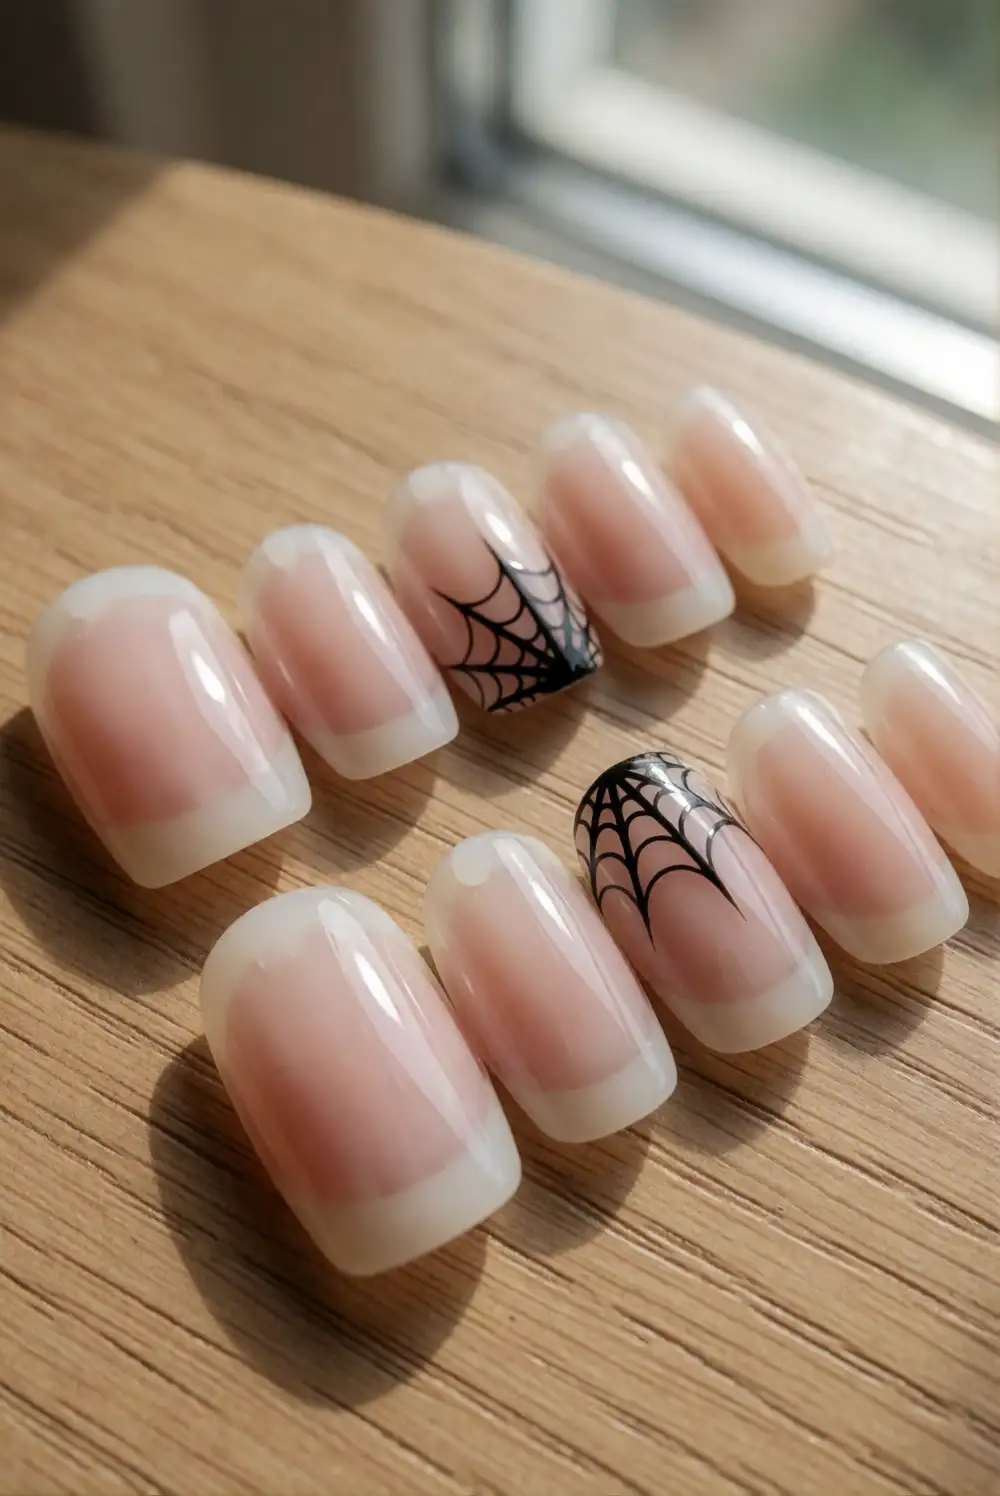
Leave most of the nail bare or covered in a sheer base, then draw a delicate black spiderweb near the tip. Use a fine brush to make a few short lines from one corner and connect them with gently curved strokes. Keeping the web small preserves the negative space and makes the design feel light rather than busy. Once the lines have dried, apply a clear top coat carefully so the fine artwork stays smooth.
Choose one accent nail for a minimal manicure, or add a tiny web to two nails on each hand for a more noticeable pattern. A dark brown or charcoal polish can soften the lines, especially over a warm nude base. If your nail surface is small, reduce the number of connecting curves instead of crowding the design. The open background helps the web stand out while allowing the natural nail color to remain part of the look.
Charcoal and Copper Star Nails
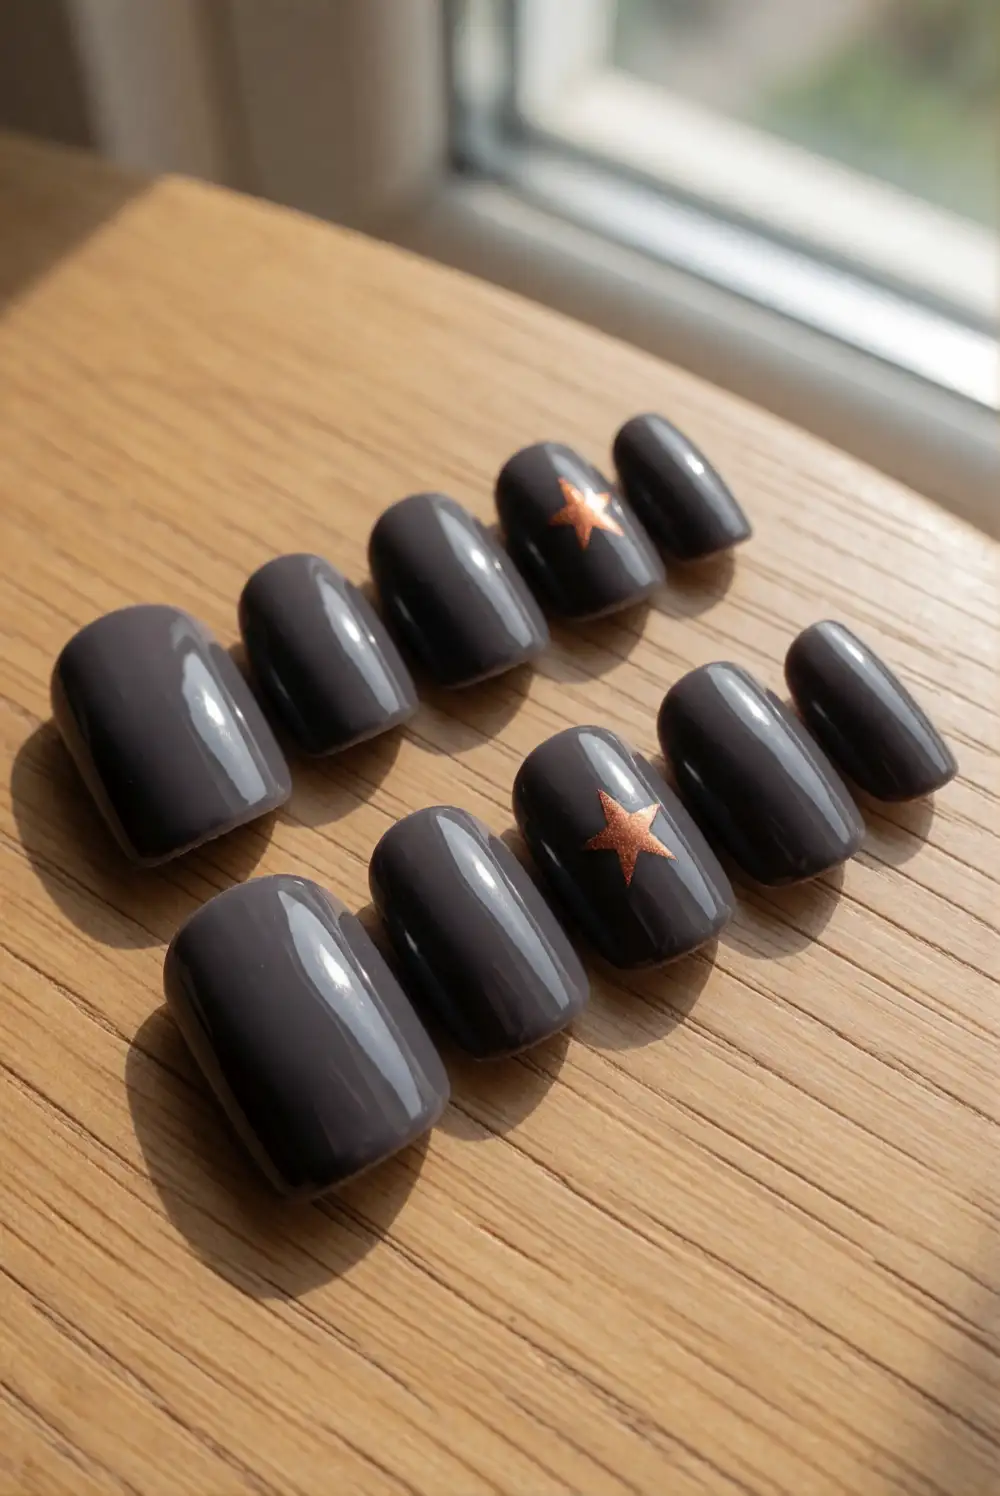
Paint the nails a soft charcoal gray, then add a tiny copper star to one or two accent nails. Use metallic copper polish and a fine nail-art brush to draw a small cross, then add short diagonal strokes between its points to complete the star. Keep the shape simple and let it dry before applying a clear top coat. The dark neutral base gives the metallic detail a festive Halloween feel without relying on a larger spooky motif.
For a lighter version, use charcoal only on the accent nails and leave the rest sheer or cream. A bronze shade creates a warm glow, while a subdued copper keeps the design more understated. Place the star close to the cuticle or near one side of the nail for a small flash of detail. This manicure works well with short, rounded nails, and the sparse artwork makes small chips easy to touch up.
Whether you choose a tiny pumpkin, a fine cobweb, or a glossy black tip, these easy Halloween nail ideas make it simple to add a seasonal detail without an elaborate design. Pick a favorite symbol, keep the palette cohesive, and adapt the placement to your nail length and personal style.








