Make the most of autumn leaves, warm colors, and simple supplies with these fall crafts for kids. Each project turns seasonal inspiration into cheerful artwork that looks lovely displayed in a frame or saved as a keepsake. Find practical ideas for painted prints, paper collages, and handprint art, with tips for adapting each activity and showing off the finished creation.
Pressed Leaf and Paper Collage
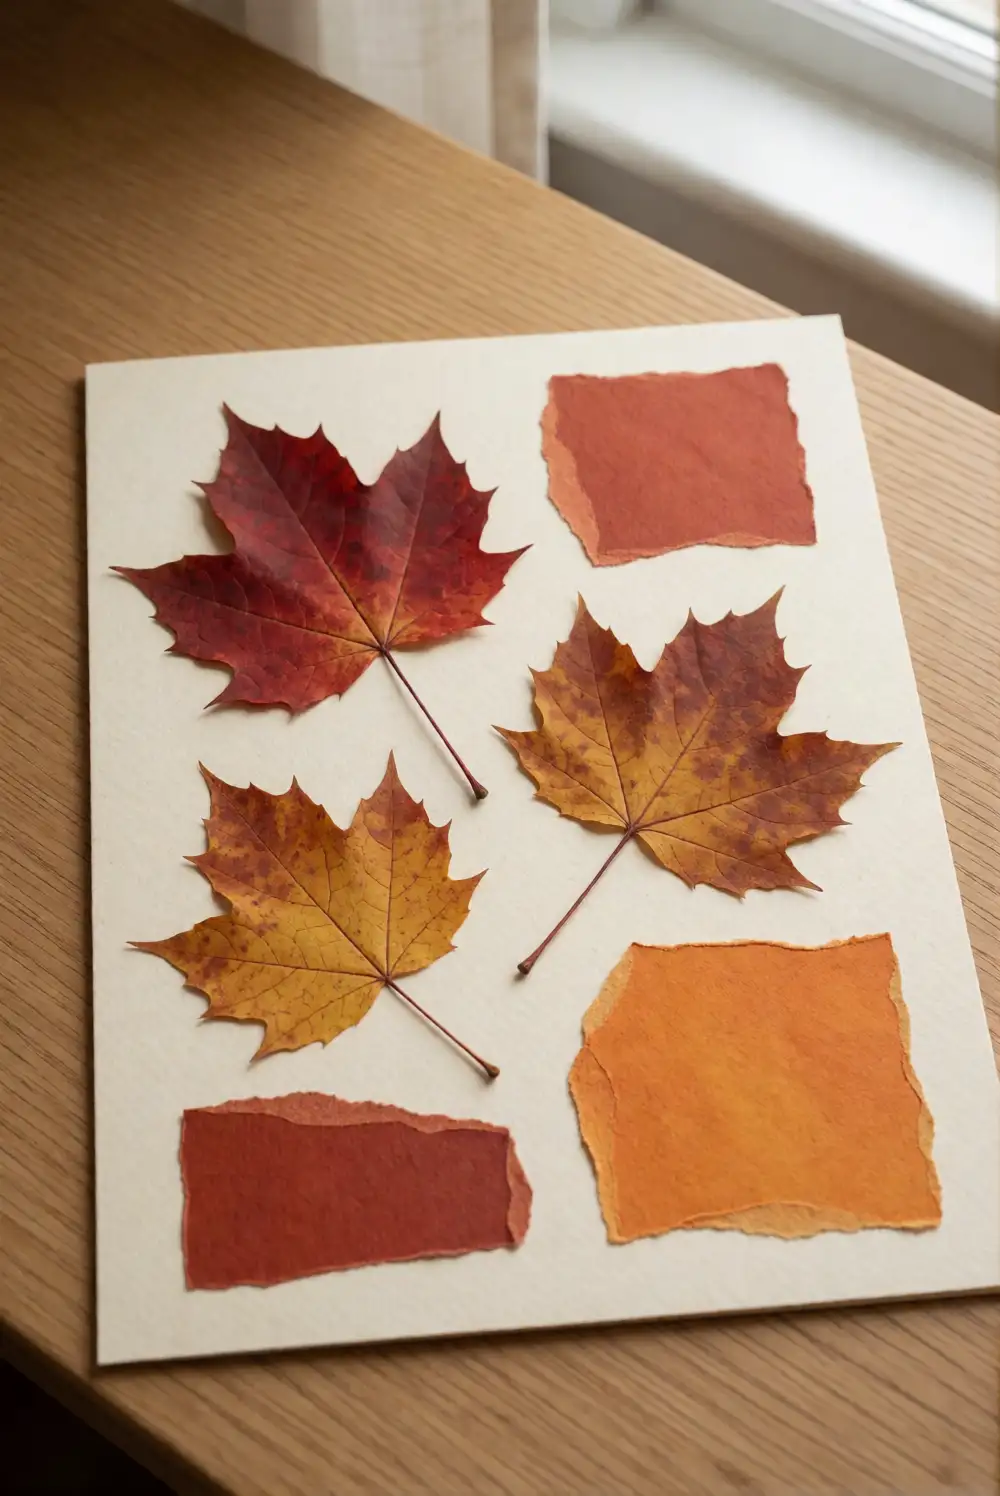
Flatten a few clean autumn leaves between sheets of paper inside a heavy book until they feel dry and crisp. Arrange the leaves on sturdy cream cardstock, then attach them with small dots of craft glue. Add torn shapes of orange, rust, and gold paper around the leaves to create a loose collage. Keep the composition simple, leaving a little open space so each leaf’s shape and delicate veins remain easy to see.
Choose leaves with different edges and colors for an interesting arrangement, but skip any that are damp or crumbling. An adult can help with pressing and gluing, while children plan the layout. Once the collage is completely dry, place it behind a clear frame front or have it mounted on a backing board. A pale mat makes the natural leaf colors stand out, and the finished piece can brighten a bedroom or reading nook.
Painted Leaf Print Artwork
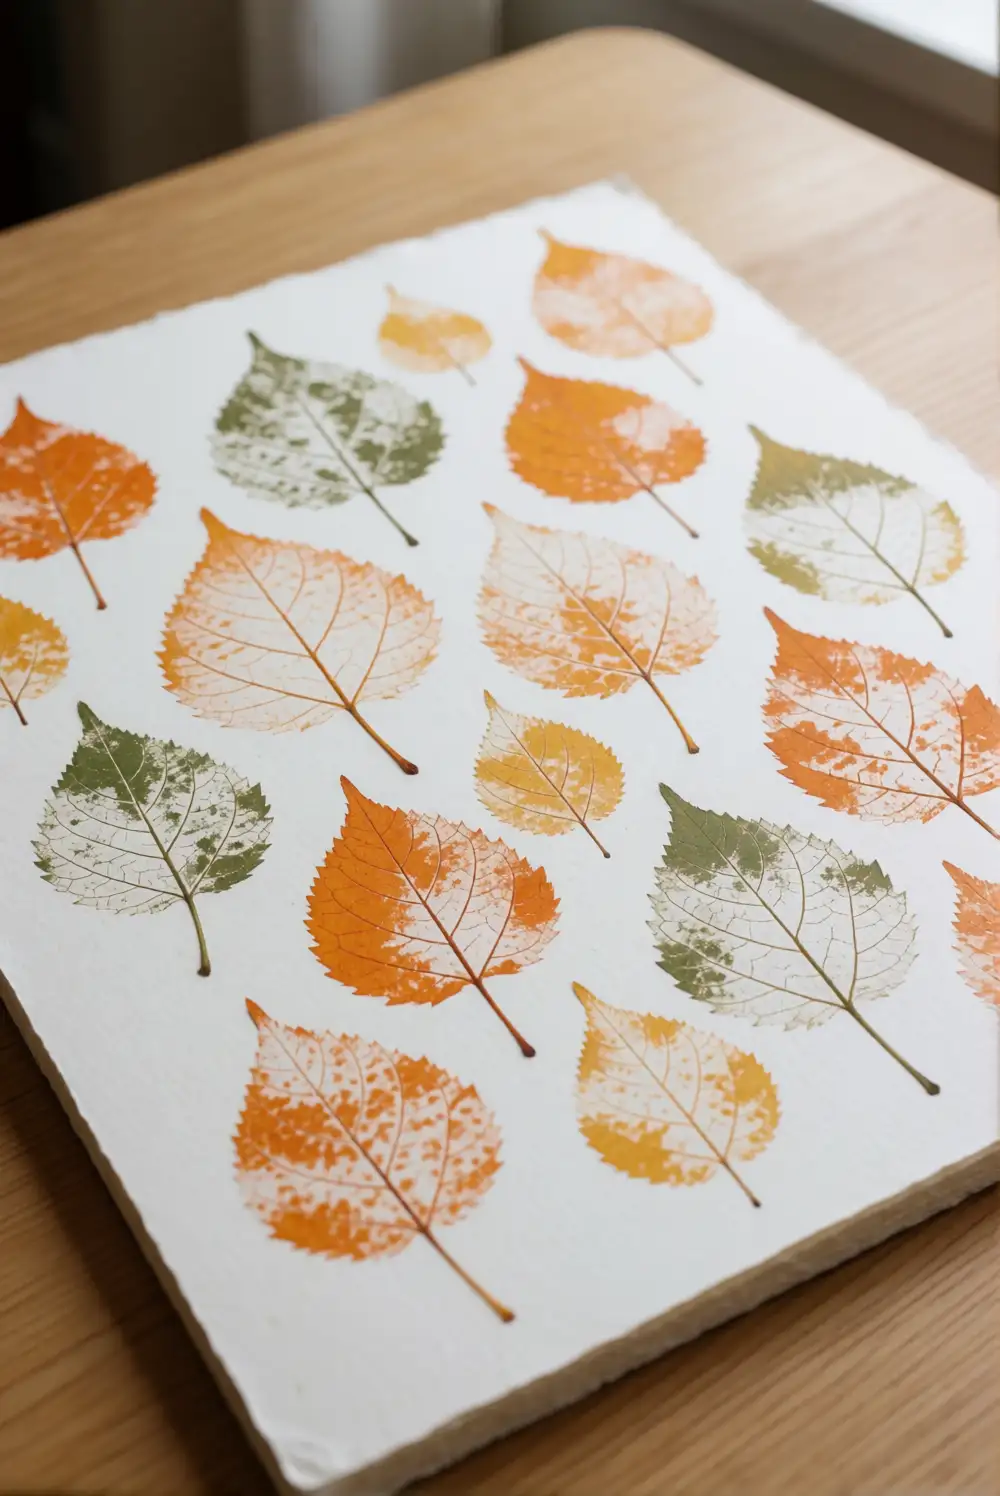
Gather broad leaves with raised veins, washable paint, a paintbrush, and thick paper. Brush a thin layer of paint onto the veined side of a leaf, then press it gently onto the paper. Lift it straight up to reveal the print. Repeat with a fresh color and another leaf, making a scattered arrangement or a tidy row. Use orange, ochre, and muted green paint to give the finished artwork an autumn feel.
Test the paint thickness on scrap paper first; a lighter coat usually captures the veins more clearly than a heavy one. Overlapping prints can look lovely, but leave some paper showing so the design stays easy to read. Let the sheet dry flat before framing. For a coordinated display, use a simple wooden frame and place the print beside a small vase of dried leaves or branches.
Handprint Autumn Tree Picture
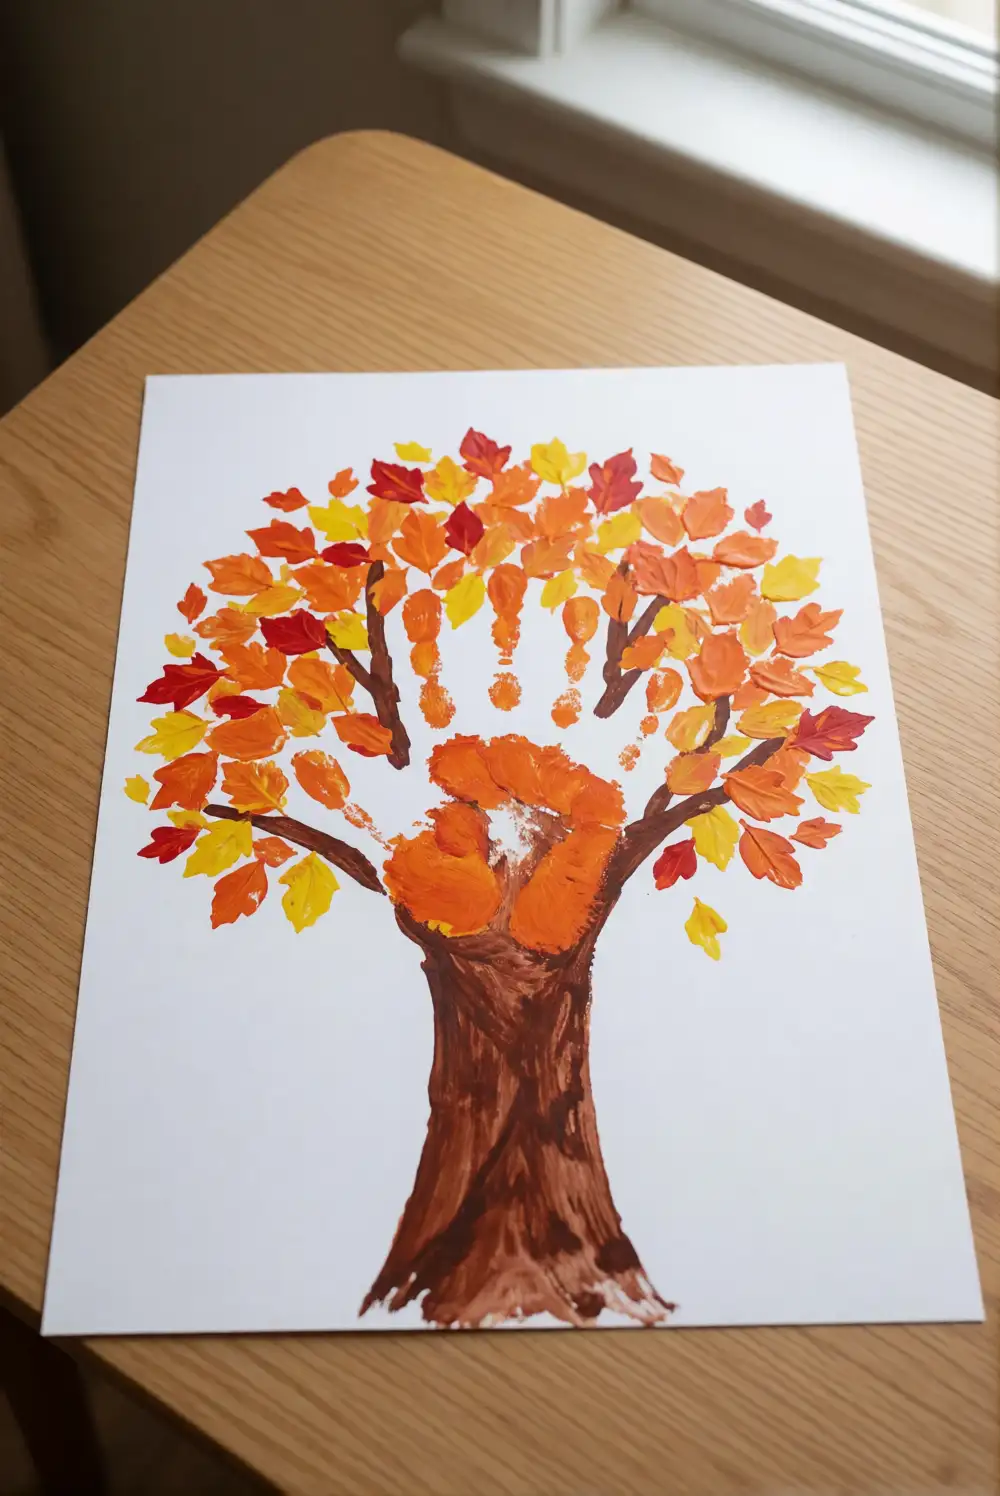
Use brown washable paint, a brush, and sturdy white paper to make the tree trunk and branches. Paint a child’s hand and forearm, then press them onto the paper with the fingers spread to form the tree shape. After the paint dries, add colorful leaves by dabbing orange, yellow, and red paint around the branches with fingertips. Keep the dabs loose and varied, creating a canopy that spreads naturally above the trunk.
Place a sheet of scrap paper underneath the project and keep a damp cloth nearby for quick cleanup. For a gentle variation, add a few painted leaves drifting toward the ground, or use a smaller handprint to make a young tree. Let every paint layer dry before framing the picture. A wide, light-colored mat gives the handprint room to stand out and makes this personalized artwork easy to display each autumn.
Paper Plate Fox Portrait
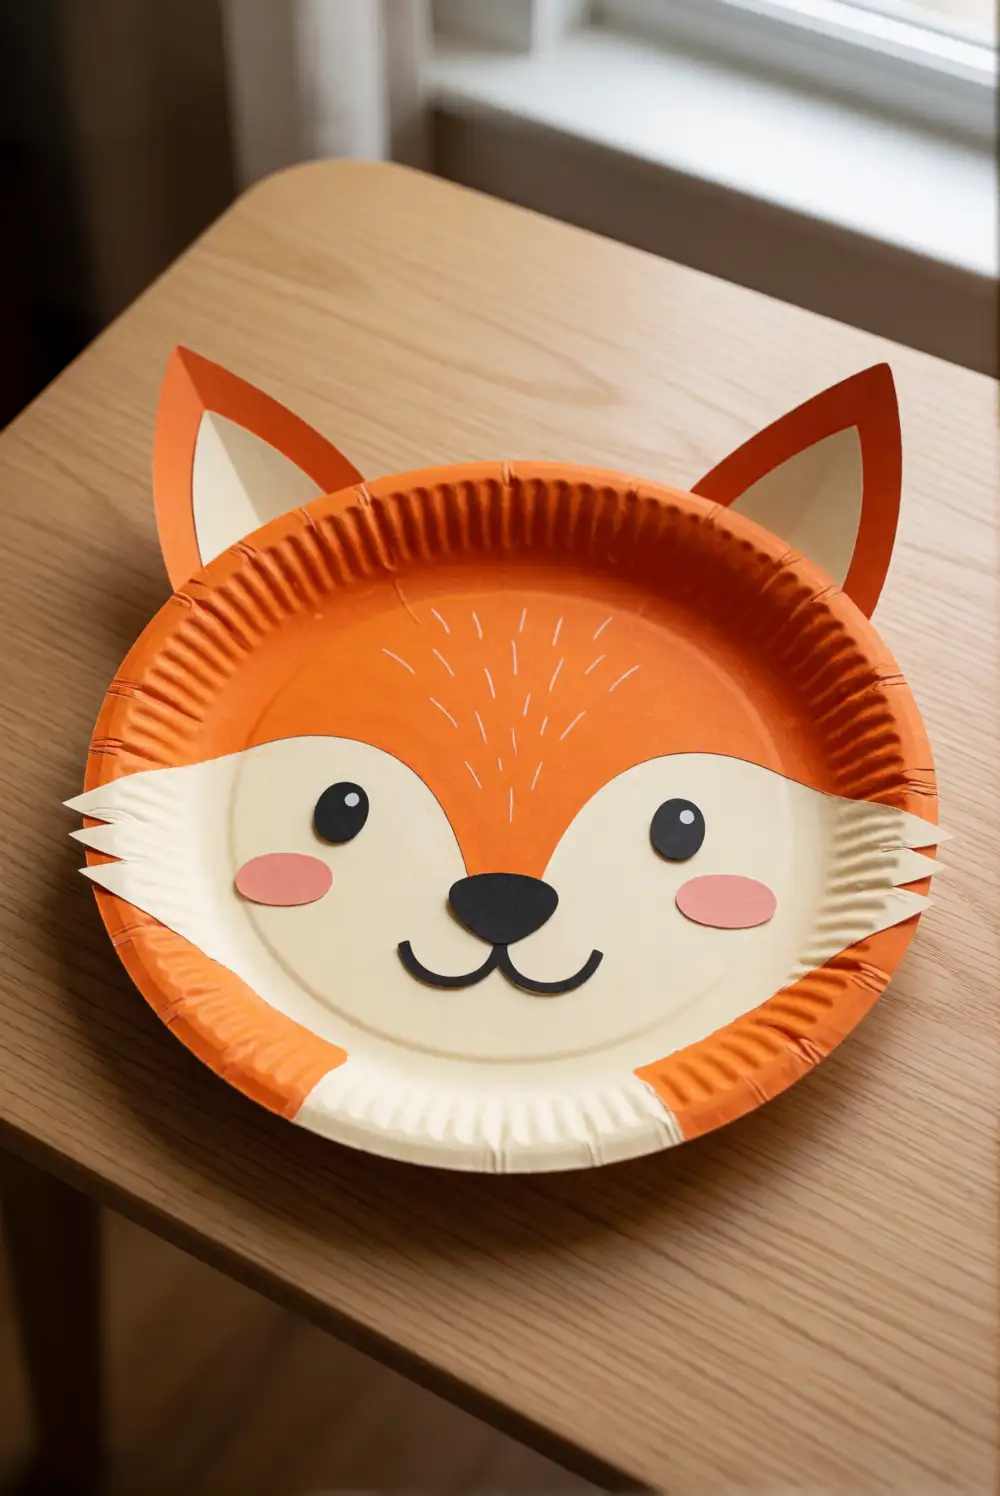
Turn a plain paper plate into a friendly fox face with orange paint, cream paper, and black paper shapes. Paint the plate orange and let it dry. Cut two large cream shapes for the cheeks and muzzle, plus pointed orange ears with smaller cream centers. An adult can help cut the pieces; children can arrange and glue them onto the plate. Finish the face with simple black paper eyes and a small nose, keeping all features securely attached.
Use marker details only after the paint has dried, and keep the fox’s expression cheerful with gently curved lines. If a paper plate is too flexible for framing, glue it to a sheet of sturdy cardstock and trim a neat border around the portrait. A shallow frame or display ledge suits the plate’s rounded shape. Try a pale orange or cream background to complement the fox without competing with its bright face.
Torn Paper Pumpkin Collage
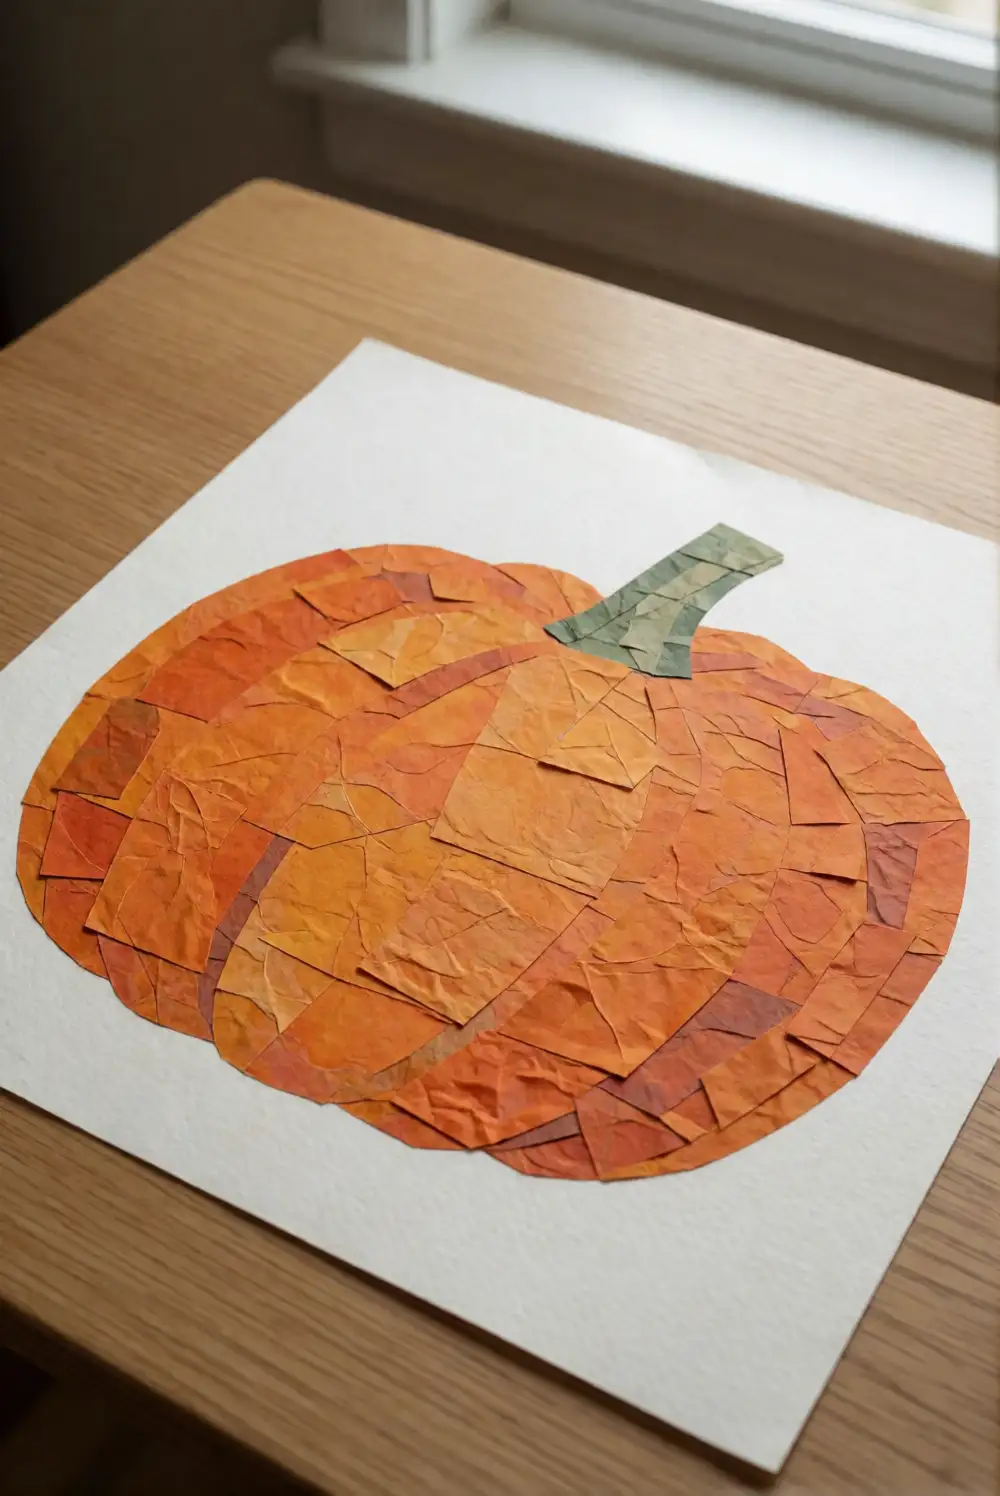
Draw a large pumpkin outline lightly on sturdy paper, then cover the shape with torn pieces of orange construction paper. Overlap the pieces slightly and use a glue stick to secure them, filling the pumpkin from edge to edge. Add a green paper stem and a few simple leaves at the top. Children can tear the paper by hand, making small pieces for a smooth fill or larger pieces for a bold, textured look.
Mix pale and deep orange scraps to suggest the pumpkin’s curved sections, or keep the colors uniform for a clean graphic style. Leave the surrounding paper plain so the collage remains the focus. Once dry, place it in a frame with a generous border, or mount it on dark green cardstock for contrast. This project works especially well with leftover paper from other crafts, and the finished artwork stores flat between sheets of paper.
Apple Stamp Harvest Picture
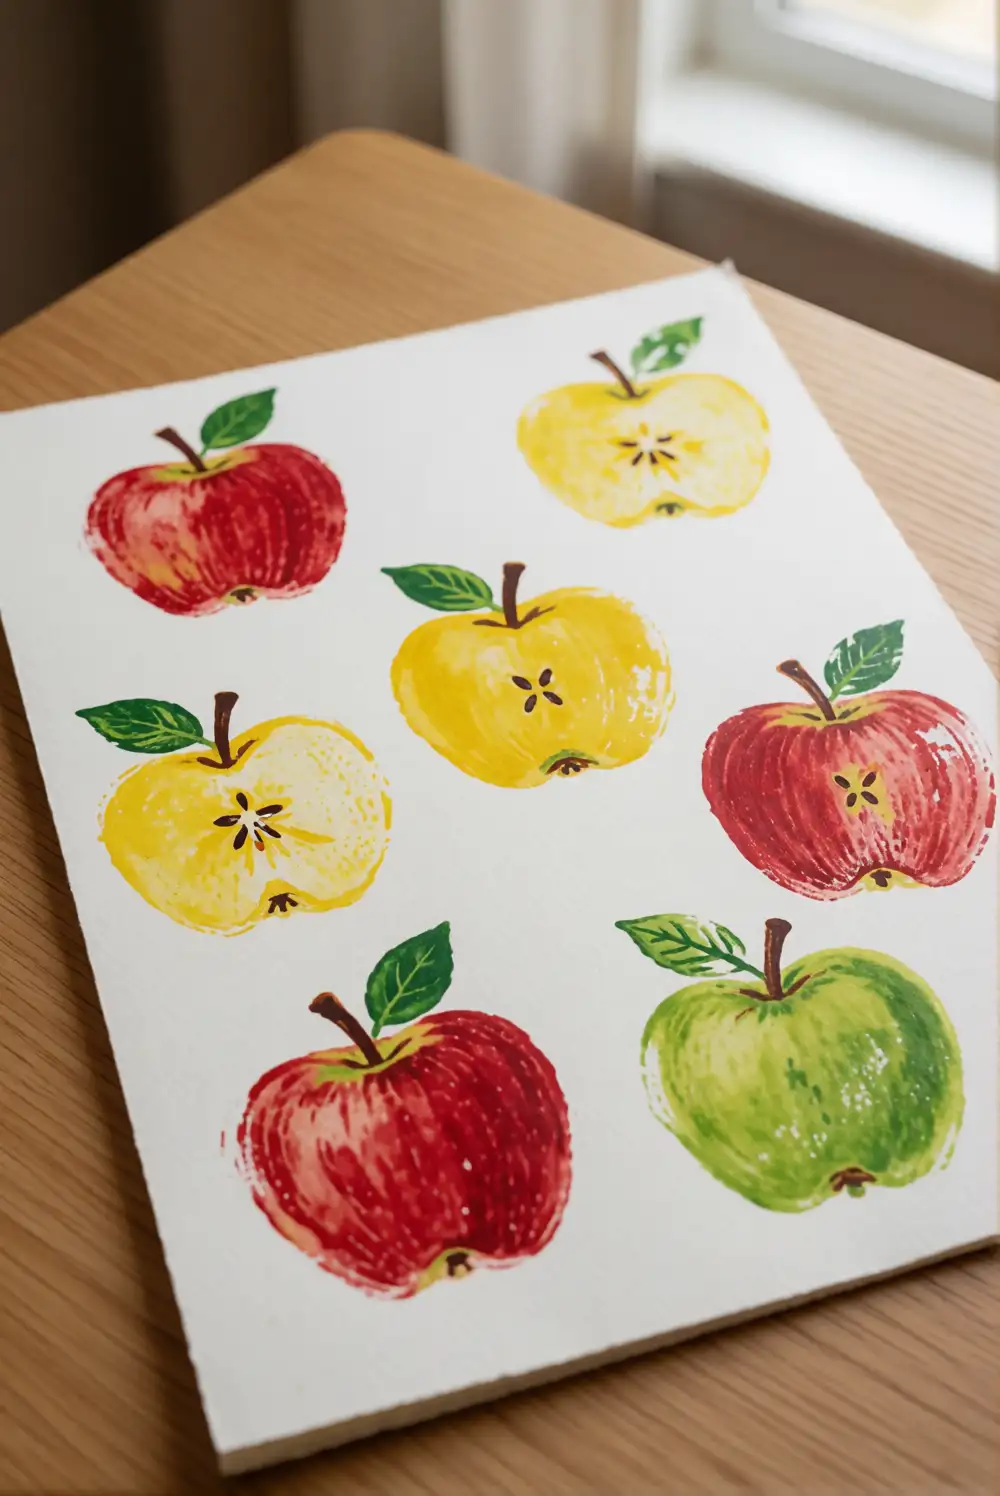
Ask an adult to cut an apple in half across its middle, revealing the star-shaped seed pattern, then remove the seeds. Pour washable red, yellow, or green paint onto a shallow plate. Press the cut side of the apple lightly into the paint and stamp it onto thick paper. Repeat to make a loose cluster of apples, then use a brush to add simple brown stems and green leaves after the prints have dried.
Blot the apple on scrap paper if it carries too much paint; a thin coating makes the star pattern clearer. Combine several apple colors for a harvest basket effect, or stamp just one large apple as a simple centerpiece. Keep the paper flat while the paint dries, then frame it with a cream mat. An adult should handle the knife and prepare the apple, while children can choose colors and make the prints.
Autumn Leaf Contact Paper Suncatcher
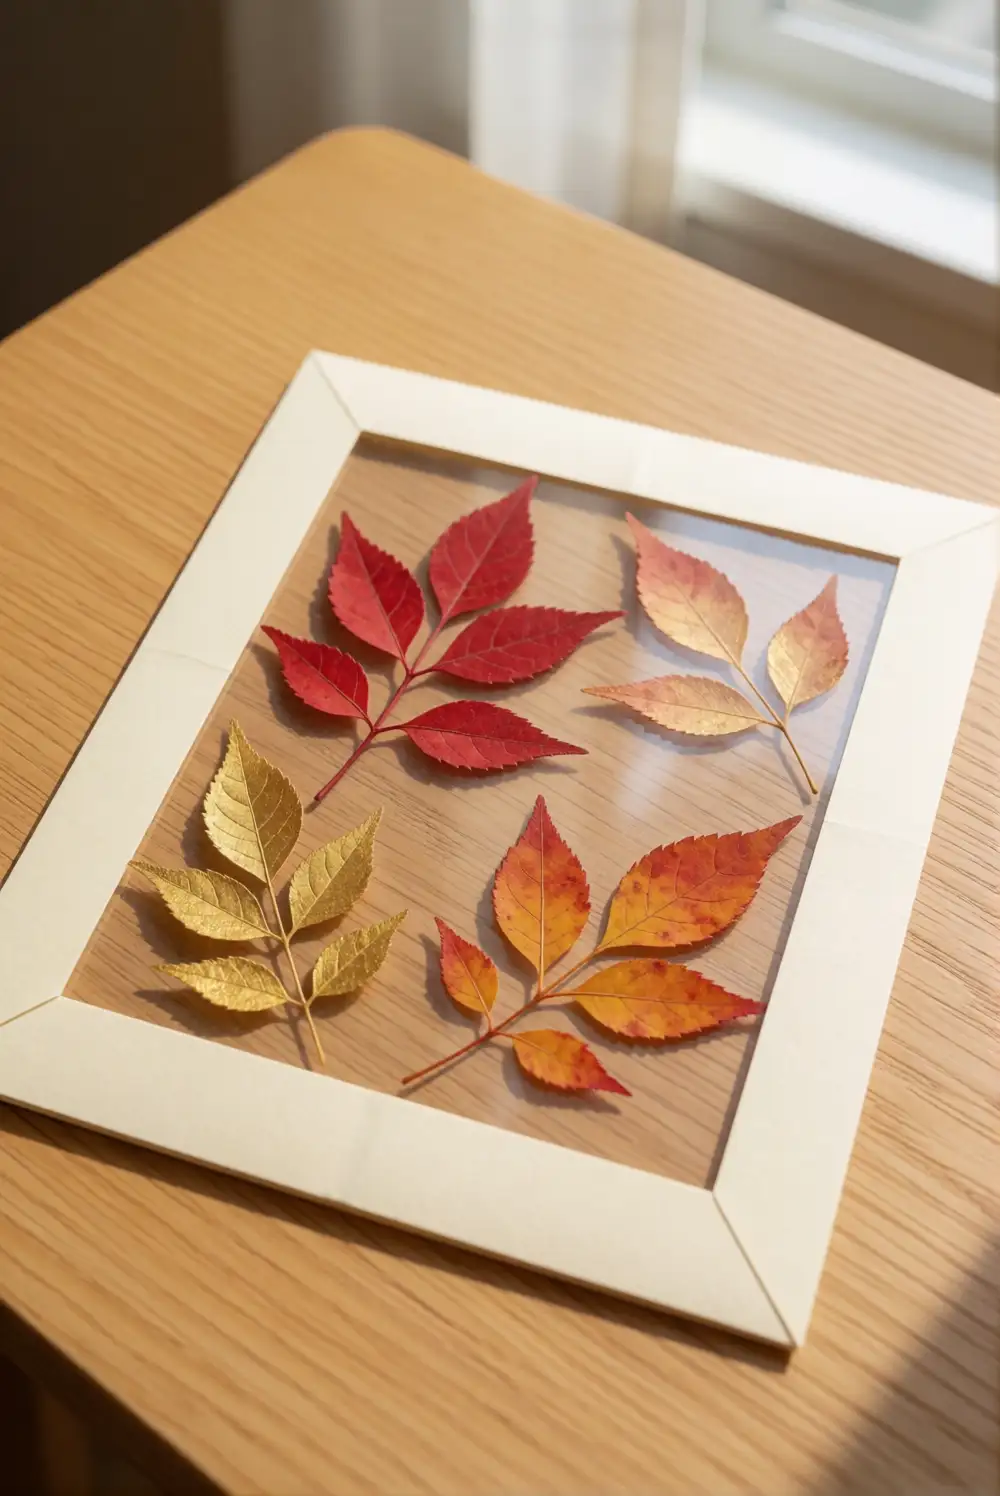
Cut two matching shapes from clear contact paper, such as a large circle or arch. Peel the backing from one piece and place it sticky side up on a work surface. Arrange small, flat autumn leaves across the center, leaving a clear border around the edges. Carefully cover the arrangement with the second piece of contact paper, pressing outward to smooth away air pockets. An adult can trim the edges into a neat frame-like shape.
Choose thin leaves and avoid piling them on top of one another, so daylight can shine through the finished piece. Add a paper border in cream or rust if you want a more finished outline. Hang the suncatcher in a bright window using a small piece of removable tape, away from areas where it could be pulled down. The translucent leaf shapes look especially pretty when sunlight brings out their warm colors.
Woven Paper Fall Basket
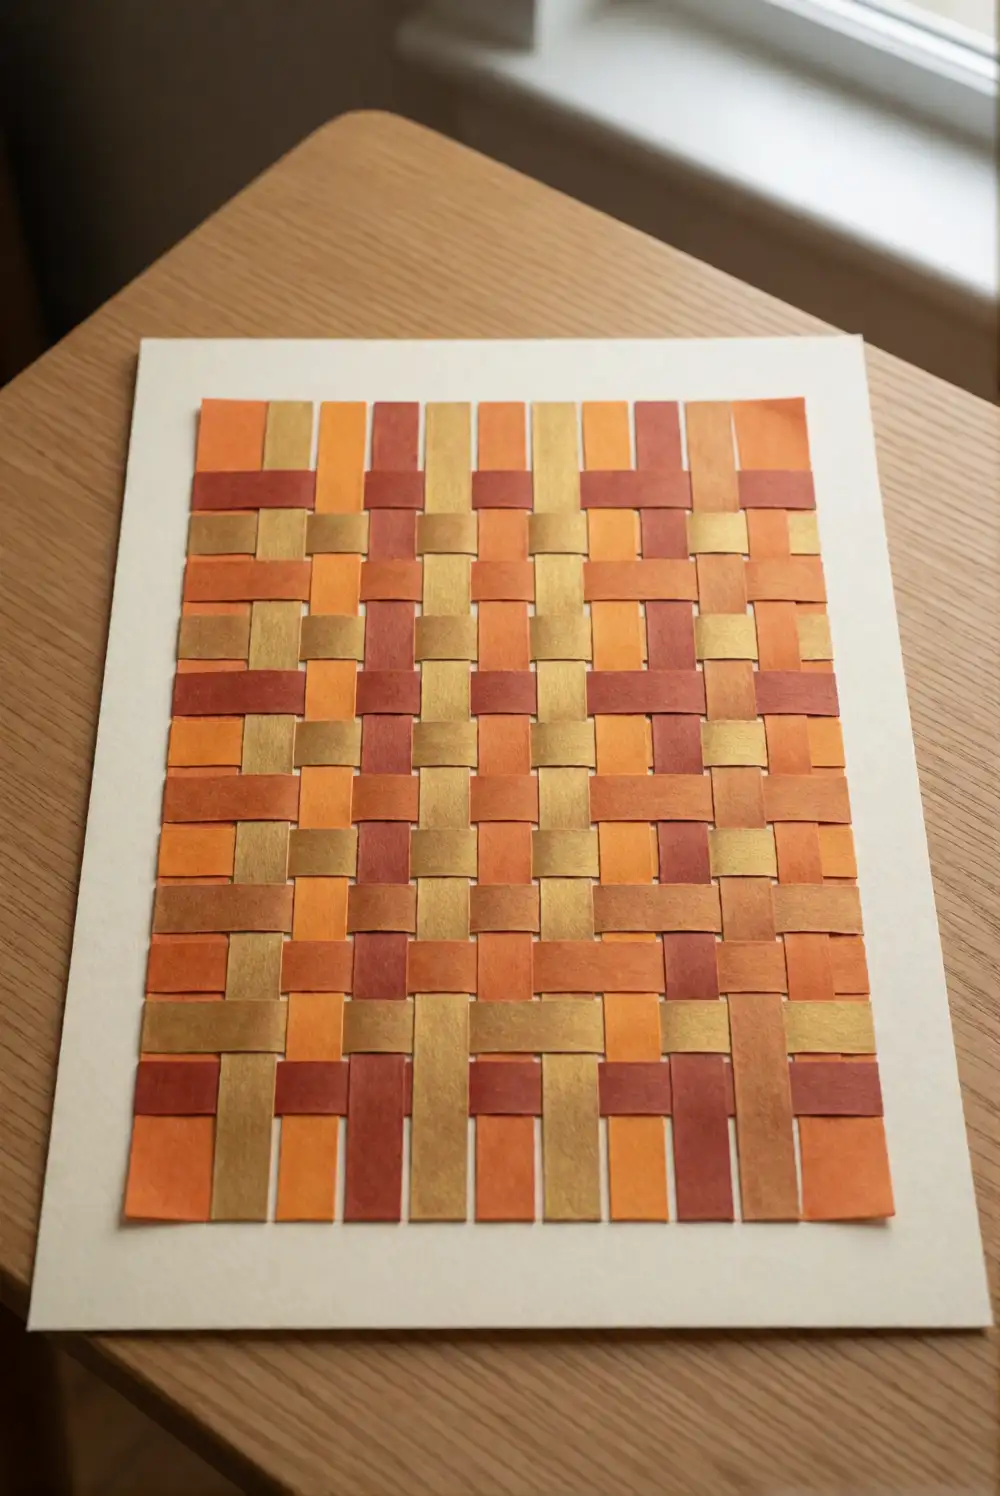
Cut sturdy construction paper into broad strips in autumn colors, then fold a separate sheet in half and snip evenly spaced openings from the folded edge, stopping before the opposite edge. Open the sheet and weave the colored strips over and under through the openings. Alternate the pattern to create a tidy grid, then secure the strip ends on the back with glue. Adults can prepare the cuts, while children guide the paper strips through the openings.
Use two or three colors for a clear woven pattern, or repeat one color for a calmer look. Press the finished paper flat beneath a book while the glue dries. To turn the weave into framed art, trim it into a rectangle and mount it on contrasting cardstock. The basket-like pattern also makes a cheerful background for a paper leaf or pumpkin shape, provided the extra decoration is made from flat, lightweight paper.
Paper Bag Scarecrow Portrait
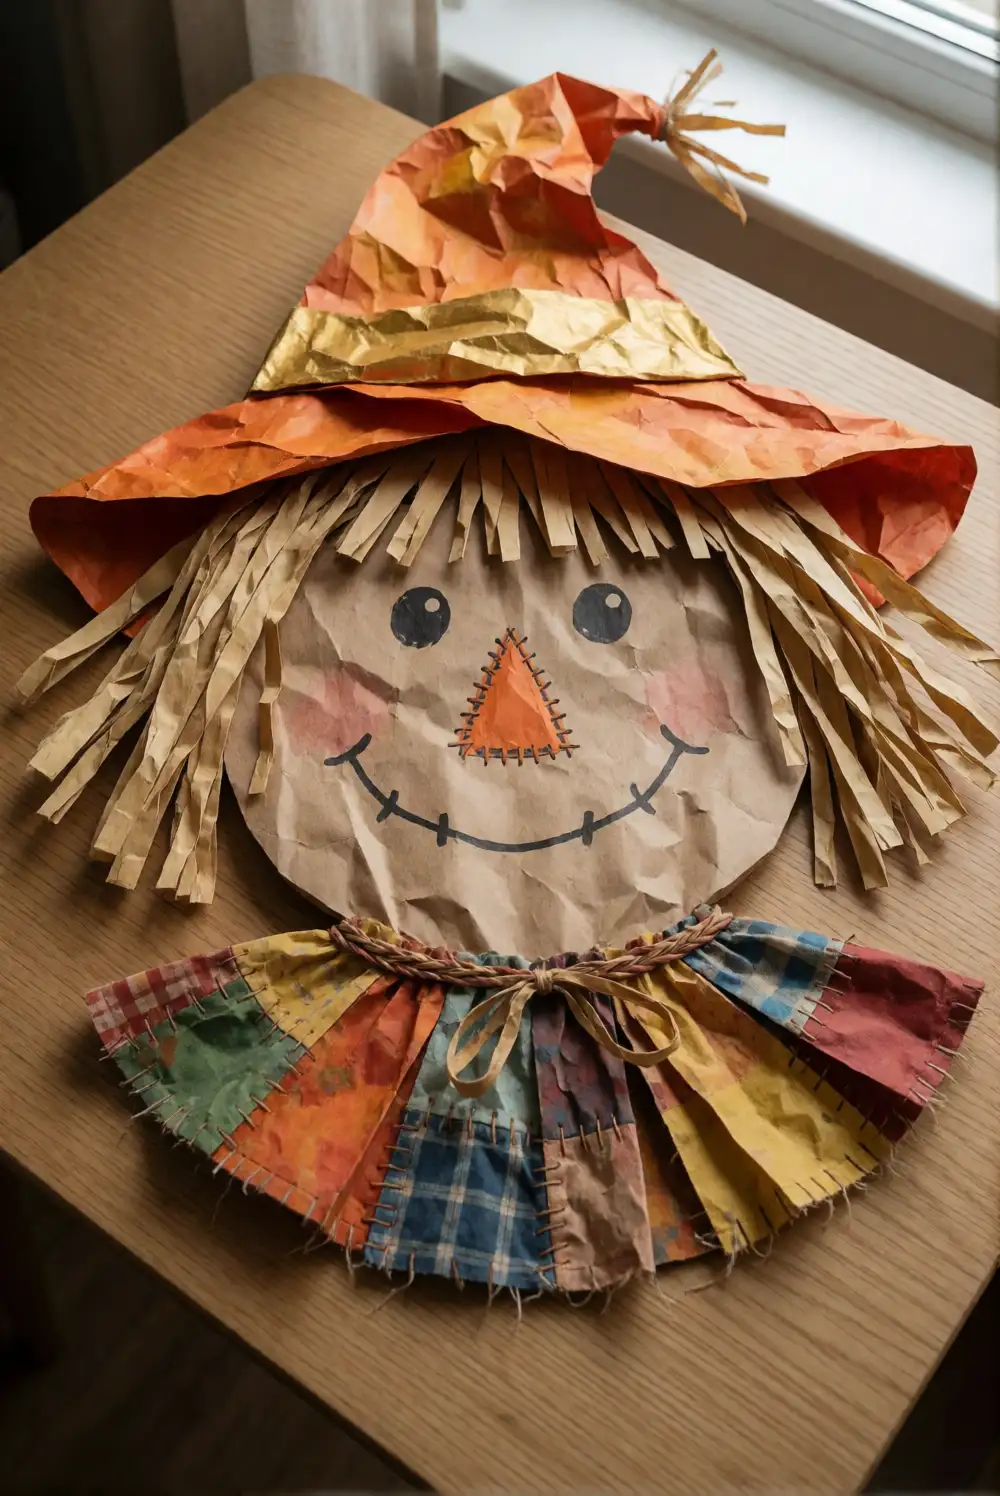
Flatten a brown paper lunch bag and use the bottom flap as the top of a cheerful scarecrow face. Add a paper hat made from a wide brim and a rounded crown, then cut a triangle nose and simple paper eyes. Glue on short yarn pieces or narrow paper strips as hair, keeping the materials firmly attached. Draw a stitched smile with a marker and add a patchwork collar from scraps of orange, yellow, and green paper.
Make the expression friendly with curved brows and a broad smile, and keep the shapes large enough to show clearly from across the room. For a sturdier portrait, glue the flattened bag to a piece of cardstock before decorating. Let the glue dry fully, then display the artwork in a frame with a deep opening or on a wall ledge. Try a different hat color or paper patch pattern to give each scarecrow its own look.
Colorful Paper Leaf Garland Picture
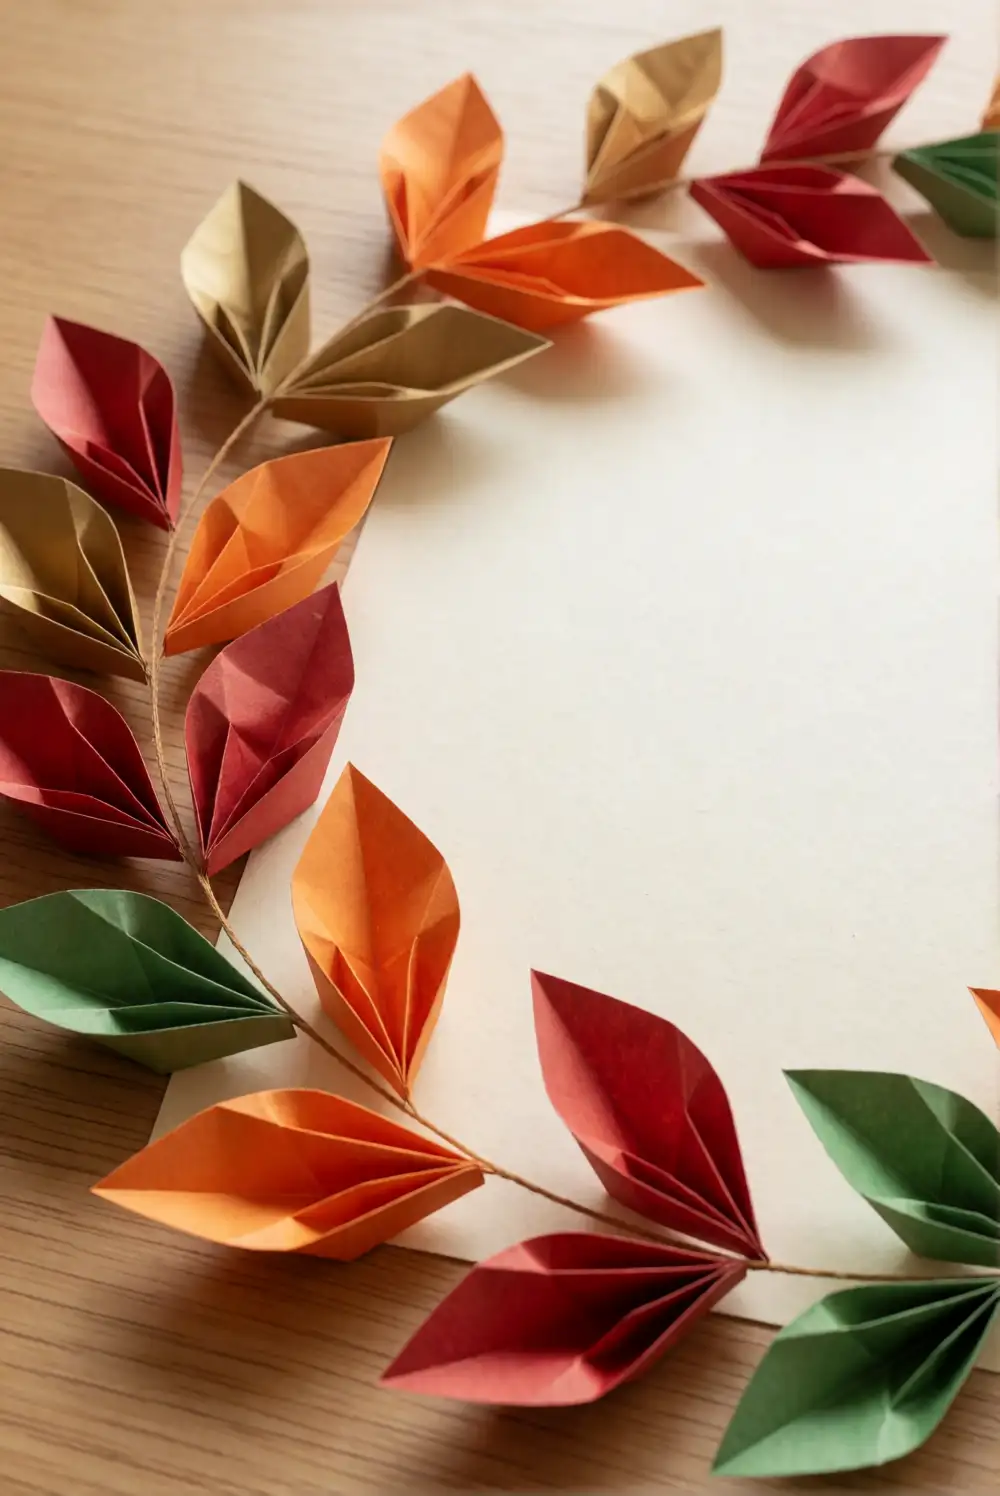
Cut several broad leaf shapes from orange, gold, red, and green construction paper. Fold each leaf lengthwise and press a gentle crease down the middle to give it dimension. Arrange the leaves in a curved garland across a sheet of sturdy paper, then glue only the center of each leaf so the folded edges lift slightly. Draw a fine curved stem between the leaves with a brown marker, or add narrow paper strips to form the connecting line.
Alternate leaf colors to create an even rhythm, or group warm shades together for a gradient effect. Keep the leaves mostly flat so the artwork fits neatly behind a frame front. A dark brown or cream backing can make the bright shapes stand out, depending on the look you prefer. Once the glue has dried, frame the picture horizontally and display it on a shelf or wall as a simple seasonal accent.
From leaf prints and paper collages to cheerful portraits, these fall crafts turn easy-to-find materials into artwork worth displaying. Choose a project that suits your child’s interests, prepare any cutting steps ahead of time, and let the finished pieces dry fully before framing. A simple frame, a generous mat, or a bright backing sheet can help each autumn creation feel ready to keep.