
Bring the colors of autumn indoors with fall leaf craft ideas that make beautiful use of nature’s shapes and textures. From delicate prints to playful decor, these projects turn gathered leaves into art you can display, wear, or use around the home. Choose leaves that are dry and intact, and enjoy making each piece your own with simple materials and warm seasonal colors.
Leaf Rubbing Art
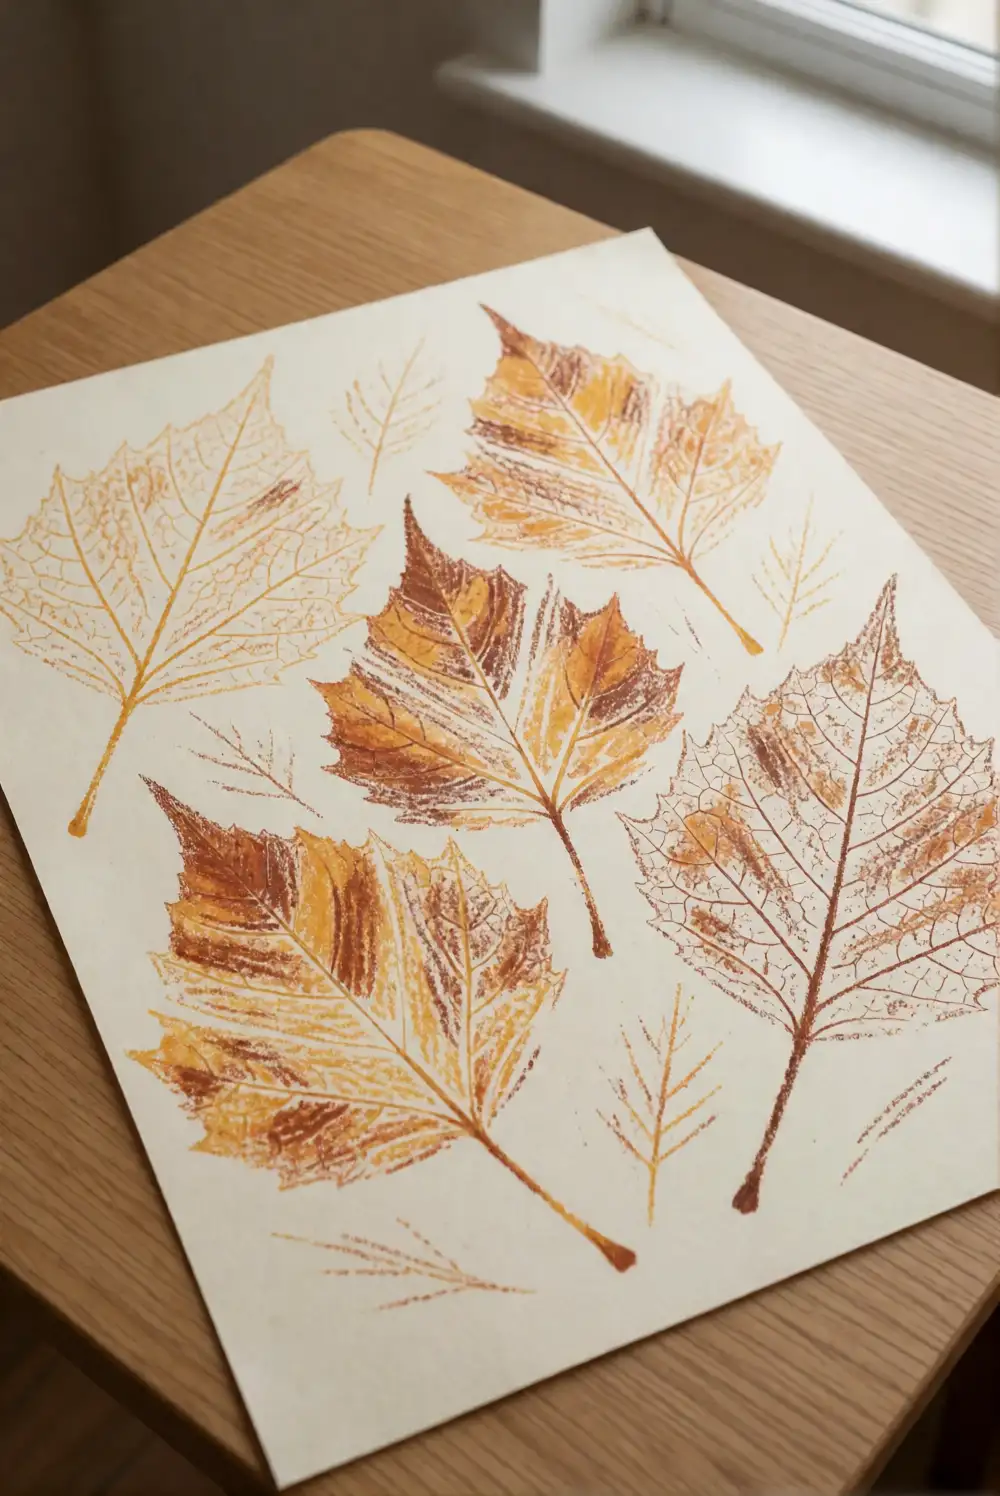
Place a dry leaf vein-side up beneath a sheet of thin drawing paper, then hold the paper steady with one hand. Use the broad side of a crayon to rub gently across the leaf until its outline and veins appear. Try several leaves with different shapes, changing crayon colors as you move across the page. When the rubbings are complete, trim the paper into a simple arrangement or leave the artwork as one full composition.
Choose leaves with raised veins for clear impressions, and test the pressure on a spare sheet before working on the final page. Warm shades such as rust, ochre, and brown give the design an autumn feel, while a mix of colors highlights each leaf’s details. Frame the finished art, or clip it to a natural wood board for seasonal display. Keep the leaves flat and dry so they do not shift beneath the paper.
Layered Leaf Animal Collage
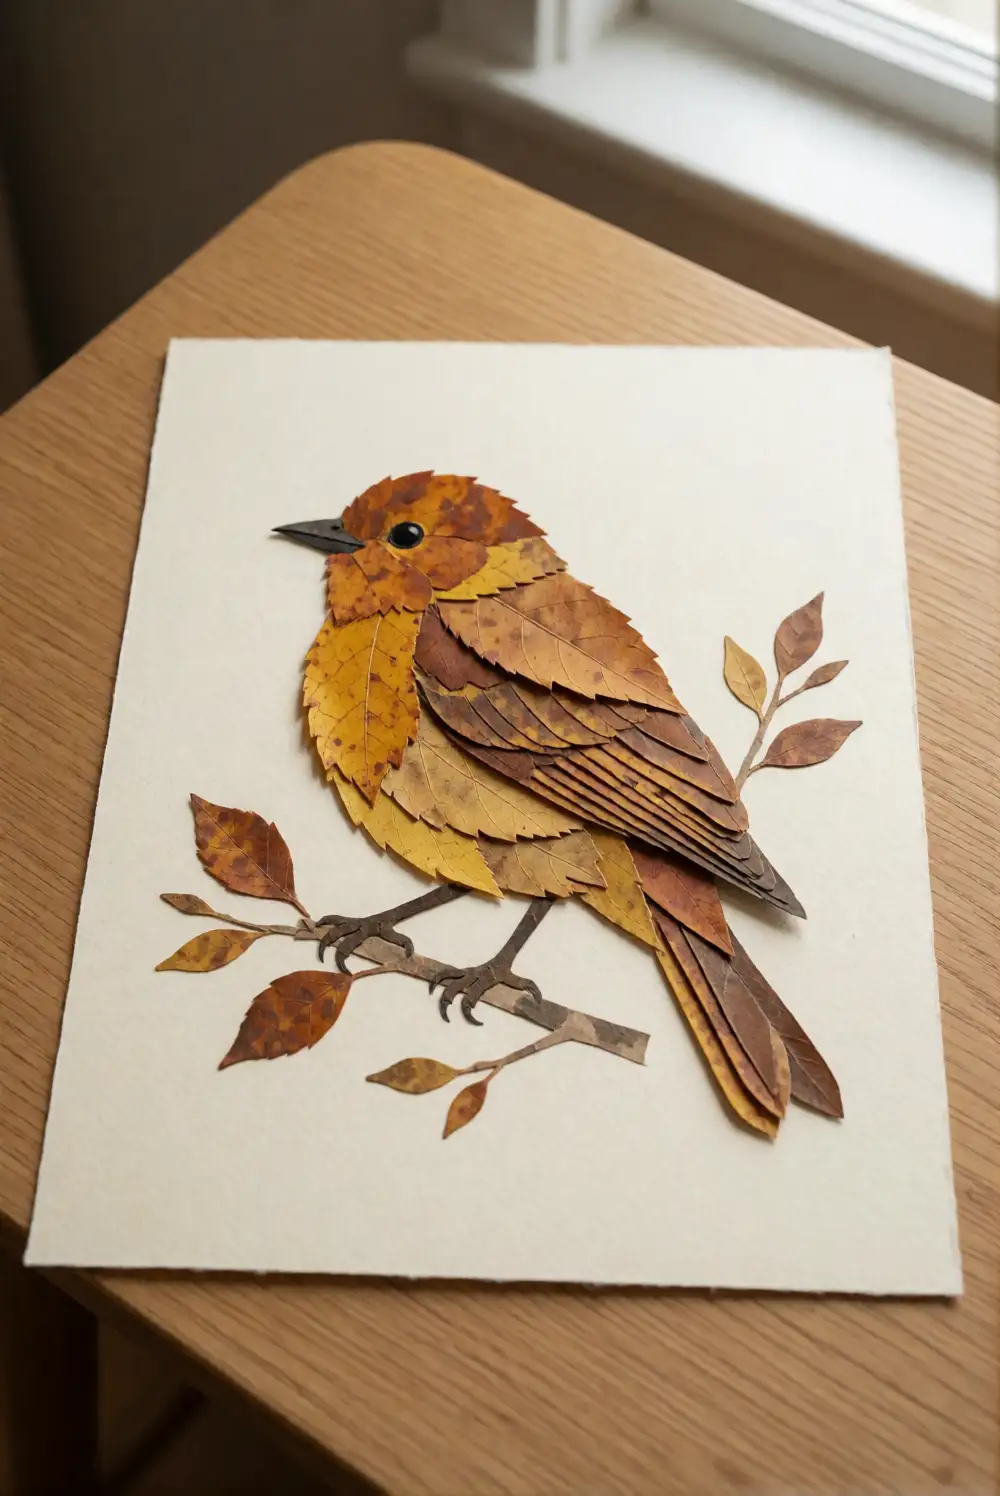
Gather a large leaf for the animal’s body and smaller leaves for wings, ears, or a tail. Arrange them on sturdy paper until the shapes suggest a bird, fish, fox, or butterfly, then attach each leaf with small dabs of craft glue. Add details such as legs or whiskers with thin paper shapes rather than drawn words. Press the collage beneath a clean sheet of paper and a light book while the glue dries.
Mix leaf sizes and colors to make the animal’s parts easy to distinguish, and turn leaves in different directions to find the best shapes. A pale paper background helps darker leaves stand out, while a deeper background can make golden leaves glow. Keep the composition simple so the natural forms remain the focus. Display the collage in a frame or place it on a shelf where it can be enjoyed away from direct sunlight.
Pressed Leaf Suncatcher
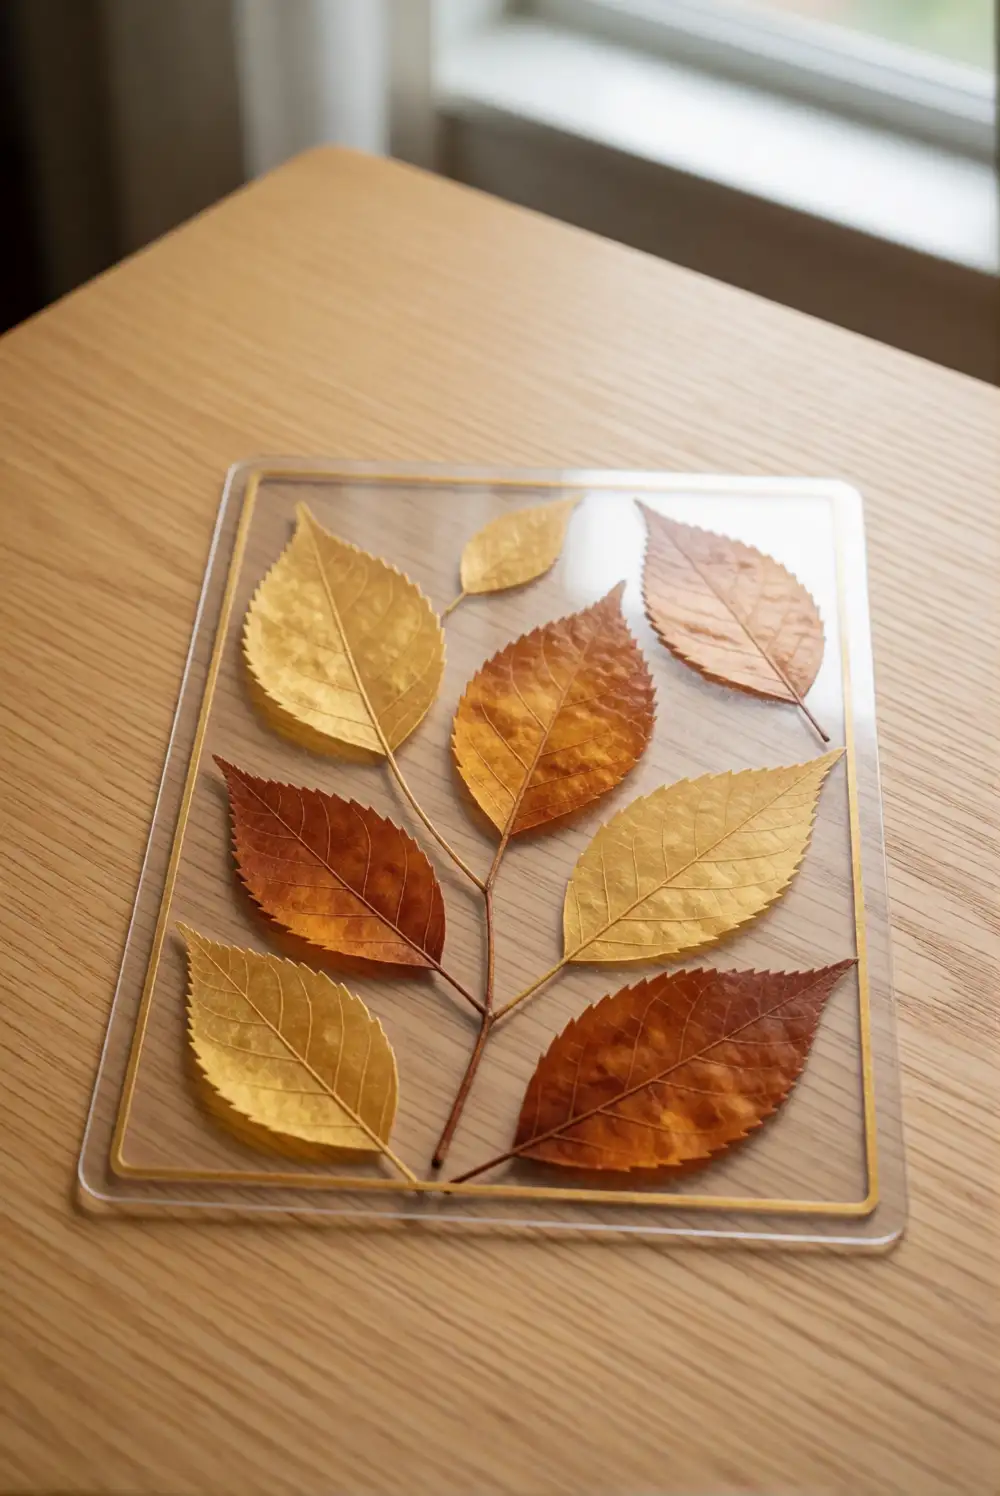
Press thin, dry leaves between absorbent paper and a heavy book until they lie flat. Cut two matching pieces of clear self-adhesive paper, peel the backing from one, and arrange the leaves across its sticky surface with space around each shape. Carefully lay the second piece over the design, smoothing from the center outward to limit air pockets. Trim the edges into a simple shape, then add a hanging loop made from a wider paper strip.
Choose translucent leaves and keep the arrangement light so sunlight can pass through the finished piece. A single large leaf creates a clean focal point, while a loose mix of small leaves makes a more scattered pattern. Hang the suncatcher in a bright window, away from a spot where it will be bumped. If the adhesive edges begin to lift, press them together again and trim any uneven border for a neat finish.
Painted Leaf Print Tea Towels
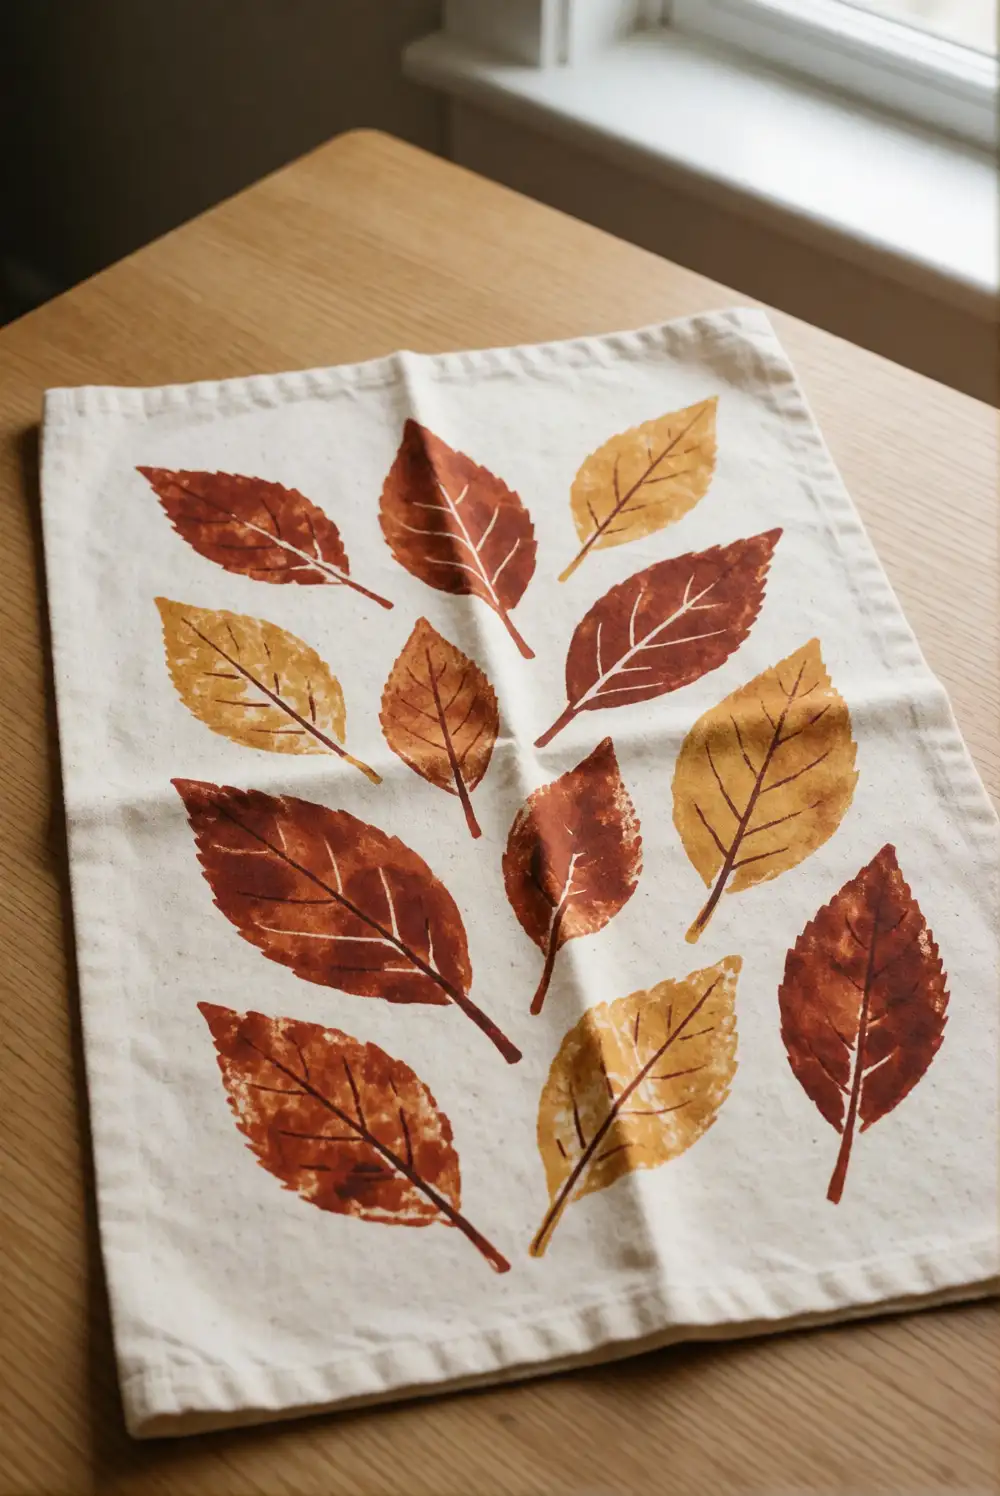
Wash and dry a plain cotton tea towel before decorating it. Brush a thin, even layer of fabric paint onto the veined side of a sturdy leaf, then place it paint-side down on the cloth. Cover the leaf with scrap paper and press gently with your palm to transfer its shape. Lift the leaf straight up, let the print dry, and repeat with a fresh coat of paint for each impression. Follow the paint maker’s directions for setting the design.
Make a tidy border of prints along one edge, or scatter leaves loosely across the towel for a relaxed look. Test the paint on a fabric scrap first, since different cotton weaves can absorb color in their own way. Use leaves with distinct veins and avoid adding too much paint, which can blur the fine lines. Once fully set, the towel can brighten a kitchen or make a thoughtful seasonal hostess gift.
Air-Dry Clay Leaf Imprint Coasters
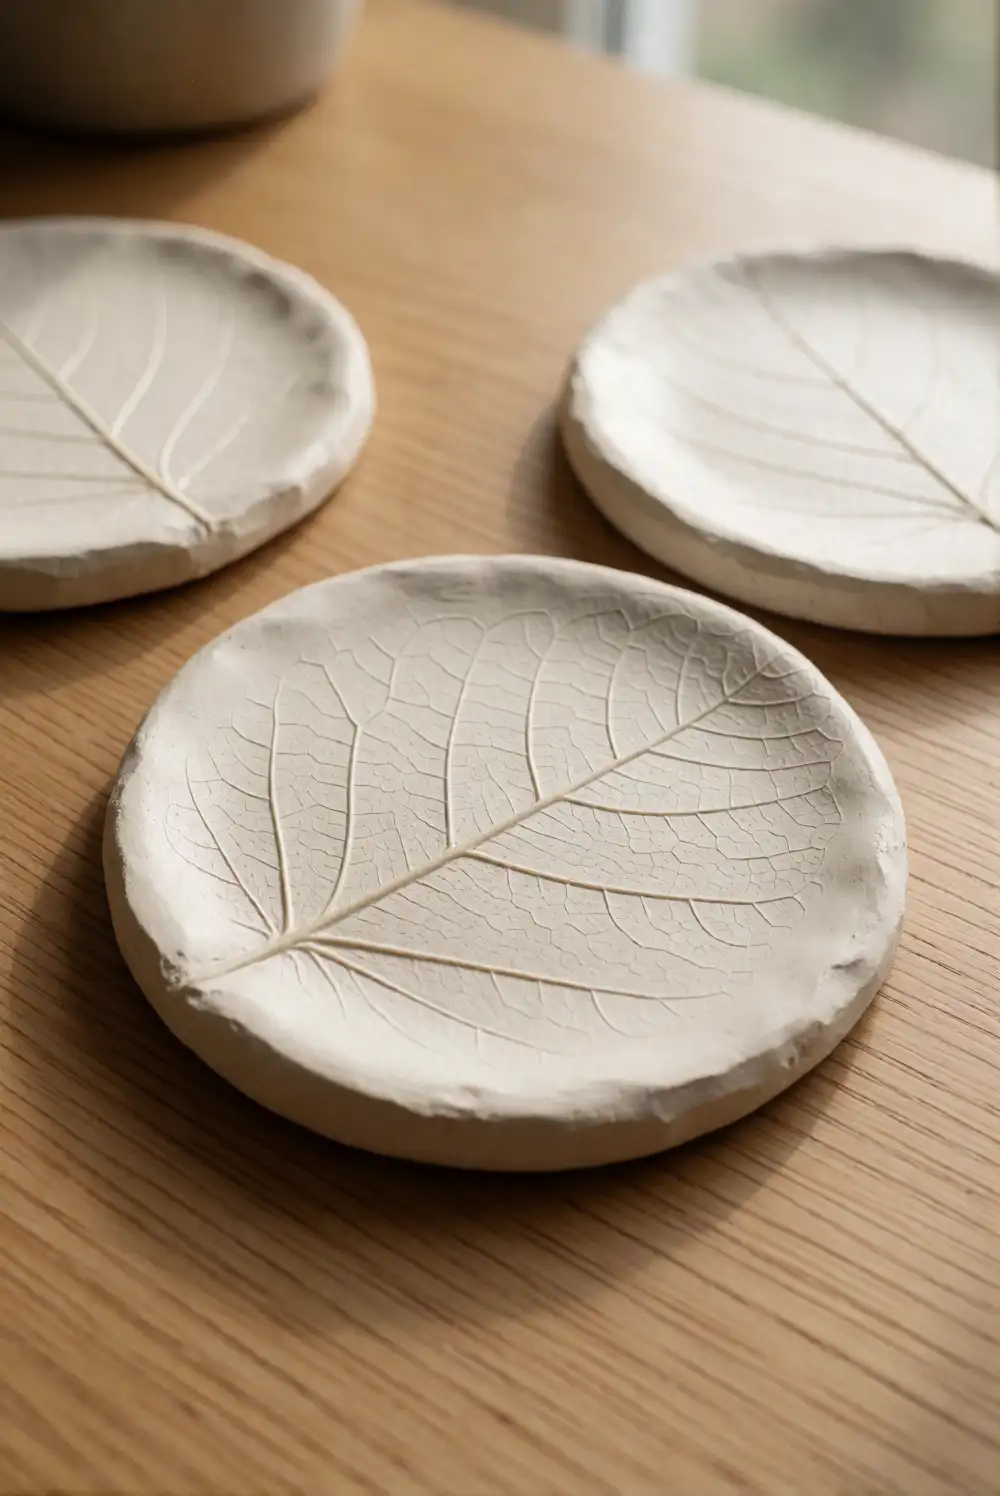
Roll air-dry clay into an even sheet on a washable surface, then press a clean leaf vein-side down into it. Roll lightly over the leaf to transfer its pattern, lift it away, and cut the clay into a rounded coaster shape with a smooth-edged cutter. Refine the rim with a damp fingertip and leave the piece to dry according to the clay package directions. Add a protective finish only if the product instructions recommend one.
Leaves with pronounced veins create the clearest impressions, while a small variety of leaf shapes gives each coaster a distinct look. Keep the clay thickness consistent so the pieces dry evenly, and place them on a flat surface as they cure. These coasters are best used for cool, dry cups unless the clay and finish are specifically suitable for heat and moisture. Arrange the finished pieces on a coffee table or stack them beside a serving tray.
Autumn Leaf Garland
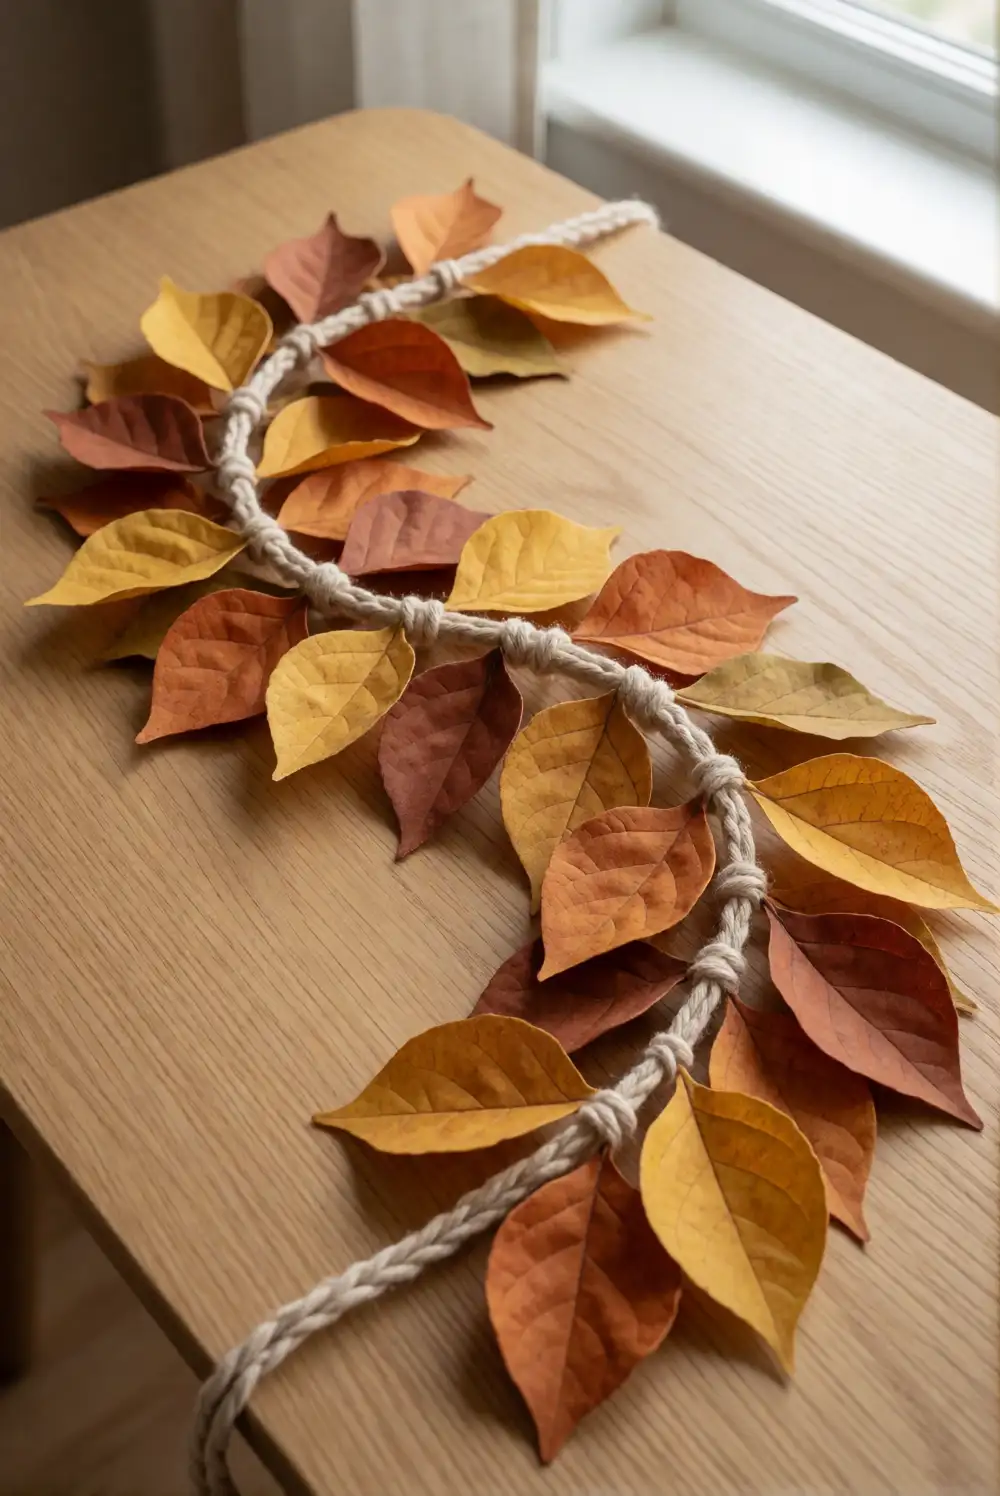
Choose dry leaves that still hold their shape, then arrange them along a length of natural cotton cord. Attach each leaf with a small piece of clear craft tape folded over the cord, or use a dab of craft glue and let it dry before hanging. Alternate leaf sizes and colors, leaving a little space between each one so the shapes remain visible. Tie simple loops at both ends of the cord for easy hanging.
For a fuller garland, layer a smaller leaf over the stem of a larger one, keeping the arrangement light enough to hang without pulling down the cord. Try a color rhythm that moves from golden yellow to orange and russet, or mix shades freely for a gathered-from-the-woods look. Drape the garland over a mantel, along a shelf, or around a mirror. Keep it away from damp areas so the leaves stay crisp and attractive.
Mini Leaf Wreath
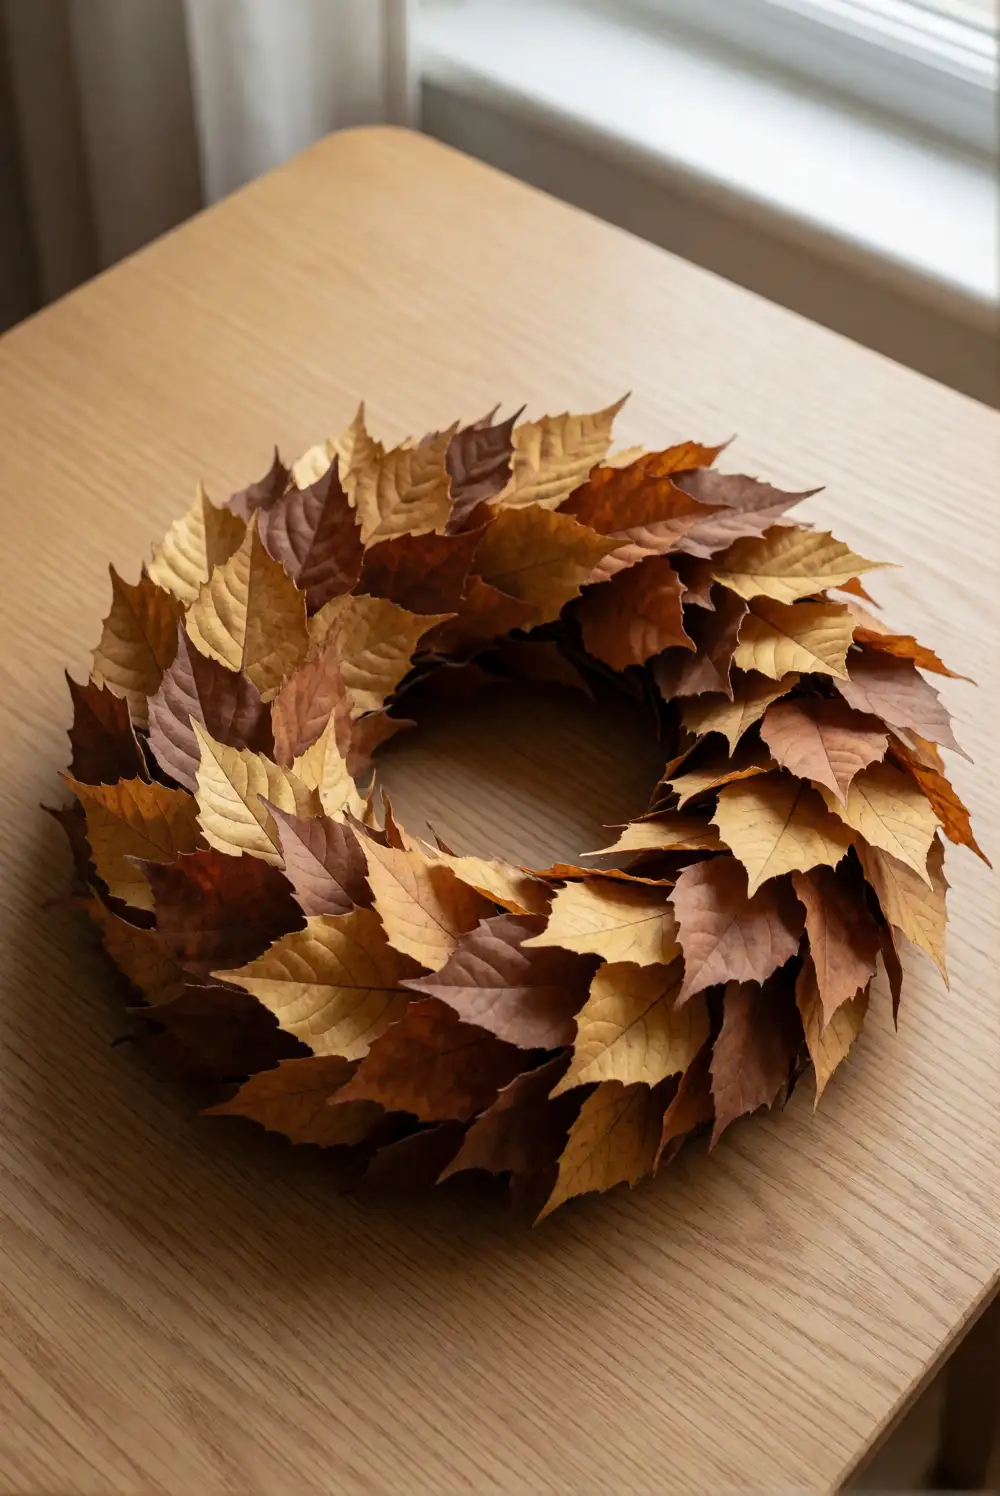
Bend a length of flexible craft wire into a small circle and twist the ends together to form a base. Place dry leaves around the circle, overlapping their stems, and secure them with short lengths of floral wire or craft glue. Continue around the ring until the base is covered, then tuck the final stems beneath the first leaves for a seamless finish. Attach a loop of ribbon or cotton cord at the top for hanging.
Use leaves with flexible stems and layer them in one direction to make the wreath look full and orderly. A few contrasting leaves can add depth, but keeping to a warm color family gives the piece a calm, natural finish. Make a small wreath for a cabinet door or layer it over a larger neutral wall decoration. Since dried leaves can become brittle, handle the finished wreath gently and keep it out of humid spaces.
Leaf and Paper Mosaic
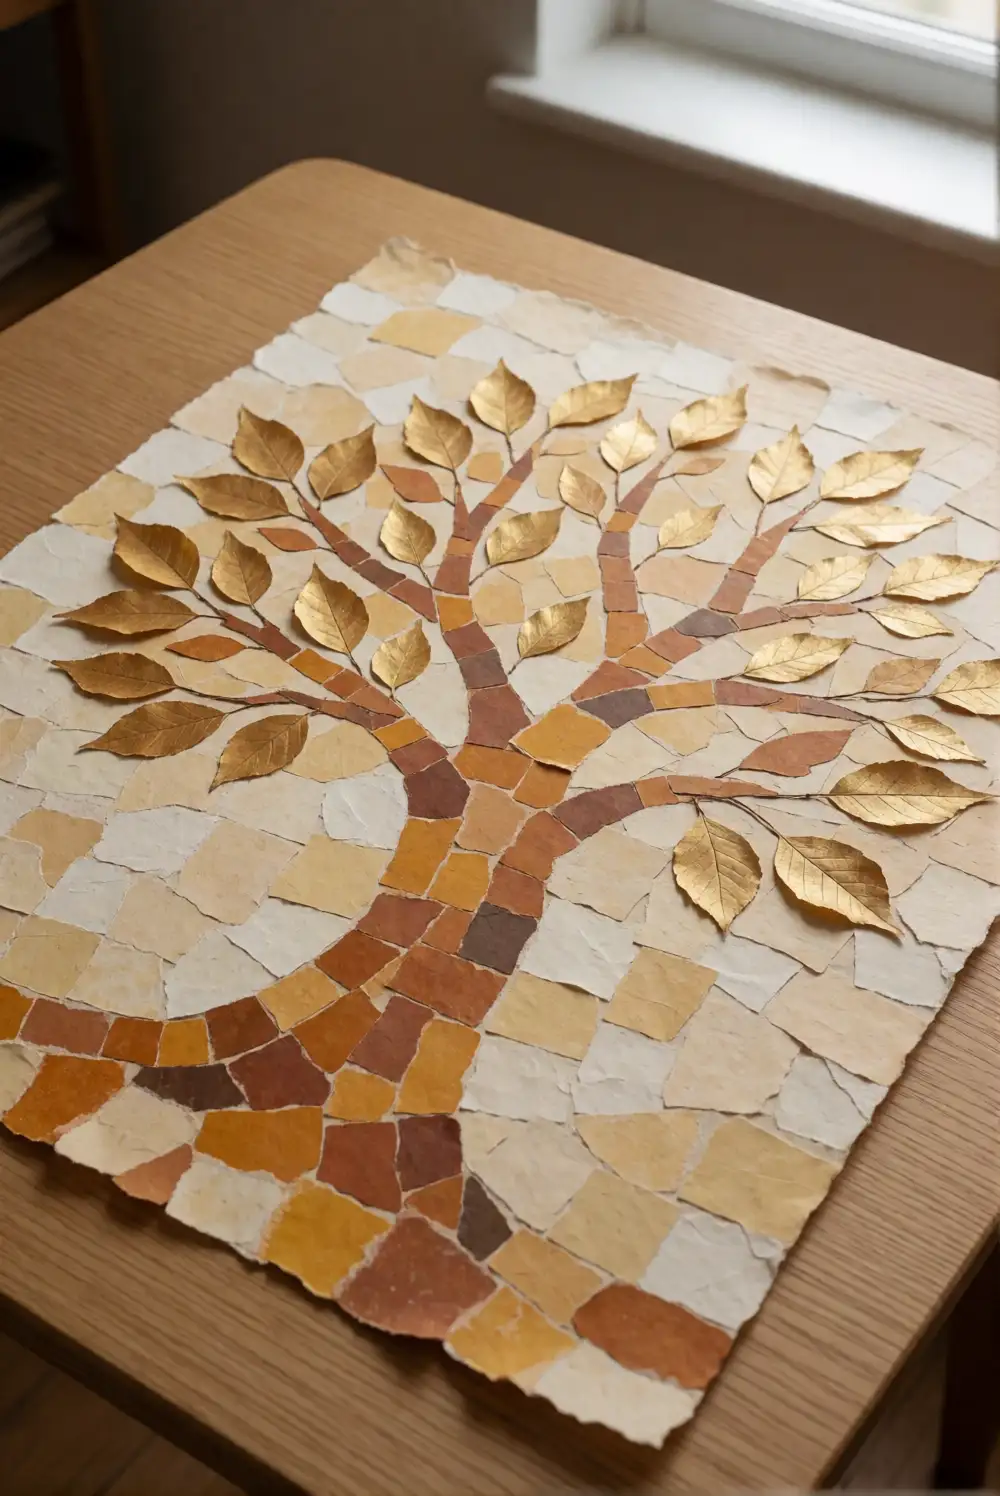
Sketch a simple shape, such as a tree, pumpkin, or bird, on sturdy paper without adding words. Tear colored paper into small pieces and arrange them inside the outline, leaving a few open areas for leaves. Add dry leaves as larger shapes or accents, then attach everything with craft glue. Work in small sections so the pieces stay in place, and allow the page to dry flat before trimming or framing it.
Combine muted paper with bright leaves to make the natural details stand out, or use a limited range of autumn colors for a more unified design. Larger paper pieces are easier to place and help keep the composition readable from across a room. Press curled leaves gently under a clean sheet while the glue dries. Display the mosaic in a frame or use it as seasonal art on a tabletop easel.
Leaf Crown Headband
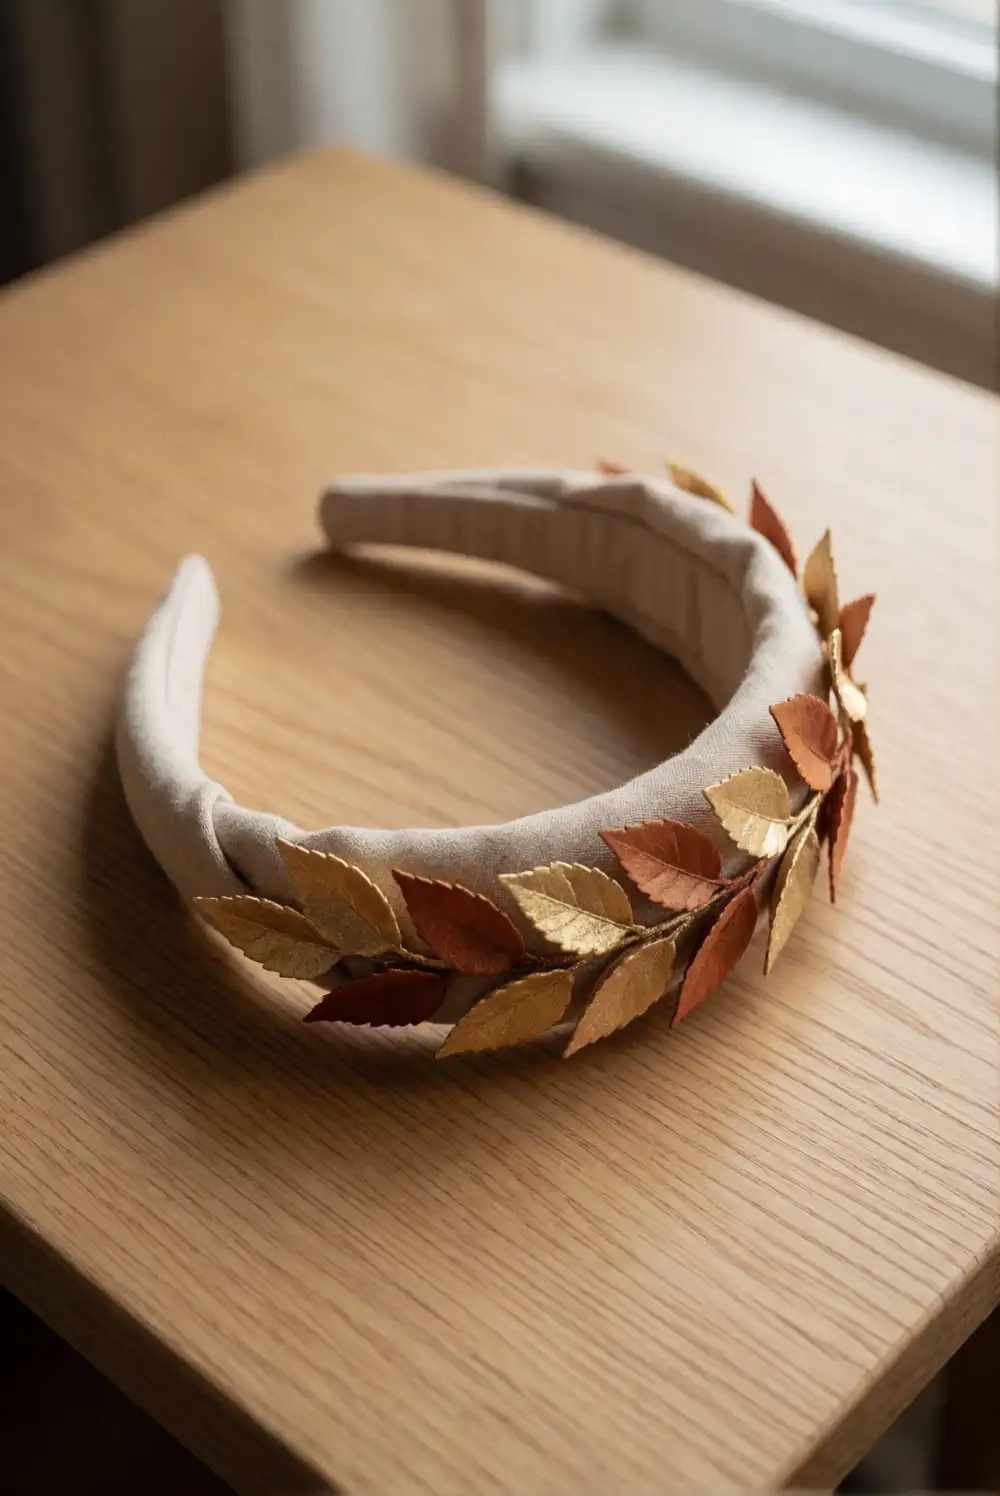
Start with a plain, comfortable fabric headband and select small, flexible leaves with intact stems. Arrange the leaves along the top of the band, overlapping them in one direction, then attach them with craft glue or short pieces of soft floral wire wrapped securely around the band. Let any glue dry completely before wearing it. Keep the crown light and avoid placing stiff stems where they could press against the wearer’s head.
Choose leaves in a few complementary shades and vary their sizes to create a natural layered edge. For a less delicate crown, use fabric leaves alongside real leaves, or attach the natural leaves only for a short photo or gathering. Make the arrangement removable if you want to reuse the headband after the leaves dry. Pair it with a cozy sweater or hang it on a hook as a seasonal accent when it is not being worn.
Leaf Lantern with an LED Tea Light
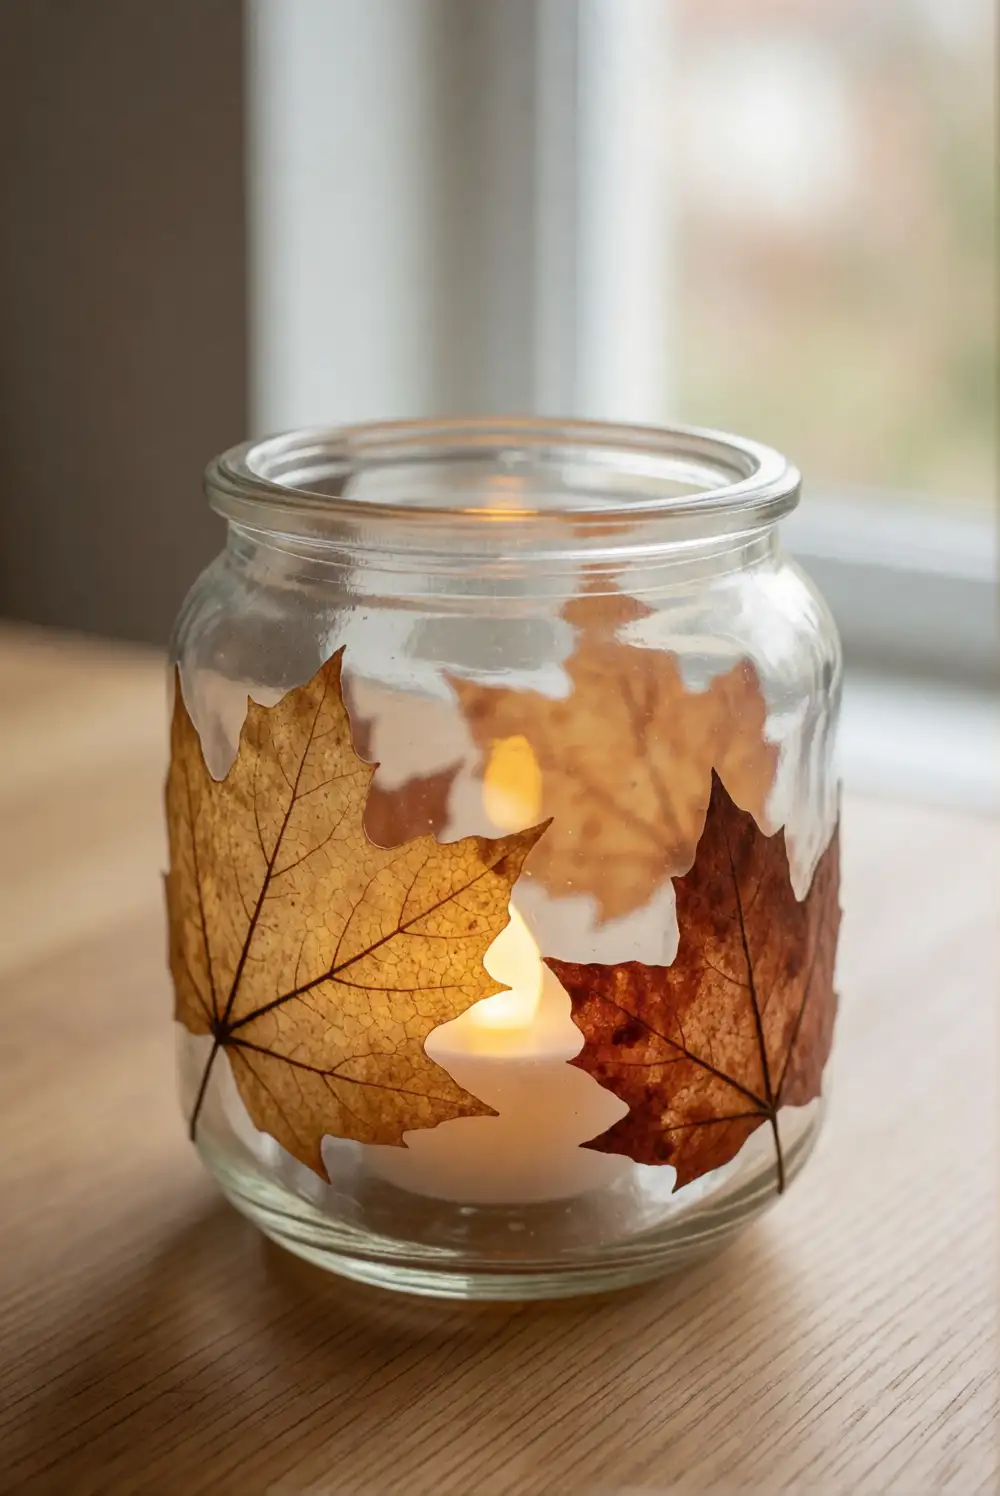
Clean and dry a clear glass jar, then brush a thin layer of decoupage medium over a small area of its outside surface. Press a thin leaf onto the coating and smooth it gently with a soft brush. Repeat with a few leaves, allowing some clear space between them, and seal the arrangement with another light coat. Let the jar dry fully, then place an LED tea light inside rather than using a flame.
Translucent leaves allow the gentle glow to show through, while overlapping colors create a richer autumn effect. Keep the leaves away from the jar’s rim so the opening stays clear, and use a brush to smooth out wrinkles before the medium dries. Set the lantern on a stable table or windowsill where it cannot be knocked over. The finished piece makes a cozy centerpiece, especially when grouped with other natural textures such as wood or linen.
With a few gathered leaves and simple craft supplies, autumn color can become wall art, useful home accents, and playful wearable details. Let each leaf’s shape guide the project, and display the finished pieces where their natural textures and warm tones can be appreciated throughout the season.