Make the season extra colorful with easy fall crafts for little ones, using simple supplies and cheerful autumn shapes. These hands-on ideas include painted leaves, friendly forest creatures, and pumpkin projects that are easy to personalize and delightful to display.
Leaf-Stamped Autumn Trees
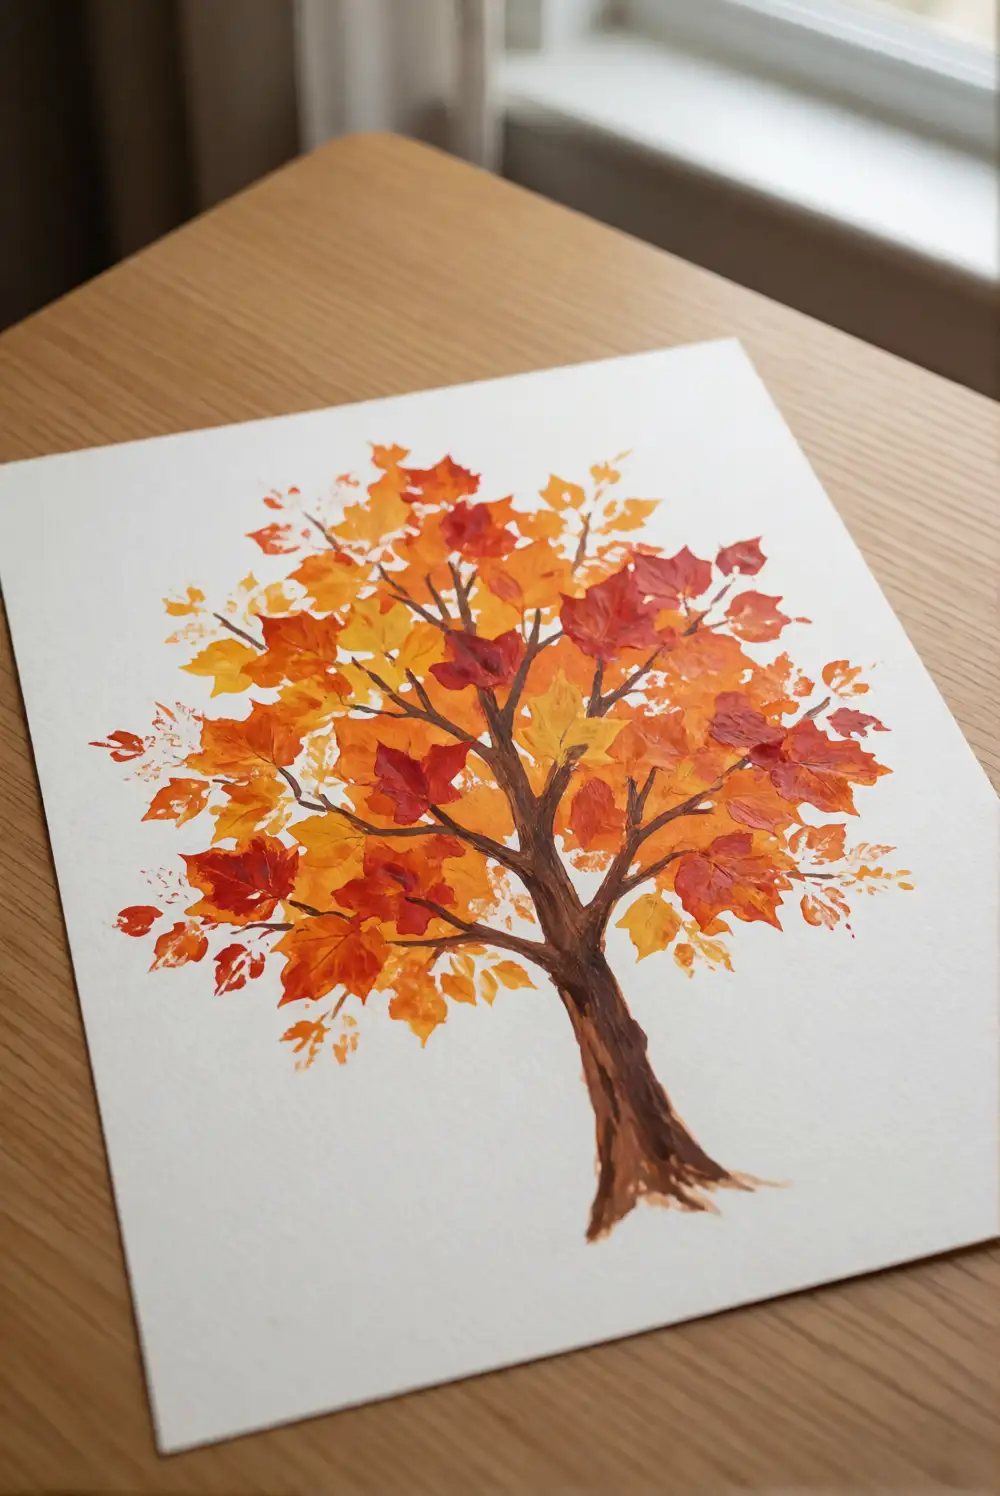
Turn a sheet of sturdy paper into a cheerful autumn tree with washable paint and a few broad leaves. Draw a simple trunk with a thick marker before the activity, then help your child dip a leaf into shallow paint and press it around the branches. Use several autumn colors, wiping the leaf between shades when you want crisp prints. A grown-up can steady the paper while little hands practice pressing and lifting.
Choose leaves with sturdy shapes and smooth edges, and test one print on scrap paper first. Make a woodland version with green and brown paint, or use bright red, gold, and orange for a classic fall look. Let the artwork dry flat before displaying it on a shelf or attaching it to the refrigerator with a clip. Keep the finished tree unframed for an easy seasonal swap.
Curled Paper Strip Pumpkins
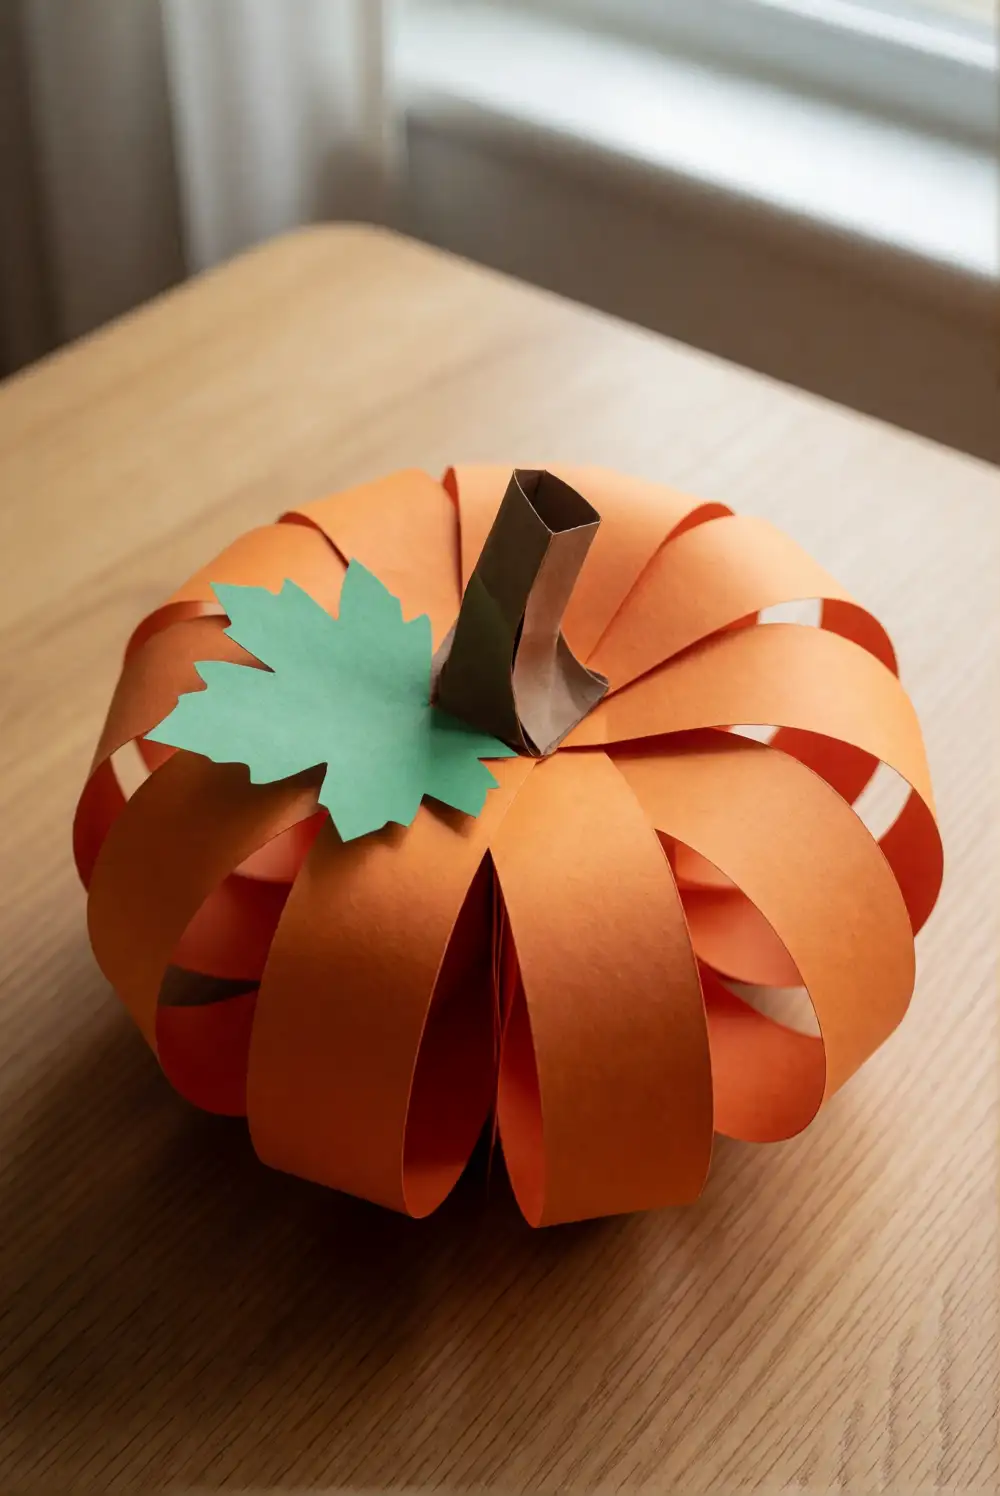
For a dimensional pumpkin, cut several wide strips from orange construction paper and arrange them like a small stack of arches. An adult can make the cuts and staple or tape the ends together into a rounded shape. Add a broad green paper leaf and a sturdy brown stem at the top. Children can choose the strip colors and help press each loop into place, making a bright pumpkin that stands on its own.
Mix pale orange and deeper orange strips for a layered look, or use yellow and cream for a playful harvest variation. If the pumpkin needs extra support, attach it to a flat paper base with tape. Make a few different sizes and arrange them along a mantel or windowsill, keeping each piece large and simple. For younger children, prepare the paper loops before inviting them to help assemble the pumpkin.
Painted Corn Cob Prints
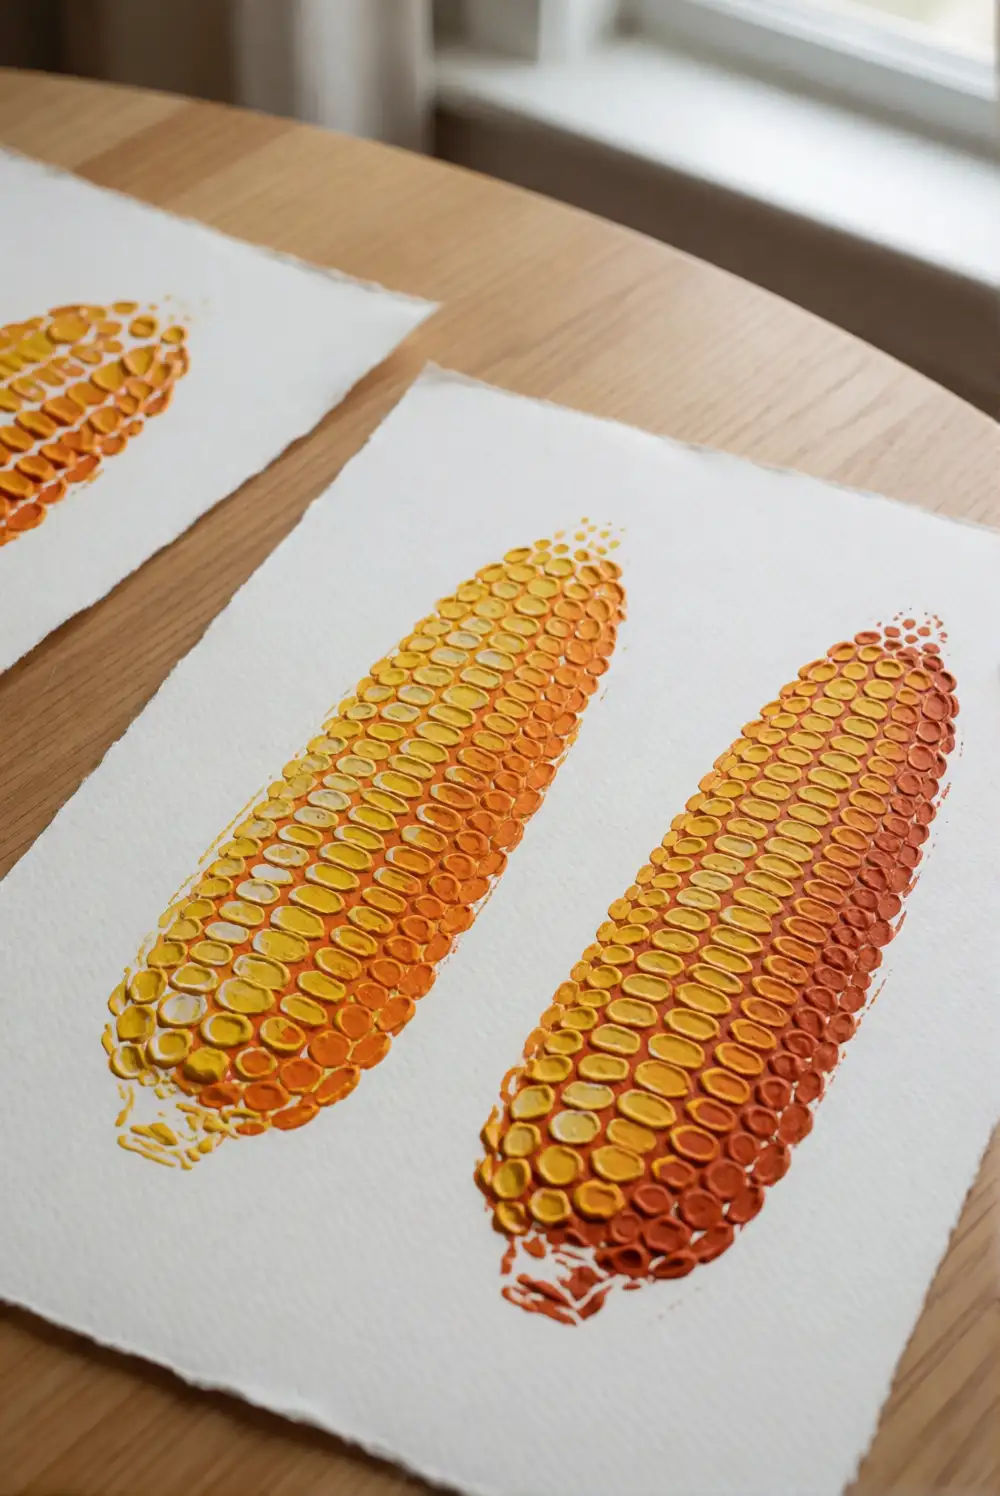
Create a textured harvest picture with a corn cob, washable paint, and sturdy paper. A grown-up can cut a fresh cob into a manageable section and help children hold it securely while rolling it lightly through a shallow layer of paint. Press the cob onto the paper to reveal rows of kernels, then lift it straight up. Repeat with different colors or rotate the cob to make a patch of bright, bumpy prints.
Use yellow and golden paint for a familiar corn look, or try orange, rust, and green for a more colorful composition. Set the paper aside to dry completely before displaying it, since the textured prints can hold extra paint. A large sheet gives little artists room to experiment without crowding the design. An adult should handle the knife and supervise the printing activity from start to finish.
Handprint Turkey Collage
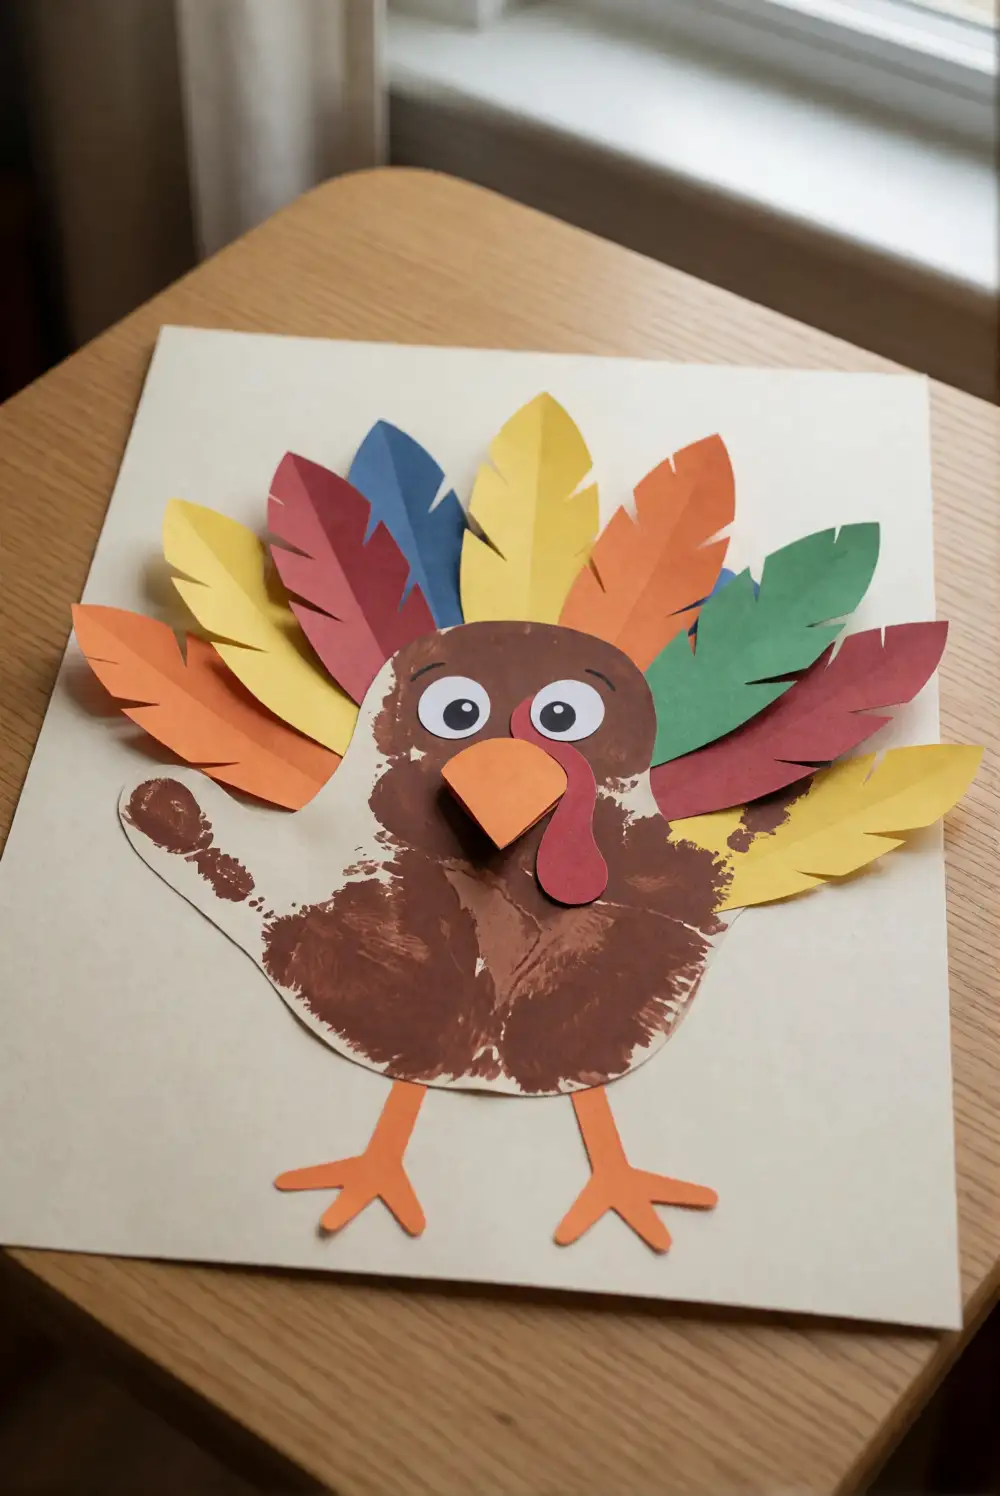
Make a friendly turkey from a painted handprint on sturdy paper. Brush washable brown paint over a child’s palm and fingers, then help press the hand onto the page with fingers spread wide to form the feathers. Once the print dries, add a large paper oval for the body and a broad paper beak and wattle. A grown-up can draw the eyes with washable marker, keeping every added feature large and firmly attached.
Try a different paint color on each finger to make a bright fan of feathers, or keep the print in warm autumn shades. Add a simple paper ground beneath the turkey so it looks ready for a seasonal display. If paint feels messy, trace the hand on large paper and help your child color the shape instead. Hang the finished picture at child height or place it in a roomy frame.
Paper Plate Leaf Wreath
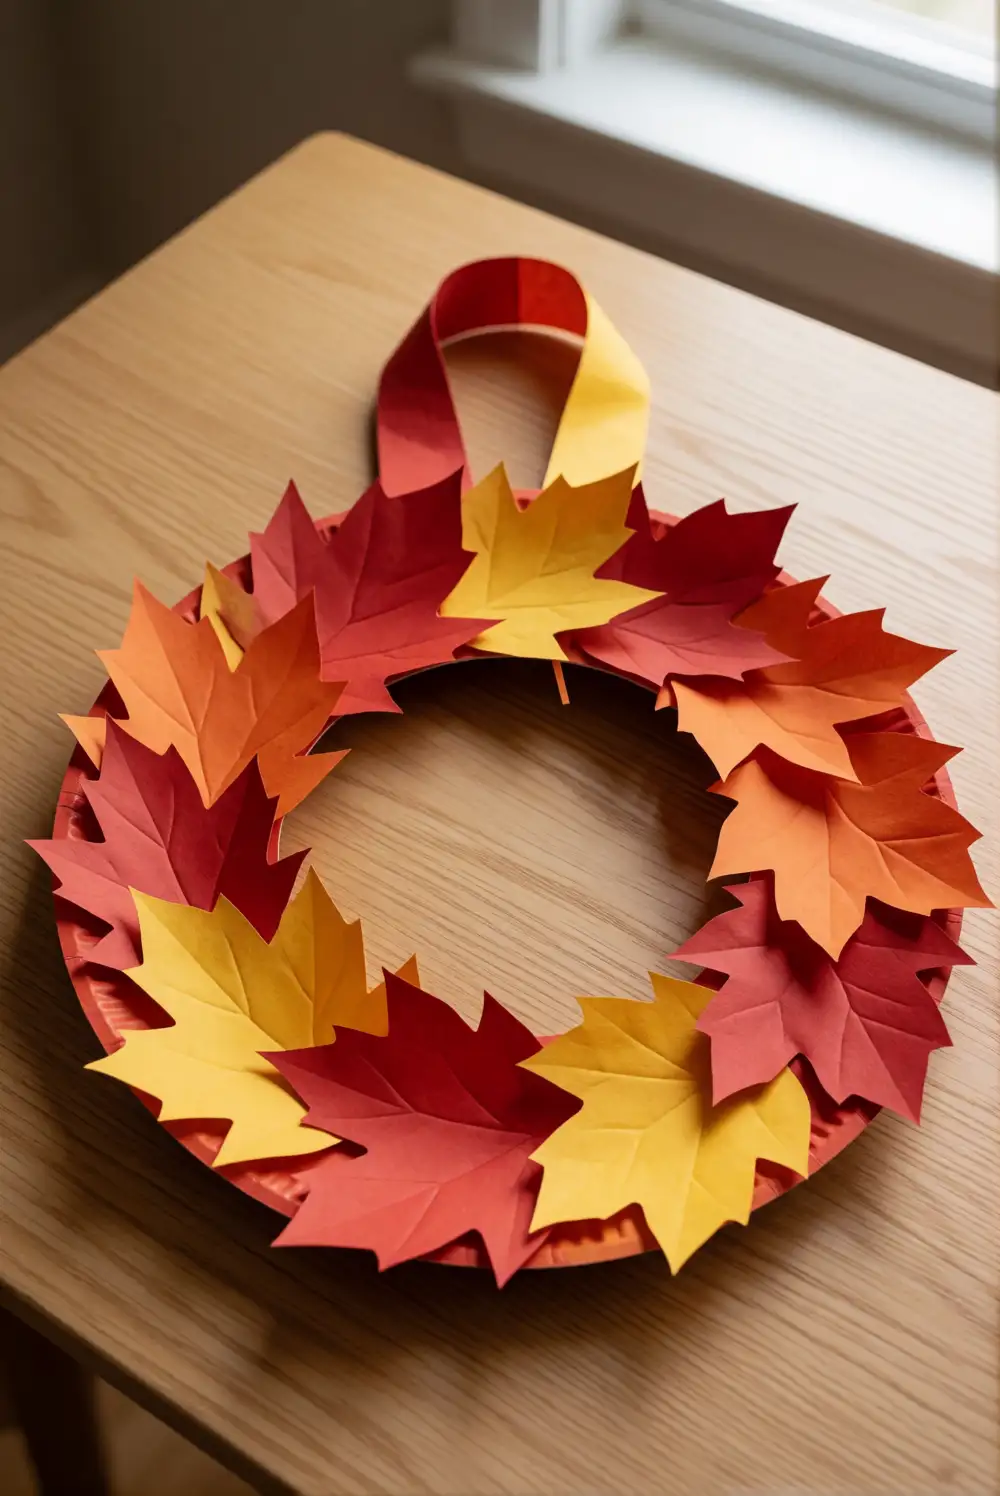
Make a lightweight fall wreath with a paper plate, large paper leaves, and glue. An adult can cut out the center of the plate, leaving a broad ring, and prepare generously sized leaf shapes in red, orange, and yellow. Invite your child to spread glue over sections of the ring and press the leaves around it, overlapping their edges. Add a wide paper loop at the top for hanging once the wreath has dried.
Arrange the leaves in a repeating color pattern or let them point in different directions for a looser woodland style. You can use green and gold leaves for an early-autumn version, then switch to warmer shades later in the season. Keep the shapes large and easy to grip, especially for younger makers. Display the wreath on an interior door or lay it flat as a centerpiece, away from food and drinks.
Apple Halves Painted Like Stamps
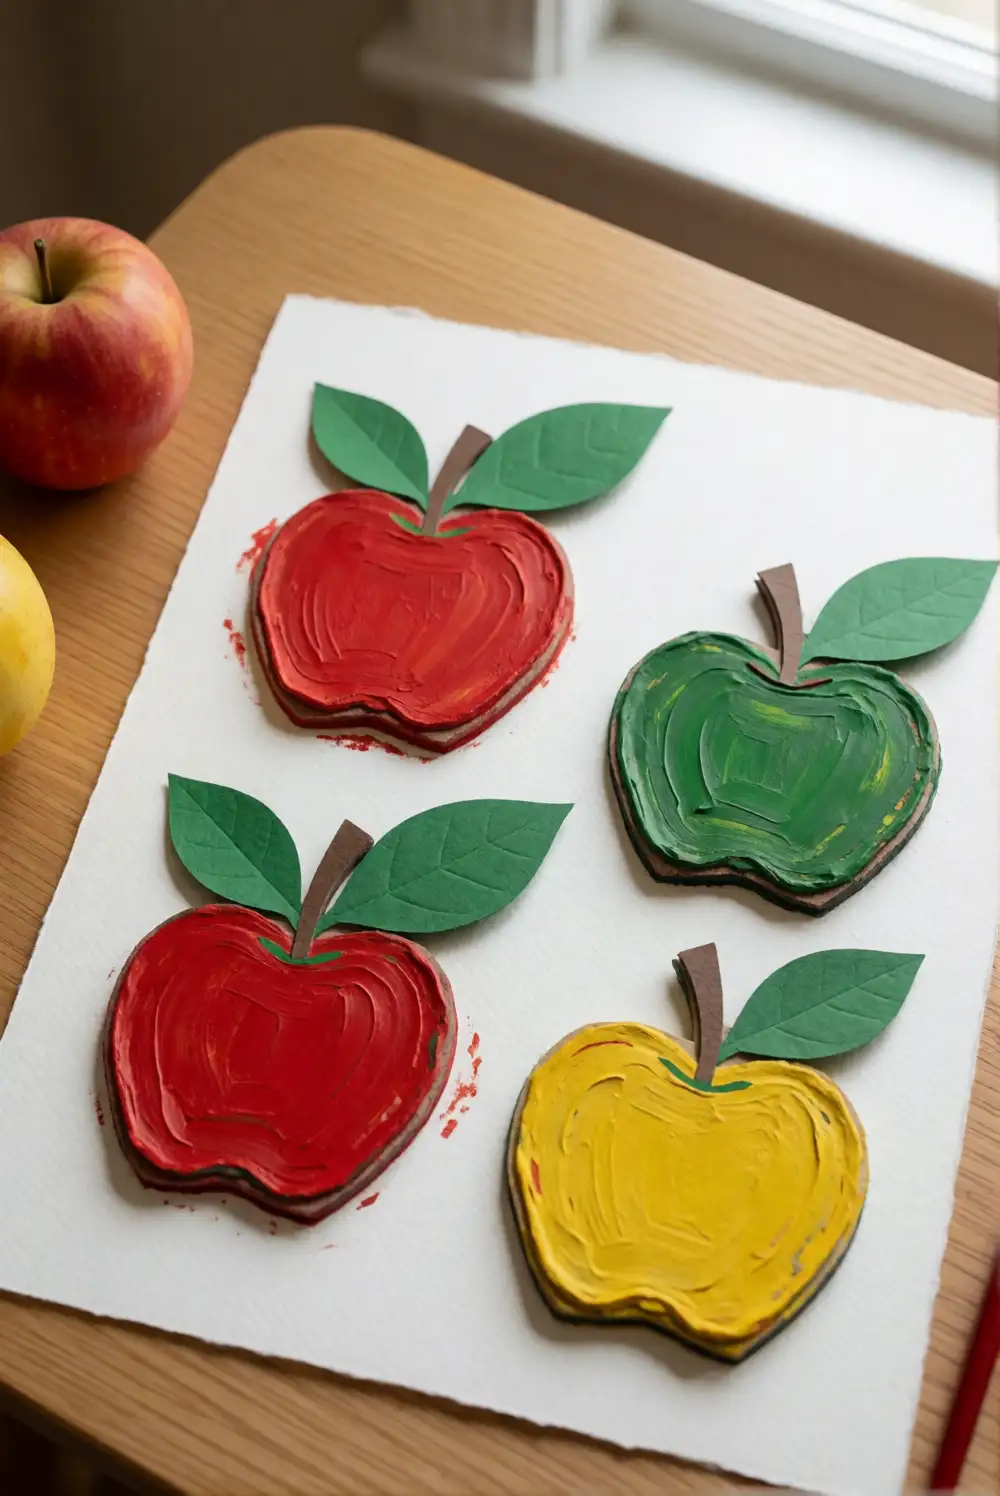
Use an apple half as a simple stamp to make a colorful orchard picture. A grown-up should cut the apple lengthwise and place it cut-side down in a shallow dish of washable paint. Help your child press it onto sturdy paper, then lift it carefully to reveal the rounded apple shape. Repeat across the page, using red, green, or yellow paint and leaving space between prints so each one can dry cleanly.
Add a short brown paper stem and a large green leaf after the paint dries, attaching both with glue. For a harvest basket scene, stamp several apples above a wide paper bowl shape. Use a different apple half for each paint color, or wash and dry the stamp between colors. Keep the cut fruit and paint station under adult supervision, and discard the apple after crafting rather than using it as a snack.
Paper Bag Scarecrow Puppet
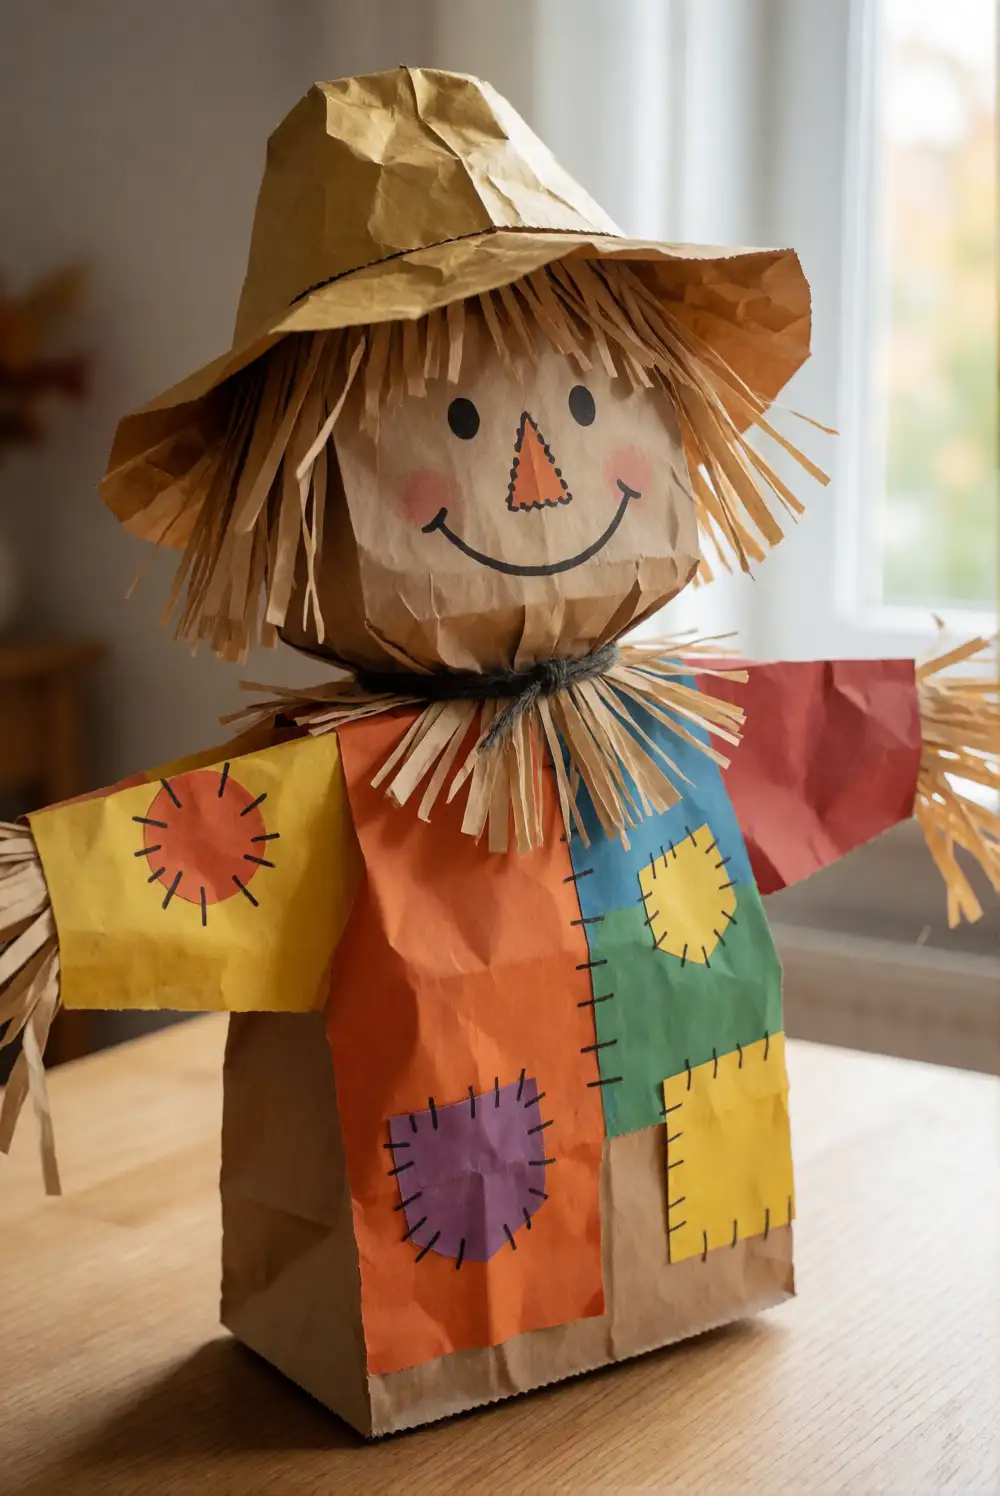
Transform a large paper lunch bag into a cheerful scarecrow puppet with construction paper, crayons, and glue. Fold the bottom flap into the face area, then add a broad paper hat, a simple shirt shape, and large paper patches. A grown-up can draw friendly eyes and a curved smile with marker. Leave the bag opening clear so a child can slide a hand inside and make the character wave or dance.
Choose a floppy-looking hat in warm orange or golden yellow, then decorate the shirt with large squares of contrasting paper. Crayon details are an easy alternative to extra small decorations and give children room to add their own patterns. Let the glue dry before play, and keep the puppet away from the mouth. Use it for a simple pretend harvest story or display it upright on a shelf between playtimes.
Footprint Autumn Leaves Picture
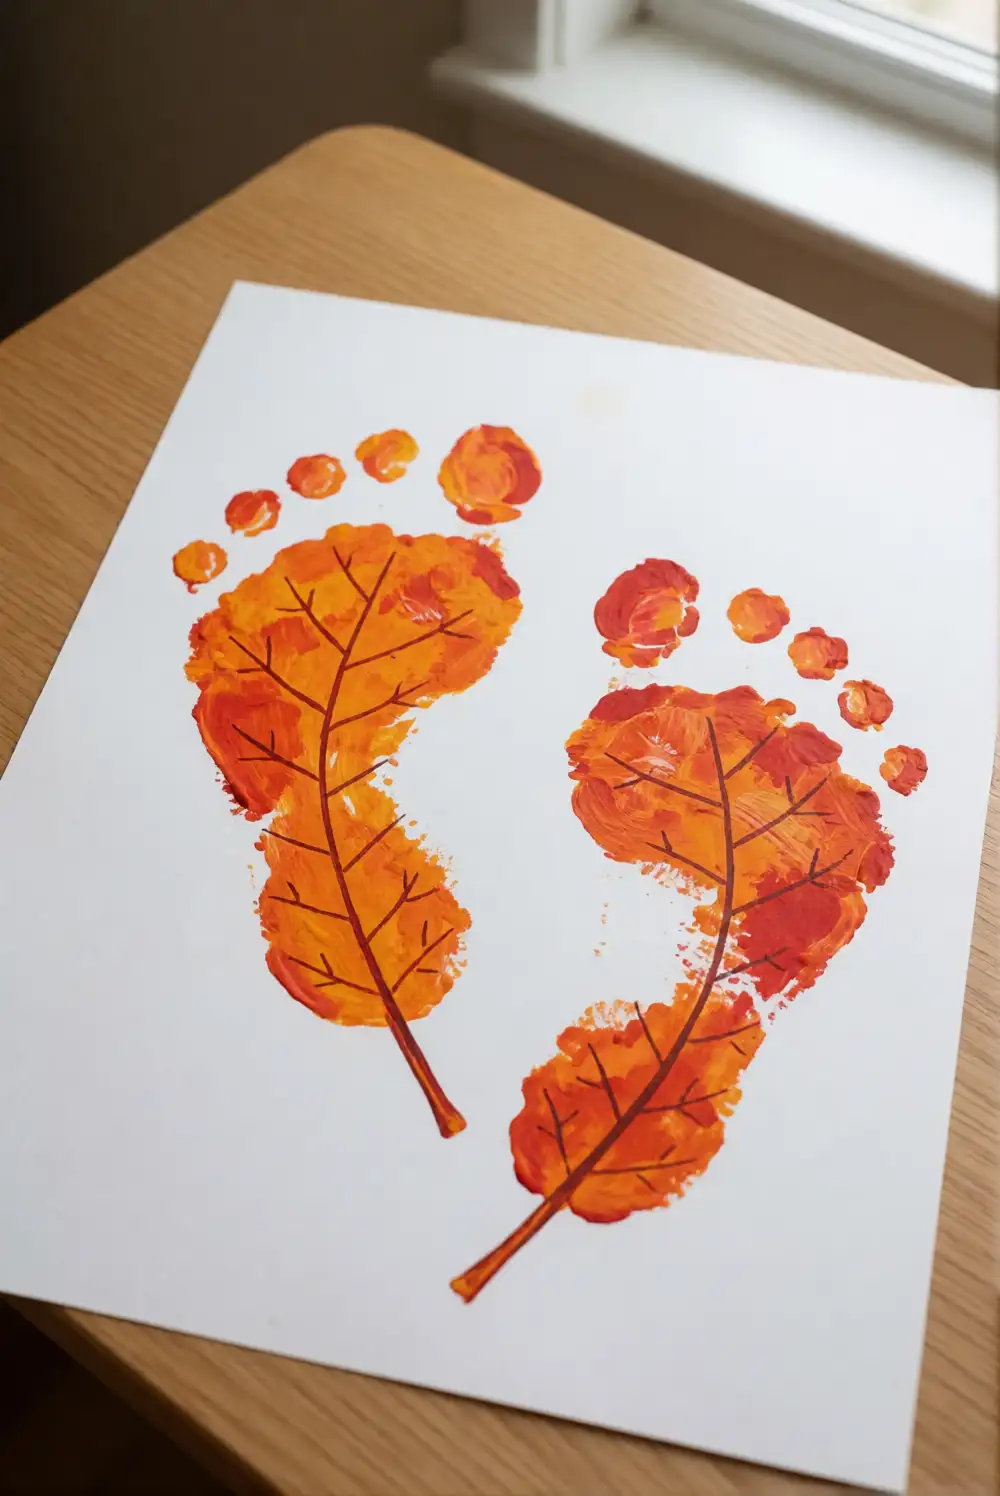
Make a playful leaf picture using a child’s footprint and washable paint. Place sturdy paper on a protected floor, brush paint onto the sole of one foot, and help the child press it onto the page. An adult can turn the dried print into a large leaf by drawing a central vein and a short stem with marker. Keep a damp cloth nearby for cleanup and wash the foot as soon as the print is finished.
Use orange or red paint for a single bold leaf, or make several prints in different autumn shades across one large page. A grown-up can add a few broad paper branches to turn the leaves into a simple tree scene. Let every print dry flat before hanging the artwork. This project works well on a roomy sheet, where each footprint has space and the finished design remains easy to recognize.
Friendly Hedgehog Paper Plate
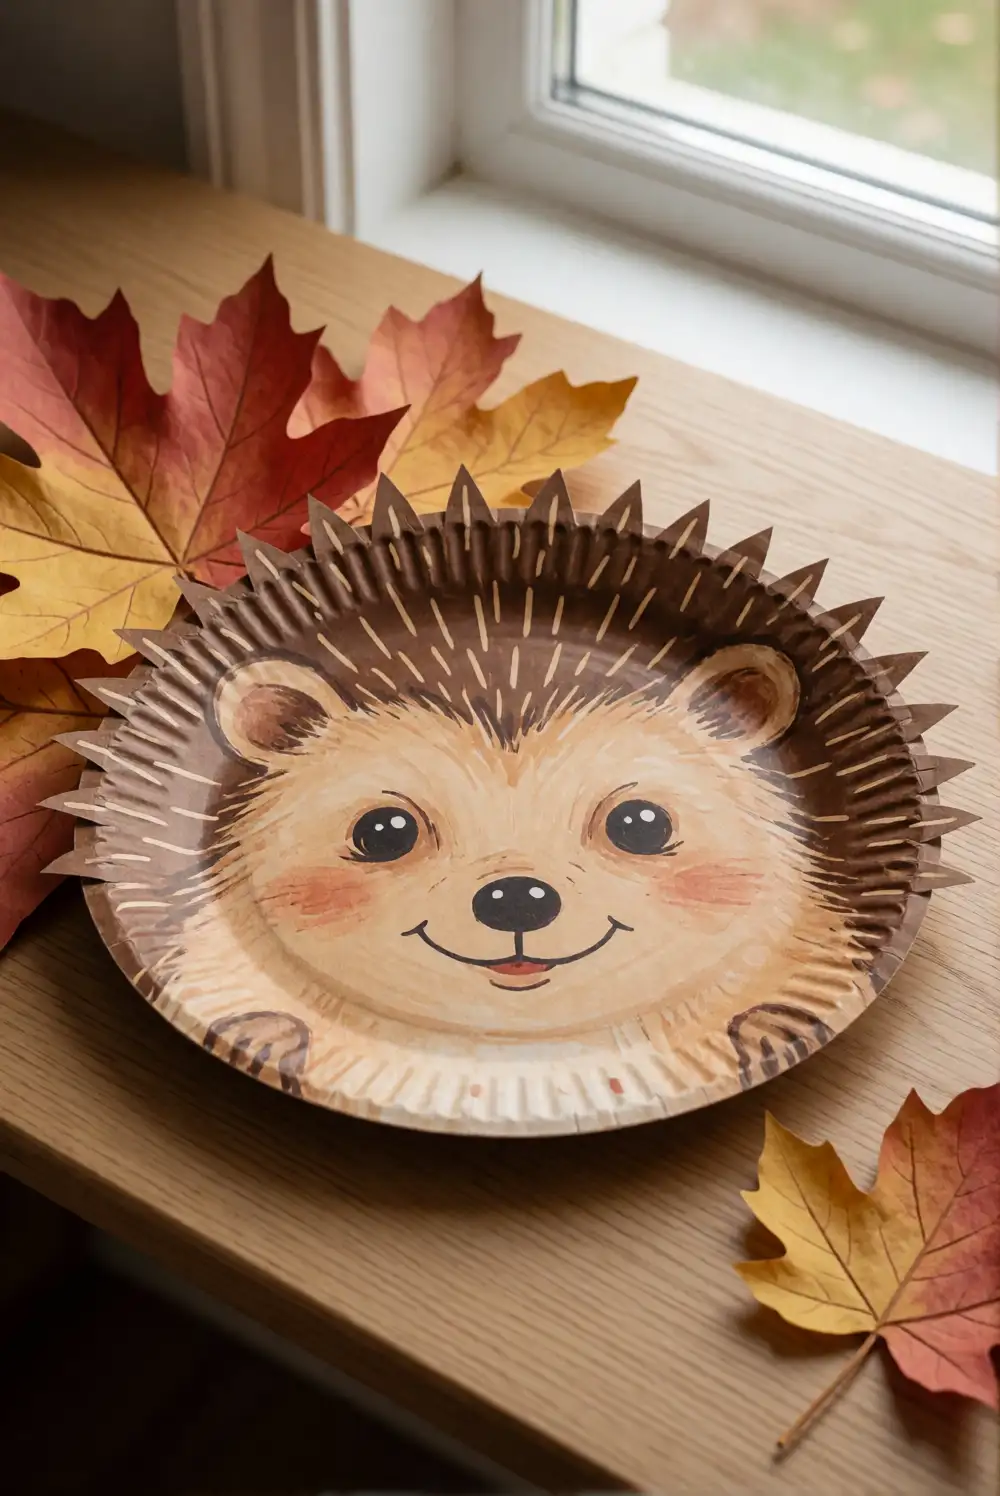
Create a friendly hedgehog from a paper plate, large paper shapes, and washable crayons. Cut a broad brown paper section for the animal’s spiky back and a large tan face shape with a softly pointed nose. An adult can attach these shapes to the plate, then draw a simple eye and smile with marker. Children can color the back with wide strokes or add large paper leaves around the edge as an autumn setting.
Make the hedgehog’s back with overlapping broad paper strips rather than tiny pieces, so the finished shape stays clear and easy to handle. Try a cream face against a deep brown back, or use warm rust and gold tones for a brighter look. Add a wide paper apple beside the animal to complete the scene. Display the plate on a shelf or tape it to a wall after the glue has dried.
Layered Paper Fall Tree
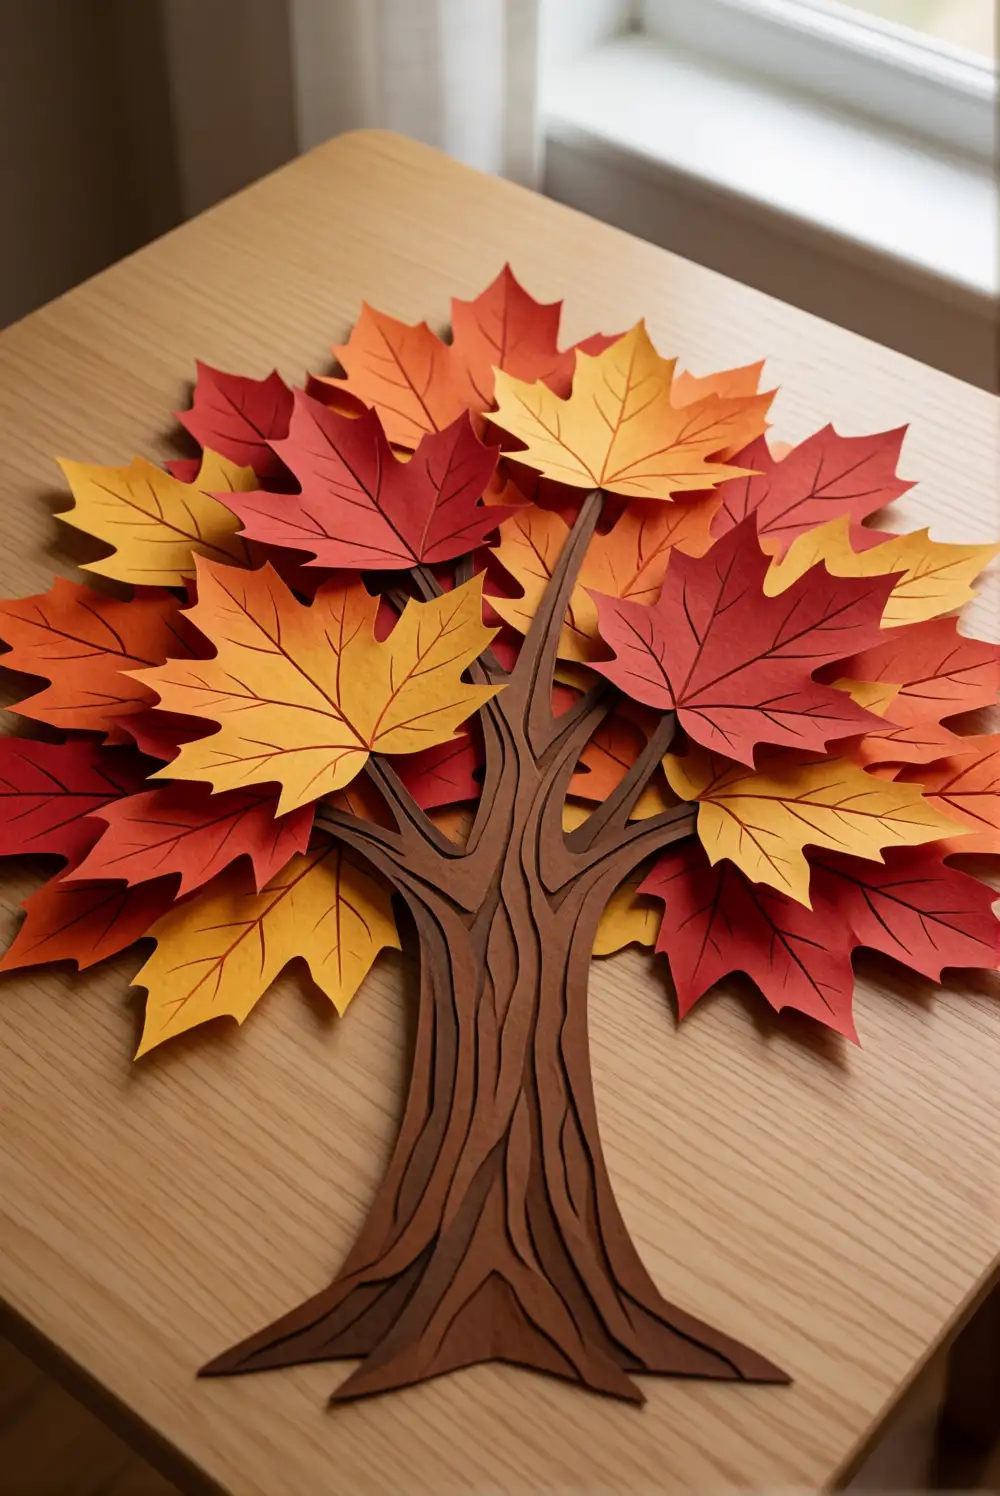
Build a layered autumn tree using sturdy brown paper for the trunk and generously sized leaf shapes in seasonal colors. An adult can cut the trunk and a few broad branches, then help attach them to a large sheet with glue. Invite your child to choose where each leaf goes and press it into place. The simple arrangement leaves plenty of space for little hands to participate without needing precise cutting.
Overlap a few leaves to give the canopy a full, rounded look, or spread them along the branches for a breezy autumn scene. Add a wide strip of green or tan paper along the bottom as ground. Use a mix of orange, red, and yellow, or keep the design mostly golden for a softer palette. Let the artwork dry flat before displaying it in a playroom or seasonal gallery.
With paint, sturdy paper, and a few grown-up preparations, little ones can make cheerful fall decorations that feel personal and easy to enjoy. Pick a project that suits your child’s interest, set out washable supplies, and give the finished artwork a special spot at home.