
Bring a little festive sparkle to your manicure with Halloween nail designs that feel polished, playful, and easy to personalize. From glittering black French tips to warm copper fades and gleaming celestial accents, these ideas pair seasonal colors with glam finishes. Choose a look that suits your nail length and favorite polish shades, then adapt the details for a salon appointment or an at-home manicure.
Black Glitter French Tips
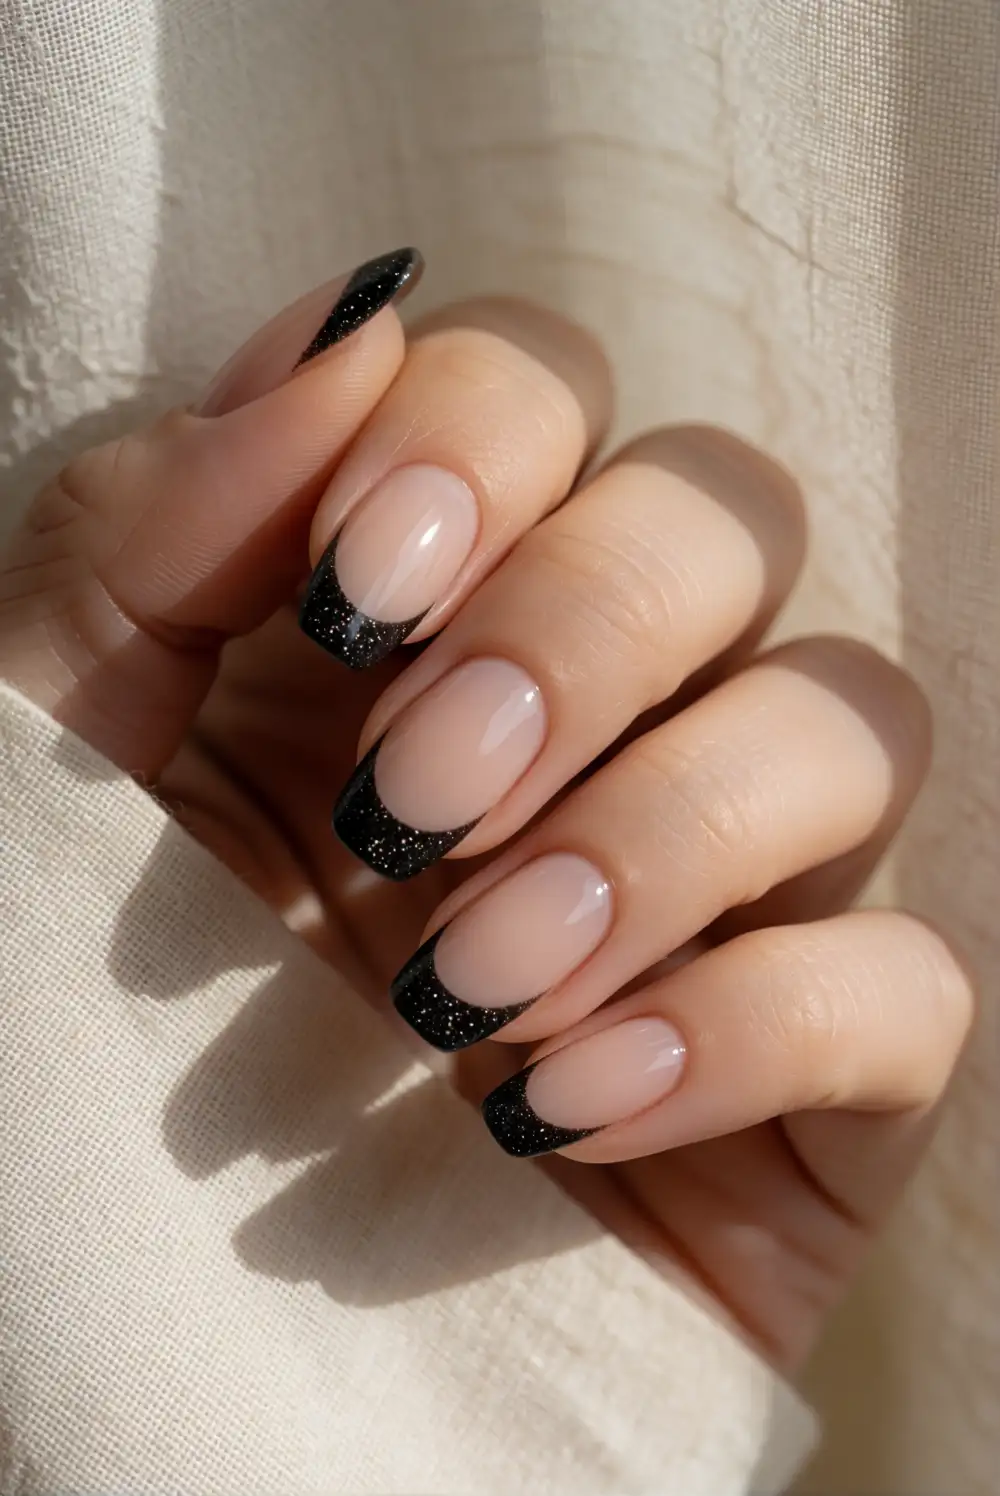
Give a classic French manicure a Halloween-ready finish with sheer nude polish and black glitter tips. Shape and file clean nails, apply a base coat, then add the sheer nude shade. Once dry, place a curved guide near each free edge and brush on black glitter polish. Remove the guides while the polish is still slightly wet, tidy the curves with a fine brush, and finish with a glossy top coat.
For a softer look, keep the glitter concentrated at the very edge, or use a dense sparkle polish for a bolder finish. A fine silver shimmer layered over the black can catch the light without changing the dark palette. Keep the remaining nails simple so the tips stand out, and choose a rounded or almond shape for an elegant silhouette that works with everyday outfits.
Copper Glitter Ombre Nails
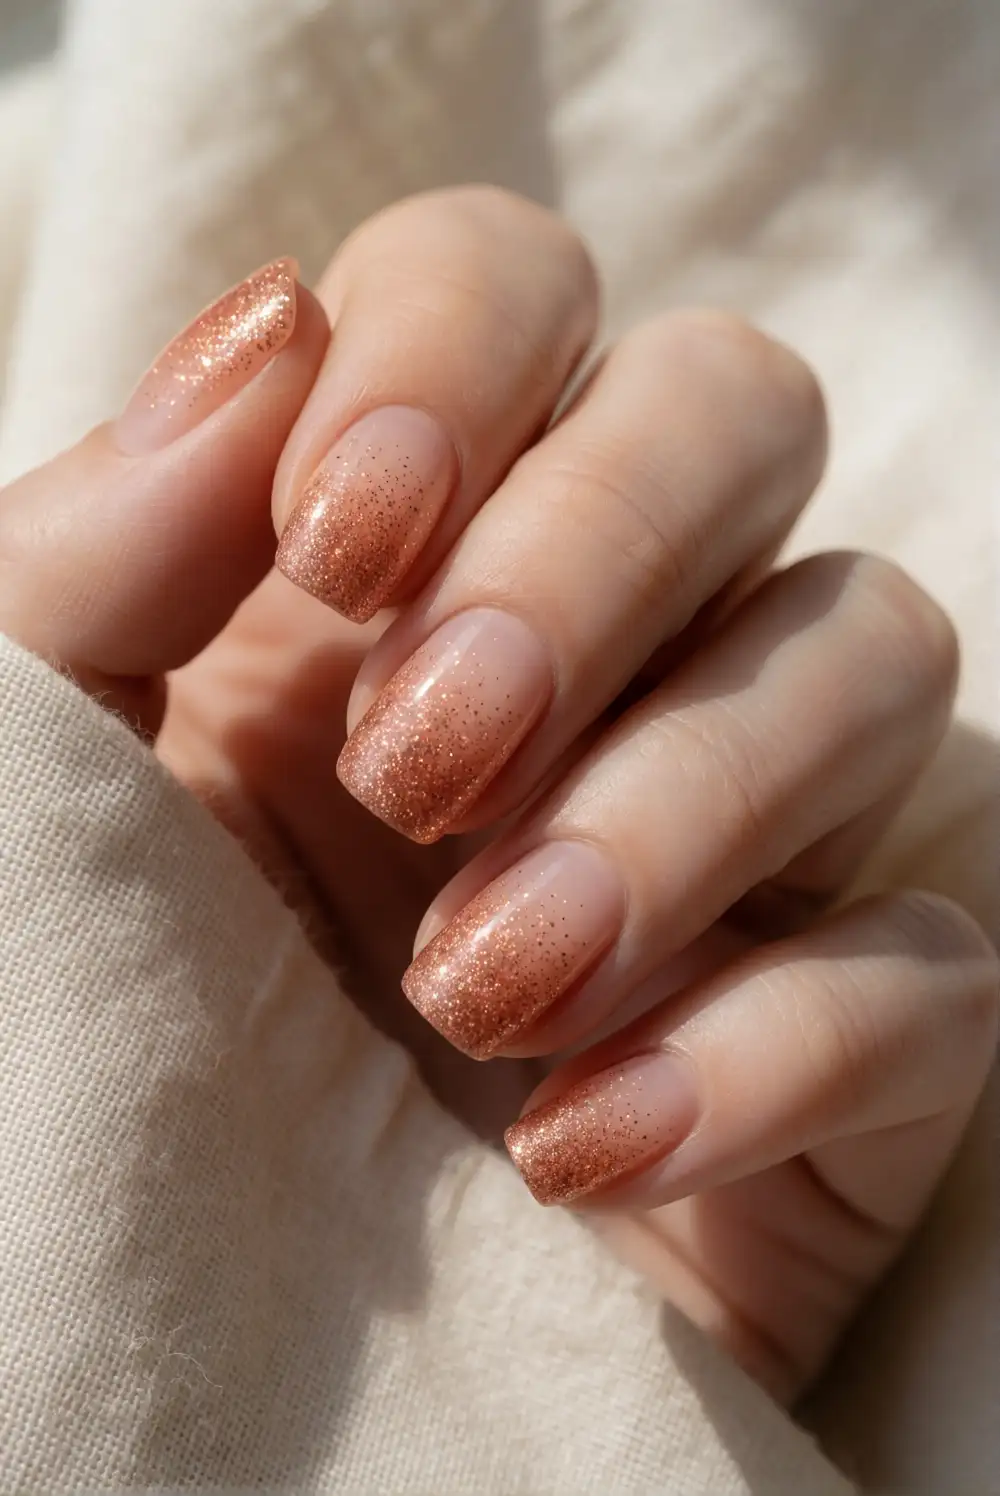
Create a warm, glowing manicure by fading copper glitter from each nail tip toward the center. Apply a clear or sheer peach base coat and let it dry. Dab copper glitter polish onto a small makeup sponge, then press it gently along the tips in light layers, moving less glitter toward the nail base. Repeat until the fade looks even, clean the skin around each nail, and seal the design with a smooth top coat.
Choose fine copper shimmer for a delicate glow or chunkier glitter for a party-ready finish. A warm nude base keeps the gradient refined, while a dark brown base gives the sparkle a deeper autumn feel. Wear the fade across every nail for a cohesive look, or reserve it for accent nails beside a solid copper manicure. Let each layer dry fully to keep the surface smooth.
Black Cat Eye Velvet Nails
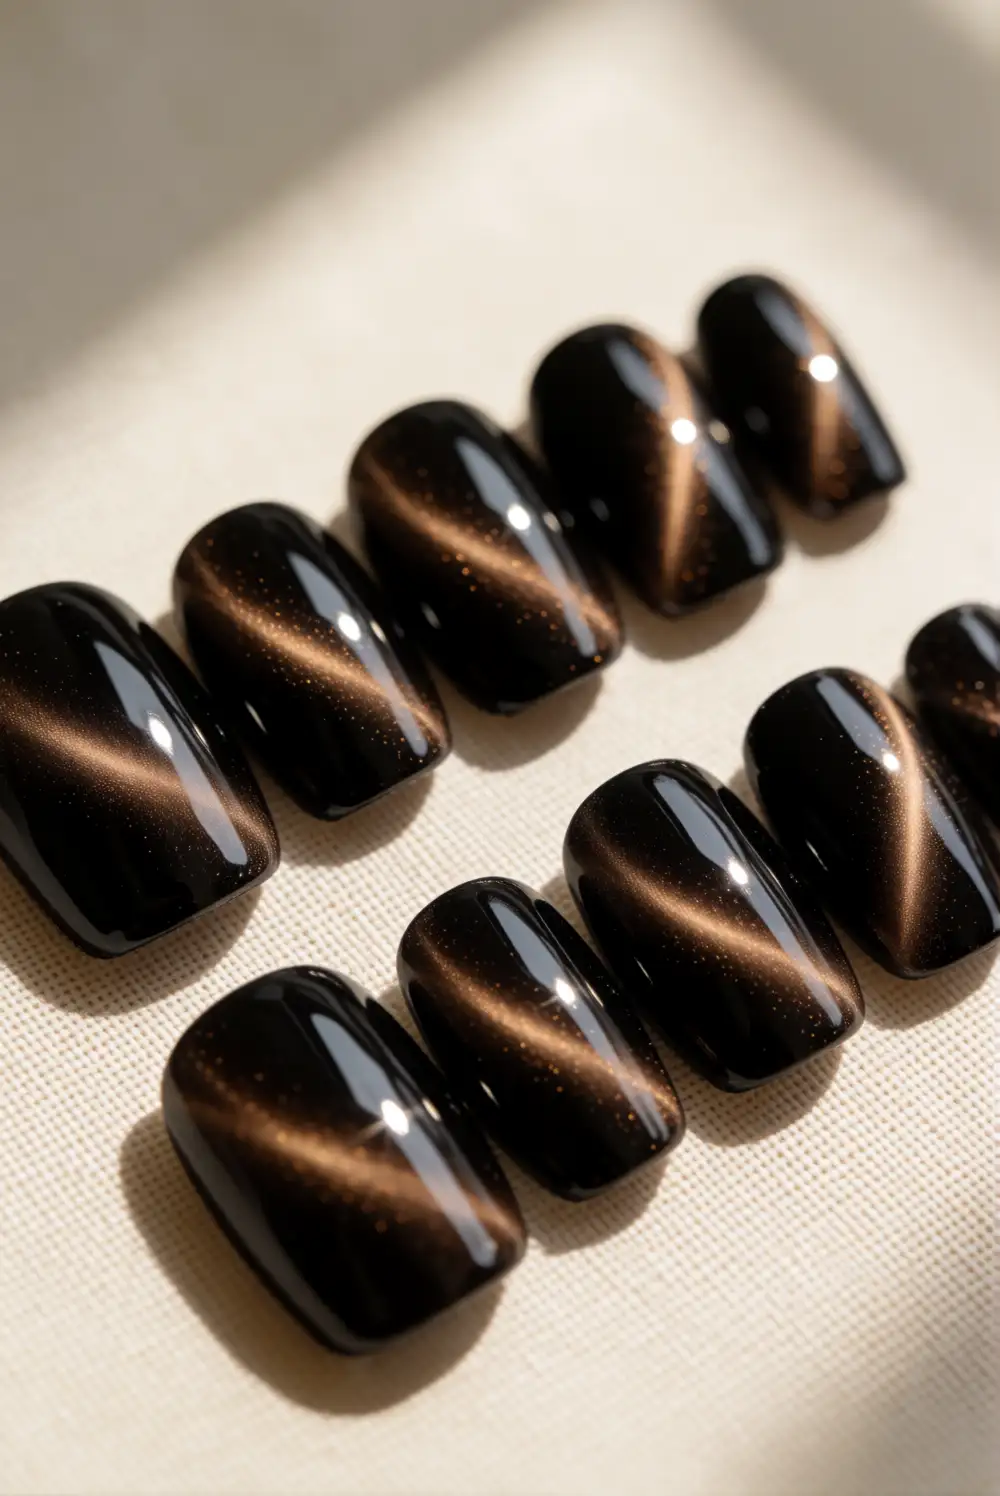
Make a dramatic, light-catching manicure with black magnetic cat-eye polish. Apply a dark base coat and cure it if using gel, then brush on a layer of magnetic polish. Hold a nail magnet above each nail to draw the shimmer into a narrow diagonal beam, adjusting its position for the desired glow. Work one nail at a time, then cure or allow the polish to dry as directed and finish with a glossy top coat.
Deep charcoal and black create a sleek, smoky effect, while a violet or bronze magnetic shimmer adds a subtle Halloween twist. Keep the magnetic streak consistent across the hand for a polished appearance, or angle it differently on one accent nail. This dimensional finish looks especially striking on almond-shaped nails and pairs well with simple rings, dark clothing, and other understated accessories.
Molten Pumpkin Glitter Accent Nails
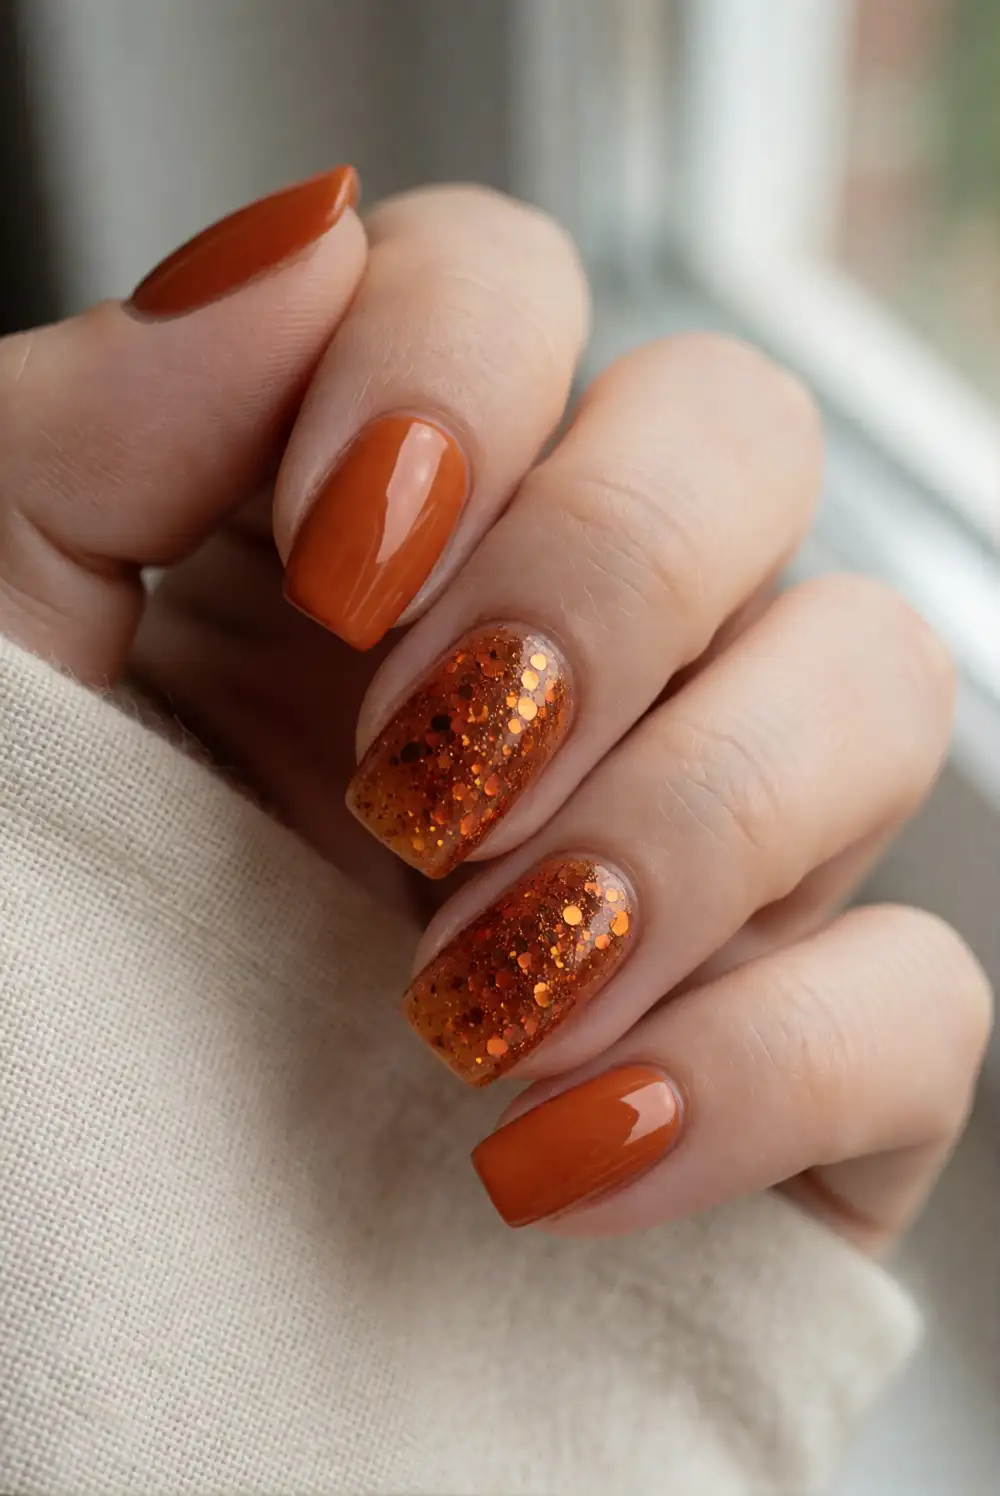
Pair glossy pumpkin-orange polish with a molten glitter accent for a festive manicure that still feels grown-up. Paint most nails with a rich orange shade, leaving one or two bare for the accent. On each accent nail, apply a sheer amber base and dab orange-gold glitter from the cuticle area toward the middle with a sponge. Blend the edge softly, let the polish dry, and add a protective glossy top coat.
Use fine gold shimmer for a subtle glow or copper flakes for a more textured metallic look. A single accent nail keeps the orange manicure simple, while a pair of matching accents creates a stronger focal point. Choose a creamy pumpkin shade for a softer finish or a deep burnt orange for extra richness. Keep the cuticle edges clean to make the glitter gradient look intentional.
Silver Spiderweb Chrome Nails
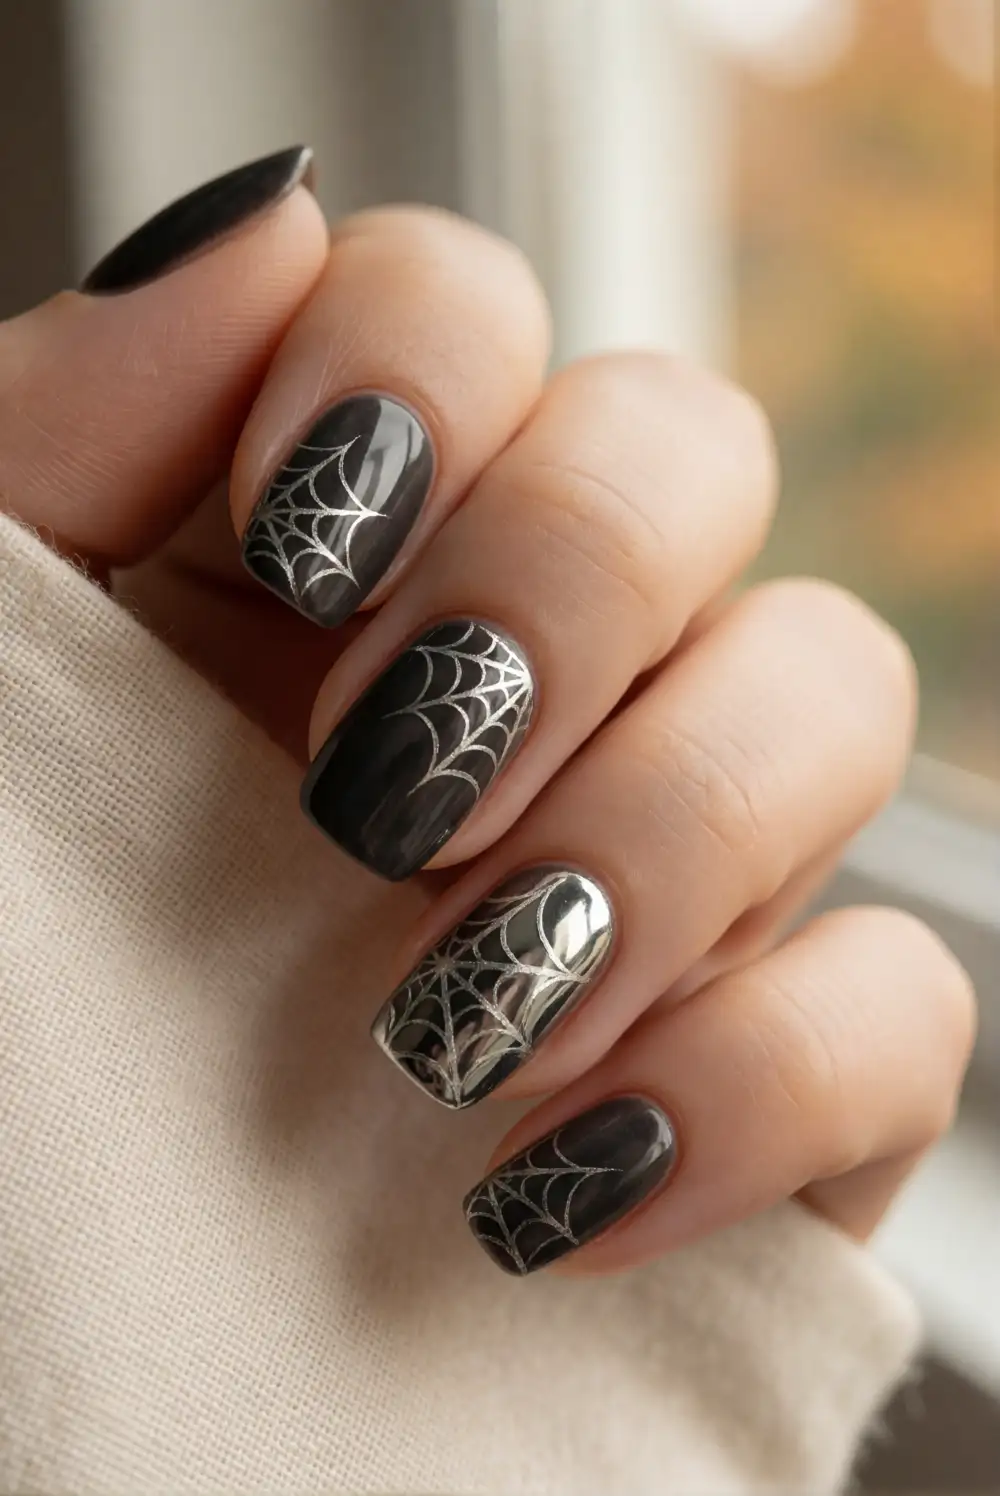
Paint a delicate spiderweb detail over a glossy charcoal manicure for a sleek Halloween accent. Apply a charcoal or black base color and allow it to dry completely. With a fine nail-art brush and silver metallic polish, draw several thin lines radiating from one corner of an accent nail, then connect them with shallow curved strokes. Keep the lines light and spaced apart, and seal the finished web with a clear top coat.
For a chrome effect, use a reflective silver polish or apply chrome powder according to the product directions over a compatible base. One webbed accent nail can balance a set of solid dark nails, while a second web on the opposite hand makes the style feel coordinated. Keep the design small and airy so the metallic lines remain crisp rather than crowding the nail.
Burgundy Wine Glitter Nails
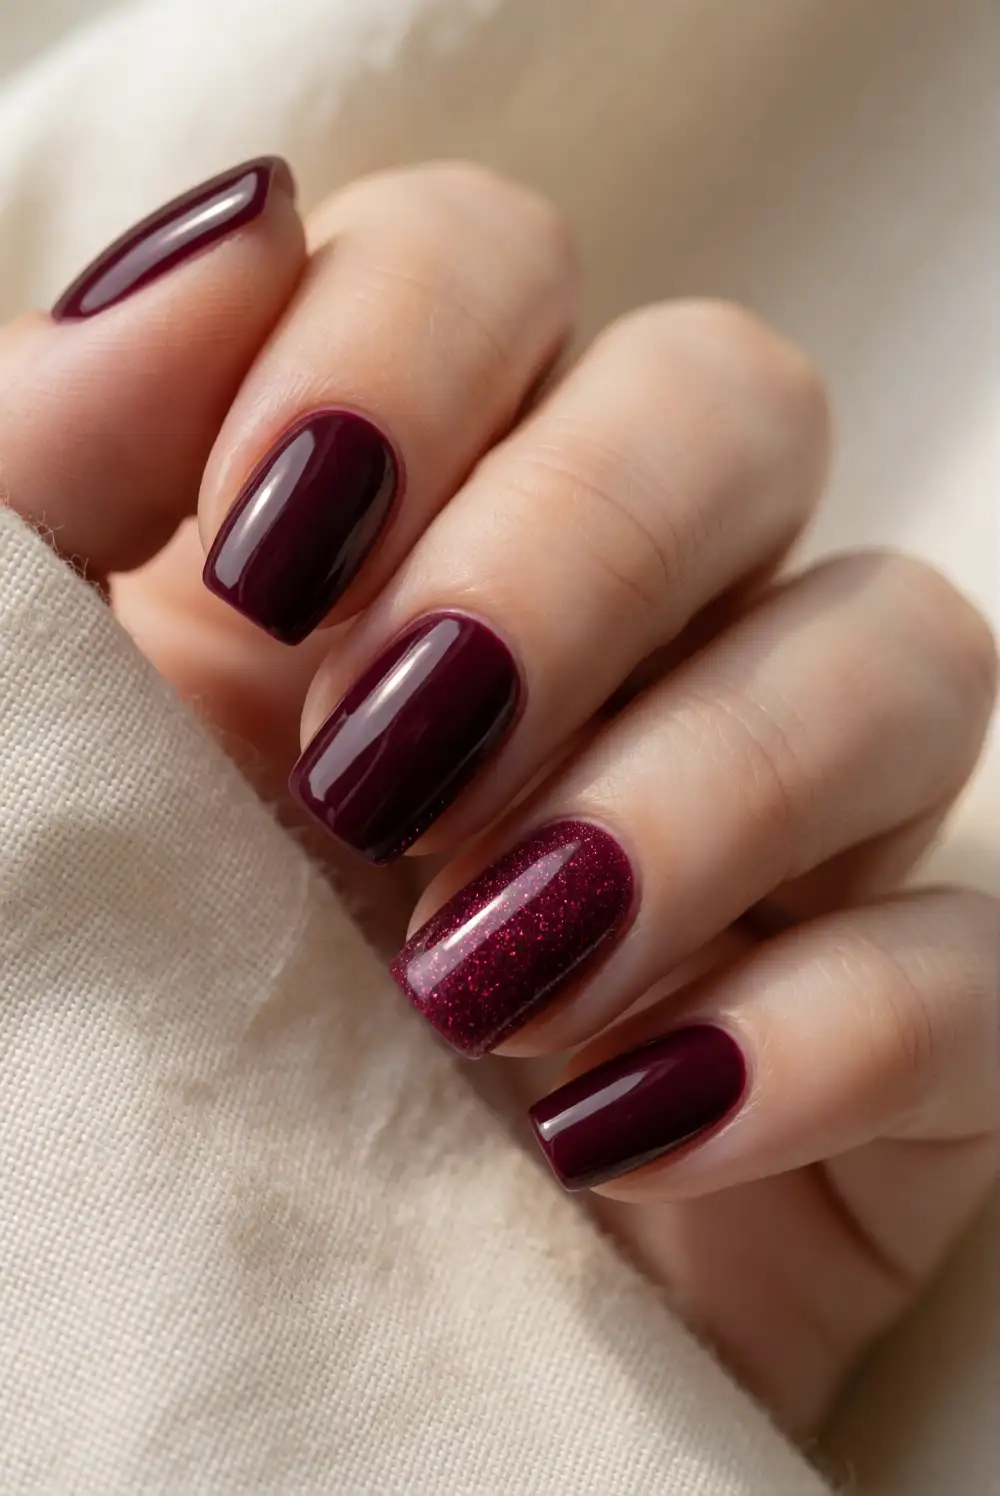
Combine deep wine polish with a veil of red glitter for a rich manicure suited to Halloween evenings and the wider fall season. Apply a base coat, then paint each nail with two thin layers of burgundy polish, allowing them to dry between coats. Brush red or berry glitter over the full surface of one accent nail, or sweep a light layer across every nail. Finish with top coat for an even shine.
A fine ruby shimmer gives the color depth without feeling overly sparkly, while larger reflective flakes bring a more dramatic party finish. Pair the glitter accent with solid burgundy nails to keep the design balanced. For added dimension, layer a sheer plum glaze over the glitter before top coat. This jewel-toned look complements gold accessories and works beautifully on short, rounded nails as well as longer shapes.
Golden Moon and Star Nails
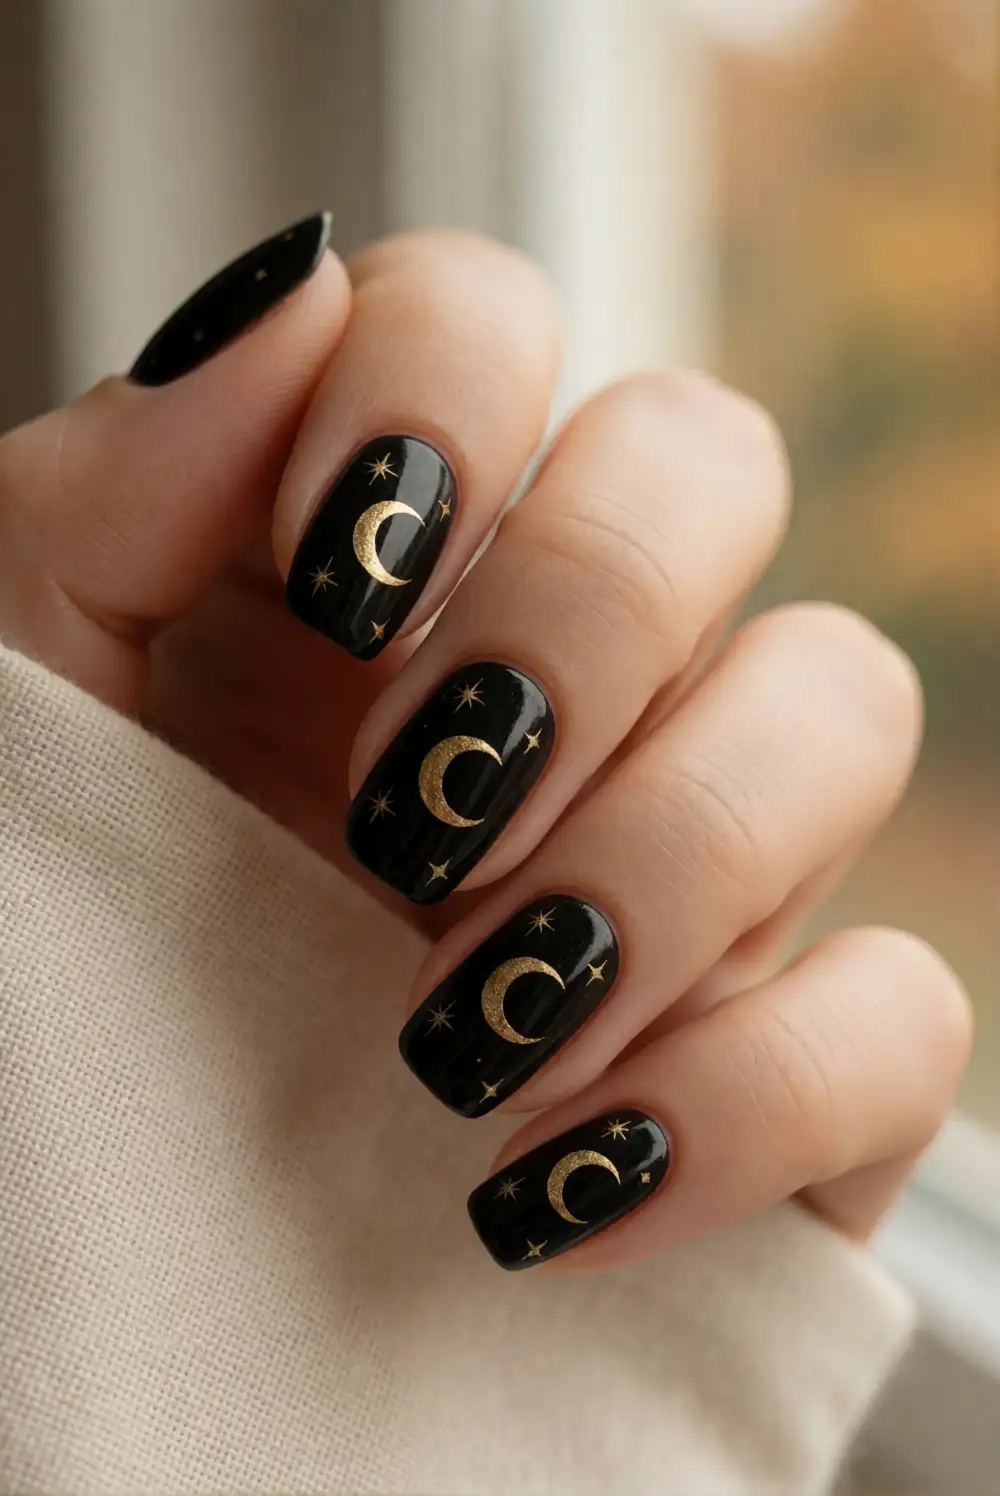
Build a celestial Halloween manicure with a midnight base and small gold moon and star accents. Paint the nails deep navy or black and let the color dry. Use a fine brush and metallic gold polish to add a slim crescent near the side of an accent nail, then dot a few tiny stars around it. Keep the shapes simple and spaced apart, and apply a glossy top coat once the metallic details have set.
Try a single moon accent surrounded by solid dark nails for a minimal look, or place a different small celestial detail on each nail for a coordinated set. Antique gold creates a softer, vintage mood, while bright metallic polish gives the design more contrast. A sheer layer of fine gold shimmer over the dark base can tie the manicure together without making the tiny hand-painted details harder to see.
Smoky Orange and Black Marble Nails
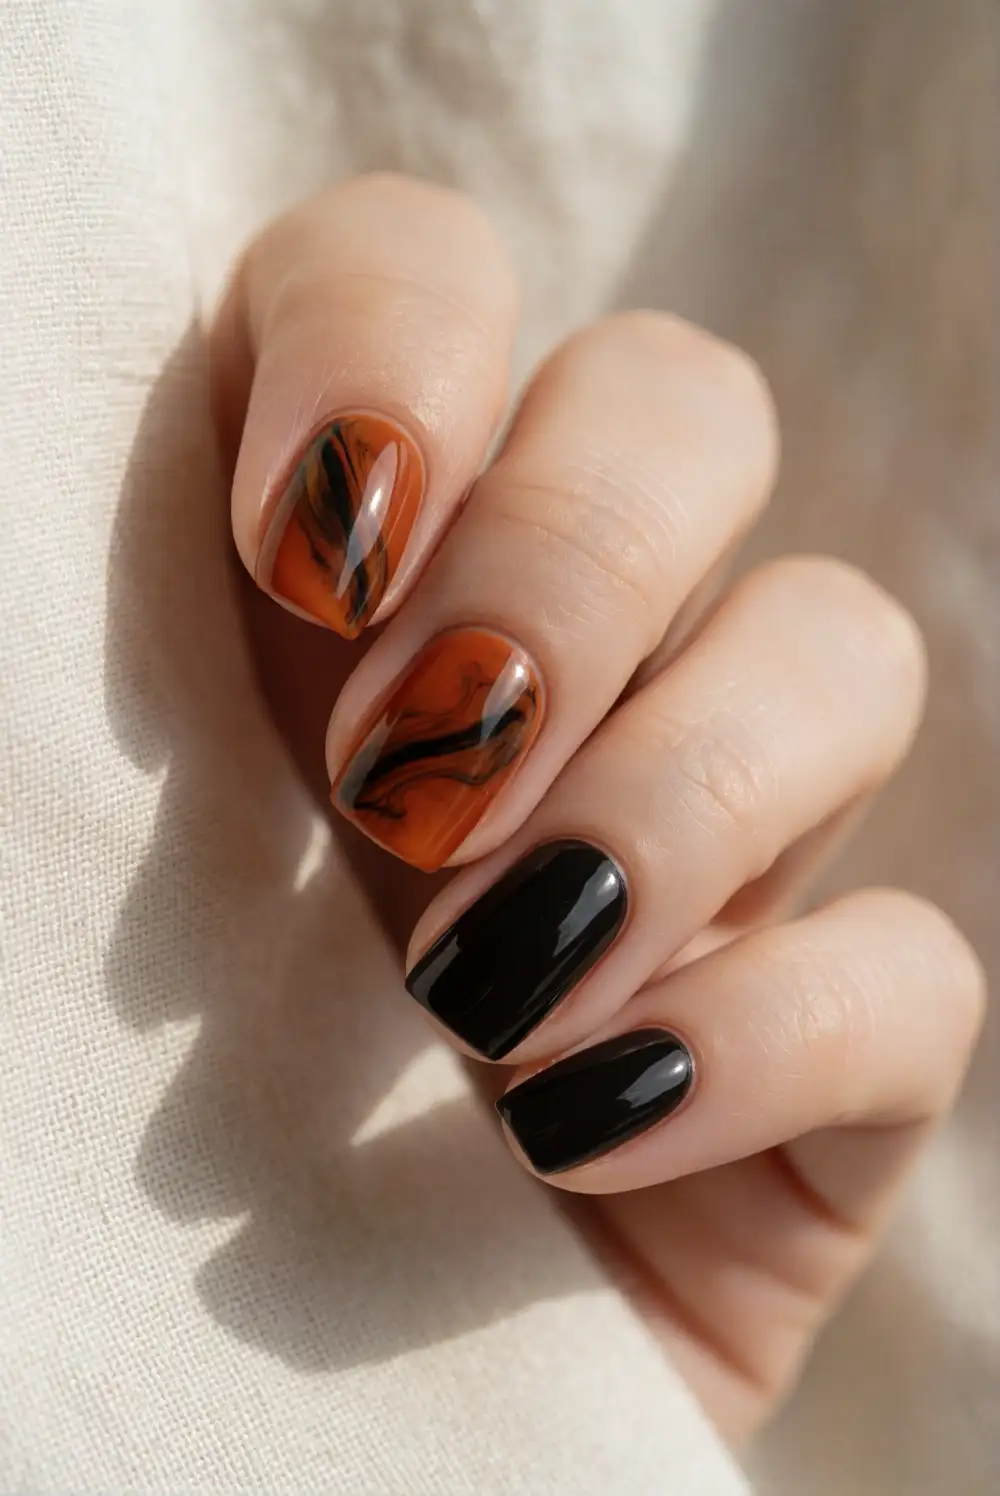
Create a smoky marble effect by blending orange, amber, and black polish while the colors are still wet. Start with an orange base on one or two accent nails. Add a few small drops of black and amber polish, then gently drag a thin detail brush through them to form soft, irregular wisps. Avoid overmixing so the colors stay distinct. Let the design dry completely before applying a glossy top coat.
Keep the remaining nails glossy black or burnt orange to give the marbled accents room to stand out. For a softer result, use a translucent amber polish and only a touch of black; for stronger contrast, choose a vivid orange base. Each accent nail will look slightly different, which adds to the stone-like effect. A fine bronze shimmer over the finished design can bring the colors together.
Champagne Glitter Cuticle Crescents
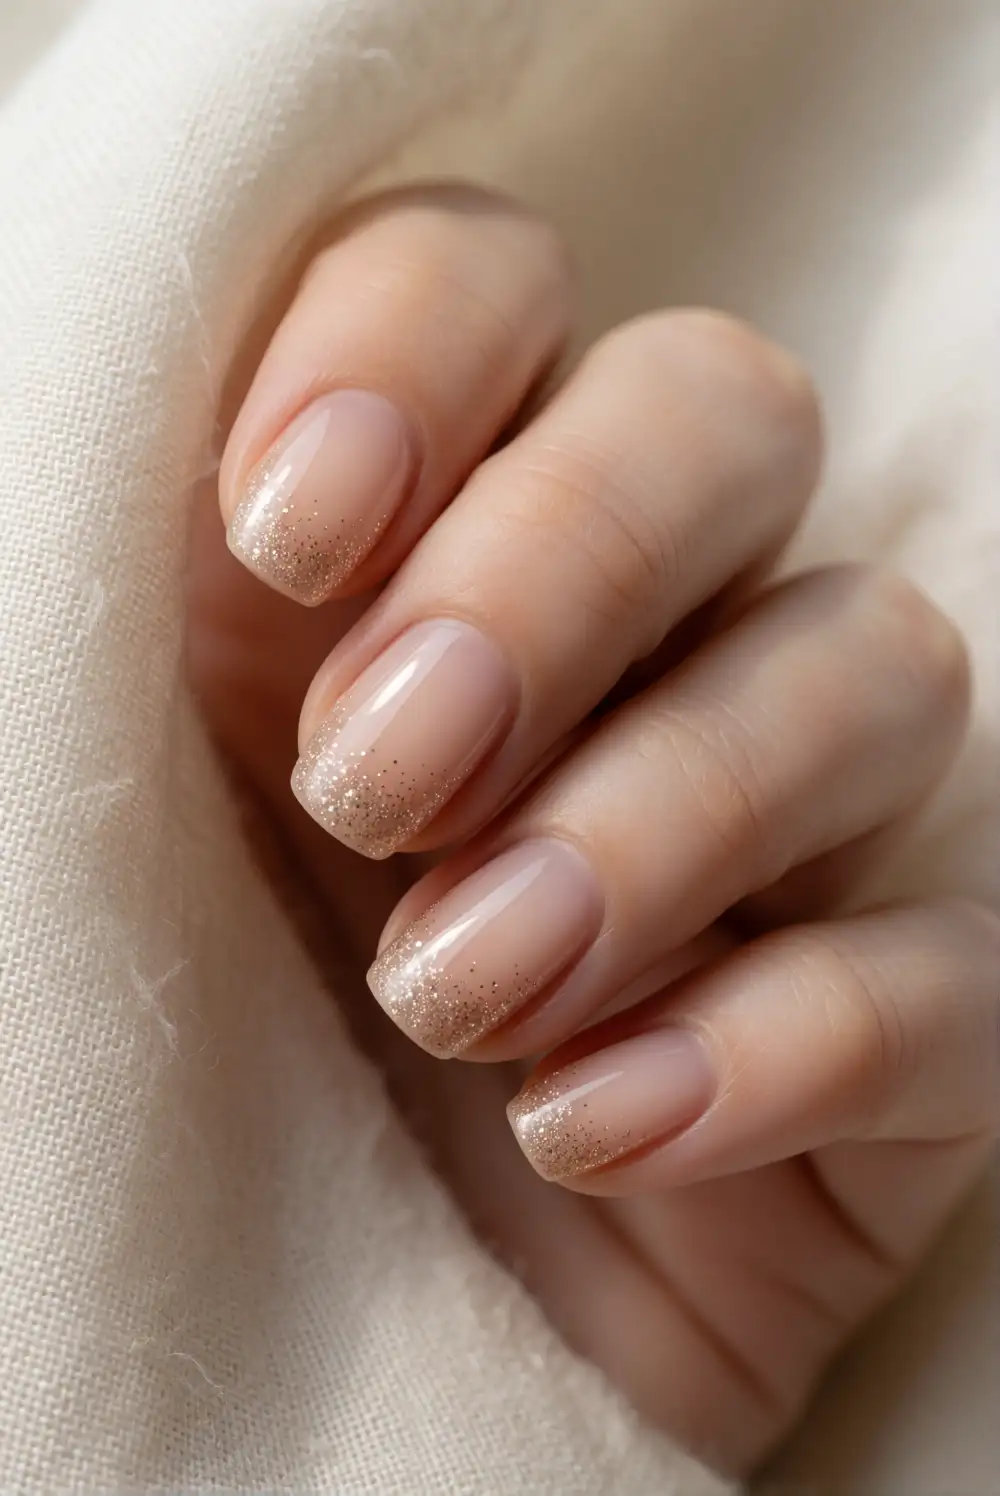
Frame each nail with a delicate champagne glitter crescent near the cuticle. Apply a sheer beige or blush base and allow it to dry. Using a fine brush, paint a slim arc of champagne glitter along the base of each nail, leaving a narrow gap between the polish and cuticle. Keep the curve shallow and even, then brush on a clear top coat after the glitter has dried for a smooth, polished finish.
This understated design suits anyone who wants a festive sparkle without covering the entire nail. Use a pale gold glitter for a subtle gleam or a warmer champagne shade for more contrast against a rosy base. You can add the crescents to every nail or use them only on two accent nails. A glossy neutral finish keeps the look refined and makes the metallic detail easy to notice.
Black and Gold Glitter Color Block Nails
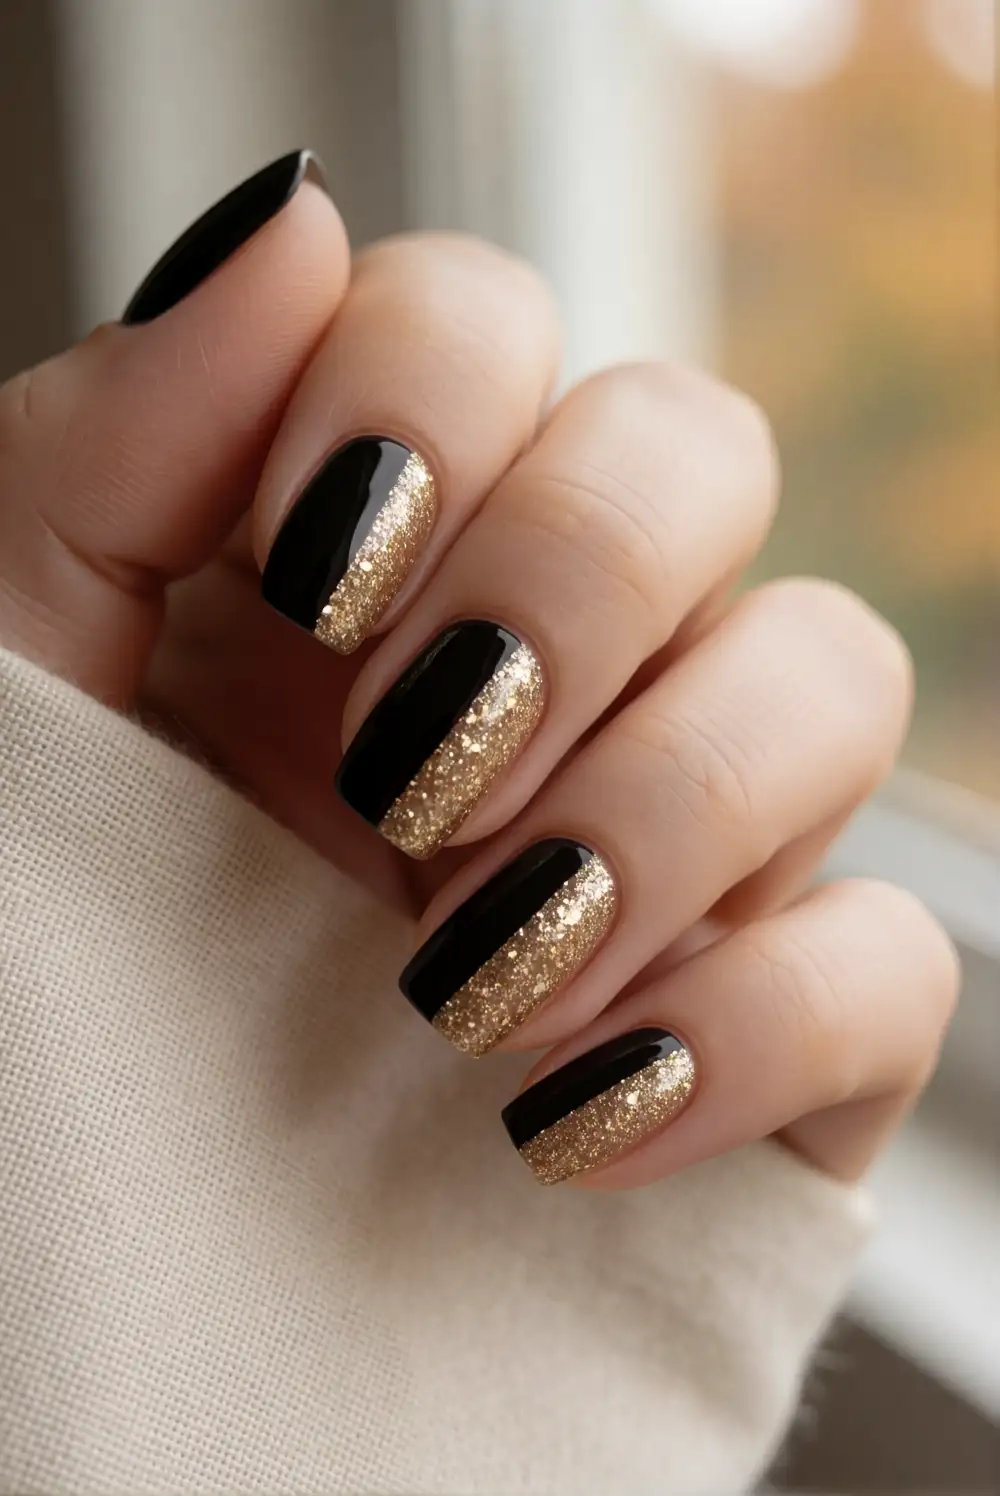
Make a crisp, graphic manicure by dividing each nail between glossy black polish and gold glitter. Apply a base coat, then place a piece of nail guide tape diagonally across a dry nail. Paint one side black and the other with gold glitter, or use the tape to keep a clean border while layering the two colors. Remove the guide carefully, let the design dry, and finish with top coat across each nail.
Vary the diagonal direction from nail to nail for a lively set, or keep every division aligned for a more tailored look. Dense gold glitter makes a striking contrast, while fine shimmer gives the color block a softer finish. If you prefer a simpler manicure, use this design on one accent nail and paint the rest black. A glossy top coat helps the two textures look cohesive.
Whether you prefer a subtle champagne shimmer or a bold black-and-gold contrast, these Halloween nail designs make it easy to bring a polished sparkle to your seasonal style. Choose a favorite finish, adjust the accents to suit your nails, and enjoy a festive manicure that feels unmistakably glam.








