
Looking for Halloween nails that feel more chic than costume-like? These minimalist ghost nail ideas pair delicate designs with sheer neutrals, soft colors, and simple finishes for a playful seasonal look that still feels wearable. From a single ghost accent to barely-there French tips, each manicure offers an approachable way to add a little Halloween spirit while keeping your style understated.
Sheer Nude Nails with a Ghost Accent
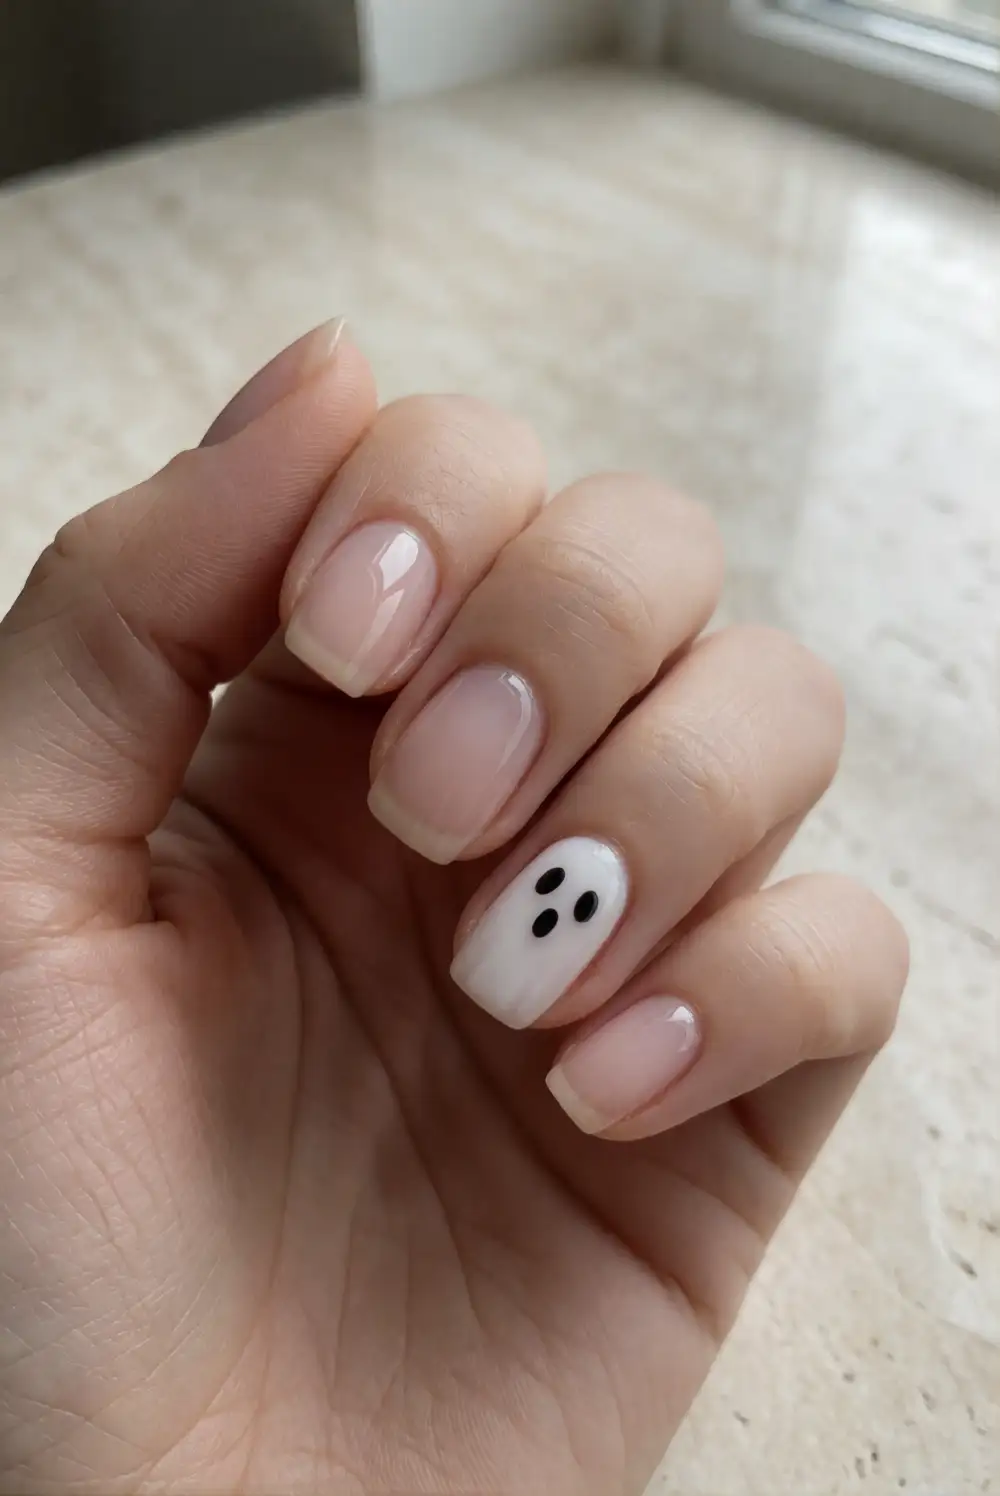
Apply a sheer nude or milky beige polish to clean, shaped nails and let it dry fully. On one accent nail, use a fine nail-art brush and opaque white polish to paint a small rounded ghost with a gently wavy base. Add two tiny black eyes with a dotting tool or the tip of a toothpick, then seal the design with a clear top coat. Keep the ghost simple so it stands out against the translucent base.
Choose a nail close to the center of your hand for the accent, or place the ghost on a thumb for an easy-to-see detail. A glossy top coat gives the manicure a fresh, polished finish, while a satin top coat makes it feel softer. If freehand painting feels tricky, make the ghost shape with a small white decal and add the eyes after it is in place.
Ghost French Tips on a Milky Base
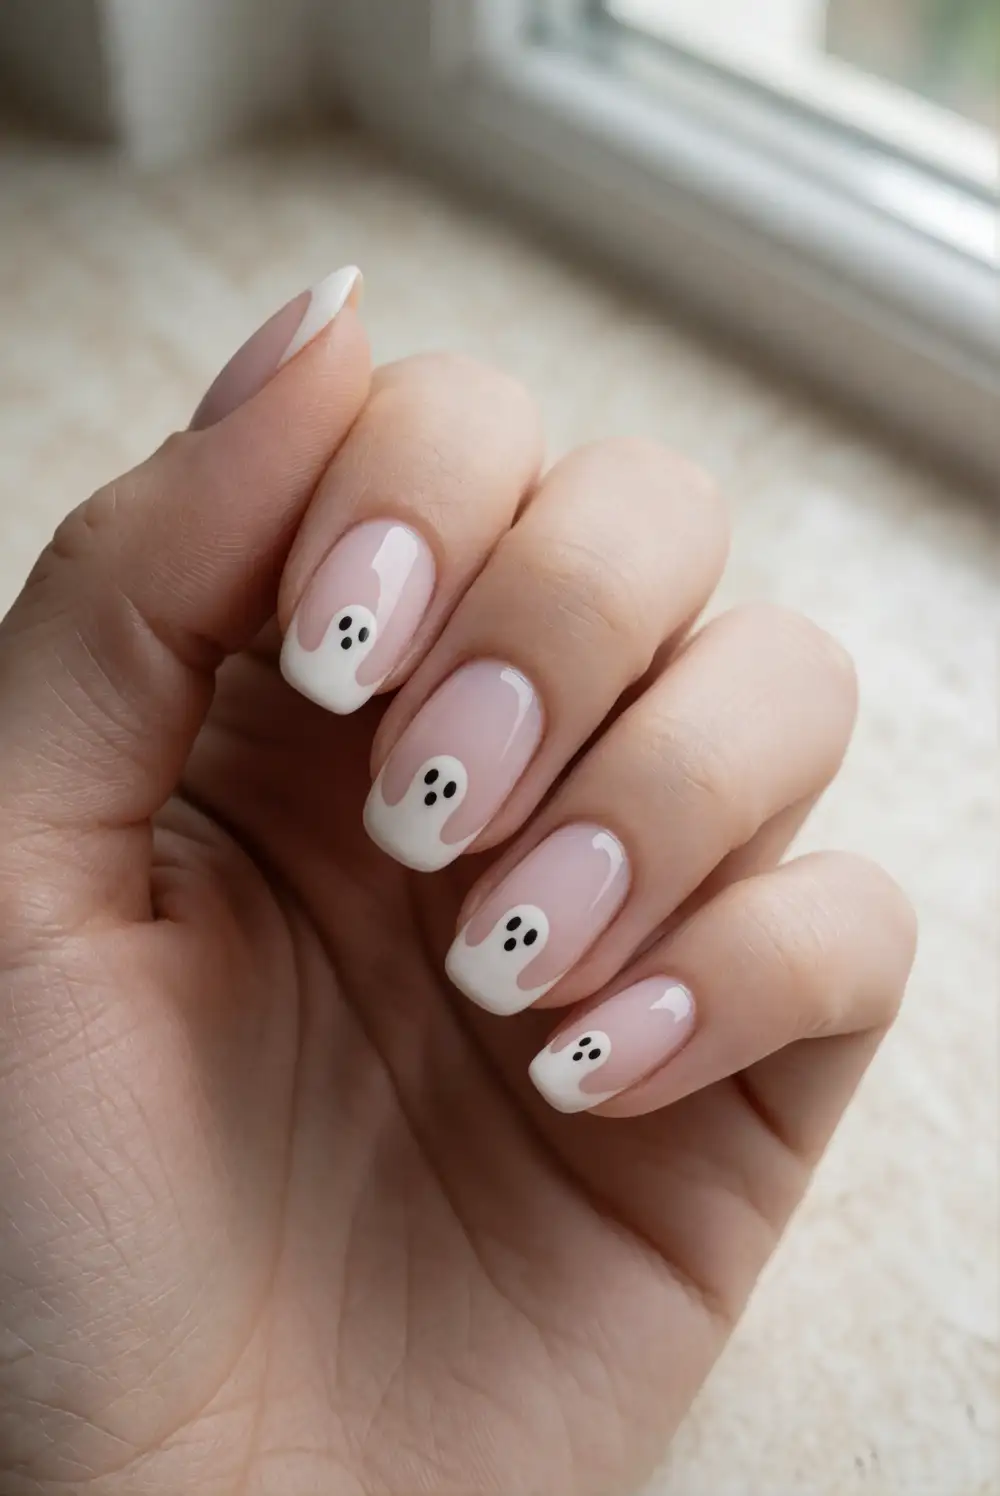
Coat each nail with a translucent milky pink or ivory polish and allow it to dry. Instead of a traditional curved French tip, paint a fine white ghost shape along the free edge of each nail, keeping the rounded head near one side and the hem just above the nail tip. Add two small black eyes with a fine brush or dotting tool. A clear top coat smooths the edges and brings the delicate design together.
For a more understated effect, place ghost tips on just two or three nails and leave the others with a sheer finish. Short, softly rounded nails make the design especially easy to wear, while almond-shaped nails give the white tips a graceful curve. Keep the ghost shapes small and slightly varied so the manicure feels hand-painted rather than like a repeated pattern.
Black Ghost Silhouettes on Bare Nails
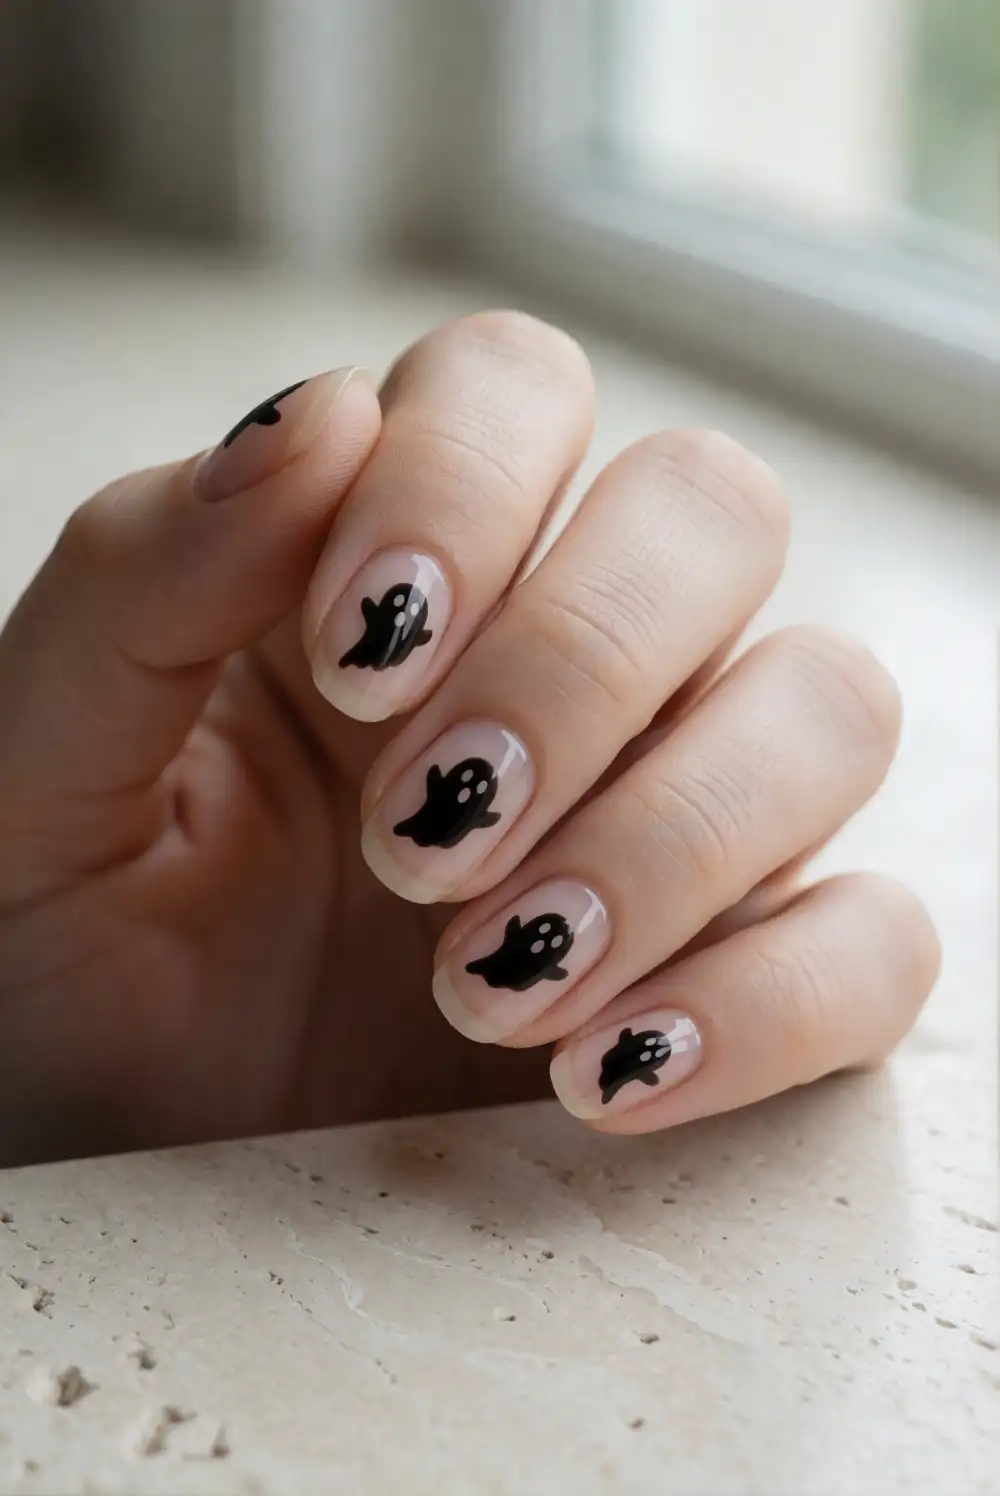
Begin with a clear or barely tinted base coat to keep the natural nail visible. Once it is dry, use black nail polish and a fine detail brush to draw one small ghost silhouette on each chosen nail. Create a rounded head and a short, gently scalloped bottom, then let the polish dry before applying a clear top coat. A single solid color keeps the artwork graphic and easy to recognize without adding extra decoration.
Leave most nails undecorated for a restrained look, or place silhouettes on alternating fingers for a little more contrast. A glossy finish makes the black shapes crisp against the bare base, while a matte top coat gives them a softer, modern appearance. If you prefer a less stark effect, choose deep charcoal polish instead of black and keep the silhouettes on one hand only.
Floating Ghosts in Negative Space
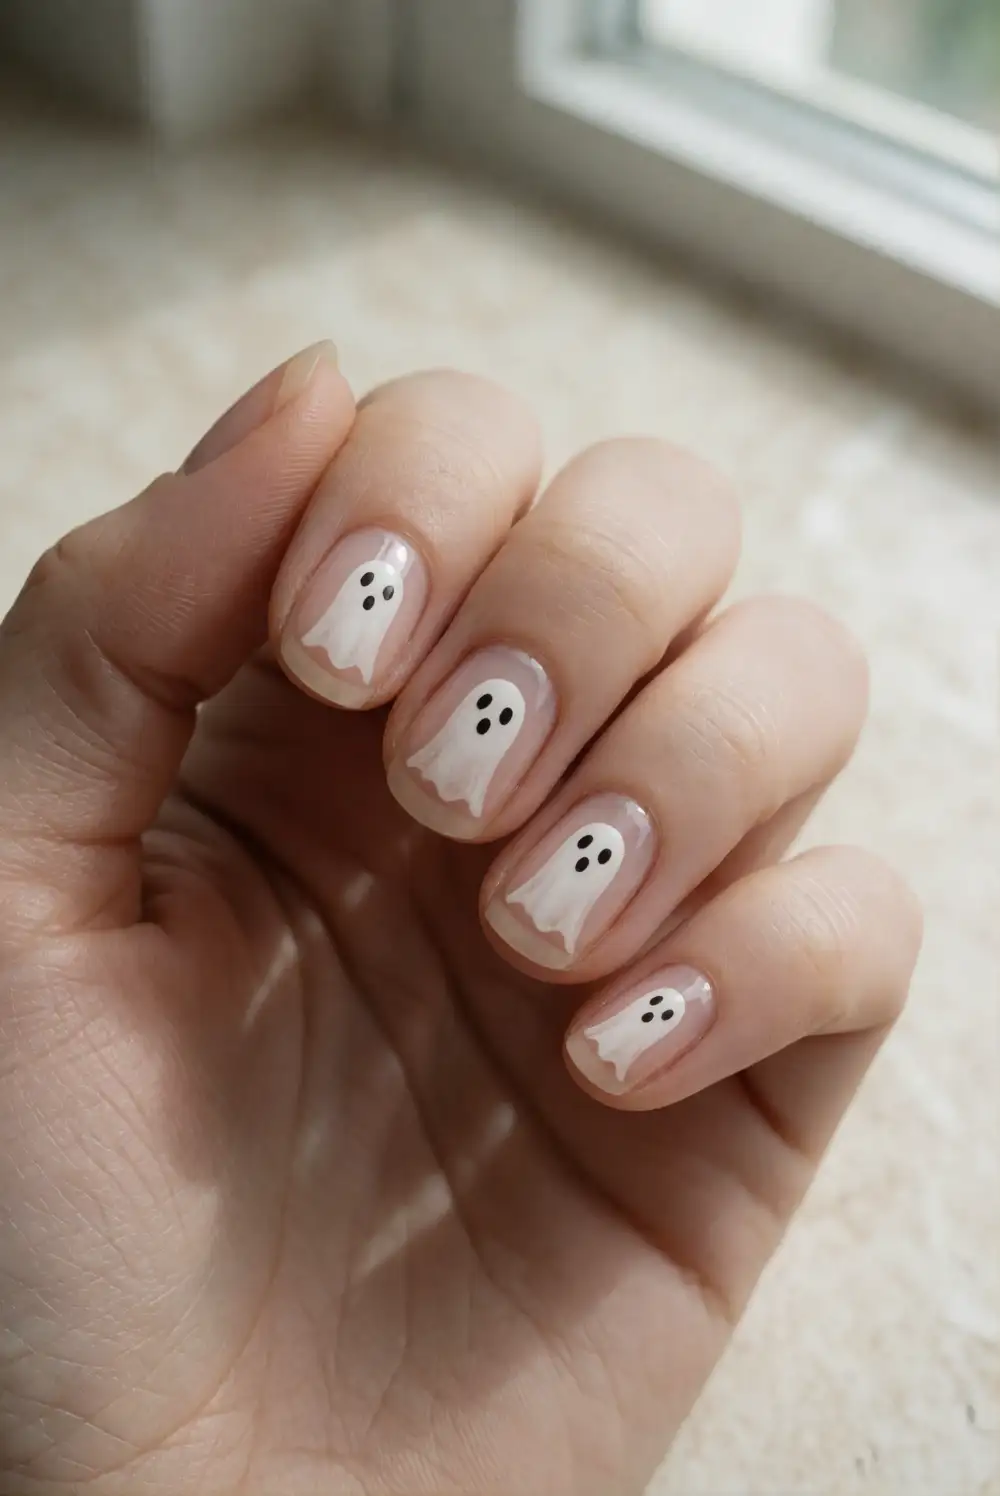
Apply a clear strengthening base coat and allow it to dry completely. With a fine brush, paint a few small white ghost forms on each nail, leaving generous areas of the natural nail visible around them. Give each shape a rounded top and a softly uneven hem, then add tiny black eyes when the white polish is dry. Finish with a clear top coat, brushing gently over the raised artwork to avoid smudging the details.
Use fewer ghosts on short nails and spread them apart so the design remains airy. A sheer pink base coat can soften the natural nail tone without filling in the negative space. Keep the ghosts similar in size for a neat look, or vary their height slightly to create a floating effect. This design pairs well with simple rings and neutral outfits because the clear spaces keep it visually light.
Pearl White Ghosts on Soft Gray Polish
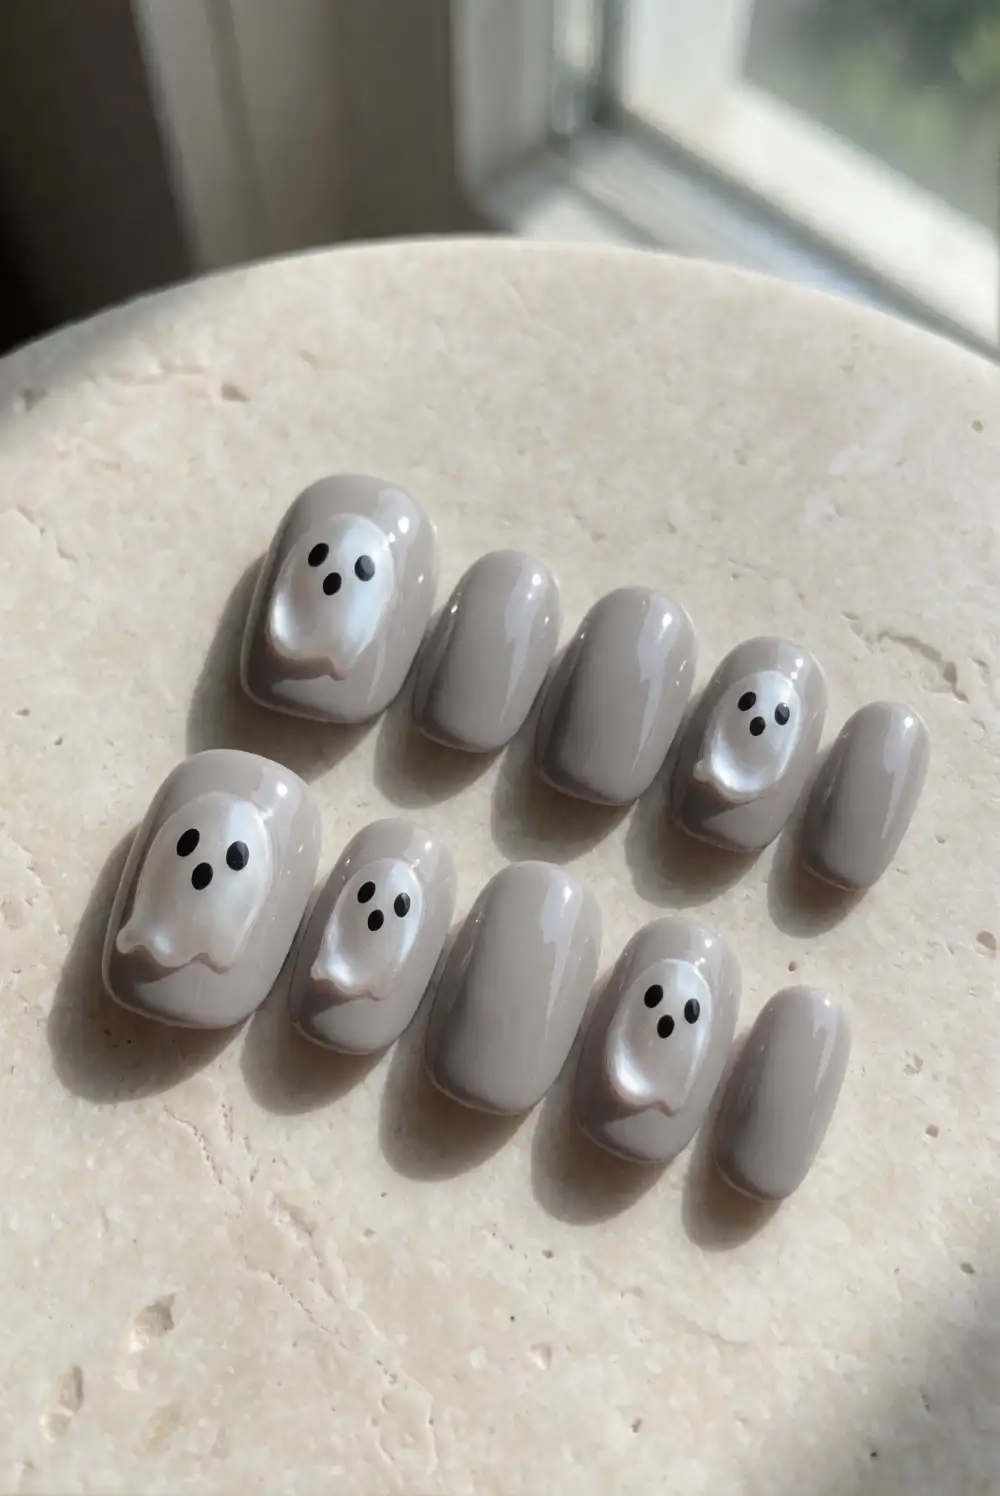
Paint the nails with a soft dove-gray polish and let the color dry before adding artwork. Use opaque pearl-white polish to create one rounded ghost on each accent nail, shaping the bottom with small waves. Add discreet black eyes after the white polish has set, then finish with a glossy top coat. The cool gray background gives the white shapes definition without the strong contrast of black, making the finished manicure feel calm and understated.
Try a single ghost on each ring finger if you want a minimal accent, or use two small figures on a longer nail. A pearlescent white polish adds a subtle glow, while a flat cream white keeps the design crisp. For a coordinated look, leave the remaining nails solid gray and skip extra glitter or decals so the ghost artwork stays the clear focal point.
Lavender Ghosts on a Sheer Blush Base
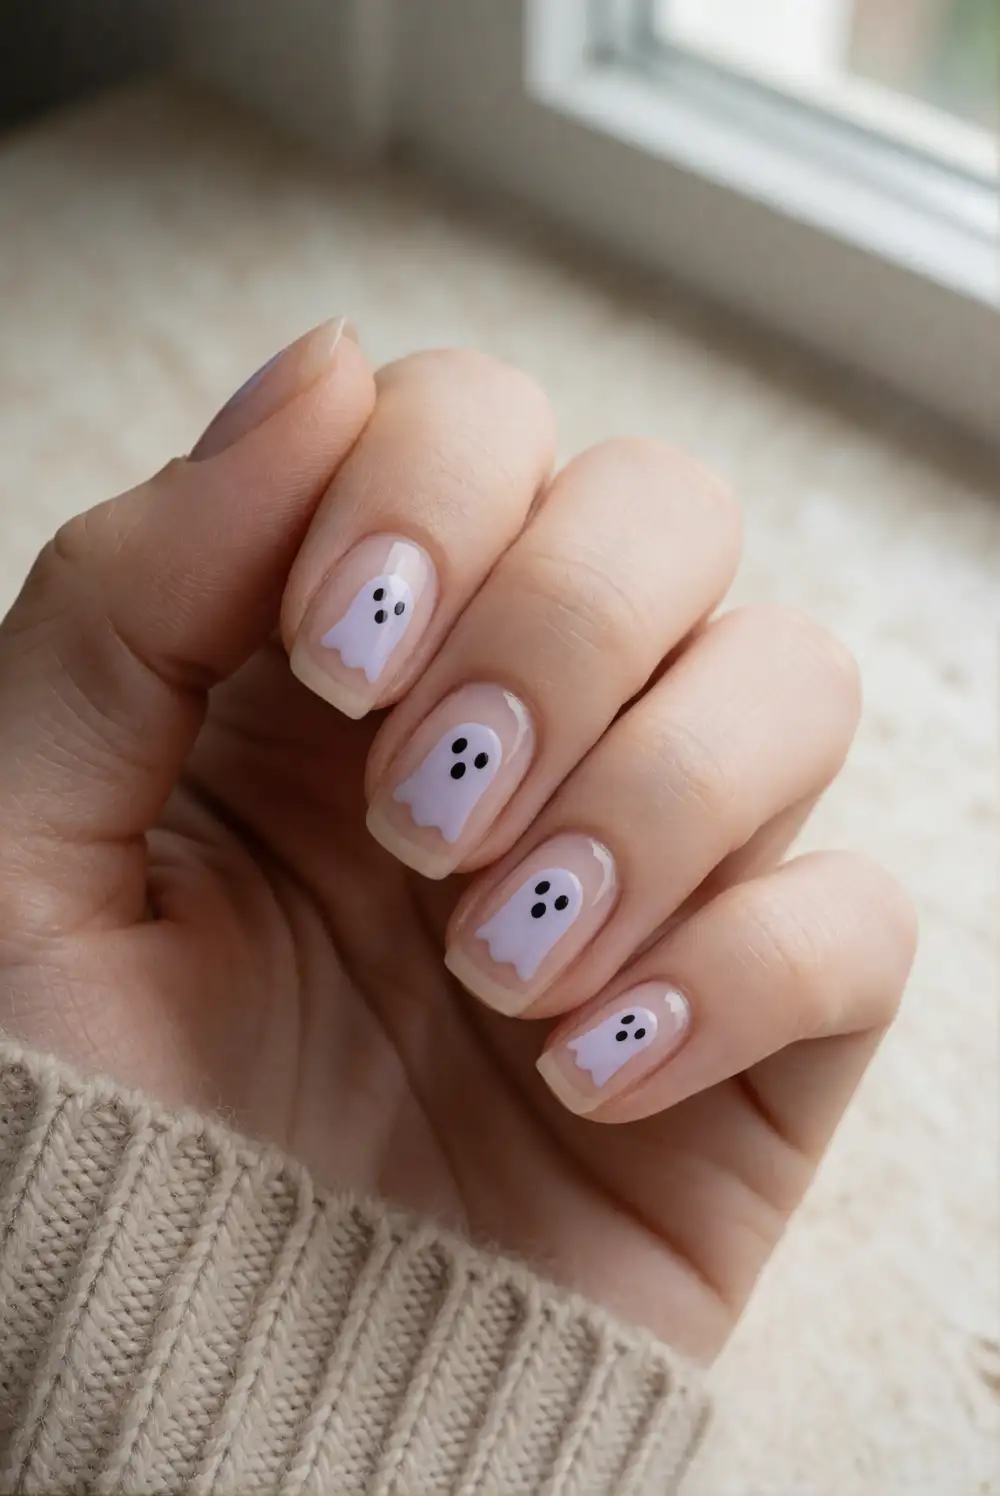
Start with a sheer blush polish and let it dry to a smooth, translucent finish. With pale lavender polish and a fine nail-art brush, paint small ghost shapes with rounded tops and gently scalloped hems. After the lavender has dried, add tiny black eyes and seal each nail with a clear top coat. The soft color combination keeps the Halloween motif sweet and subtle while offering a change from the classic white-and-black ghost design.
Keep the lavender artwork to one or two accent nails if you prefer a barely-there manicure. On longer nails, place a small ghost near the side rather than directly in the center for a delicate, floating feel. A glossy finish enhances the blush base, while a sheer pink top coat can soften the contrast further. Pair it with simple silver jewelry to complement the cool lavender tone.
Matte Charcoal Nails with White Ghosts
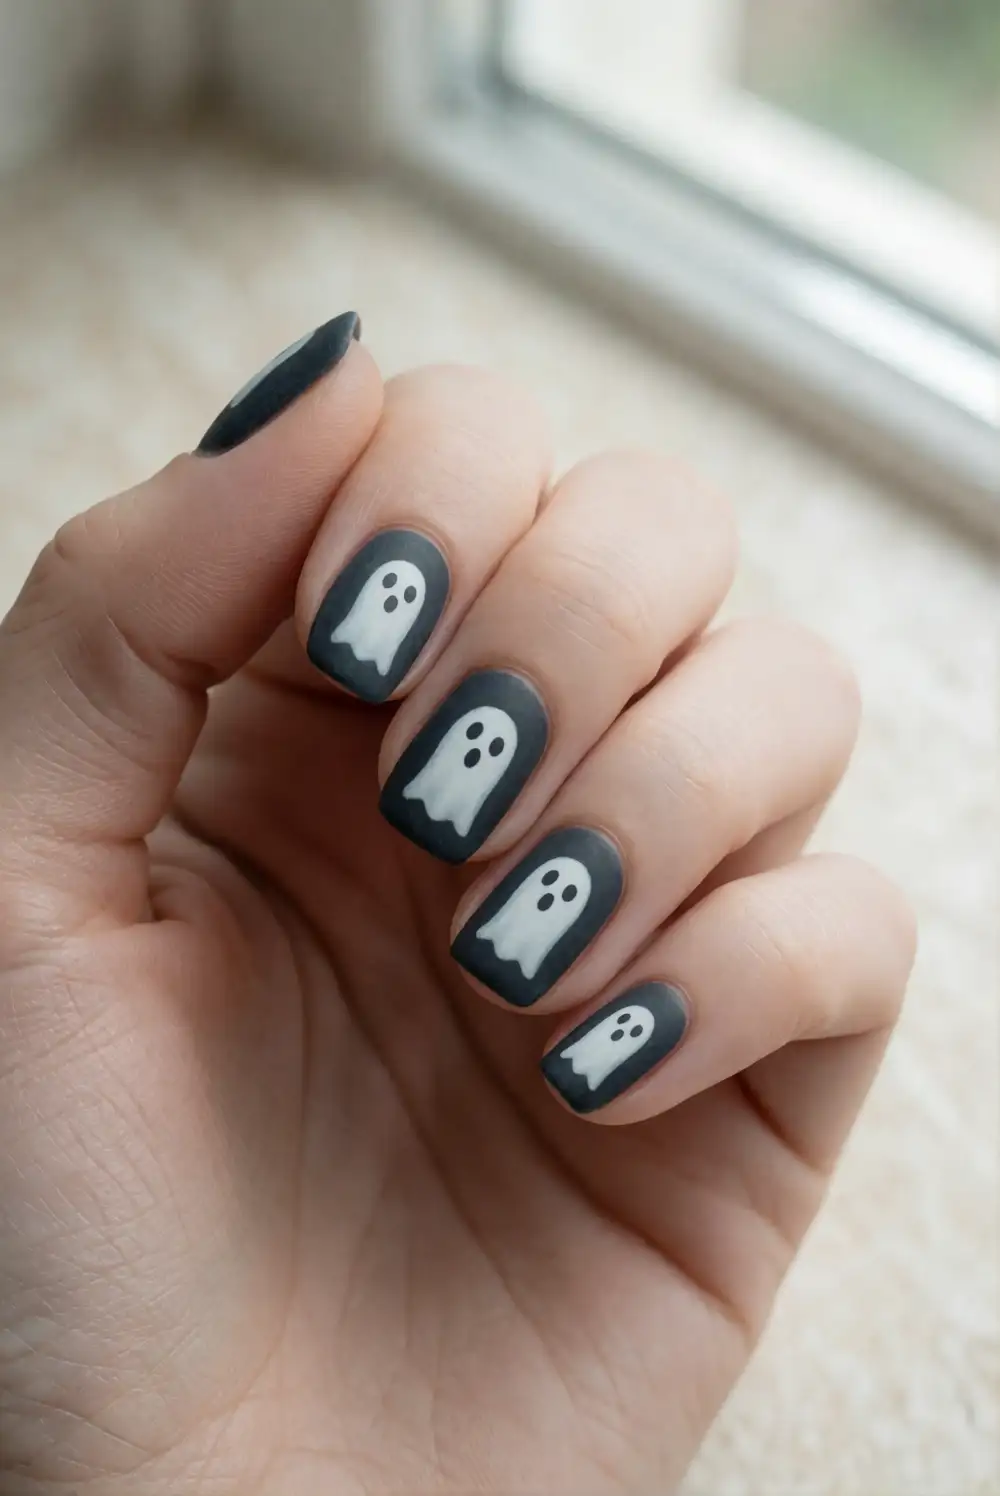
Apply a deep charcoal polish to each nail and allow it to dry thoroughly. Paint a small white ghost on one or two nails using a fine brush, making a rounded head and a softly rippled lower edge. Add the eyes with black polish once the white shape is dry, then finish with a matte top coat. If you use a matte top coat over the entire manicure, keep the ghost details neat and let each layer dry before adding the next.
For a lighter interpretation, leave one or two nails bare with a clear coat and reserve charcoal for the others. A glossy white ghost against the matte charcoal creates a subtle difference in texture, so apply a small amount of glossy top coat only over the artwork if desired. This look works especially well with short square nails and dark autumn clothing, without relying on glitter or elaborate decorations.
Warm Orange Nails with Ghost Accent Art
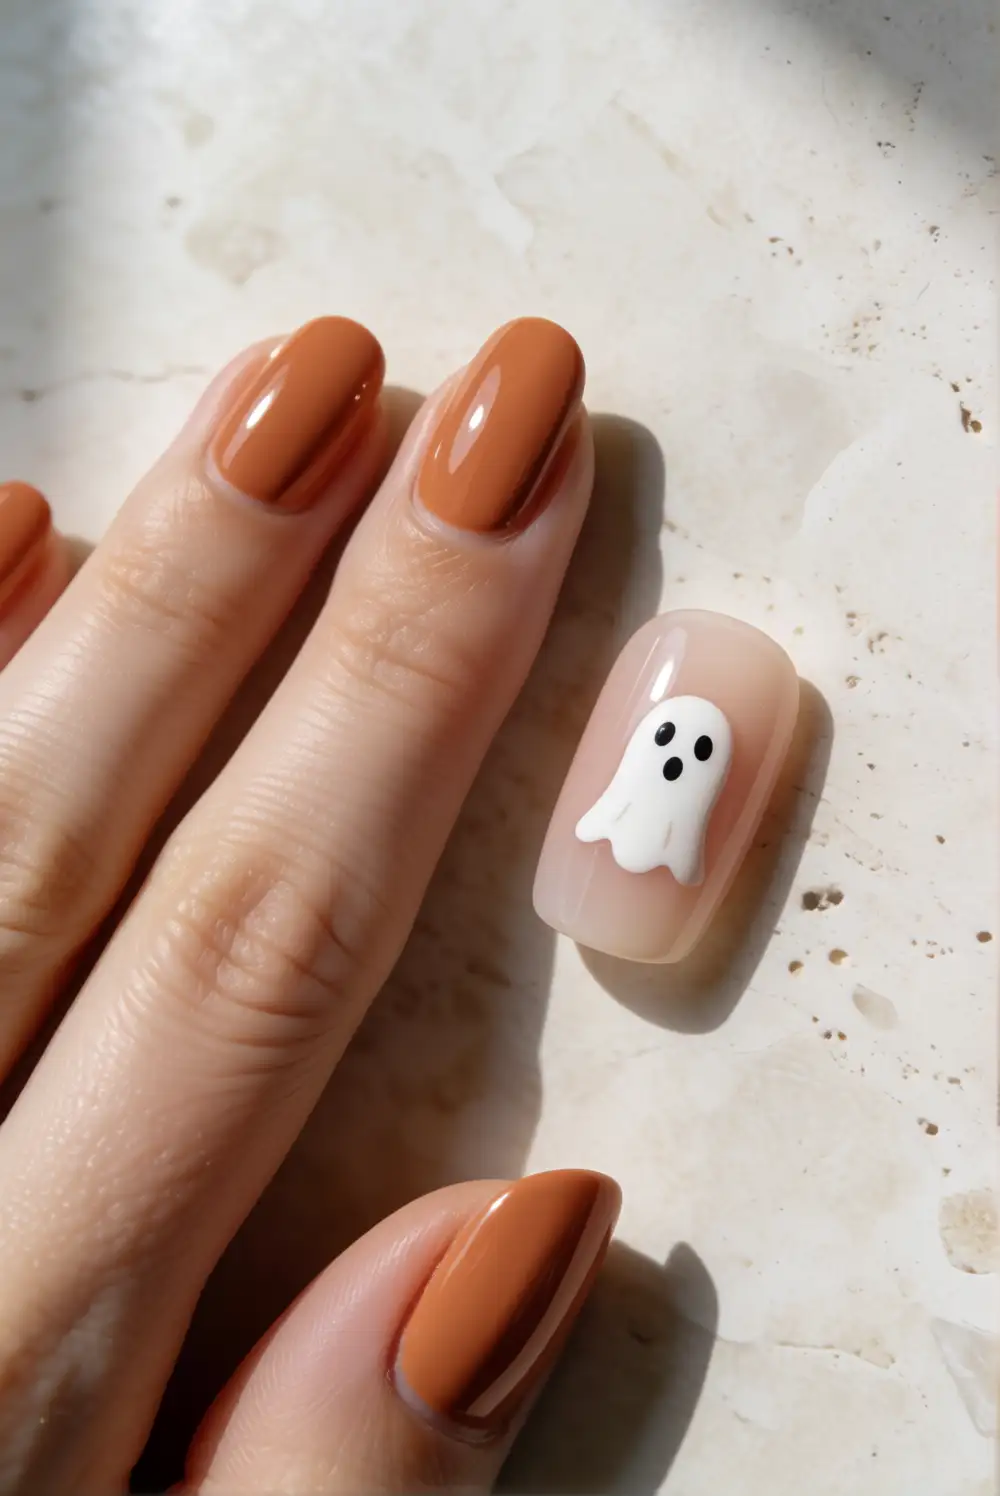
Choose a muted pumpkin or terracotta polish and apply it to most nails, using a sheer nude shade on an accent nail. Once the colors have dried, paint a small white ghost on the nude nail with a fine brush and add two tiny black eyes. Seal the manicure with clear top coat. The warm orange keeps the look seasonal, while limiting the ghost art to a neutral accent prevents the color combination from feeling too bold.
For an even softer finish, use a dusty peach polish instead of bright orange and keep the ghost small. You can place the accent on a ring finger or use a thumb for a more noticeable detail. A glossy top coat brings out the warmth in the orange shade, while a satin finish gives the overall manicure a more muted feel. Keep the other nails undecorated to let the simple contrast do the work.
Tiny Ghosts Along a Deep Burgundy Base
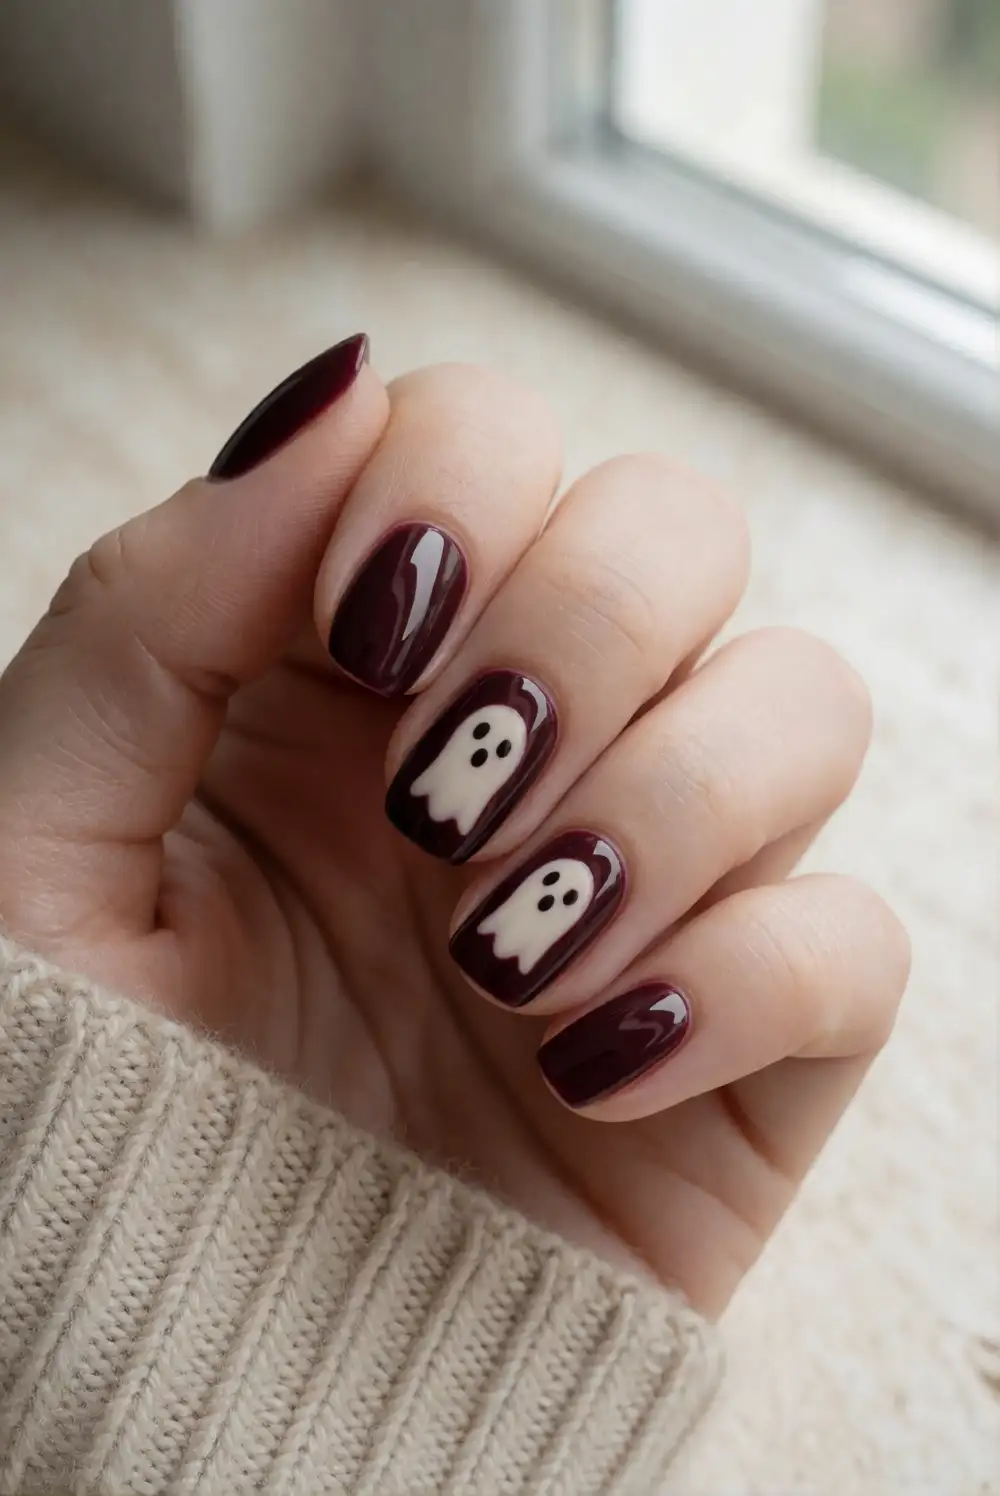
Paint the nails in a deep burgundy shade and give the polish time to dry. Use white nail polish and a fine detail brush to add one petite ghost near the lower edge of an accent nail, shaping the head and hem with a few controlled strokes. Add black eyes after the white has dried, then apply a clear top coat. The rich base makes the pale artwork visible while keeping the overall manicure elegant and seasonally appropriate.
Keep the design to one accent nail for a quiet hint of Halloween, or add matching ghosts to both ring fingers. A short oval nail shape gives the burgundy polish a neat, classic appearance, while a glossy finish adds depth to the dark color. If you want a softer contrast, choose a wine-colored polish and use warm ivory for the ghost instead of bright white.
Soft Pink Nails with a Ghost Side Detail
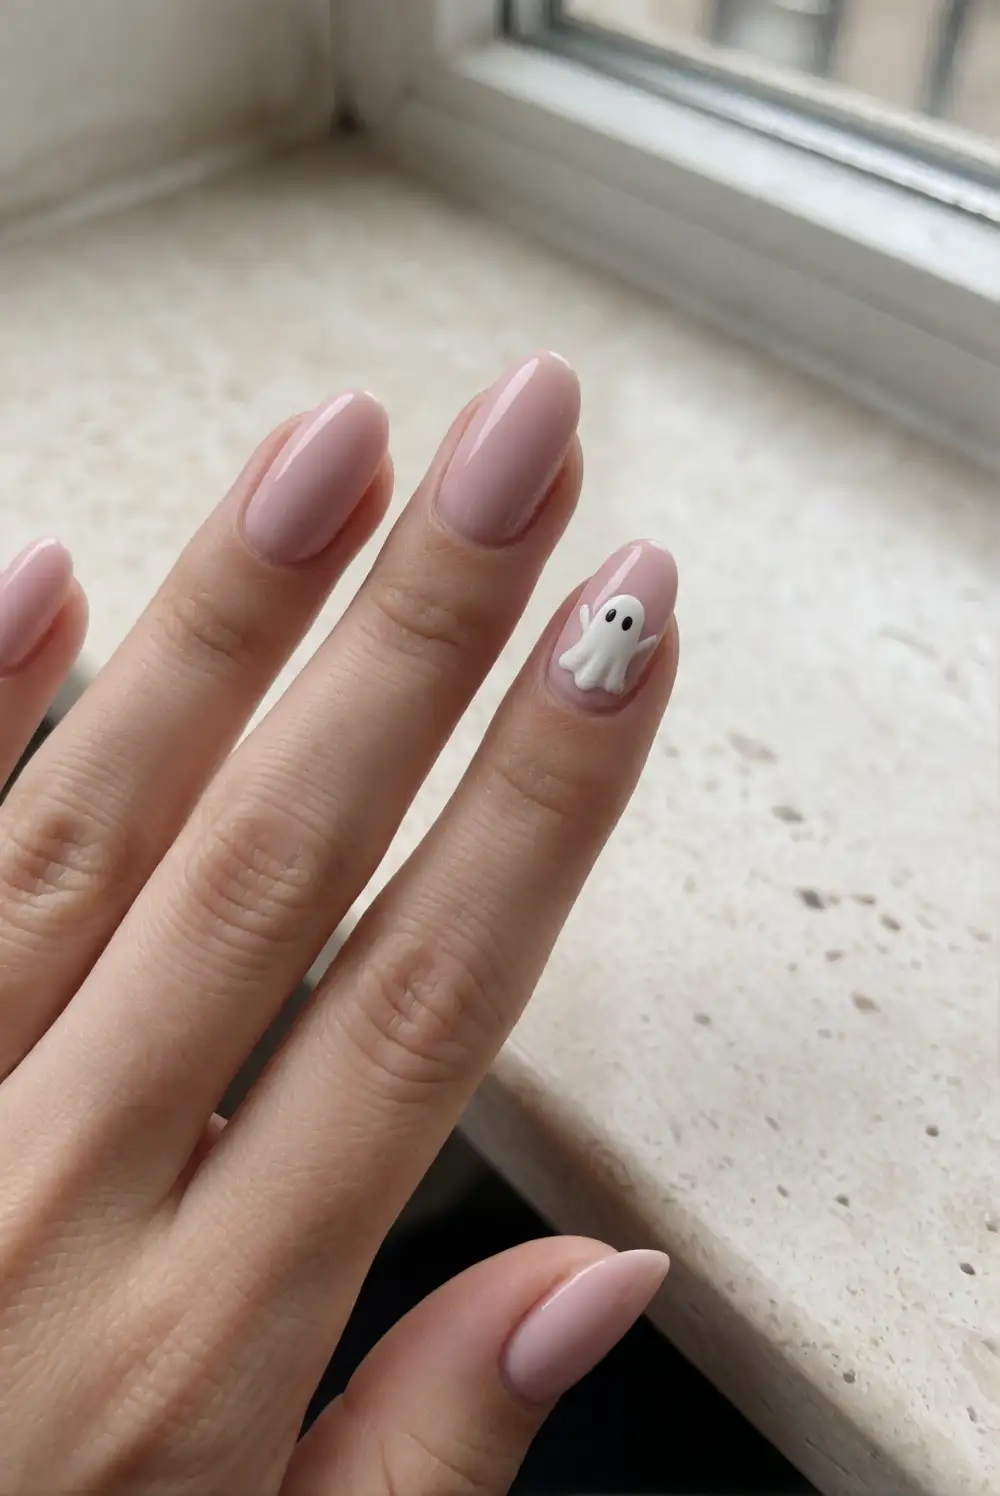
Apply a soft pink or sheer rose polish as the base and let it dry. On each accent nail, use a fine brush to paint a small white ghost close to one sidewall, with its rounded top facing the center of the nail. Add two tiny black eyes when the white polish has set, then finish with a clear top coat. Placing the motif off-center creates a delicate detail without covering much of the base color.
Use the side-detail design on one or two nails and leave the rest in glossy pink for a polished everyday manicure. A pale pink base keeps the ghost artwork gentle, while a slightly deeper rose shade adds definition without making the look dramatic. On longer nails, place the ghost near the cuticle; on shorter nails, position it midway along the side so the shape has room to read clearly.
White Ghosts with a Fine Silver Outline
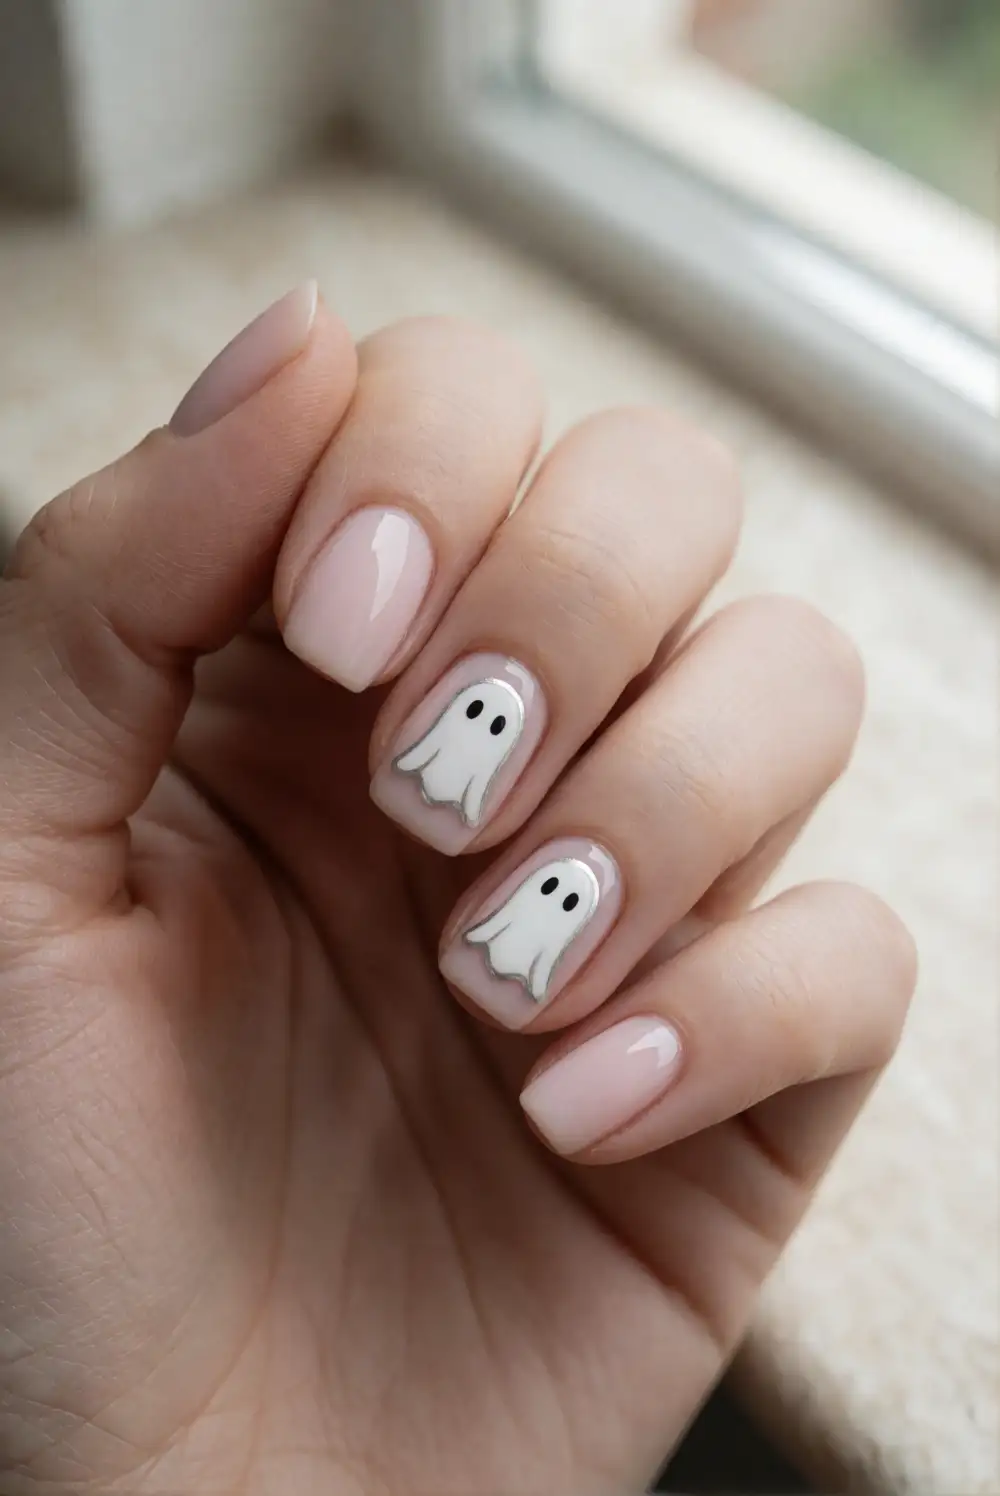
Paint a sheer beige or pale pink base coat and allow it to dry. Create a small ghost on an accent nail with opaque white polish, then use a very fine brush and silver polish to trace only part of its outline, such as one side and the wavy hem. Add two black eyes after the design sets, then apply a clear top coat. The partial outline adds a restrained glint without turning the manicure into a full metallic design.
Keep the silver line delicate and limited to one or two ghosts so it remains an accent. A cool-toned silver pairs well with milky pink, while a softer champagne metallic complements a beige base. If you do not have a detail brush, use a thin striping brush and wipe away excess polish before outlining. Leave the remaining nails simple and glossy to balance the little shimmer.
Minimalist ghost nails can feel playful without taking over your look. Choose a base shade and finish that suit your everyday style, then add a small ghost detail where it feels balanced. Whether you prefer sheer neutrals, muted color, or a darker seasonal polish, a neat shape and a light hand keep the manicure subtle, polished, and ready for Halloween.








