Make the season feel extra special with these sweet fall craft ideas for toddlers. From a colorful handprint tree to a cheerful paper-bag scarecrow, each project uses simple materials and hands-on steps for little makers. Set up a relaxed crafting spot, help with any tricky preparation, and enjoy making autumn-inspired art you can display at home.
Paper Plate Apple Collage
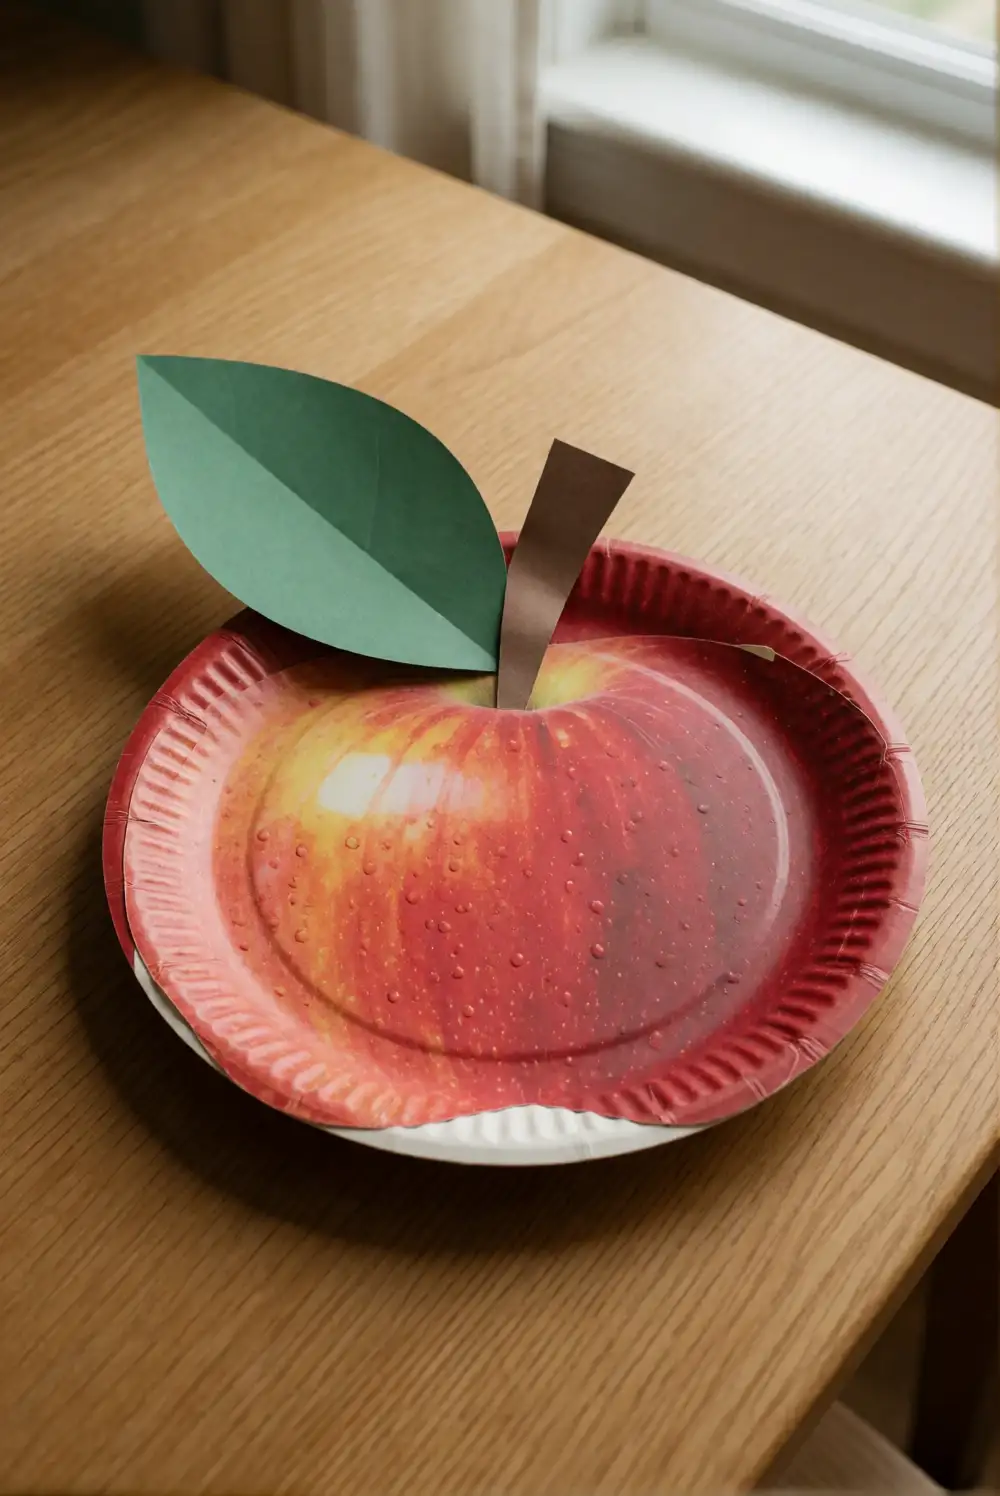
Turn a paper plate into a bright apple with washable red paint, a large piece of green construction paper, and a strip of brown paper. Invite your toddler to paint the plate with a broad brush or sponge. While it dries, an adult can cut a large leaf and stem shape from the paper. Help your child glue those pieces near the top, then let the finished apple dry flat before moving it.
Try red, green, or yellow paint to make a little orchard of different apples. A paper plate with a shallow rim helps contain paint and gives the collage a sturdy shape. Keep the leaf and stem pieces large and simple, and supervise the glue as your toddler presses them into place. Display the apple on a refrigerator or hang it on a bedroom door with adult help.
Handprint Autumn Tree
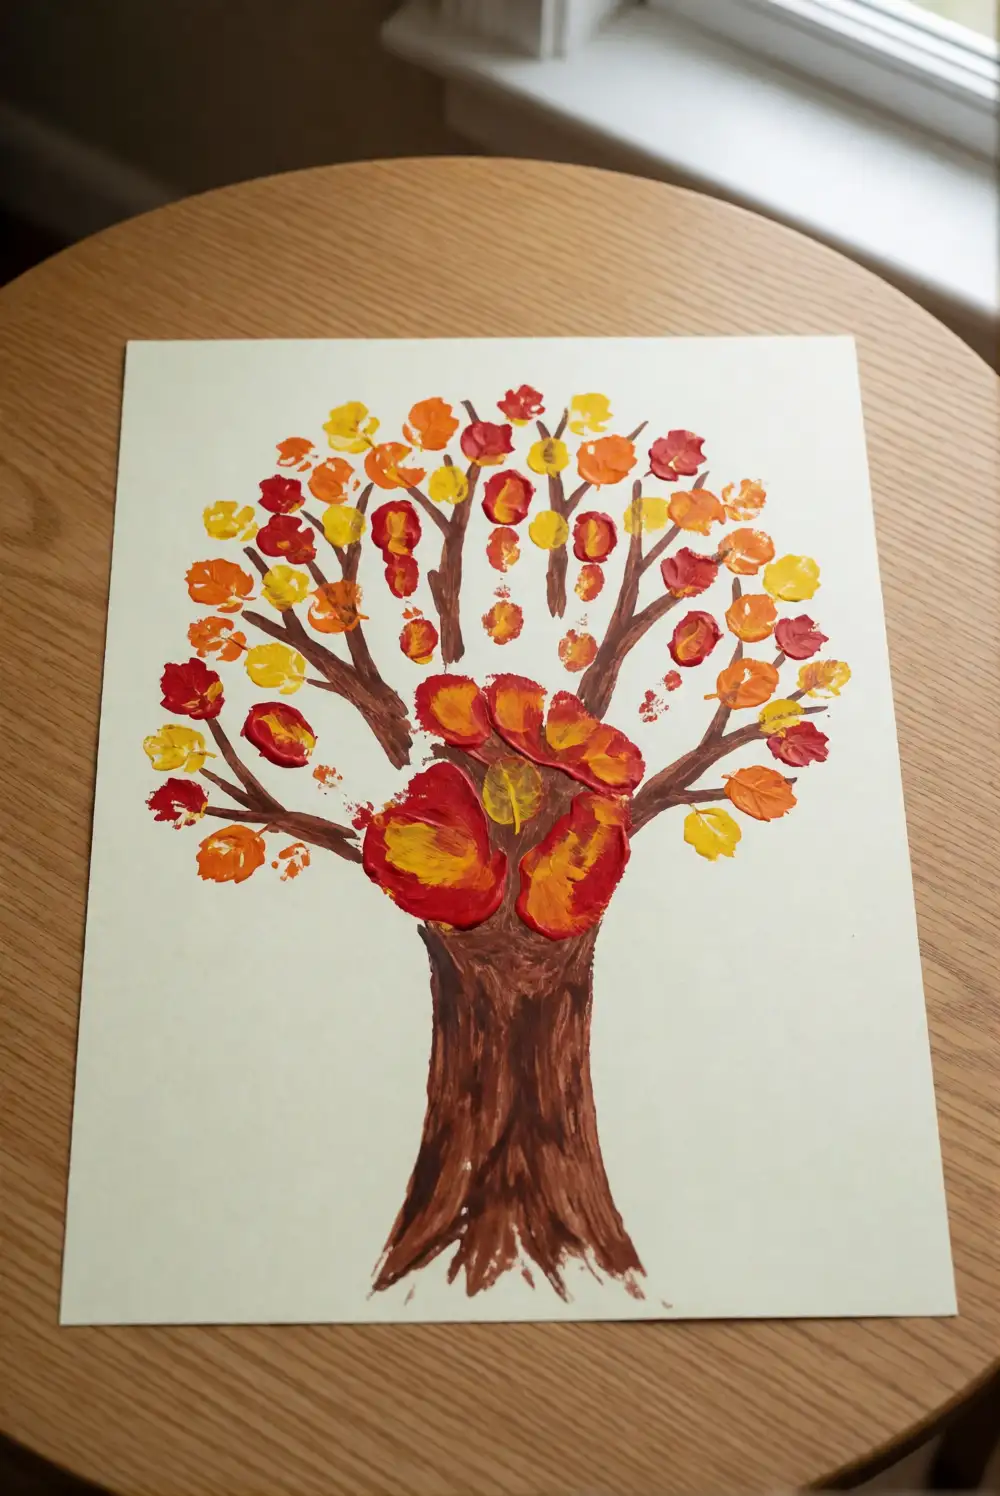
Make a tree with your toddler’s handprint and forearm as its trunk and branches. Brush washable brown paint over the palm and forearm, then press them onto a sheet of sturdy paper. Wash the hand promptly, and let the print dry. Add fall leaves by dabbing washable red, orange, and yellow paint around the branches with a large sponge or fingertips, leaving plenty of space between marks.
Use a different paper color for each tree, or keep the background pale so the warm leaves stand out. An adult can help position the handprint before pressing to keep the trunk upright. If your toddler prefers not to have paint on their hand, trace around it on brown paper and glue the large cutout onto the page. Frame the finished picture or display it with other seasonal artwork.
Sponge-Painted Pumpkins
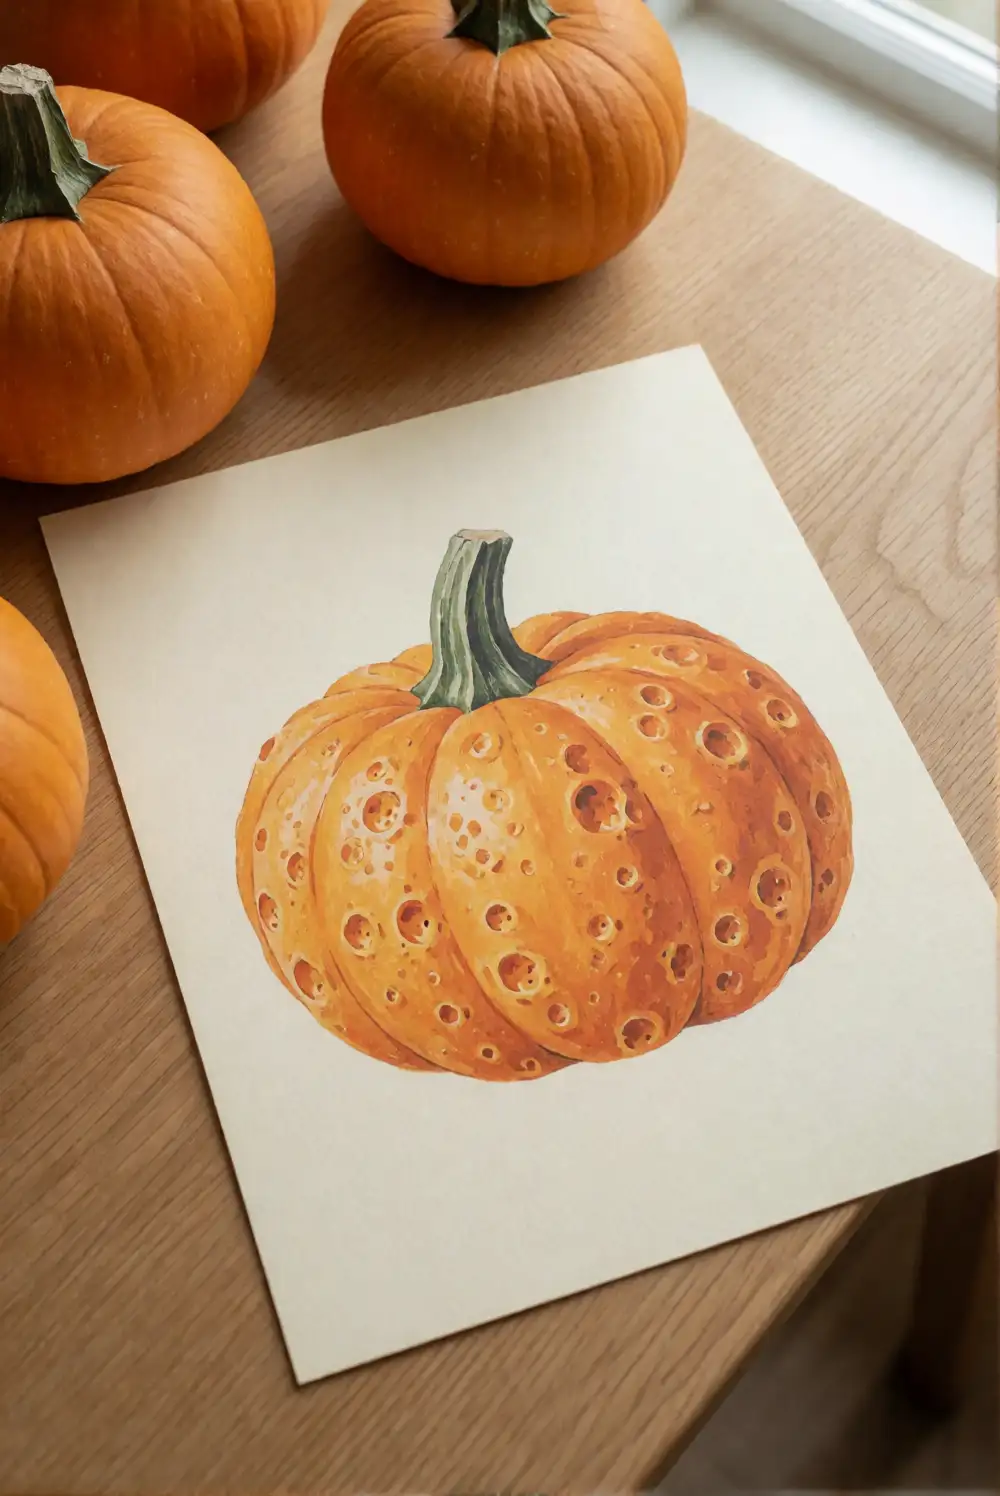
Gather washable orange paint, sturdy paper, and a large, clean sponge cut into a simple pumpkin shape by an adult. Show your toddler how to press the sponge onto a shallow tray of paint and then dab it onto the paper. Repeat to make several pumpkins, allowing space between each print. Once the paint dries, an adult can add a broad green paper stem to each pumpkin.
Offer a few shades of orange for a softly layered look, or add a yellow dab to the center of each pumpkin. Keep the sponge large enough for an easy grip, and use a washable table covering to simplify cleanup. The pumpkin prints can become a cheerful row of wall art, or you can cut around the dried shapes and arrange them across a large sheet of paper as a patch.
Fall Leaf Rubbing Art
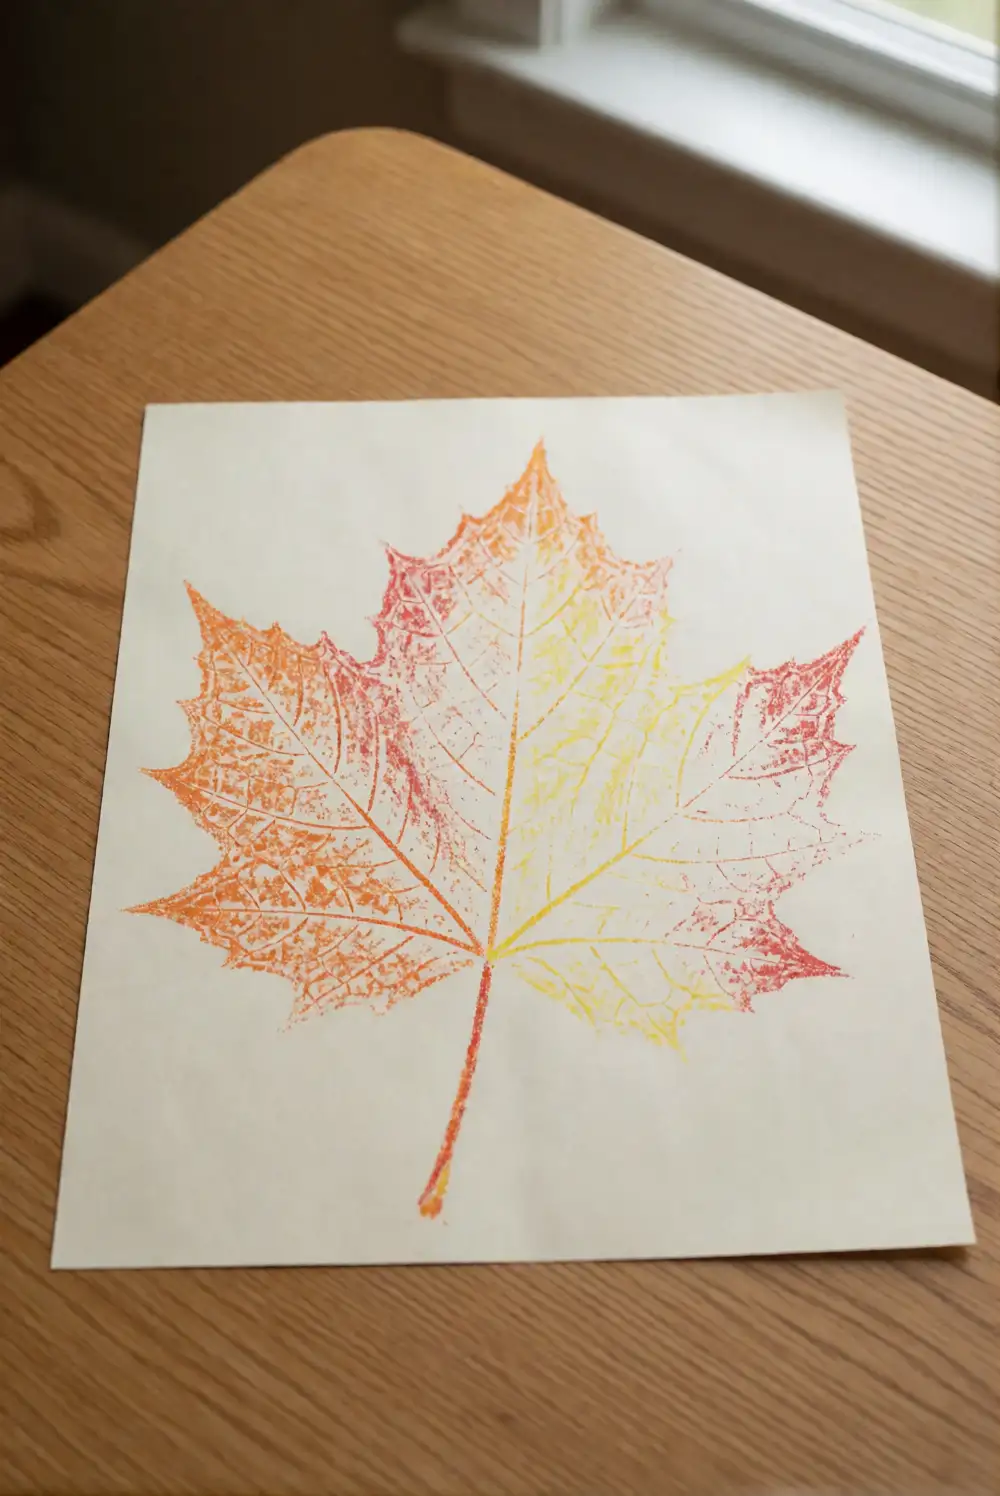
Place a large, flat leaf beneath a sheet of paper, with the raised veins facing upward. Show your toddler how to gently rub a jumbo washable crayon sideways across the paper until the leaf shape appears. Choose sturdy leaves that are intact and easy to position, and secure the paper gently with an adult’s hand if it slides. Try a few leaves with different outlines to create a simple autumn page.
Use warm crayon colors, or let your toddler choose a contrasting shade for each rubbing. A thin sheet of paper reveals the leaf veins clearly, while heavier paper is easier to manage at a small table. An adult can check leaves for dirt and remove the stems before crafting. Keep the finished rubbings as a single display or arrange them in a loose cluster on a wall.
Tissue-Paper Leaf Sun Catcher
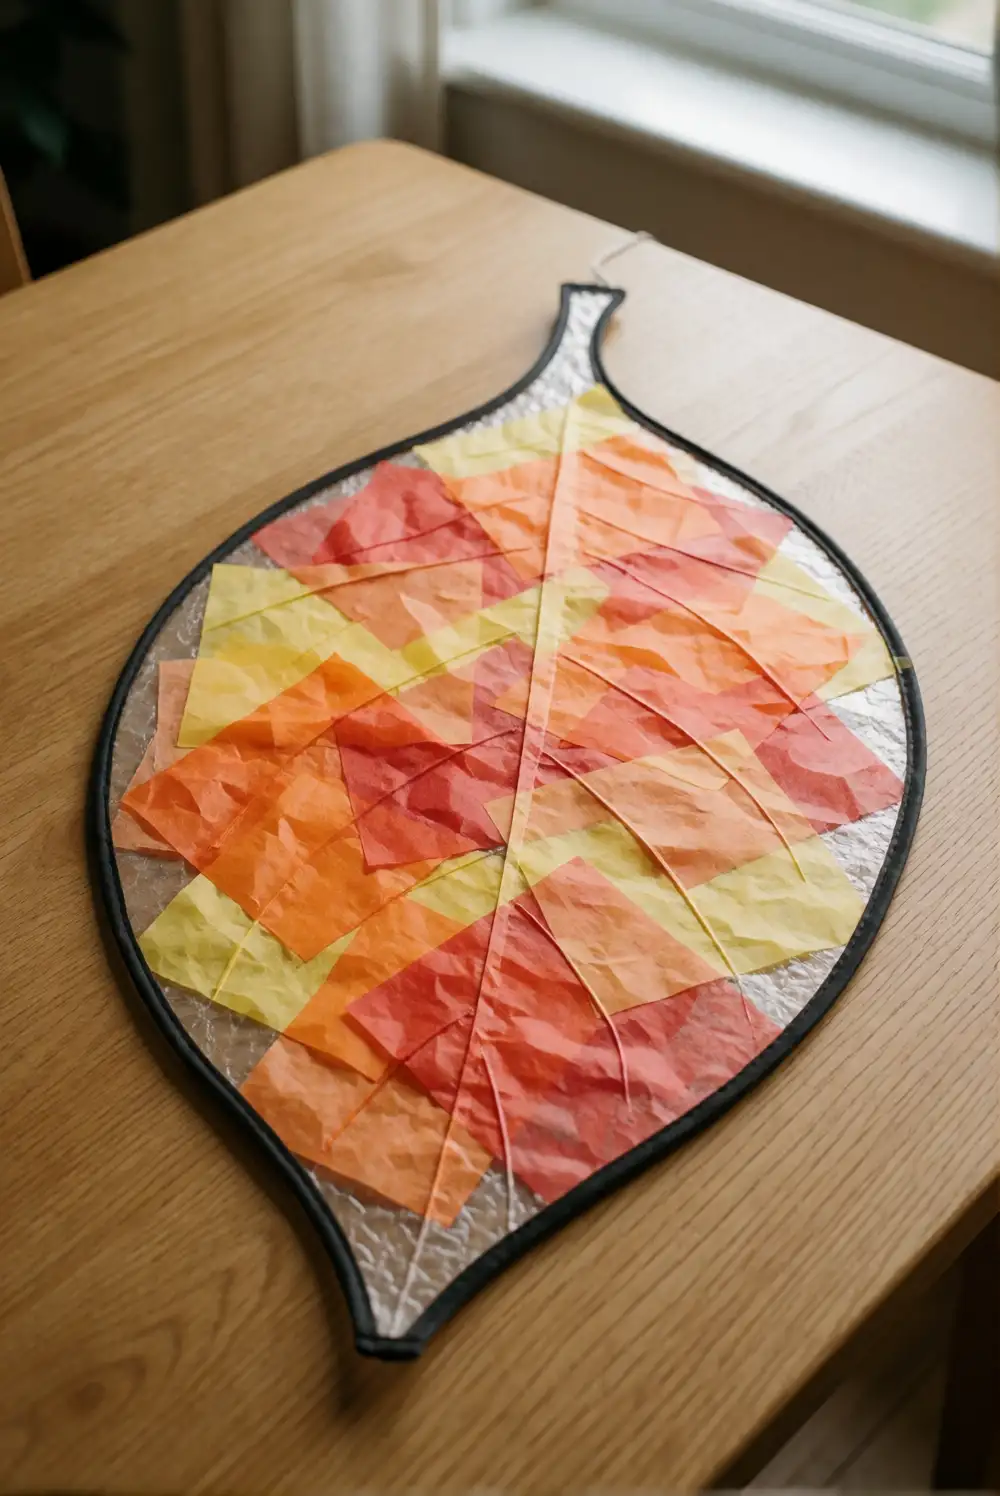
Cut a large leaf outline from clear contact paper and peel away its backing with adult help. Offer your toddler broad pieces of orange, yellow, and red tissue paper to press onto the sticky surface. Overlap the pieces until the leaf shape is covered, then place a second clear sheet over the top to seal the collage. Trim the edges yourself, keeping the finished decoration large and easy to handle.
Choose translucent tissue paper so daylight can shine through the colors when the leaf is displayed in a window. Let your toddler place the pieces freely rather than aiming for a particular pattern; overlapping colors create their own gentle variations. An adult can attach the finished sun catcher to a low window using a small piece of tape placed out of reach. Keep leftover tissue pieces gathered during the activity.
Paper-Bag Scarecrow Puppet
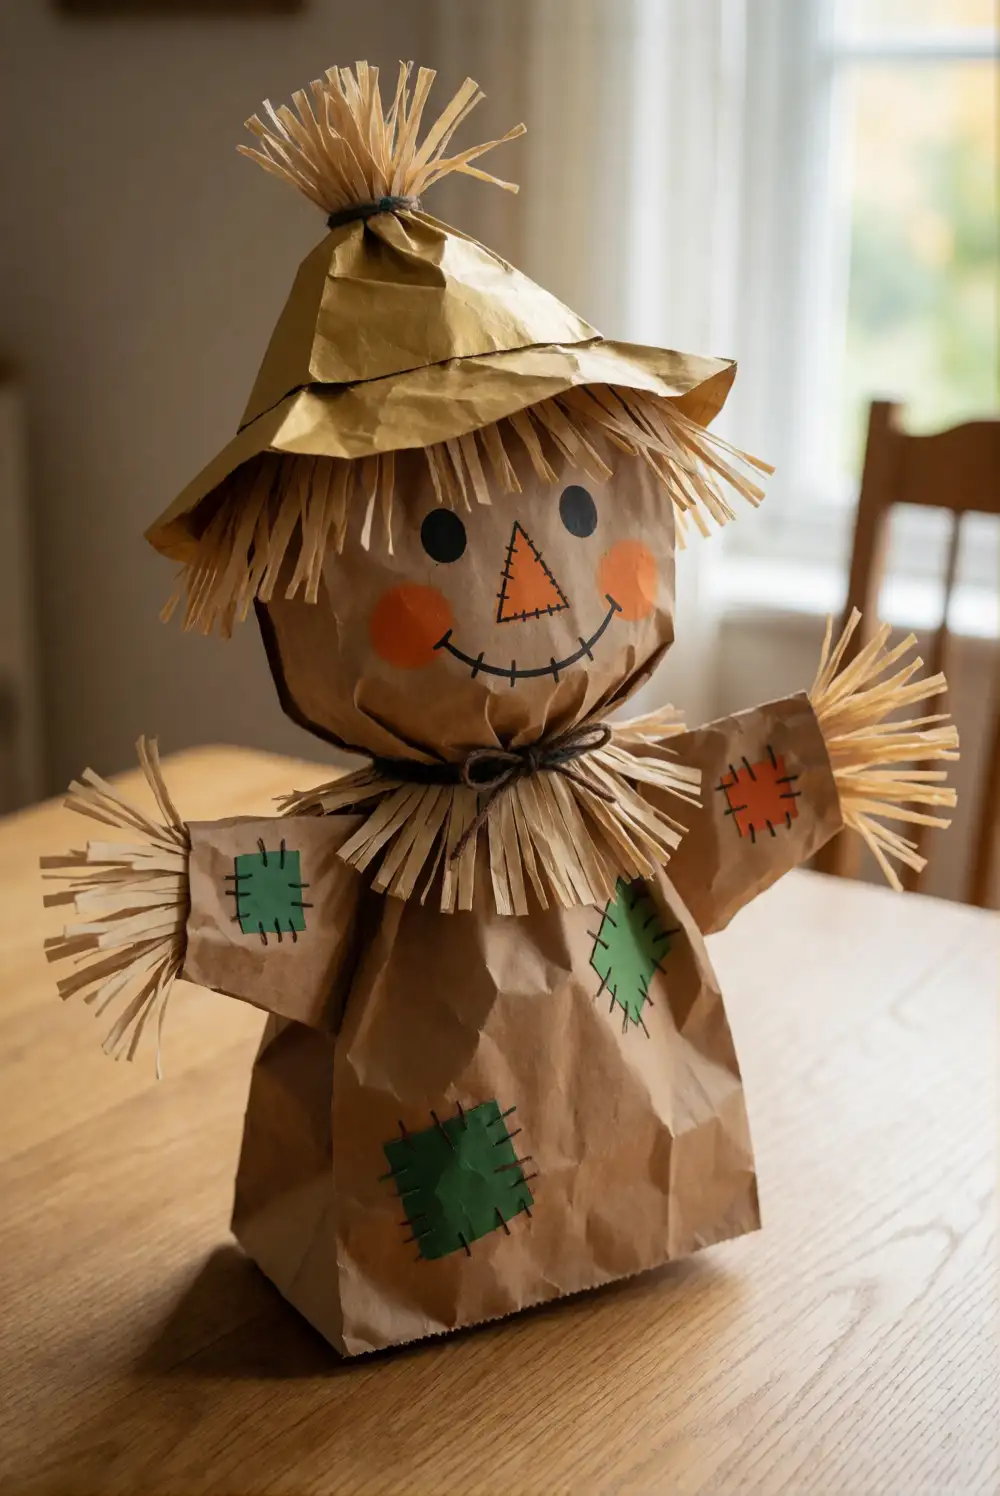
Use a large paper lunch bag, broad pieces of construction paper, and washable glue to make a friendly scarecrow puppet. Fold a wide paper strip into a hat brim and glue it near the folded bottom of the bag. Add large paper shapes for a nose, cheeks, and shirt patches, then draw simple eyes and a smile with a washable marker. An adult can prepare the paper shapes before inviting your toddler to arrange them.
Choose cheerful colors such as golden yellow, leaf green, and orange, and keep every decoration broad and flat. Leave the folded bottom free so a grown-up or child can slip a hand inside and gently move the puppet. The finished scarecrow can join pretend play or sit on a shelf between playtimes. If glue feels messy, use large pieces of painter’s tape with an adult’s help.
Autumn Leaf Crown
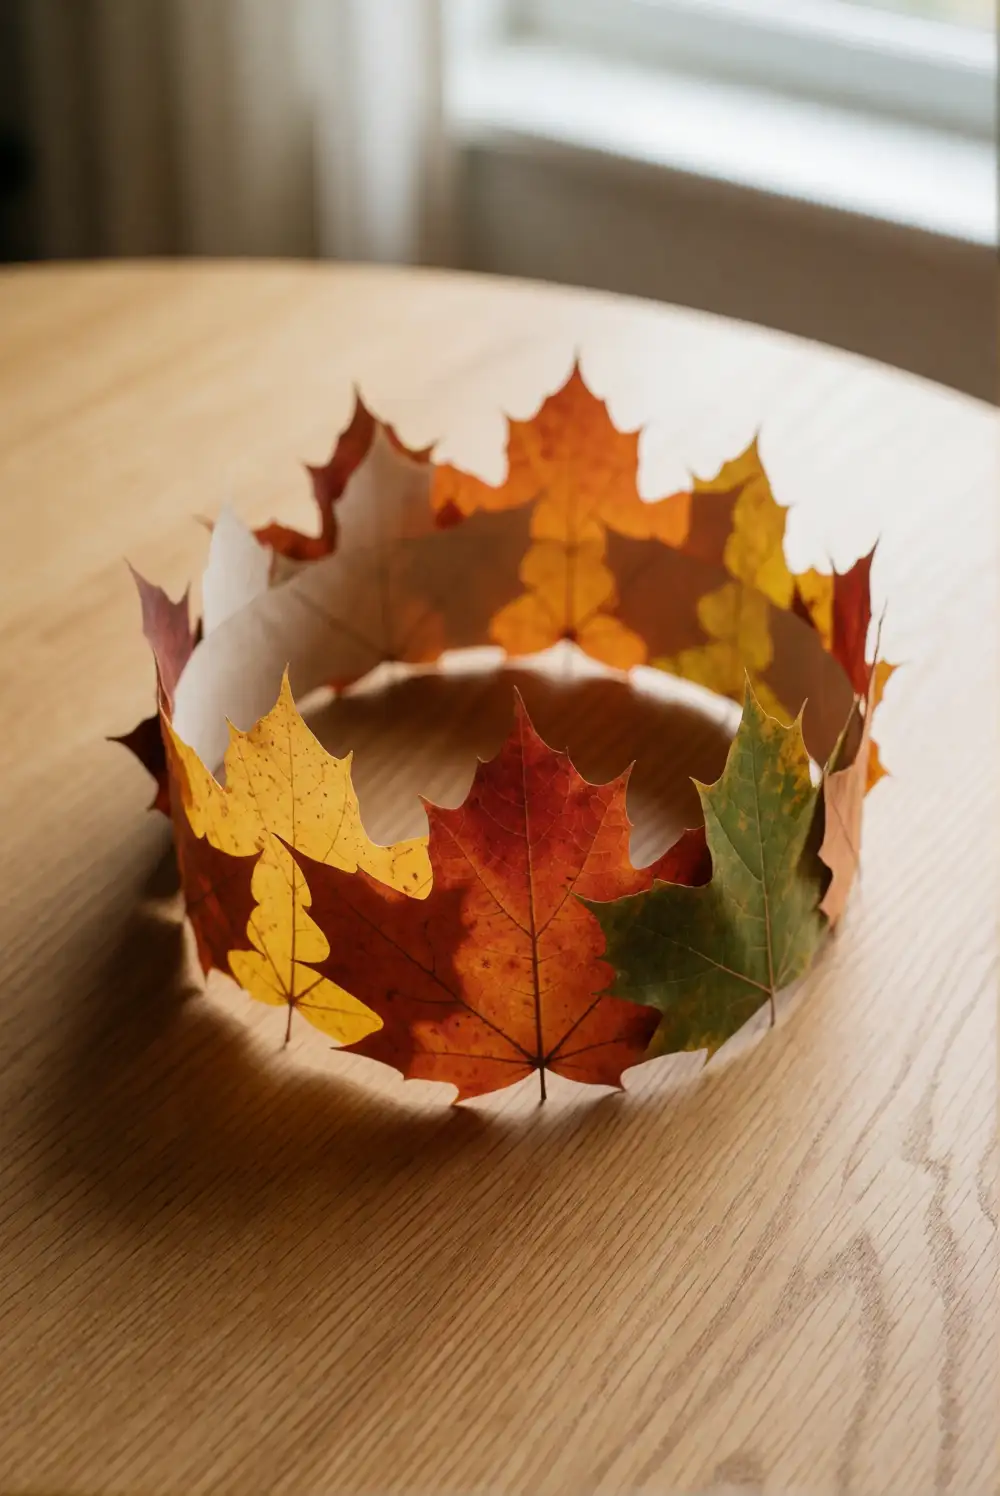
Make a simple crown from a strip of sturdy paper sized by an adult to fit comfortably around your toddler’s head. Invite your child to decorate it with large paper leaves in warm autumn colors, using washable glue or broad pieces of painter’s tape. Once the decorations are attached, an adult can join the ends with tape and check that the crown sits loosely and comfortably before wearing.
Try mixing orange, red, yellow, and green leaves, or choose one color family for a coordinated look. Large paper shapes are easier for toddlers to pick up and place than tiny cutouts. Keep the crown lightweight and remove it if your child finds it uncomfortable. It makes a sweet accessory for a family photo, dress-up play, or a pretend walk through an indoor autumn leaf parade.
Torn-Paper Harvest Tree
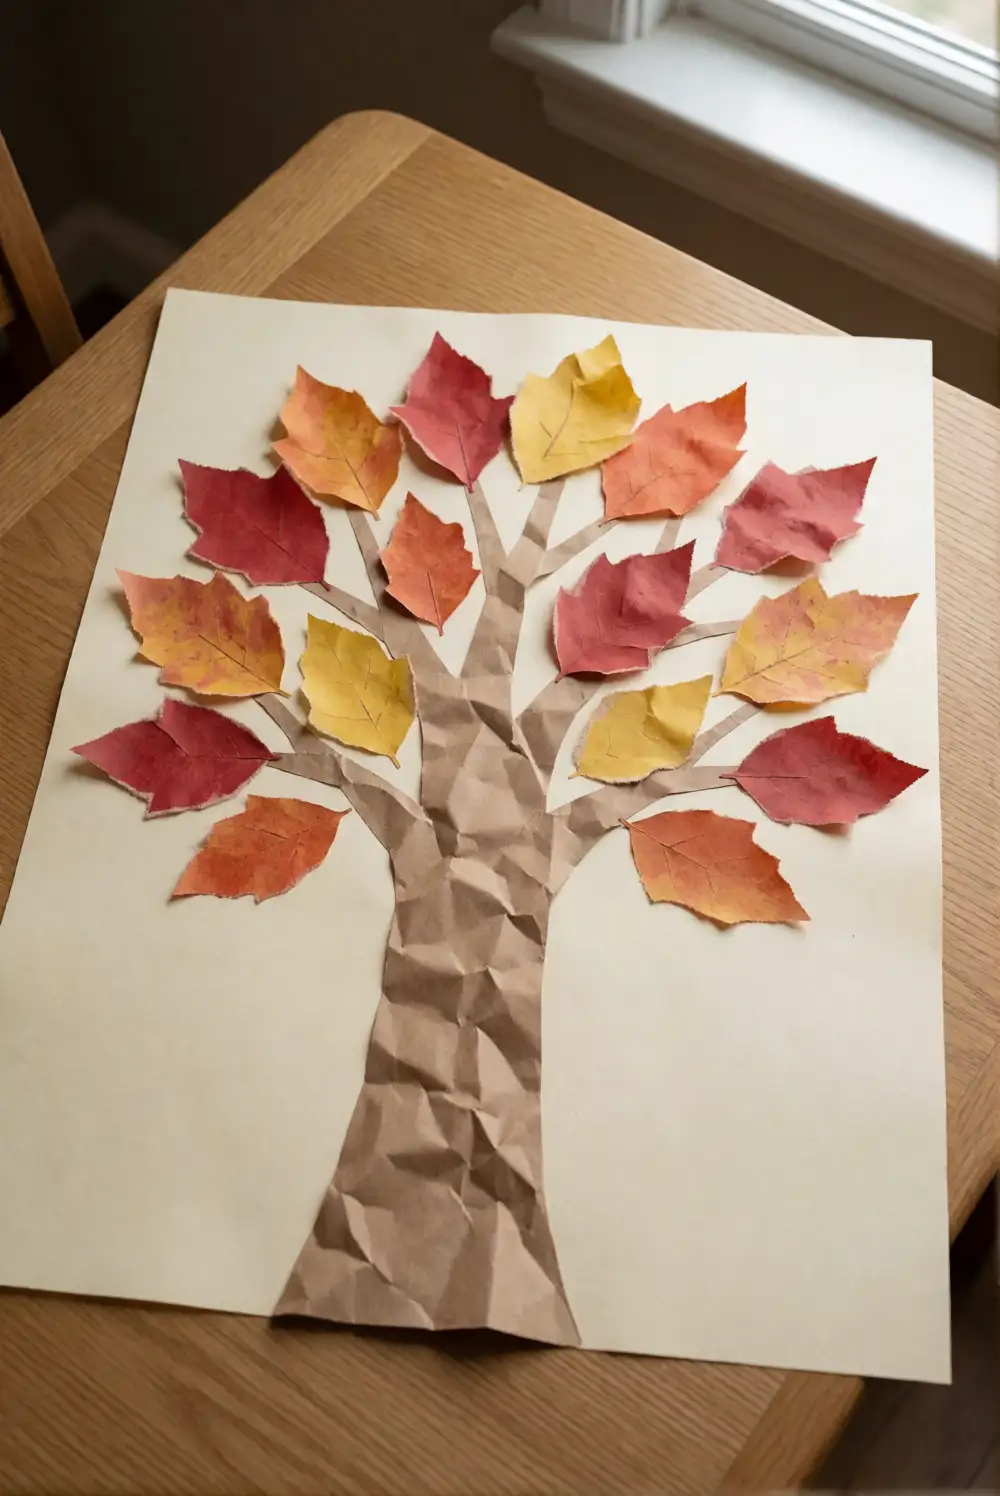
Draw a broad tree trunk with branches on a large sheet of paper, or cut the trunk from brown construction paper and glue it down. Give your toddler large sheets of red, orange, and yellow tissue or construction paper to tear into roomy pieces. Help spread washable glue across the branches, then invite your child to press the paper pieces into the glue as colorful leaves.
Offer only a few colors at a time to make choosing simple, and leave some branches visible between the paper leaves. If tearing is difficult, an adult can prepare broad pieces for your toddler to place. Add a wide strip of green paper along the bottom to create a grassy ground, or leave the background plain. Display the completed tree on a wall or save it as a seasonal centerpiece.
Paper Plate Hedgehog
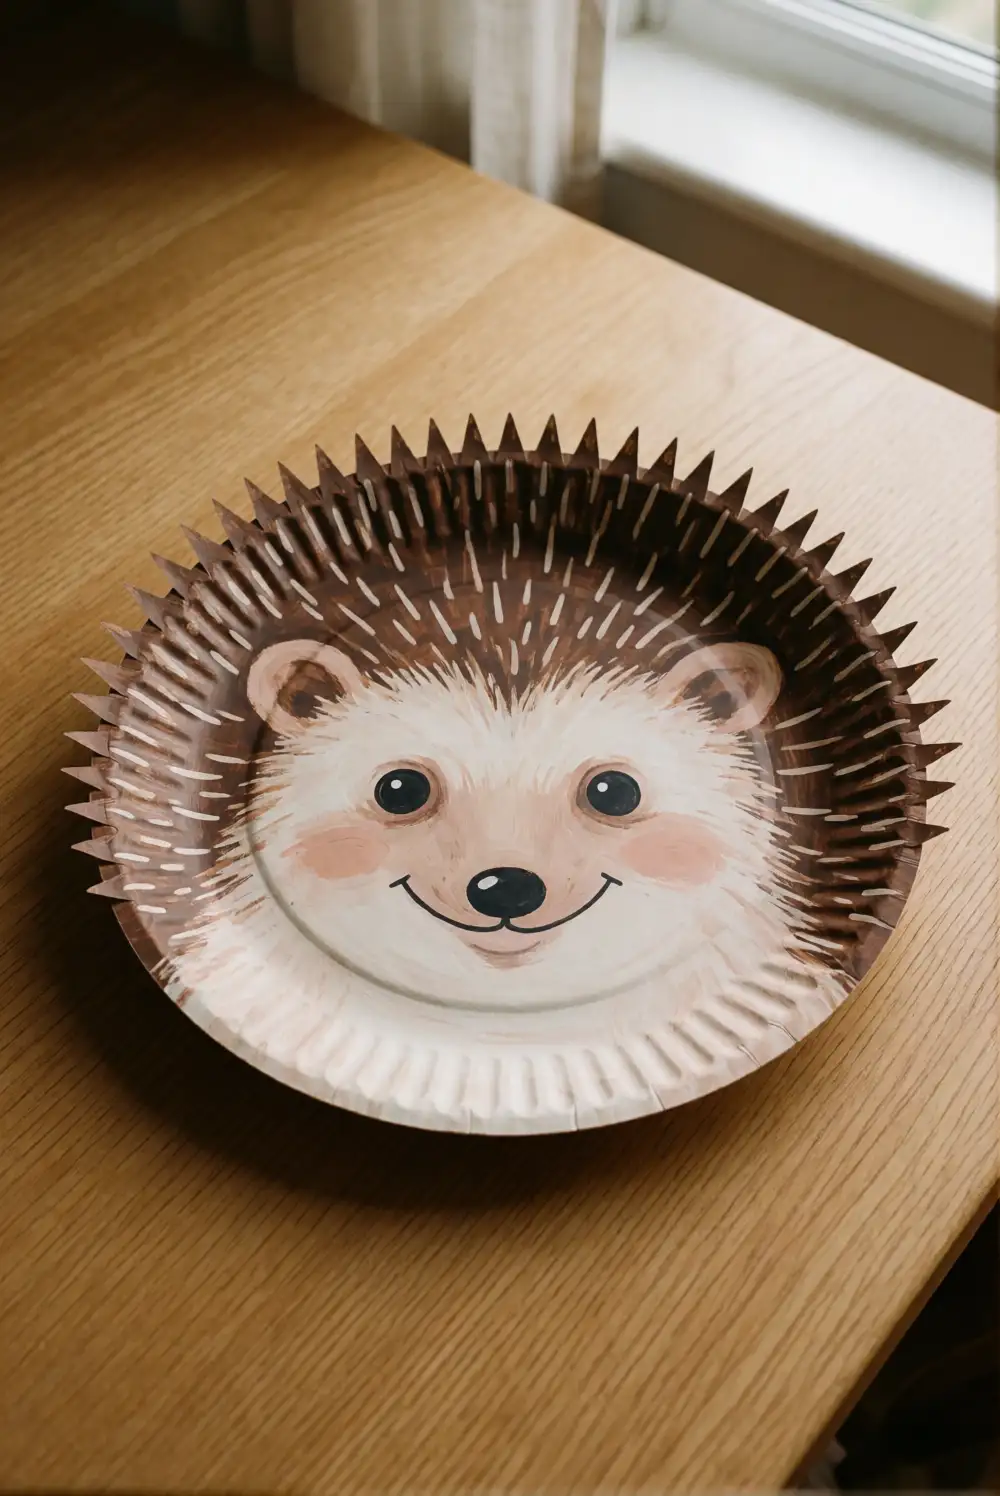
Transform a paper plate into a friendly hedgehog with brown washable paint and large strips of construction paper. An adult can cut a simple rounded face shape and broad paper strips before the activity. Let your toddler paint the plate, then help glue the face to one side and press the paper strips across the back as soft-looking spines. Add a drawn nose and eyes with a washable marker once the paint has dried.
Use a light face color against a darker painted plate so the hedgehog’s features are easy to see. Keep the paper strips wide and few enough for your toddler to place without frustration. You can leave the plate whole or have an adult trim the outline after the glue dries. Display the finished animal on a shelf or add it to a cheerful collection of fall paper crafts.
Pumpkin Patch Paper Collage
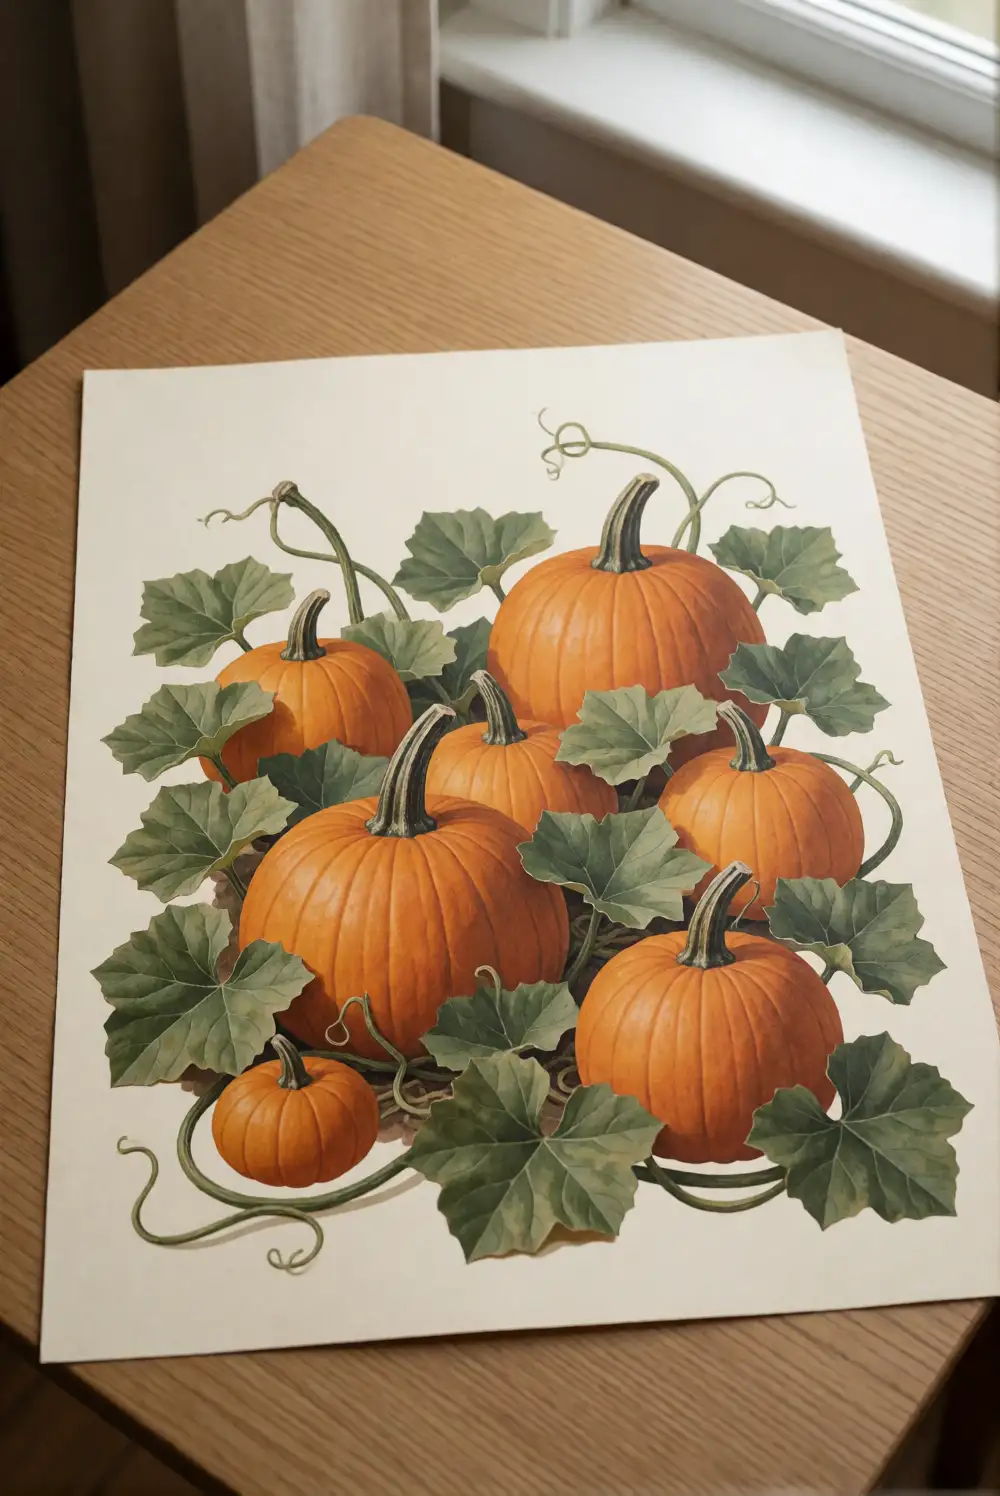
Create a little pumpkin patch on a large piece of blue or cream paper. Cut several broad pumpkin shapes from orange construction paper and long green strips for vines, then invite your toddler to glue them onto the background. Add wide green leaves made from paper, or let your child paint the ground with a large brush. An adult can help arrange the pieces before your toddler presses them down.
Make pumpkins in different sizes and shades of orange to give the patch a lively look without adding small decorations. Leave room between shapes so each one stands out, and keep the glue within easy reach with adult supervision. A large sheet works well as a shared project, while a smaller page can become a simple door display. Let the collage dry flat before moving or hanging it.
These cheerful fall crafts give toddlers plenty of room to paint, press, tear, and arrange while making seasonal decorations together. Choose a project that fits your child’s mood, prepare any cutting ahead of time, and enjoy displaying the finished artwork around your home.